Painting/Stenciling a Concrete Floor
Silver, crystal, linen and china closet

At the Willetta restoration, we created a large closet off of the dining room by enclosing a portion of an old adjacent storage area.  The purpose of this room is to become the silver, crystal, linen and china closet.  I’ve always wanted a separate space to store my “stuff”- large trays, candlesticks, tablecloths, dishes, silverware and entertaining items.  This 6′ x 7′ closet will be PERFECT for the new homeowners to do just that.

Dining Room Before

The challenge is that the floor in the new closet is concrete and is flush with the dining room floor which is hardwood.  Adding new flooring on top of the concrete doesn’t make much sense as it would have create an awkward transition.

What could I do to make the floor feel more formal, like the dining room, without adding tile or more wood? After pondering this for a few days, I asked myself,  “How hard could it be to stencil/paint the concrete floor?”  So I googled “how to paint a concrete floor” and watched the YouTube video by Annie Sloan, entitled How to stencil a concrete floor in 10 easy steps. 

The video is set to catchy music and yes, in 10 easy steps, Annie Sloan creates a beautiful floor.  So easy peasy, right? To make it even more convenient, you can buy the entire stenciling kit from Royal Design Studio Stencils.

The stencil that is used in the video is the Anatolia Wall Stencil.  However, the packaging below shows the stencil using 2 colors only (which in retrospect would have been MUCH easier!).  In the video, there are five different colors. The stencil dimensions are rather large at 21″ x 21″.
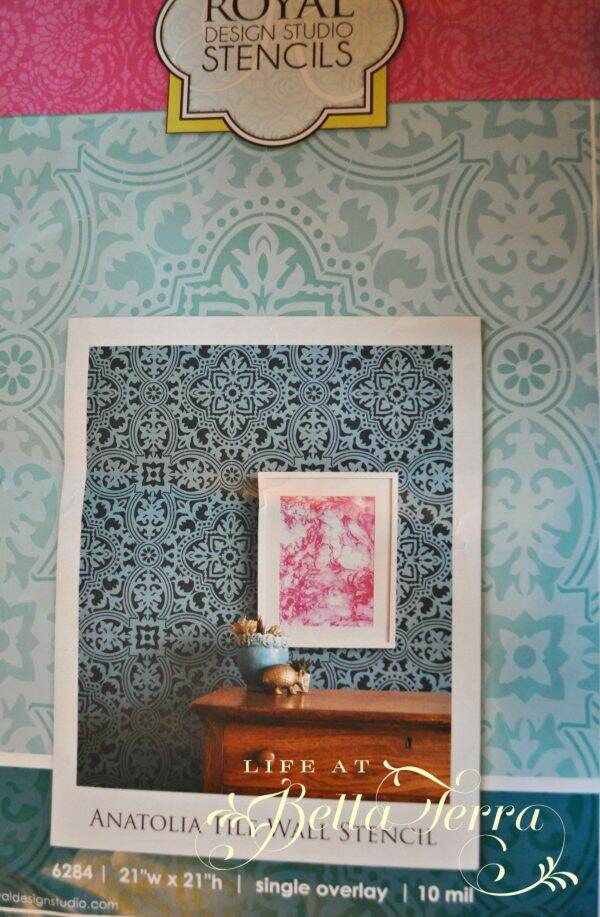
Stencil from Design Studios

Within minutes, I purchase the stencil kit online and figured nothing ventured, nothing gained. Right?

The kit is complete with the stencil, the paint, the brushes and the top clear coat.
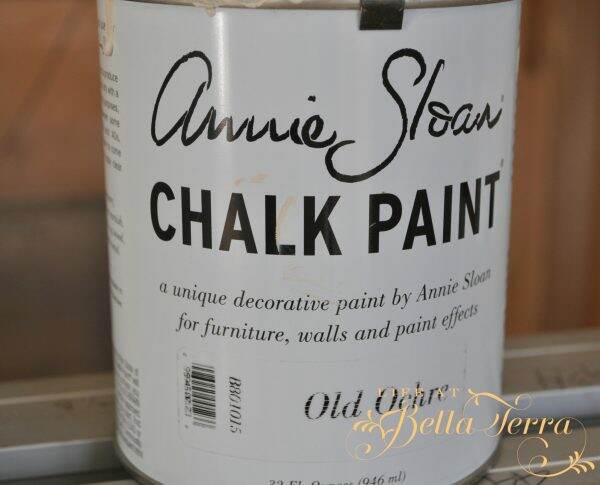
Annie Sloan chalk paint

I’ve never stenciled anything elaborate before so I didn’t realize you needed special brushes, but thank goodness they came in the kit.  However, there wasn’t any information on what brush to use with what color.  I had 4 colors and 5 brushes.  No problem, as I thought I could wing it.

Get the right brushes

Starting the Stenciling Process

When the kit arrived a few days later,  I didn’t see any instructions in the box.  So I called Royal Design Studios and asked where I could get a copy of the instructions of the floor that was created in the video.  They told me that there weren’t any written instructions.  Yikes.  So, my smart painter, John, suggested I do screen shots of the video and print them out.

So armed with 20+ pages of instructions and my stencil kit, I began painting the floor over the weekend.

First, I taped off the baseboard (which hasn’t been painted) with painter’s tape and painted the floor Old Ochre Chalk Paint.  The paint is a very warm white and rolled on rather well–velvety in a way.  I used a foam roller as recommended in the video.  The paint dried very quickly, however, I waited until the next morning to do a second coat.
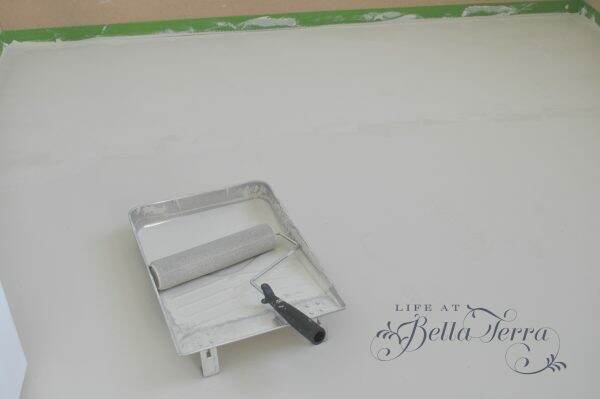
Prep the floor

After finding and marking the center line of the room, I placed the first stencil at the doorway and put the right edge of the stencil on the center line.  You can see here that the concrete floor is flush with the dining room hardwood floor.  I used green Frog painter’s tape to secure the stencil and protect any paint from spilling onto the hardwood floor.
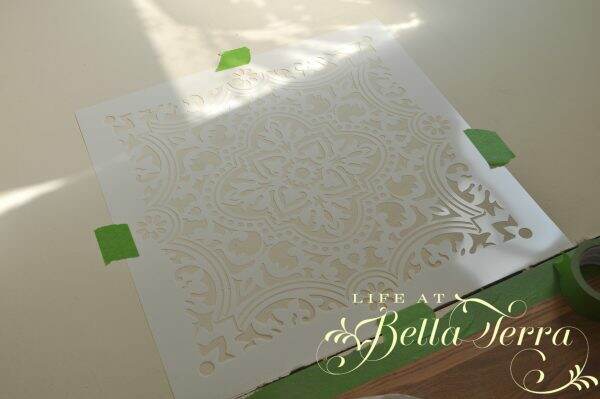
Secure the stencil

Since the paint brush sizes weren’t designated to a specific color, I would use the largest brush on the bigger parts of the stencil and then work my way down.  The first color was Olive~~I’m so glad I printed out the steps as it’s a bit confusing trying to determine what color goes where on the clean stencil.
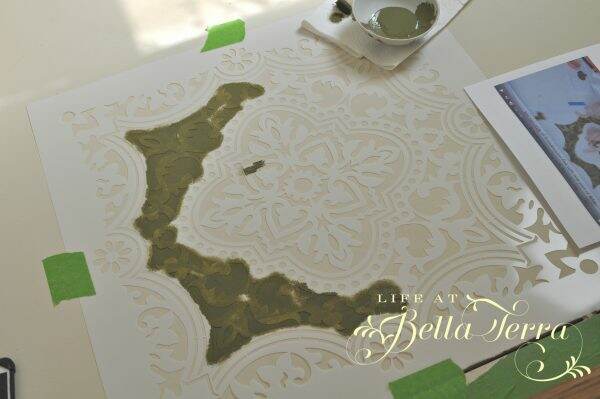
I start with the olive paint

Next came a color that required blending of a pink and yellow paint–I will refer to it as salmon. The stencil brushes have a blunt cut, so I gently dabbed paint onto the stencil.

Tapping on the dark olive color

At this point, I have completed the olive and salmon paint colors. Notice the paint and the paper towel in the photo below.  It is important to dab off any excess paint on the paper towel before applying to the stencil.
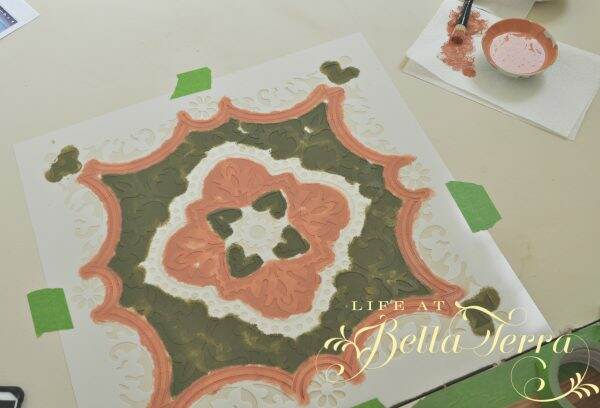
Applying the dusty rose color

Yellow paint next, then followed by the blue.
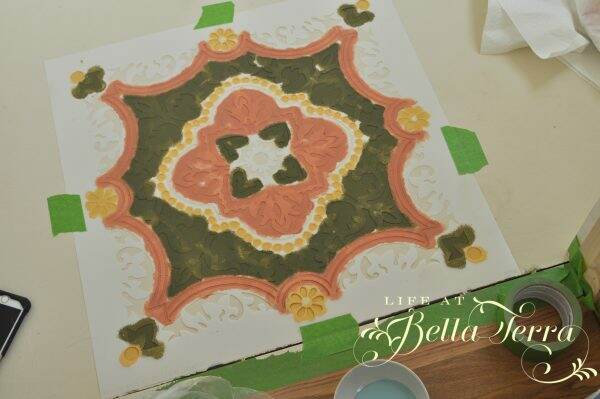
Each color is carefully added

The chalk paint dried very quickly so I didn’t need to wait to proceed with the next stencil.  It was relatively easy to line up markers on the edge, re-tape the stencil to the floor, and repeat.
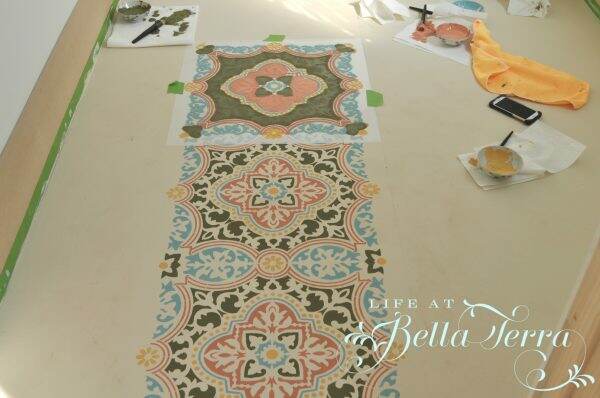
Start in the center of the room.

The first few stencils seemed to take an eternity, because I was proceeding cautiously.  With the colors now on the stencil, I didn’t need to refer to the notes anymore so the process went a bit faster. By the end, I was able to complete a tile in 30 minutes. Mid-way through, I washed the stencil off with soap and water, as the dried paint began accumulating.
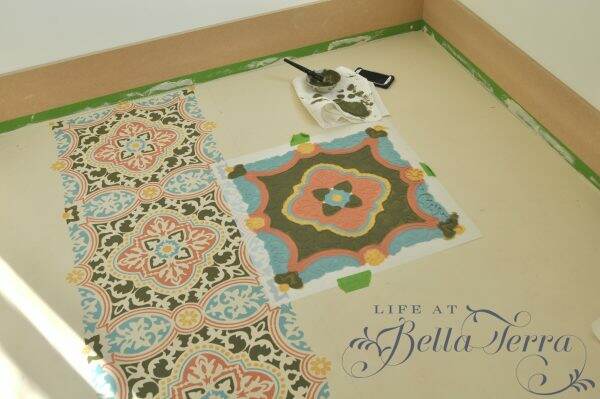
Stencil is secured for painting

The center portions of the floor could accommodate the entire stencil, however, when I got close to the baseboards, only a partial stencil would fit.  It was a little tricky because it was hard to keep the stencil in place, even when secured with the tape. This step requires patience.
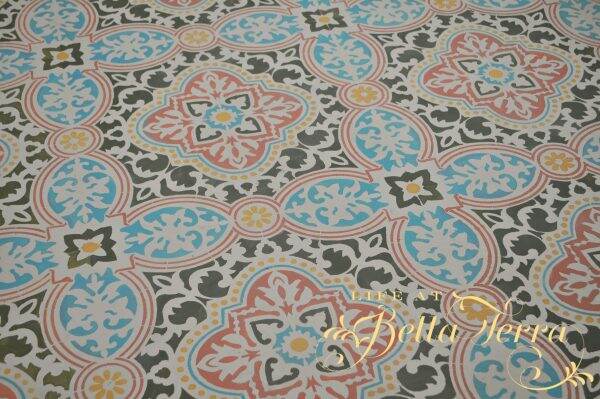
The pattern is beautiful with all the colors

All in all, I painted this stencil 16 times to cover the 6′ x 7′ space.
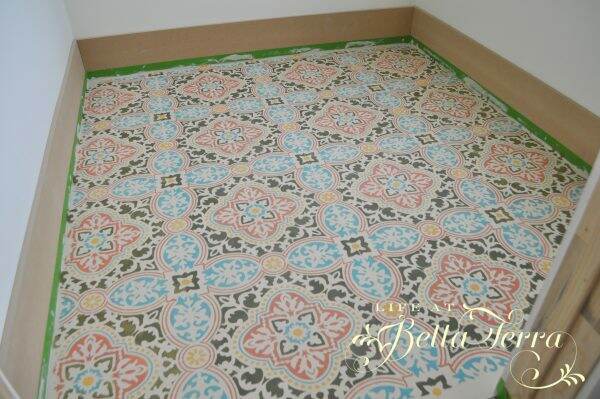
Stencil is complete. Tape needs removing.

With the stencils completed and the paint dry, I now paint the edges with a 2″ border of the olive paint to complete the look.

Finishing the Floor
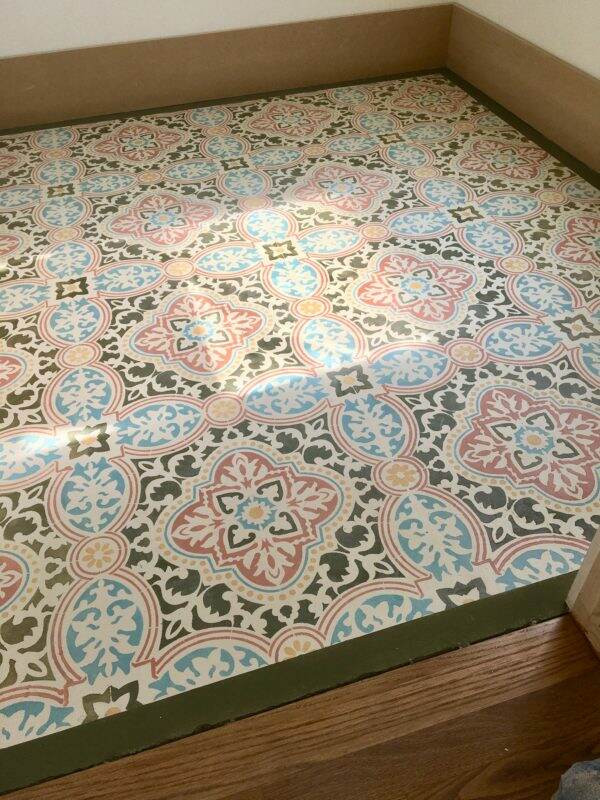
Dark green border finishes the edges

In order to protect the floor I finished it with 2 coats of the clear floor lacquer provided in the kit.
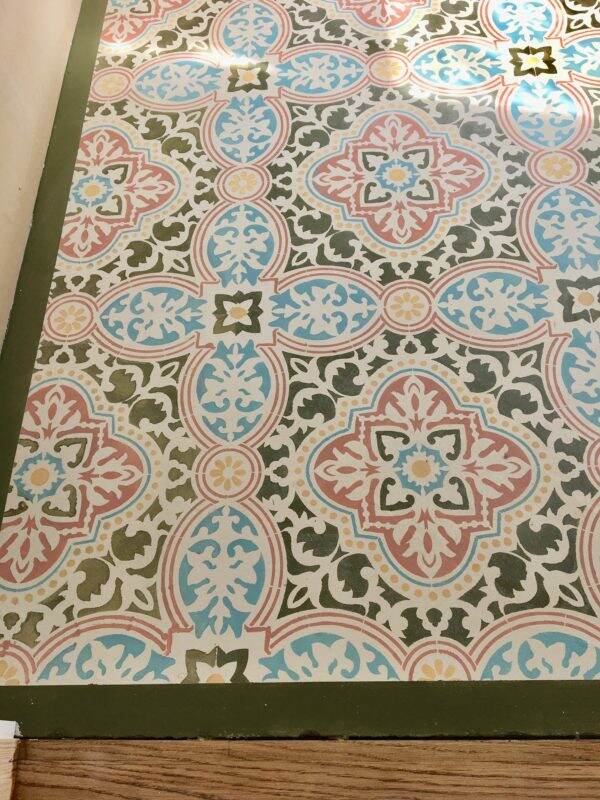
Finished floor

I am so happy with the results! In retrospect, this was labor intensive and I was so sore from sitting or kneeling on the hard concrete floor for hours on end.  From start to finish, I would say I invested 10-12 hours of labor, not counting the drying time. However, this project was well worth it.

I always love to do something unique and personal to each of the homes I restore/remodel.  This historic Willetta home now has an original piece of art by me. To see more about the Willetta restoration, click here.

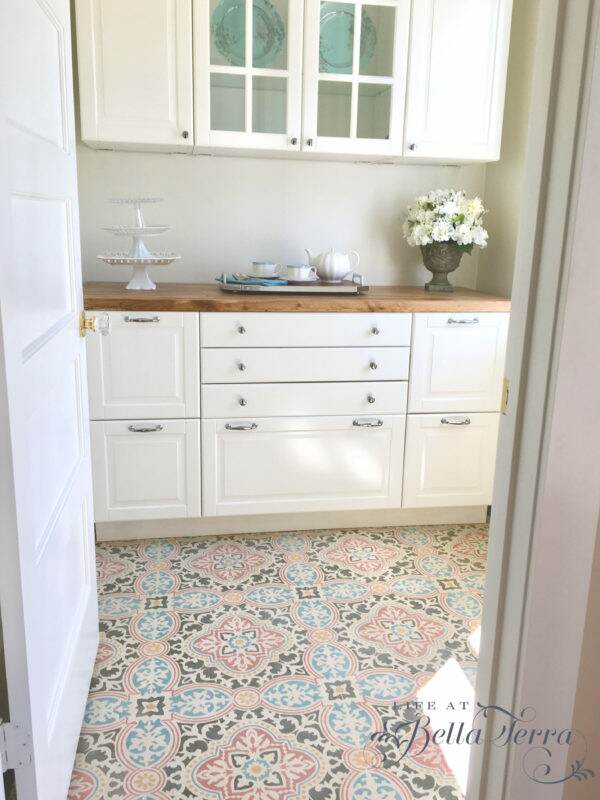
Here you can see the proximity of this storage area to the formal dining room. The floor is so pretty you can leave the door open!
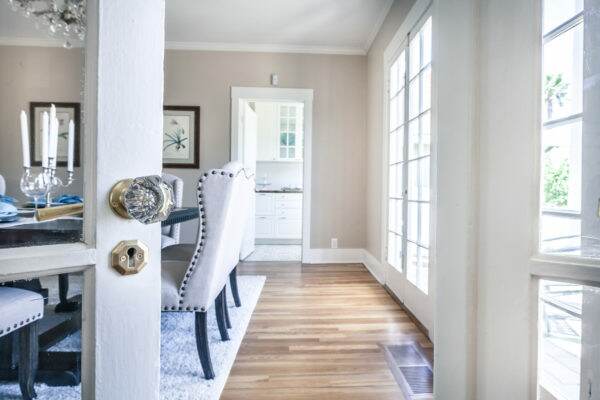
View to the linen, crystal and china closet

I hope you have enjoyed watching the transformation of this special room. If you love Before and Afters or restorations of historical homes, I invite you to browse my website. If you like what you see, please sign up to get my weekly blog posts! You can also find me on Instagram @lifeatbellaterra.





DIY Girls’ Night Out

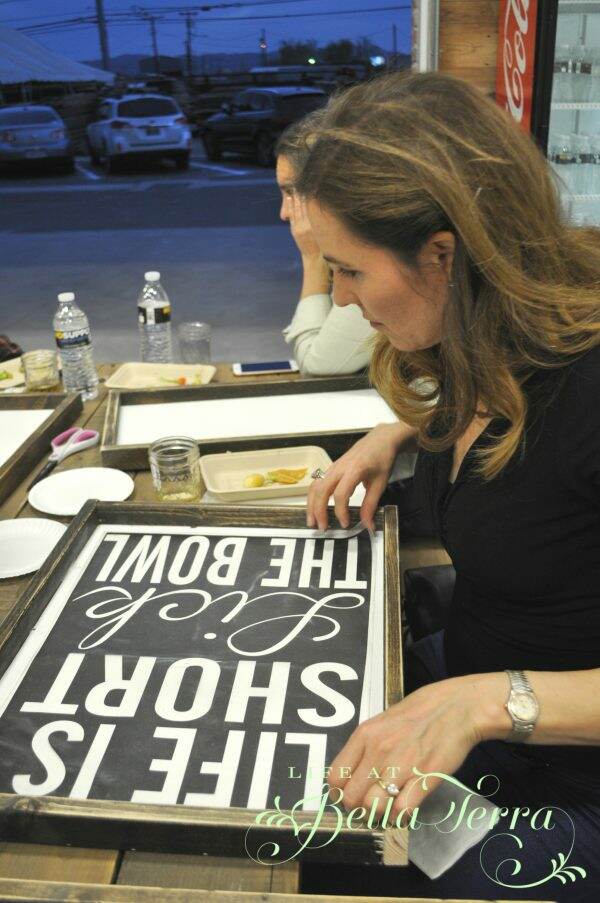
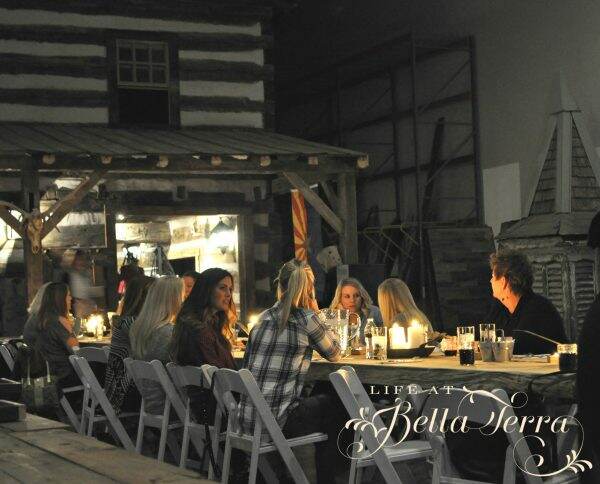
My friend and neighbor, Dawn, invited me to a spontaneous DIY Girls’ Night Out at Porter Barn Wood in Phoenix.  I have to chuckle because I don’t believe I’ve ever gone on a Girls’ Night Out.  I am so swamped that when I do have a moment, I tend to spend it here at Bella Terra.  But, Dawn is such a spectacular person with a large heart and the event, which included making a sign,  sounded quite fun.

Here is the adorable young family behind Porter Barn Wood.  Thomas is a woodworker, metalworker, and plays in a Bluegrass band. They provide reclaimed wood, slab lumber, antiques, and many other things as well as provide woodworking, milling, blacksmithing and just about anything you need.  Plus they have classes that include creating a barn wood wall to dinner and bluegrass concerts ( events calendar).

With the popularity of barn wood doors and the farm house style, this is the place to go.  They own this facility in downtown Phoenix and  the event was held here last Friday night.

When we arrive, The Coronado, a restaurant located on N. 7th Street, was serving wine and appetizers while we made our signs. This restaurant specializes in vegetarian and vegan dishes but with a Cordon Bleu spin.

In typical “barn” like fashion, the wine was served in mason jars….love that!  The roasted veggies, hummus and homemade tortilla chips were delicious (and healthy)!

Porter Barn Wood made the frames and the background wood was painted white.  We sat at picnic tables awaiting instruction.

After peeling off the back side of the stencil, we carefully centered it on our frames.

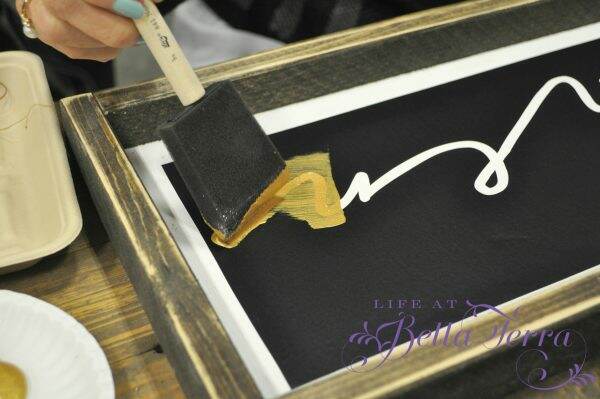
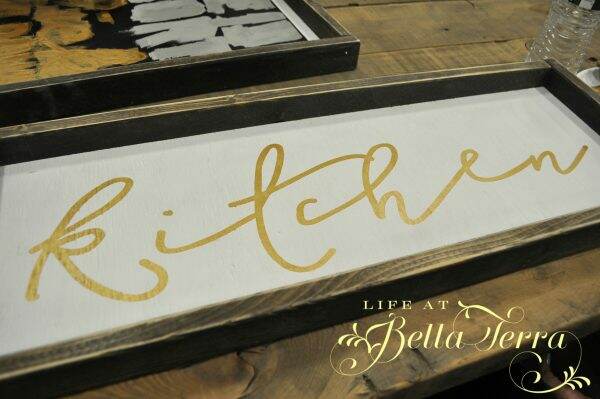
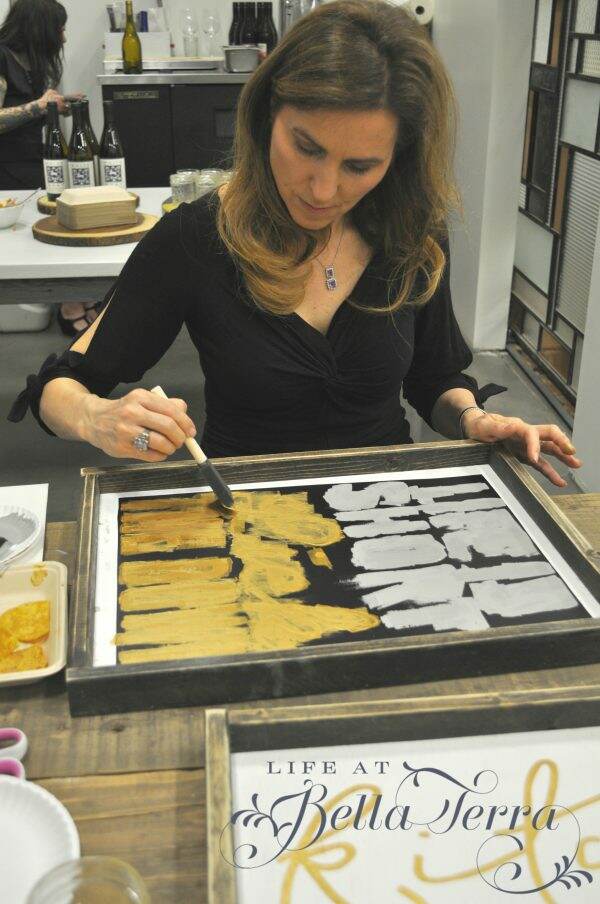
We then peeled off the front clear material, exposing the stencil to be painted.  We were able to choose the colors we wanted and applied the acrylic paint with foam brushes.

Dawn chose a gray paint for part of her stencil and then gold for the rest.

While our signs dried, dinner was served.  Instead of renting long tables with white table cloths, Thomas decided that morning (!) to plane down large reclaimed trees and created 3 16 foot lengths of wood to make the tables.  The smell of fresh cut wood and the beauty of the tree-tables made dinner extra special (and I believe these tables are for sale!).

Dinner was amazing.  Liam Murtagh, one of the owners of The Coronado, introduced each course and gave the history behind all the ingredients.  The first course was a beautifully presented Farm Salad utilizing ingredients from local farms (arugula from Blue Sky Organic Farms; radishes from Agave Farms, tangelos from FarmYard) with a black pepper agave vinaigrette.

The main course was Mashed Garlic Potatoes under a Tepary (heirloom) Bean Croquette with Rosemary Roasted Tomatoes and a Vegan Demi Glas.

Of course we had a different wine with each course while listening to a fabulous solo artist Hannah Risley,  a talented 18-year old singer and guitarist.

I am still dreaming about dessert.  Who knew that vegan/vegetarian food could be so delicious?  We had a Mesquite Flour Snickerdoodle with dark chocolate with Aqua Faba meringue (this was so delicious I wanted to lick my plate) with Candied Hibiscus.

During dinner we had the chance to sit near and chat with two wonderful young women~~~all in all, it was a spectacular way to spend a Friday night with a sweet friend.  Also, I was so impressed with Thomas and Liam, as young business owners who are so passionate about what they are doing.  They are such a great addition to our growing downtown area.
Plus I got to take home my very own sign!  Maybe this Girls’ Night Out thing is worth pursuing!!!!

Thank you, Dawn, for inviting me!


Save

Save

Save

Save

Save

Save

Save

Save

Save


Love is in the Air

I wanted to make something for my husband and the wonderful crew I have at the Willetta restoration.  One of my husband’s favorite desserts is homemade cherry pie.  I did think about making a whole one but we’ve been trying to eat healthy since the first of the year and I knew a huge pie would be a bad, albeit delicious temptation for both of us.
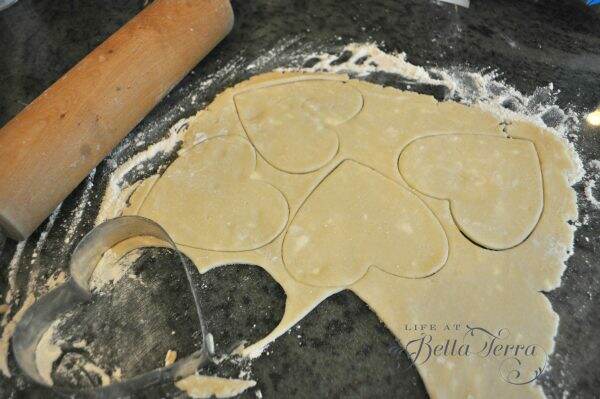
So I decided to keep the theme but on a smaller scale.  In a previous post, I shared my favorite pie crust recipe–which is super easy to make (especially in a Cuisinart).  After letting the pie crust dough chill, I rolled it out and found the largest heart-shaped cookie cutter I had.

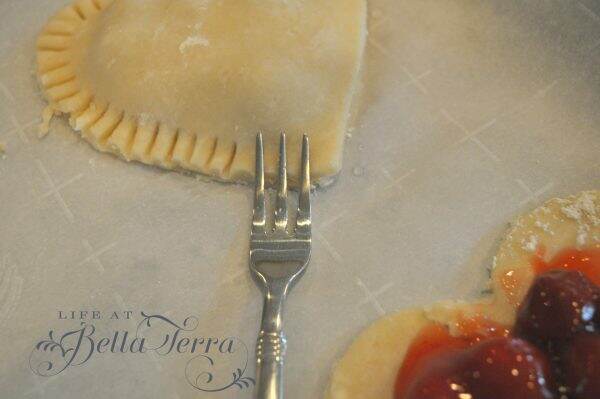
I added canned (partially groaning here) cherry pie filling.  Normally I like fresh cherries but they are not in season so sometimes you need to improvise.

I wet the edges of the heart with water and added another heart-shaped dough piece.  A small fork served as the perfect tool for sealing the edges.

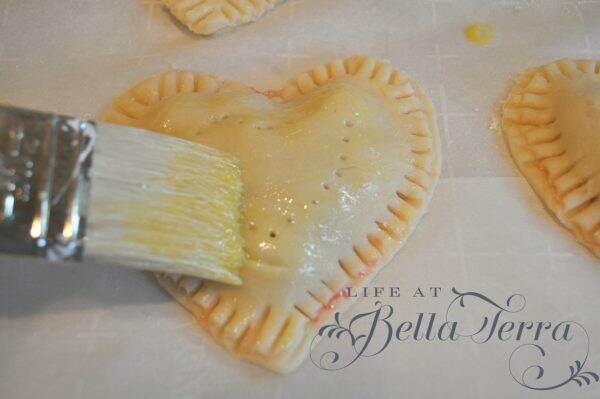
Next, I brushed the surface with an egg wash (just scrambled an egg) and then pricked the dough for air vents.

Baking was a bit of a challenge because I wasn’t sure how long~~but I set the oven to 375 degrees and started at 10 minutes.  I kept adding time in increments of 3 minutes so my total cook time, in a convection oven, was approximately 20 minutes.  Depending on the size of your cutter, my pie crust dough recipe made 9  4″x4″ hearts.  Lastly, I sprinkled the tops with sugar (used King Arthur’s Sparkling White Sugar).

I’m getting ready to run these down to the job site~~a small sweet surprise for my dedicated crew.  Happy Valentine’s Day!

If you have only one smile in you give it to the people you love.     Maya Angelou


All Things Valentine

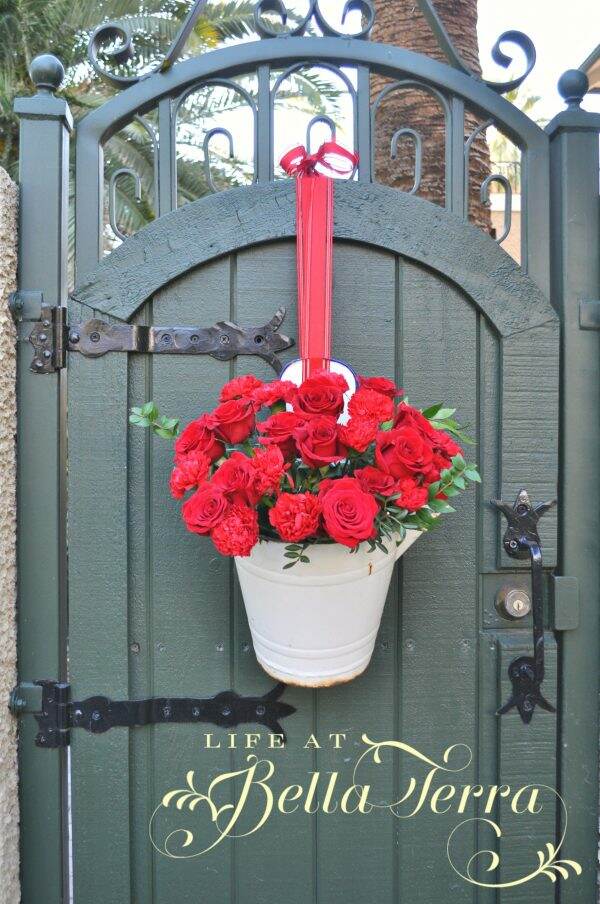
February is the month of romance. I do some limited decorating for this fun holiday-who doesn’t love the colors of red or pink! As with most holidays, I am interested in its origins, its traditions and why we celebrate.  Here are a few fun facts about Valentine’s Day.

1. The most popular theory about the Valentine’s Day origin is that Emperor Claudius II didn’t want Roman men to marry during wartime.  Bishop Valentine went against his wishes and performed secret weddings.  For this, Valentine was jailed and executed.  While in prison, he wrote a note to the jailor’s daughter signing it “from your Valentine.”

2. The red rose was the favorite flower of Venus, the Roman goddess of love.

3.  In 1537, England’s King Henry VII officially declared February 14th the holiday of St. Valentine.

4. In the Middle Ages, young men and women drew names from a bowl to see who would be their Valentine.  They would wear this name pinned onto their sleeves for one week for everyone to see.  This was the origin of the expression “to wear your heart on your sleeve.”

5. Every Valentine’s Day, the Italian city of Verona, where Shakespeare’s lovers Romeo and Juliet lived, receives about 1,000 letters addressed to Juliet.

6.Based on retail statistics, about 3 per cent of pet owners will give Valentine’s Day gifts to their pets.

7. Arizona became the 48th State on February 14, 1912.

8. In addition to the United States, Valentine’s Day is celebrated in Canada, Mexico, the United Kingdom, France, Australia, Denmark, Italy and Japan.

9.  141 million Valentine’s Day cards are exchanged annually, making Valentine’s Day the second most-popular greeting card-giving occasion.

10. Physicians of the 1800s commonly advised their patients to eat chocolate to calm their pining for lost love. (Now that’s a good excuse!)

For your information:

The colorful painting was done by me last year in my attempt to do a new one for each holiday.

The pets featured above are:  Cooper,  an Akbash (from the Anatolian Shepherd family); Sox, our pocket Beagle; Tippy and Donovan- stray cats our girls found/rescued/captured in the yard.

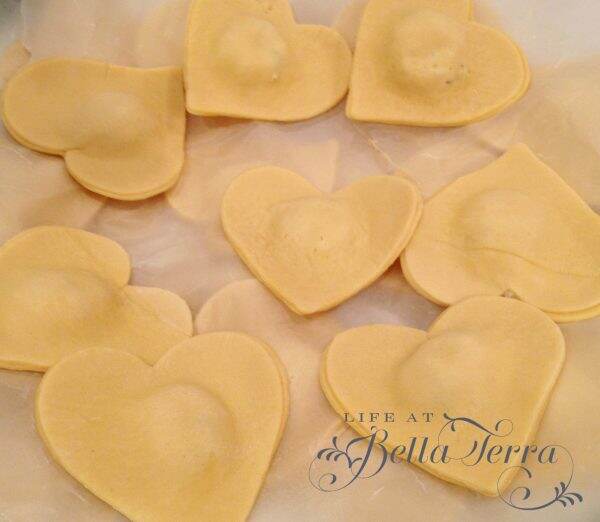
The heart-shaped ravioli was made last Valentine’s Day from a recipe I found online.  If you have a heart- shaped cookie cutter, it was a relatively easy recipe to follow.

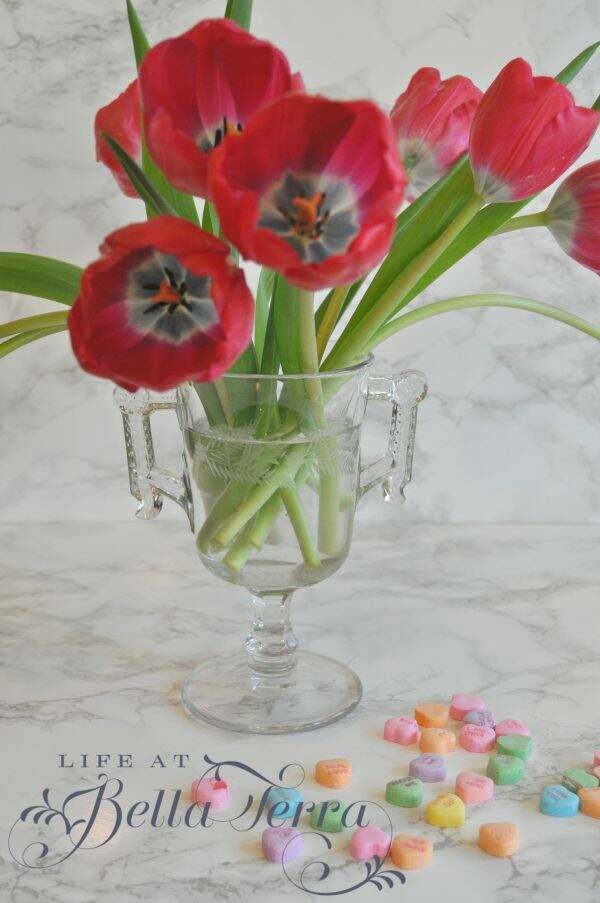
And if you love the wheat-etched spooner holding the tulips, you can purchase it through my online store!

Wishing you a happy and loving Valentine’s Day!


When Life Gives you Lemons

The orchard is full of fruit and flower buds are starting to appear!  We will need to glean the trees so the new buds have enough energy to produce a hearty crop next year. So the harvesting begins! So when life gives you lemons, bake!

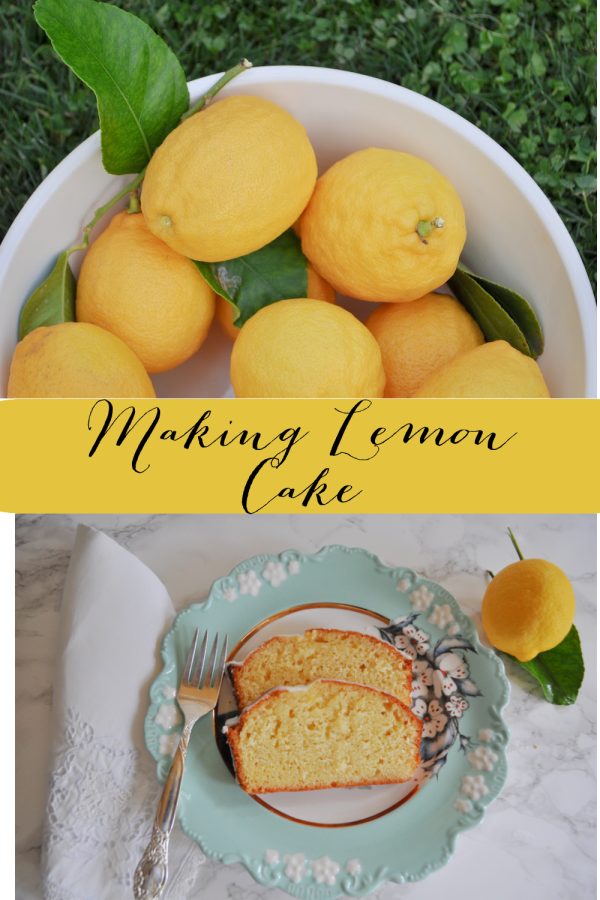
Bowl of fresh lemons

The lemon tree, well, is not really a tree or a bush.  It is sort of a sprawling blob of green. I am sure it is decades old but it keeps producing wonderful fruit.  Not sure of its variety but year after year, this bush/tree gives up plenty of beautiful, fresh lemons.

Lemon tree in our orchard

Years ago, my friend, Joann Augur (who also now happens to be my art teacher), made a lemon cake for one of our Garden Hoes gatherings.  Yes, we were part of a group of gardeners called the Hoes and our husbands were the Hoses.   Garden humor.:)

Joann’s cake was so delicious I quickly asked for her recipe.  And even though it sat in my recipe book for years, I clearly remembered this incredibly tasty cake.   So in art class this week, I asked Joann’s permission to share her recipe.  After years of mentally tasting this cake, I finally made it with the abundance of lemons from our orchard.

Ingredients you will need

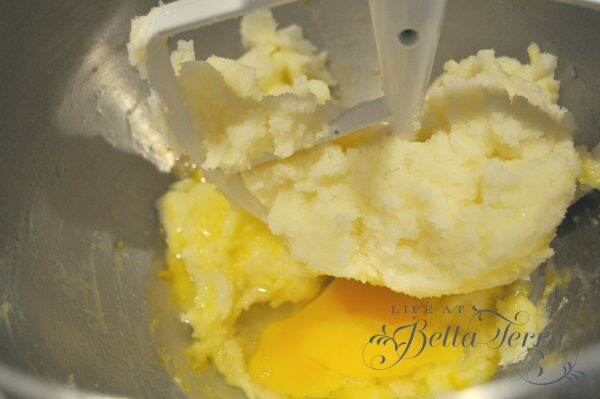
First, cream the butter and sugar.  Add eggs, one at a time.

Cream the butter

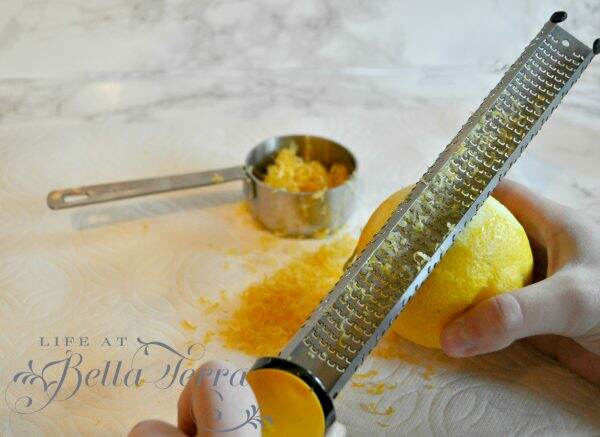
I LOVE my microplane/zester.  We received it as a gift and I can’t believe I’ve never had one before. Making lemon zest is so easy with this tool.

Zesting the lemon

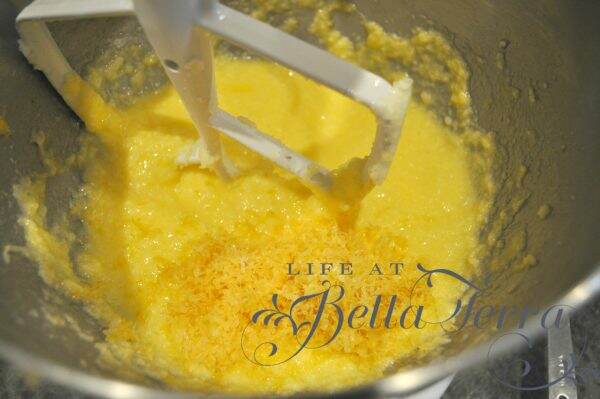
Add the zest to the sugar/butter/egg mixture.

Add zest to butter mixture

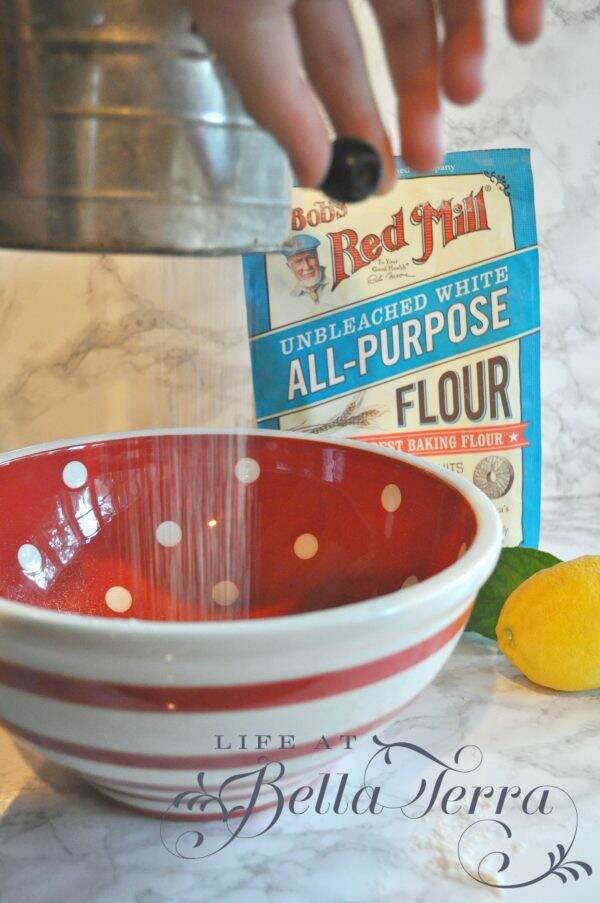
Sift the dry ingredients.

Sift the flour

In a separate bowl, combine lemon juice, buttermilk, and vanilla.  I didn’t have buttermilk and didn’t feel like making a special trip to the grocery store, so I made my own, using Emeril Laggasse’s homemade recipe.  You simply put vinegar or lemon juice (4 1/2 teaspoons) into one cup of milk and let it stand 15 minutes.  I decided to use lemon juice vs. vinegar since this is a lemon cake recipe.

Add the buttermilk combo and flour mixture alternatively to the sugar batter, beginning and ending with the flour.

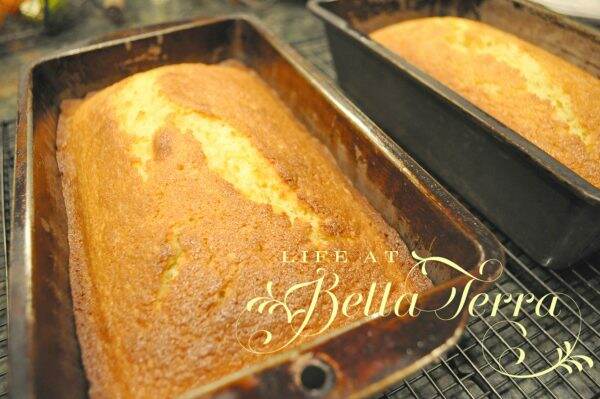
Divide the batter into 2 loaf pans and bake at 350 degrees for 45 minutes to one hour (mine were done in 45 minutes in a convection oven).  While the cakes are baking, make the lemon syrup.

Bake for 45 minutes

Cool the cakes for 10 minutes, remove from pans and place on a rack over a tray (cookie sheet).  Spoon the syrup over the cakes.  I also took a wooden skewer and added holes to the cake to help the syrup absorb even more.

Drizzle lemon syrup

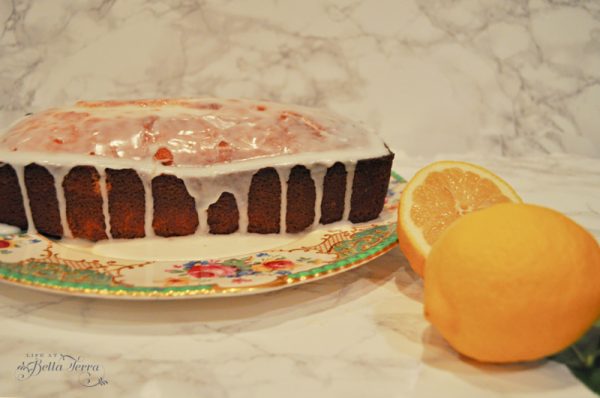
Make the glaze and drizzle over the cakes.

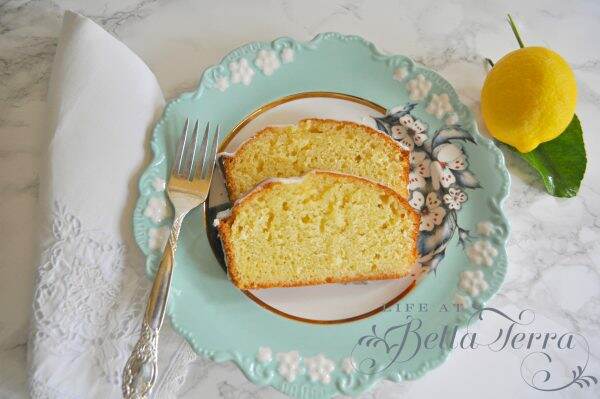
Enjoy!
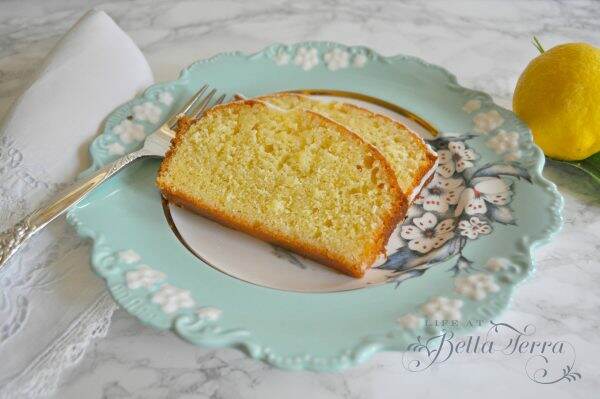
Perfect with coffee or tea

This cake is SO yummy! According to Joann, this cake freezes well too.  Many thanks to Joann for allowing me to share this on my blog.

If you enjoy this post, please share on Pinterest.


Lemon Cake

My sweet friend and art teacher shared her delicious lemon cake recipe with me.

  • 1/2 lb. unsalted butter (room temperature)
  • 2 1/2 cups granulated sugar (divided)
  • 4 Xtra large eggs (room temperature)
  • 1/3 cup grated lemon zest (6-8 lemons)
  • 3 cups all-purpose flour
  • 1/2 tsp baking powder
  • 1/2 tsp baking soda
  • 1 tsp kosher salt
  • 3/4 cup freshly squeezed lemon juice (divided)
  • 3/4 cup buttermilk (room temperature)
  • 1 tsp vanilla extract

For the Glaze

  • 2 cups confectioners' sugar (sifted)
  • 3 1/2 Tbsp freshly squeezed lemon juice
  1. Preheat oven to 350 degrees. Grease, flour and line bottom of two 8 1/2 x 4/1/4 x 2 1/2 inch loaf pans in parchment paper.

  2. Cream butter and 2 cups sugar in bowl of electric mixer with paddle attachment for 5 minutes or until light and fluffy. With mixer on medium speed, add eggs one at a time, and lemon zest.

  3. Sift together flour, baking powder, baking soda, and salt in a bowl. In another bowl, combine 1/4 cup lemon juice, buttermilk and vanilla. Add flour/buttermilk mixtures alternately to the batter, beginning and ending with the flour. Divide the batter evenly between pans, smooth tops and bake 45 minutes to 1 hour until done.

  4. Combine 1/2 cup granulated sugar with 1/2 cup lemon juice in a saucepan, cook low until sugar dissolves.

  5. When cakes are done, cool 10 minutes. Invert them on a rack and set over a tray. Spoon syrup over cakes.

  6. For the Glaze: combine confectioners' sugar and lemon juice in a bowl; mix with wire whisk until smooth. Pour over the tops of the cakes and allow glaze to drizzle down the sides.