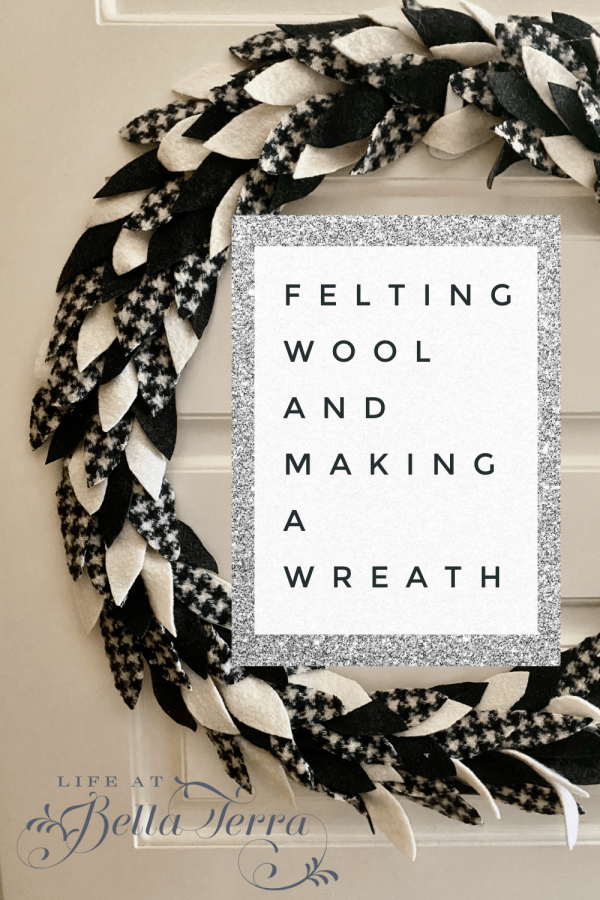
Making a Wreath with Felted Wool
Inspired by a blog post by KariAnne at Thistlewood Farms, I made this fun wool wreath this week. Probably the hardest part of this craft is finding 100% wool items here in Phoenix.
This project requires just a few supplies. Wool, wreath frame, scissors and glue gun. I don’t typically wear wool because it itches my skin, so I don’t have any sweaters or wool clothing in my closet. And due to our warm climate, trying to find these things locally is a bit challenging.
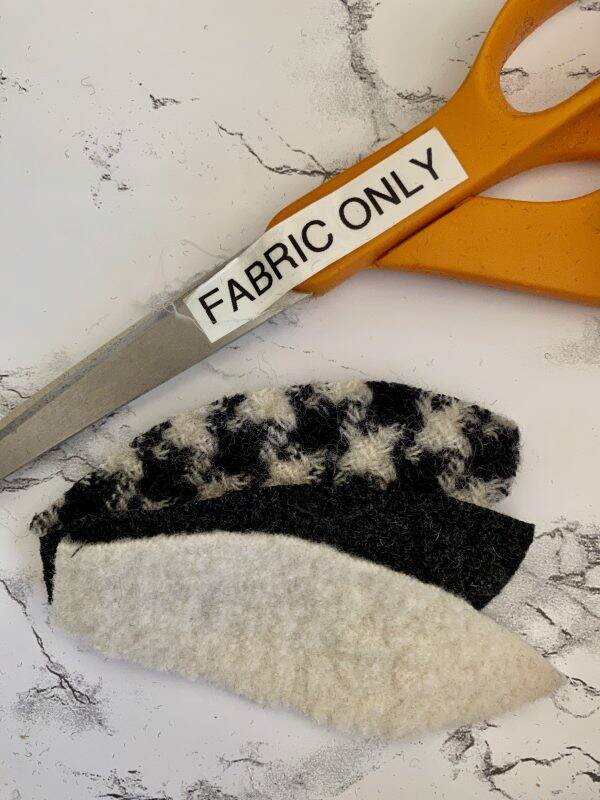
However, during my recent trip to the mountains, I luck out at a Goodwill store in Show Low. For a few dollars, I purchase a black and white houndstooth skirt ($6.00), a winter white jacket ($4.50) and a dark gray blazer ($4.50). And since checks and houndstooth are so trendy right now, I hope these three fabrics will do the trick.
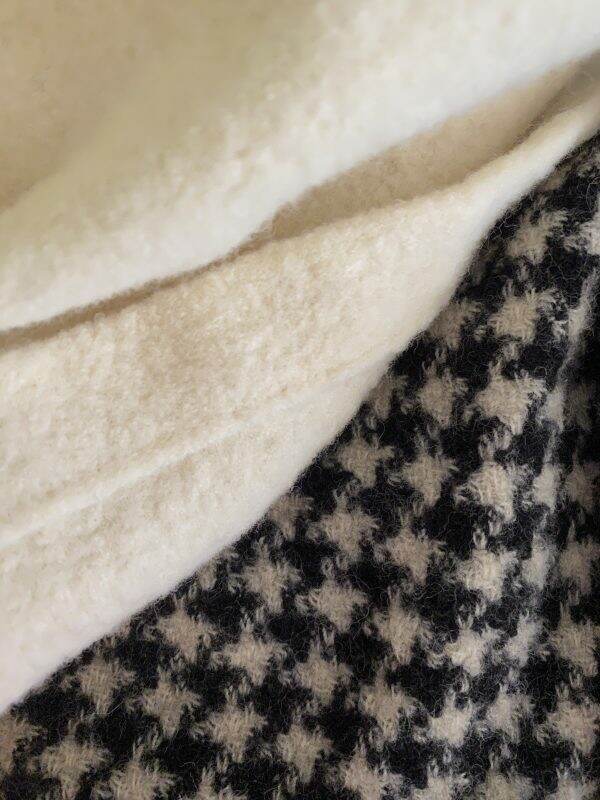
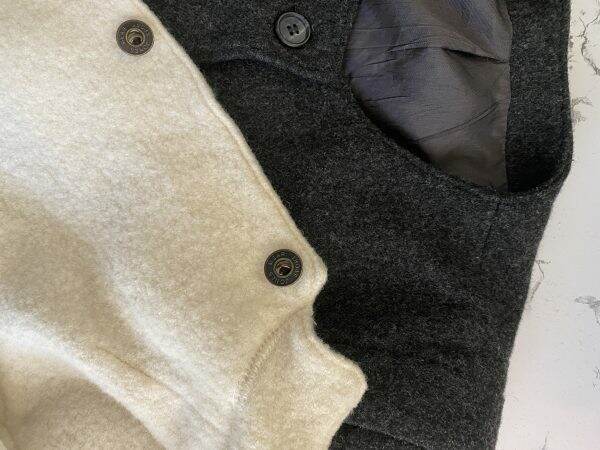
Fortunately the clothing is too big for me so I don’t feel the need to add them to my wardrobe. First thing to making this wreath is preparing the fabric. In order to make wool into felt, you must do the things your mother told you not to do~wash the wool items in very hot water and then put them in the dryer.
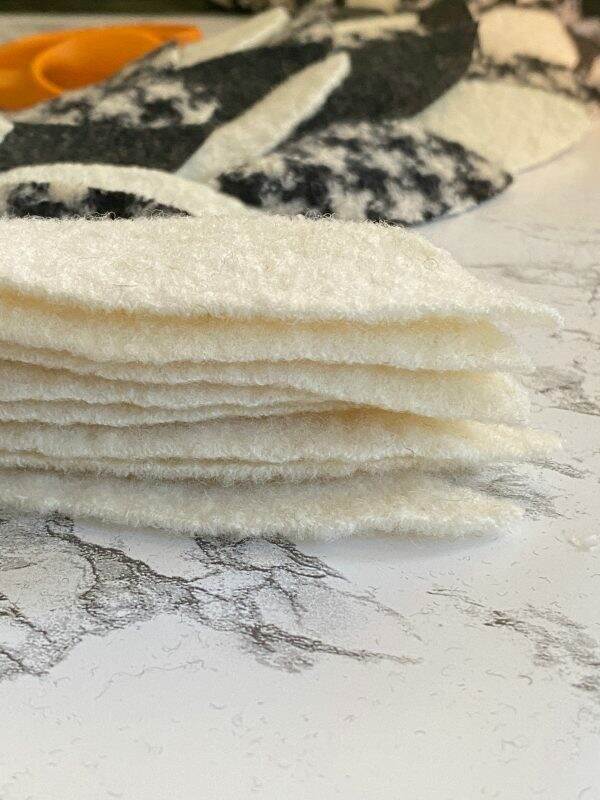
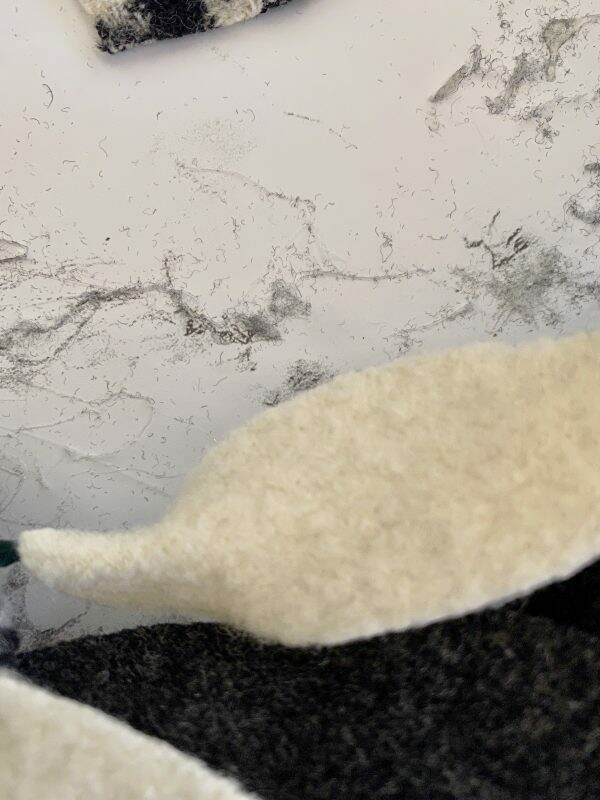
As expected, the wool shrinks down to a thicker, more tightly woven material. Next I make a template of a leaf out of scratch paper, measuring about 4″ long and 1.25″ to 1.5″ at the widest point. Using the template, I cut the first few leaves from the material. After repeating this multiple times, I ditch the template and improvise.
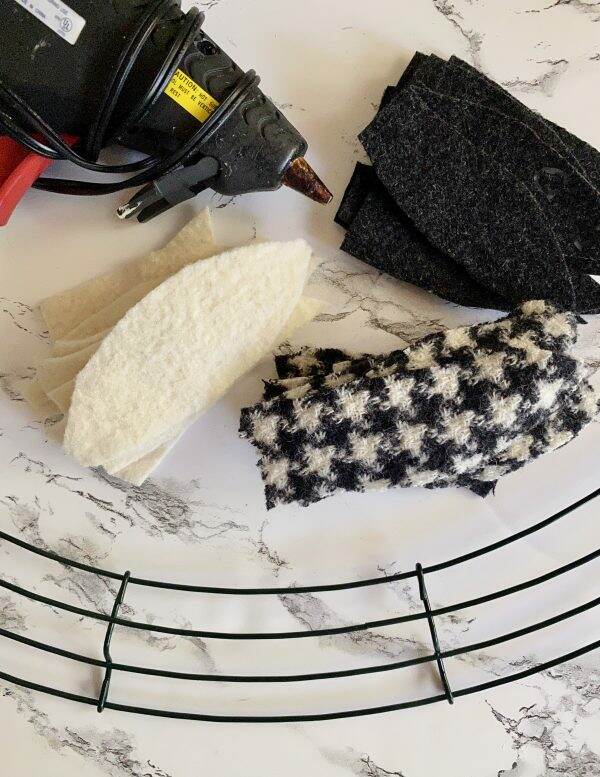
In KariAnne’s tutorial, she uses an 18″ wreath wire frame. However, at Michaels the inventory is so depleted that I end up with a 24″ frame (with 4 wires). Depending on where you will use this wreath should determine the size you choose. Amazon has a very good selection of these wreath frames here. Also, selecting a smaller wreath size will be easier and faster.
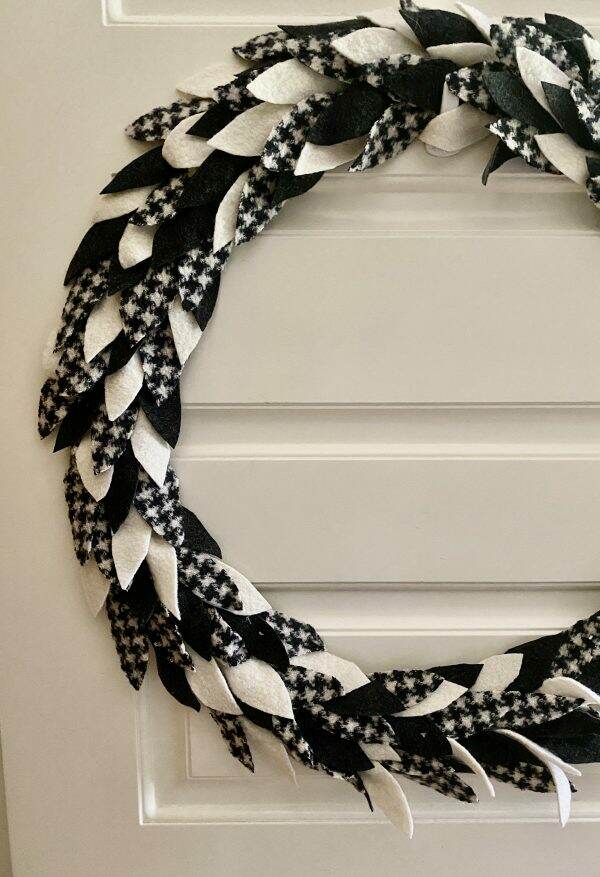
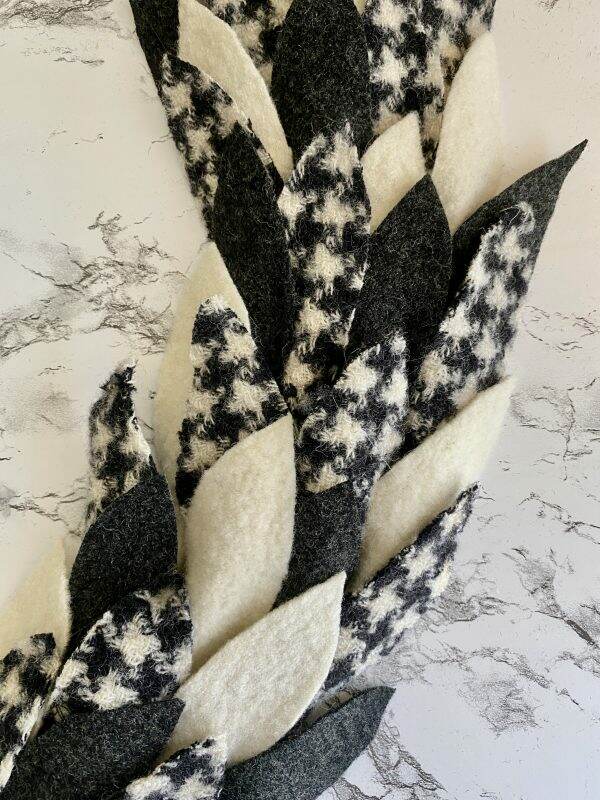
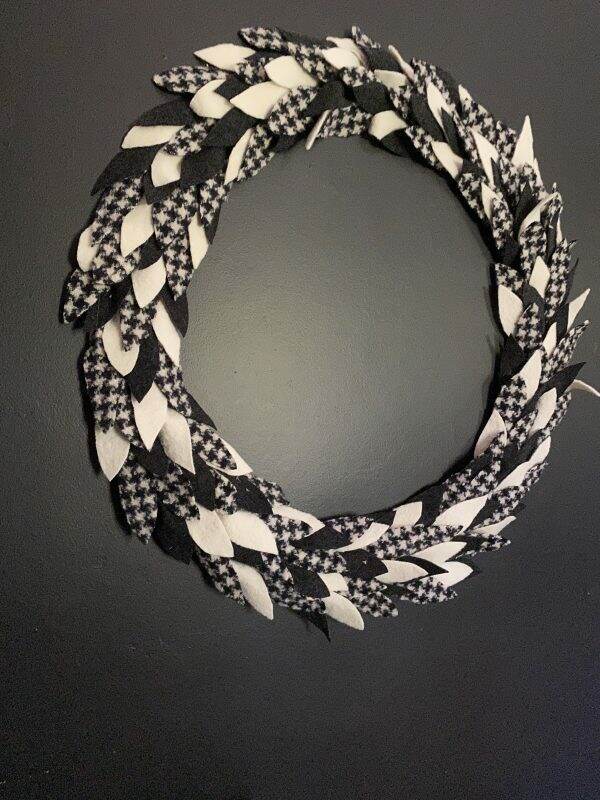
Please make sure you have really good scissors, as this project requires quite a bit of cutting. It truly makes the job much easier. KariAnne’s 18″ wreath uses 70 felt leaves; and mine has approximately 190 leaves.
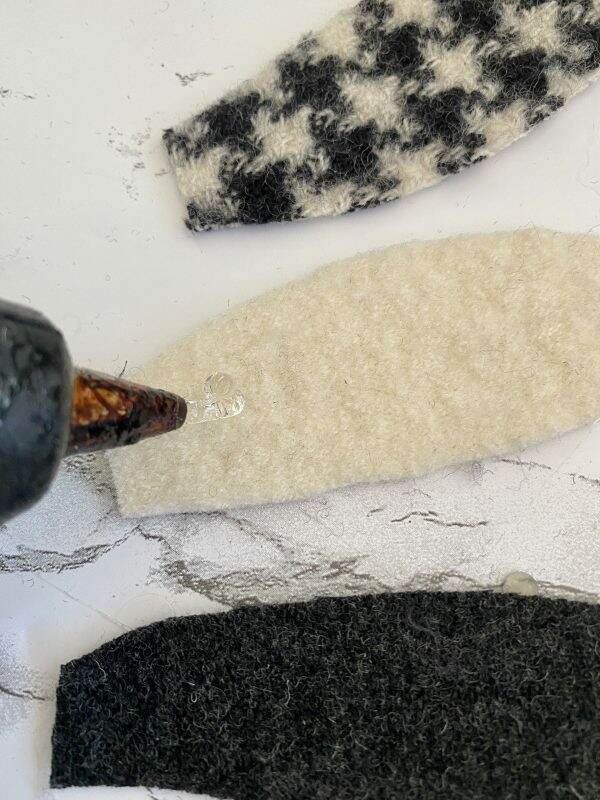
Applying the leaves is easy with a glue gun. Be very careful not to burn your fingers (as I did over and over again) with the liquid glue. Take the leaf and place the glue at the bottom. Pinch the leaf to the wire wreath frame, alternating fabric as you go.
Make sure you lay the leaves in the same direction. I found it easier to work ahead of the leaves vs. trying to tuck them behind each other.
I can honestly say I really did enjoy making this wreath. Think of all the possibilities for future wreaths~red, white and pink for Valentine’s Day; shades of green for St. Patty’s Day.
And this could also be a family project (exercising glue gun caution).
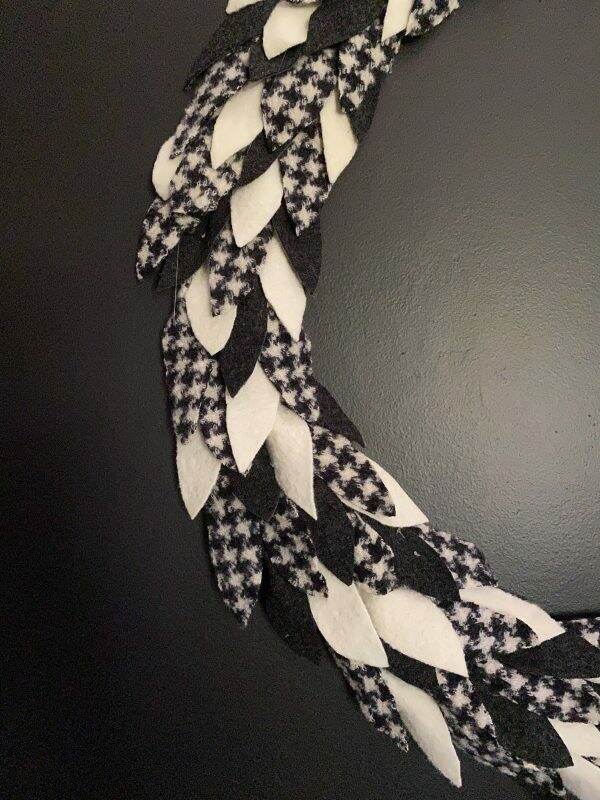
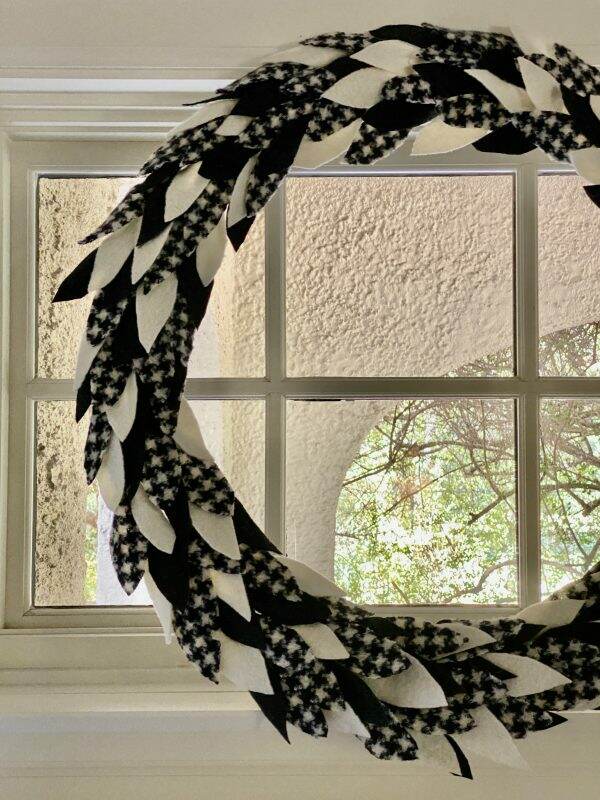
If you recall, my daughter, Julianna’s room is painted with a bold black and white theme. Here is the wreath hanging on her wall. To see more about her room with these sophisticated colors, click here.
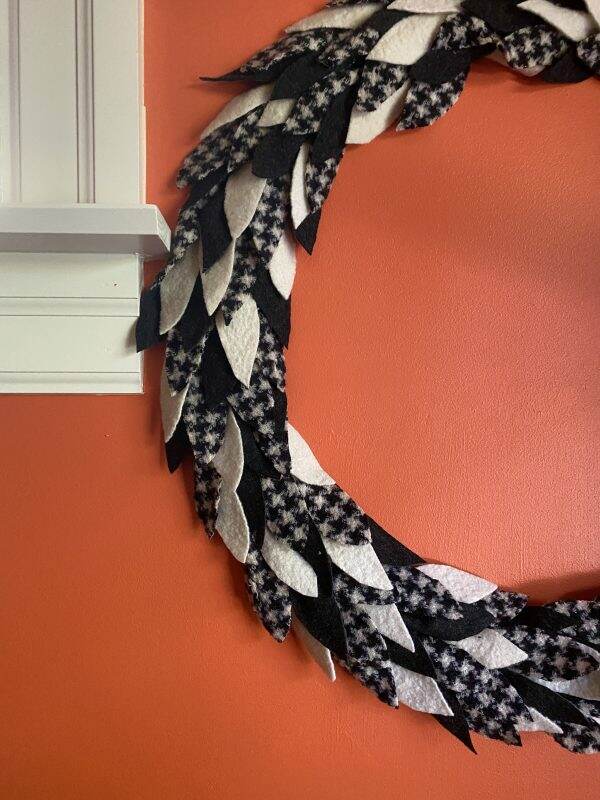
And look how fun it looks in Elisabeth’s rooms with the orange walls! Just perfect for Halloween. To see more of this fun orange and white bedroom, click here.
If you are concerned with the felt leaves flopping over, you can secure them with a bit of glue. The larger the wreath, the greater the chance of that happening.
Using a smaller wreath frame will allow you to put in on a mantel or inside a bookcase. With the 24″ wreath frame, the larger size is perfect for hanging on a wall or door.
Some things to remember:
- Try to get items that are 100% wool and with a tight weave. This prevents the edges from fraying after felting and cutting.
- Use really good scissors
- It doesn’t really matter if the leaf shapes are not exactly the same size. As you apply them to the wreath frame, they can be adjusted.
- Again, be very careful with the glue gun. Squeezing the fabric around the wire wreath frame can cause the glue to ooze out and burn your fingertips.
- Think of all the possibilities as far as color and design for this DIY!
- Smaller wreath frame will take less material.
Have a wonderful Saturday! I hope to get out and enjoy some of this beautiful weather!

If you enjoy this post, please share it on Pinterest.