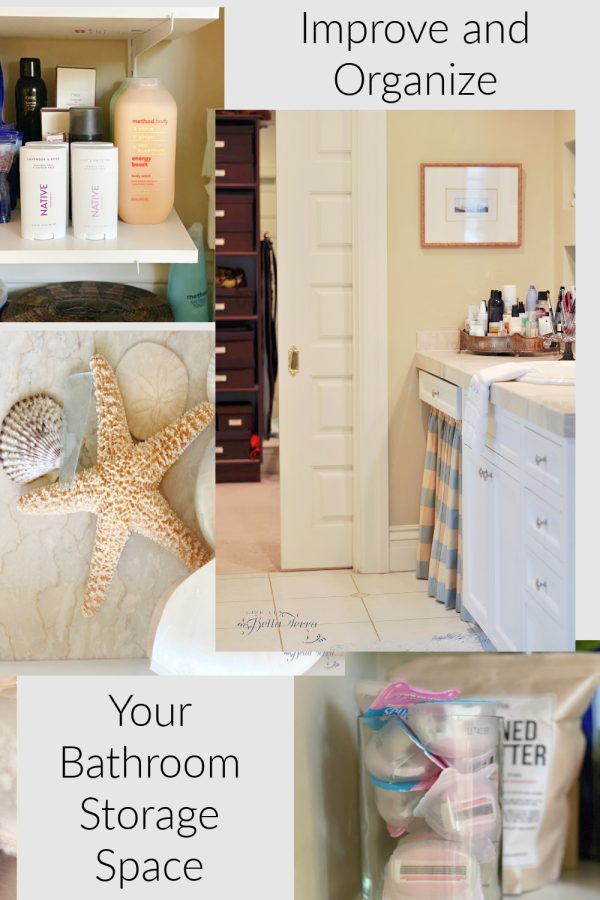
How to Improve and Organize Wasted and Messy Bathroom Storage Space
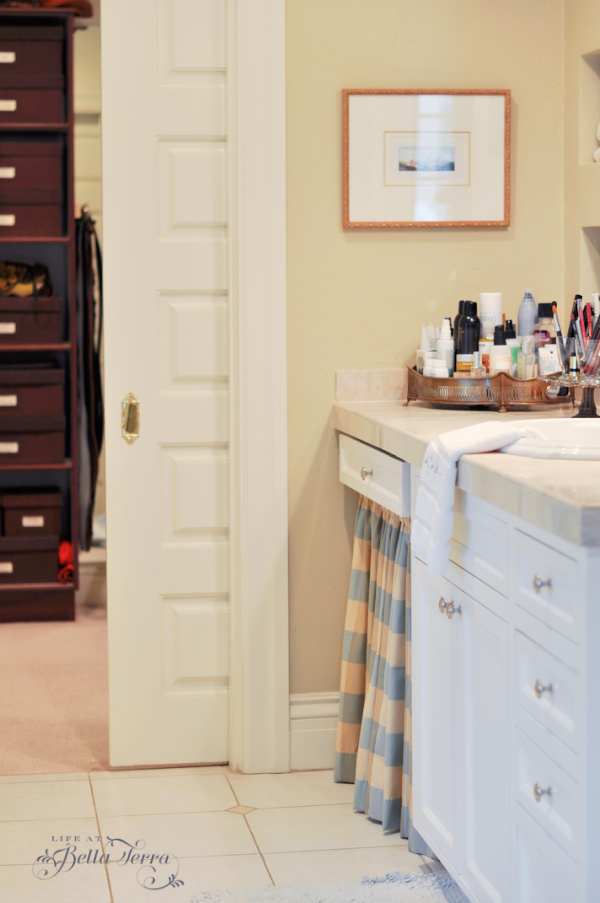
When we first designed the master bathroom, I had visions of having a special spot for make-up application near my sink vanity. I’m not sure what I was thinking, because I do not wear a lot of make-up, and if I do, the application takes about 1 minute. So for the last 22 years, I have a non-functioning skirted knee hole to the left of my sink.
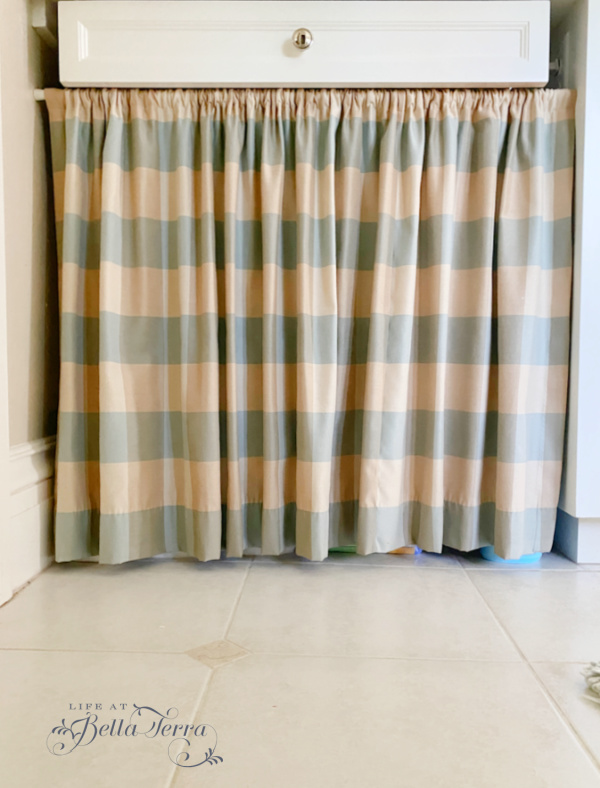
You can see it here at the far end of my vanity where the bathroom meets the master closet. I have two skirts~one for the spring/summer which is a blue/cream check and another for fall and winter. The colors of the bathroom are beach-like~sands, creams and a dusty shade of blue. To see more about our master bathroom, click here.
Over time, the original make-up section turns into the place to collect things from extra rolls of toilet paper to back up supplies of soap and shampoo. Since this space is conveniently hidden behind the curtain, no one pays attention to it.
There is a drawer above the knee hole, which is convenient for storage (but no makeup!)
The Before
Recently, we purchased a steamer and used it on all the floor tile grout. I will be writing a post about this because the results are amazing. It also gives us the chance to remove the curtain and unload all the “stuff” that has accumulated in this niche. What a dusty mess.

As you can see, there is a great deal of wasted space and once things pile up, it’s hard to see exactly what is there. The hanging wire goes to an electric toothbrush on top of the counter, where the plug is not conveniently located.
How to Organize
My first thought is to find something that is 2-tiered, to utilize the height of the space. After a trip to The Container Store, I leave empty-handed, surprised not to find anything. A lengthier search on Amazon also produces zero results.
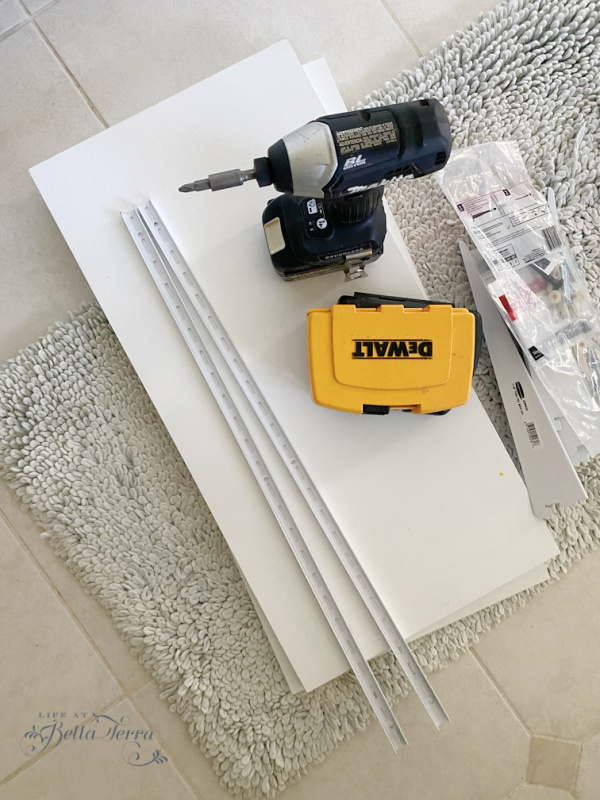
I decide to build something (yes, myself as my husband is out of town). At Home Depot, I purchase 2 white laminated shelves at 24″ long and 12″ deep, brackets and a mounting system. Armed with power tools (which are such fun to use), I start the project.
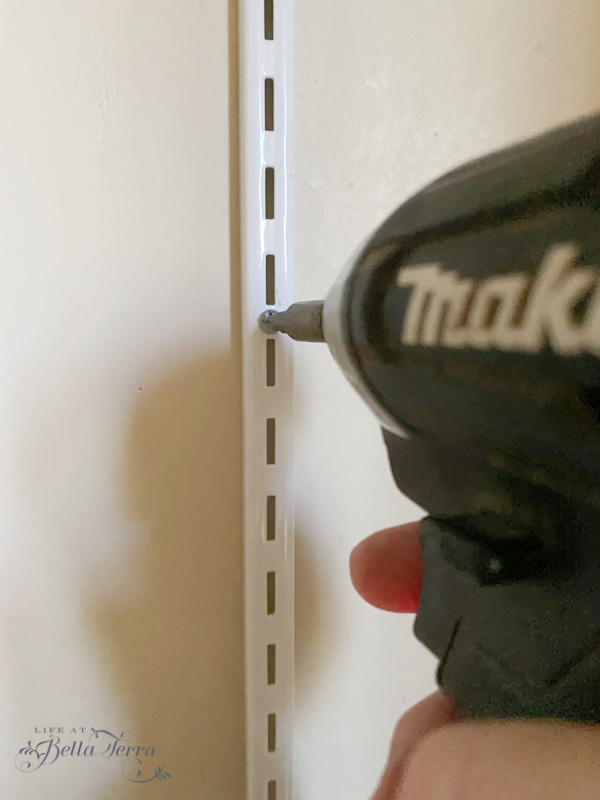
The only glitch I run into is that our walls are plaster. I need to drill a hole into the plaster first, before I can insert the screws to the mounting system.
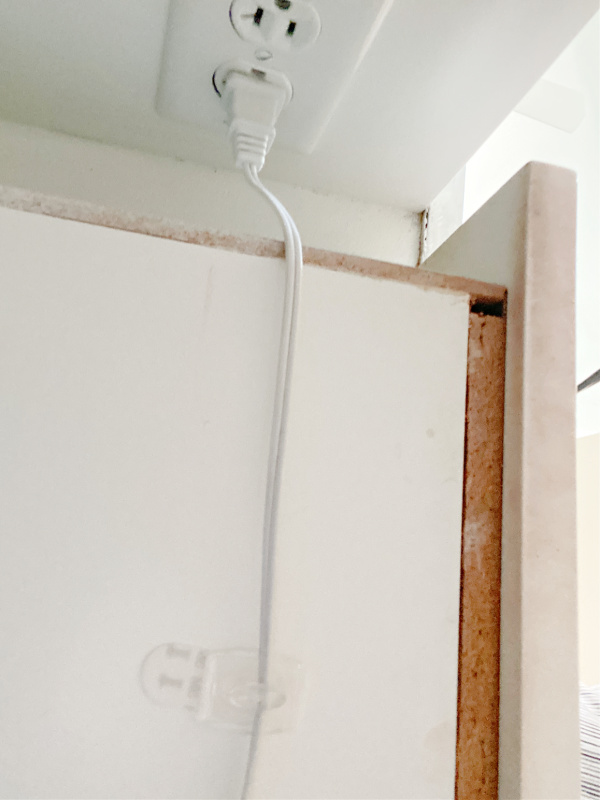
After mounting the shelves, I try to find a solution to the hanging electric toothbrush cord. On the underside of the drawer, I use clear mini Command hooks and loop the cord through them. Since I do not pull this drawer out to its full length, the attached cord should not interrupt the drawer’s operation.
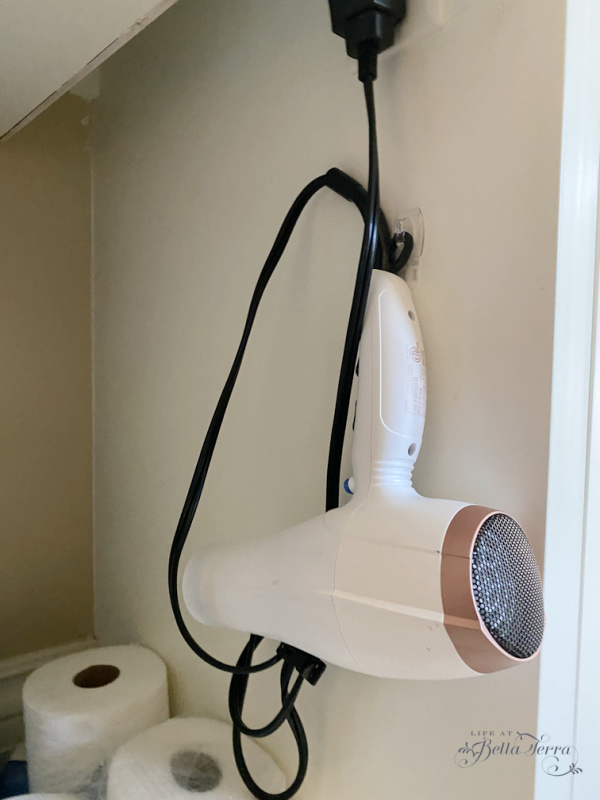
The hair dryer, which is typically inside the drawer, is now positioned to the side of the knee hole and affixed to the cabinet with another Command hook. This frees up drawer space and is still plugged in for immediate use.
The After
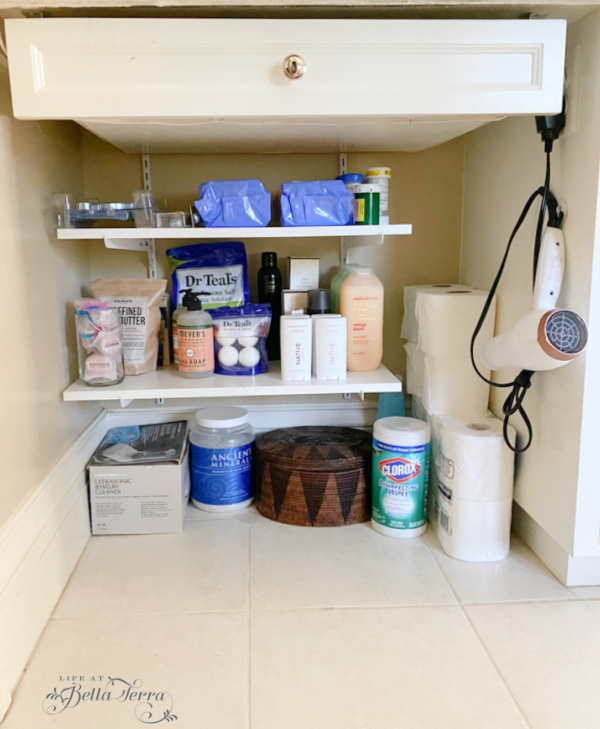
The shelves come in 24″ and 36″ lengths. Though initially, I wanted the shelves to span the width of the space, I’m glad they do not. This gives me some room for stacked toilet paper rolls and the hairdryer. Larger items, such as Epsom salts and my jewelry cleaning machine fit nicely under the first shelf.
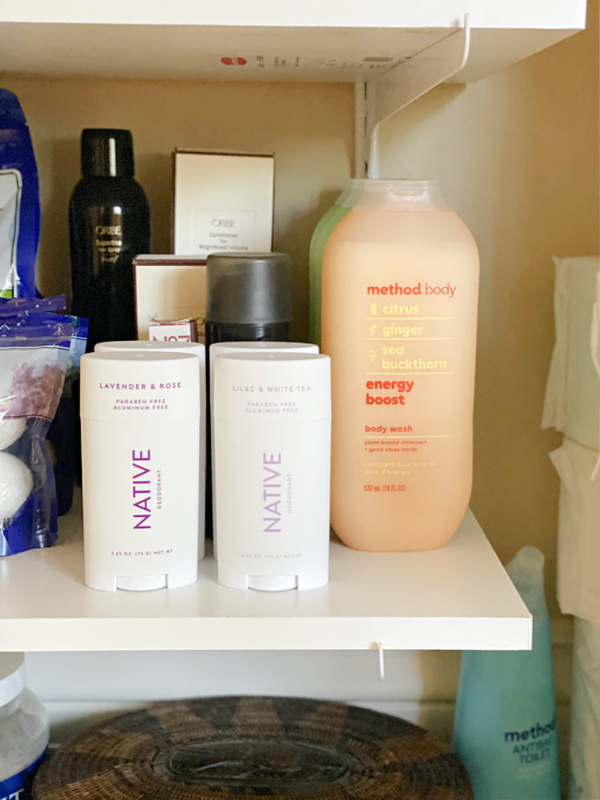
Surplus body wash, deodorant, shampoo, hairspray, bath bombs and bath salts fit nicely on the shelf. Plus I am able to clearly see what inventory I have so I am not making duplicate purchases.
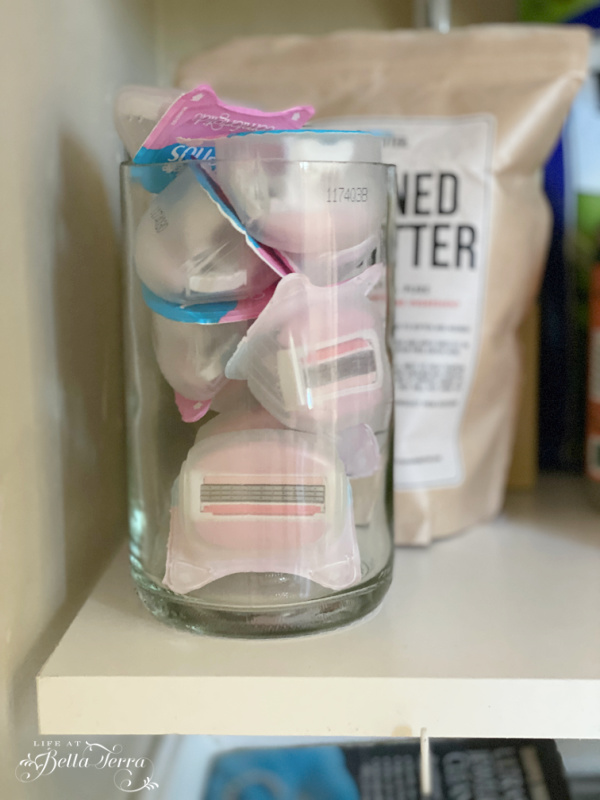
Large cardboard containers with razors and replacement heads are broken down and placed in more organizational friendly containers for easy access.
The curtain is on a spring-loaded curtain rod that hangs just below the drawer. Even though I cannot see the improved space readily, I am always happy when I reach in there to grab the hair dryer. Simple pleasures from a well-organized space.
Cost of the Project
The cost of the project is minimal:
- 2 white shelves 12″ x 24″ @ $8.98/shelf = $17.96
- 2 single track hardware packs @ $3.98 each = $ 7.96
- 4 white brackets @ $4.98 =$19.92
- 2 white single track uprights @ $4.98 = $9.96
A total investment (before tax) of $55.80. What is also nice is that IF I decide to use it as a make-up area, I can still slide a chair underneath.
I am back from Chicago and looking forward to blogging this week. Can anyone feel a change in the season yet? Just the other morning, it was 75 degrees here with low humidity and I thought I could feel autumn on its way. Hope you are well and thanks for joining me today!

If you enjoy this post, please share on Pinterest.