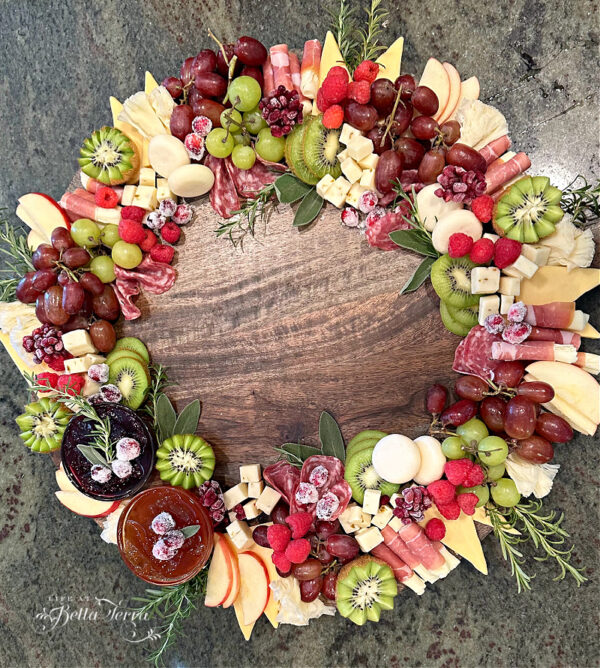
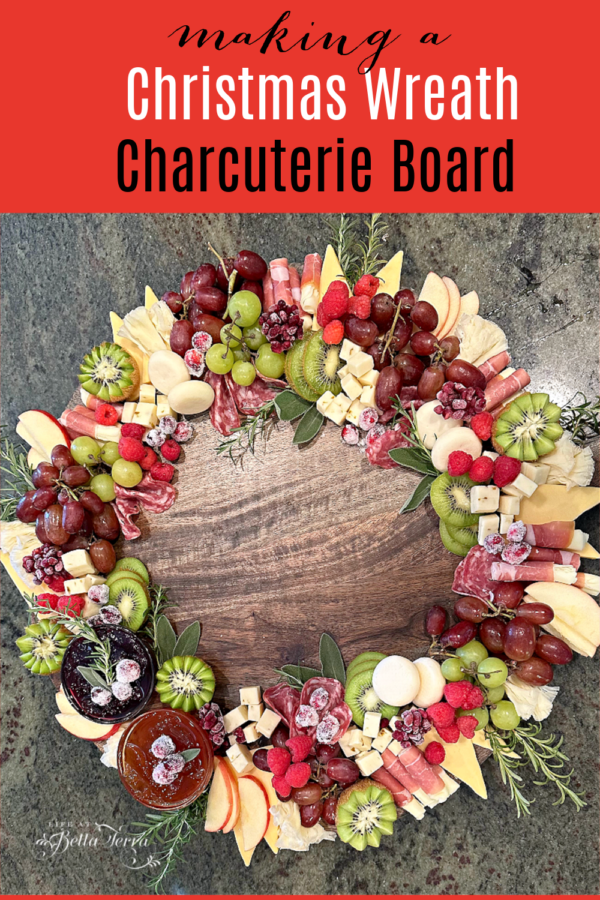
How to Make a Christmas Wreath Charcuterie Board
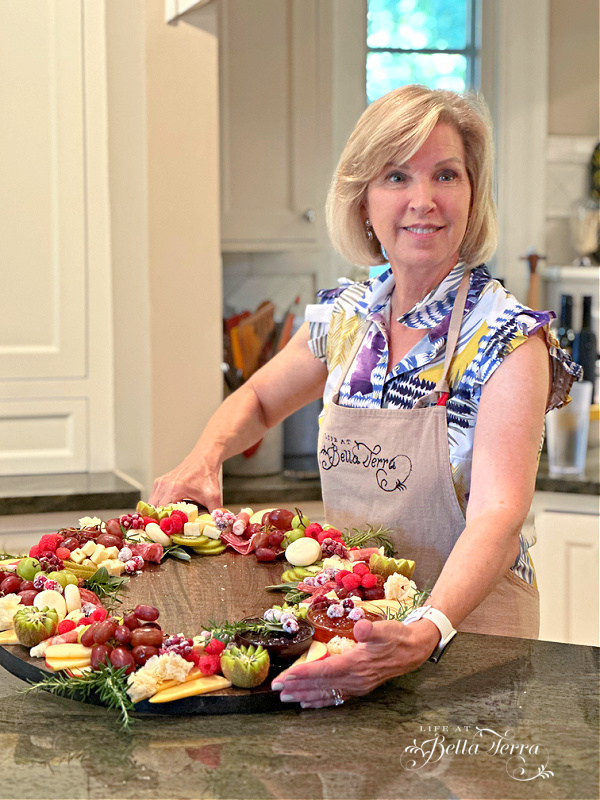
With all the holiday entertaining, it is such fun to make a wreath-themed charcuterie board for your guests. At our Fall Styling Workshop in October, this attractive and delicious appetizer is shared with our participants. Here is a step-by-step tutorial on what you need and how to arrange it.
The Base
Start with a round board. I found this 20″ Mango wood round charcuterie board from Sur La Table for $79.95, however you can find the same size on Amazon for less here.
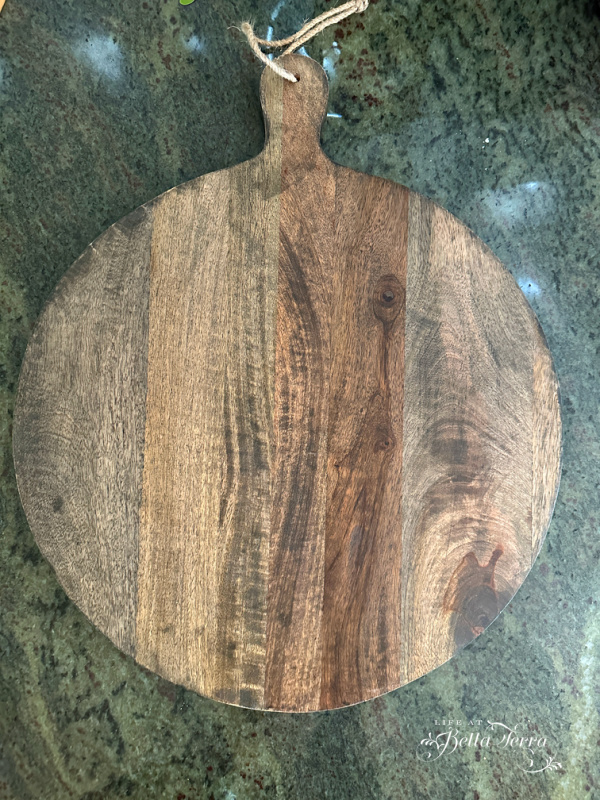
Or if you have a square board or a round platter, you can certainly create this circle of goodies too.
List of Ingredients
Naturally you can add anything that you like, but here is a list of ingredients I use for this Christmas wreath board. All these items are readily available at your local grocery store or Costco.
- 2 different jams/preserves: I use cherry and my homemade peach preserves.
- 6 sets of cheese cut in a triangle (2 slices per set)!I use gouda but other cheeses come pre-cut in this size and shape
- Green and red grape clusters
- Rolled prosciutto and provolone (which I cut into shorter pieces)
- Small Baby Bell cheese (flavor: White cheddar)
- Peppered salami slices
- Cubed Cheese~such as pepper jack
- Ruffled cheese (from Costco)
- Kiwi~cut into decorative halves and slices
- Fresh Raspberries
- Pomegranate arils-frozen in clusters
- Apple slices (5 sets of 3 slices)
- Fresh sage leaves
- Fresh rosemary
- Sugared Cranberries – see recipe below
Assembly of the Board
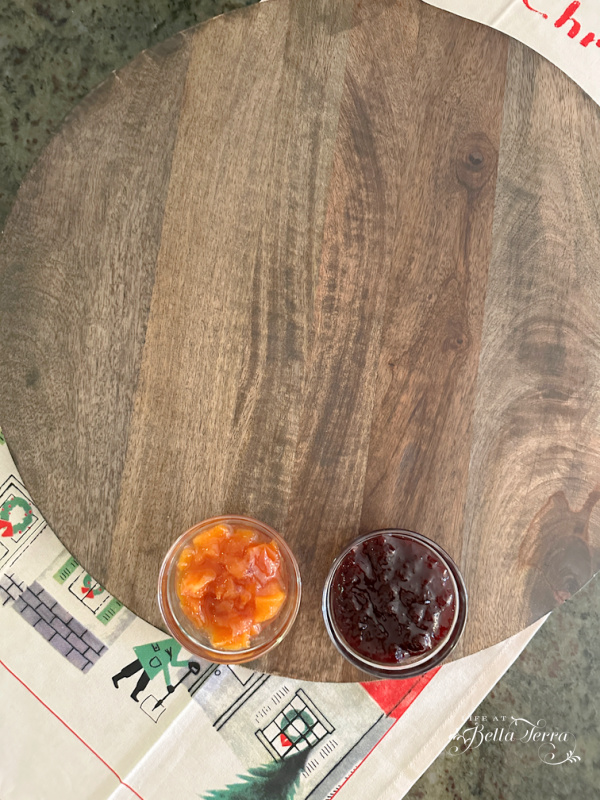
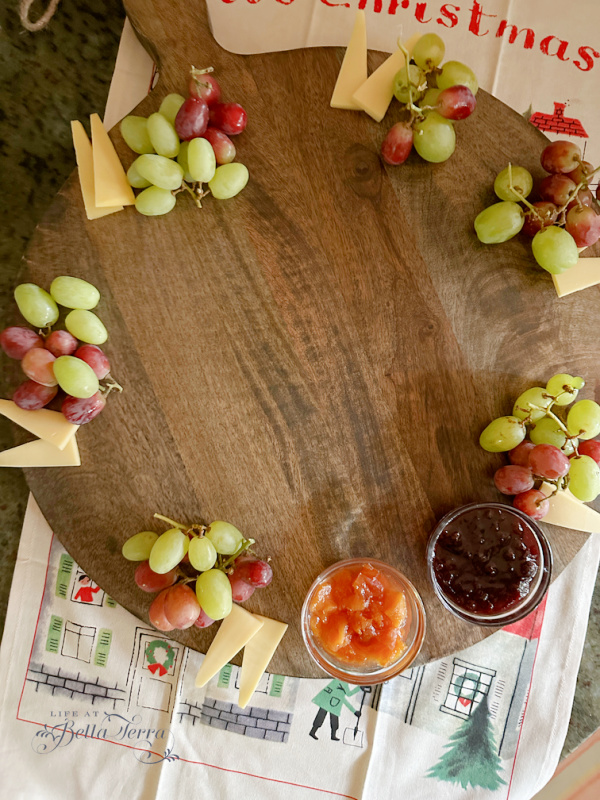
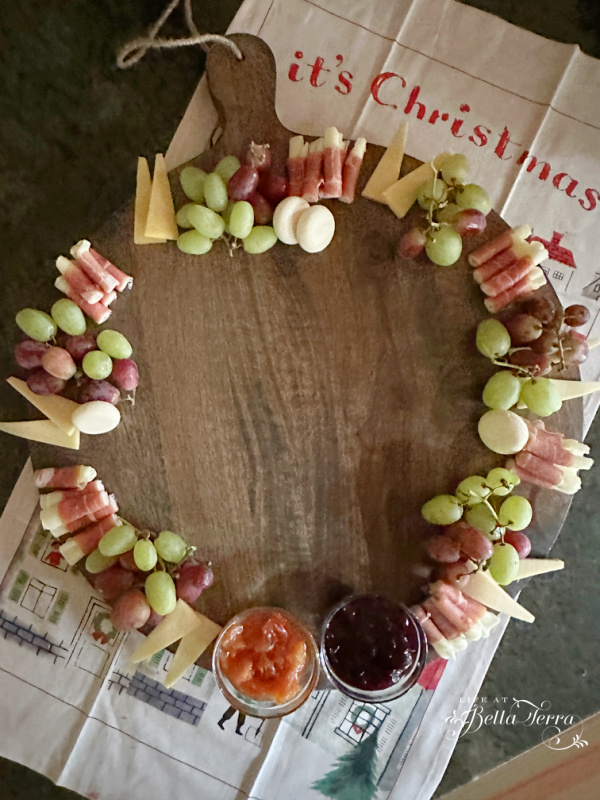
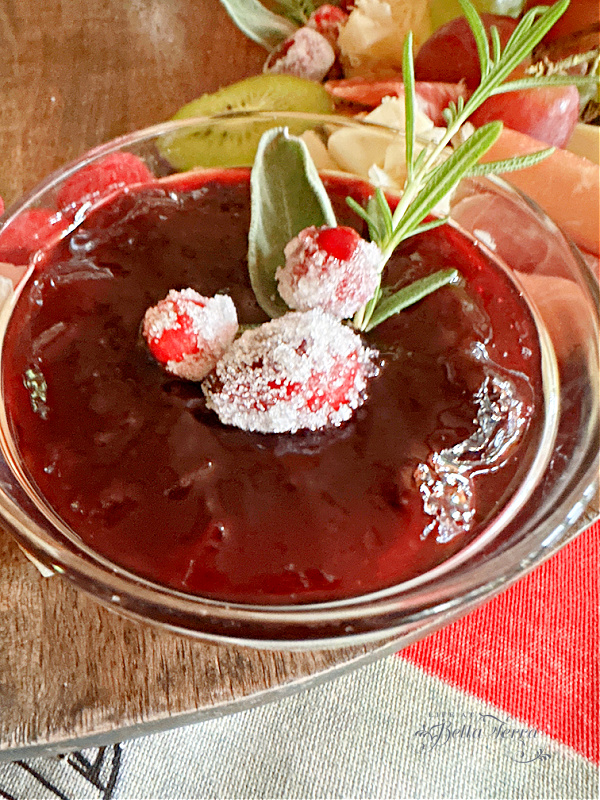
I believe the success of a charcuterie board is combining flavors, textures and shapes in a pleasing pattern. Starting with the two jams, I put them in small bowls (Duralex 4″ bowls) at one end of the board.
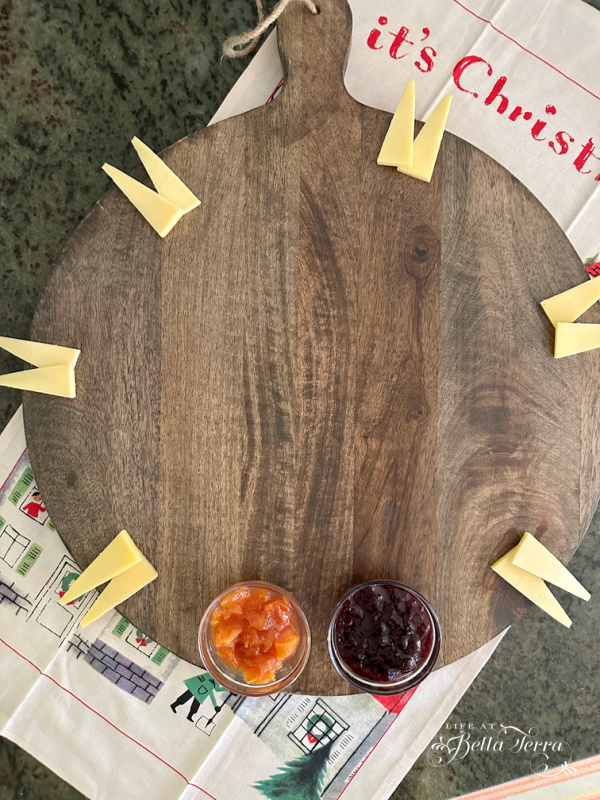
Cut a gouda wedge into triangles and arrange the triangles in 2, equally placed apart in 6 places. Think of the numbers on a clock with the jams being at 6:00 and the cheese at 4:00, 7:00, 9:00 etc. Using the cheese triangles as a guide, place clusters of both red and green grapes alongside.
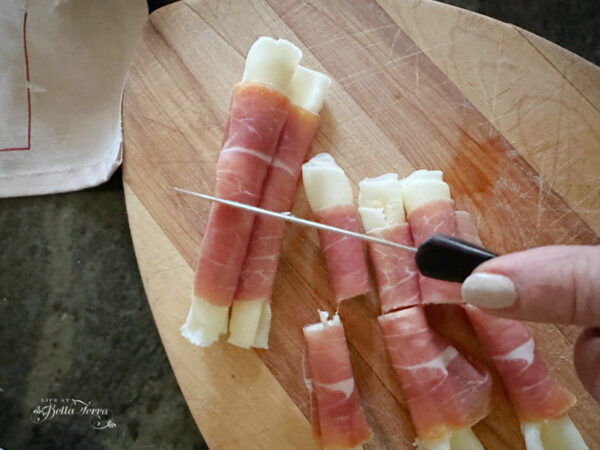
At both Costco and our local Safeway you can find prosciutto wrapped provolone. Since these are a bit long, I cut them in half~more of a bite size piece.
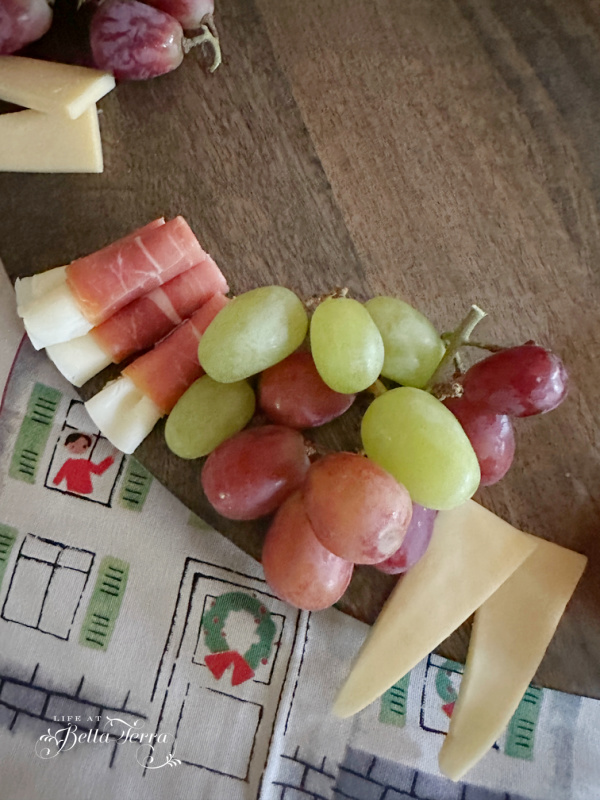
Line up 3-4 prosciutto rolls next to the grapes.
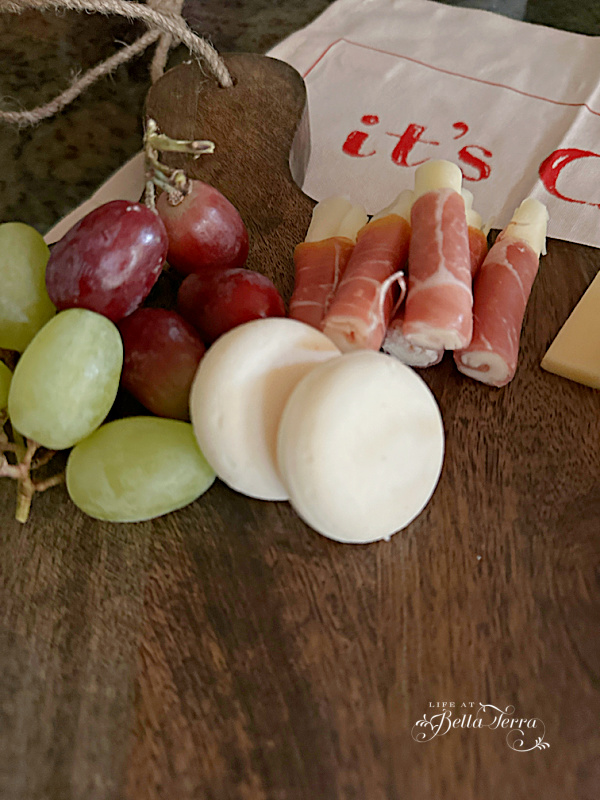
Individually wrapped Baby Bell cheese is a fun shape to include on your charcuterie board. You can use it whole or cut it in half. On my board, I use it whole. This cheese comes in multiple flavors-I use white cheddar.
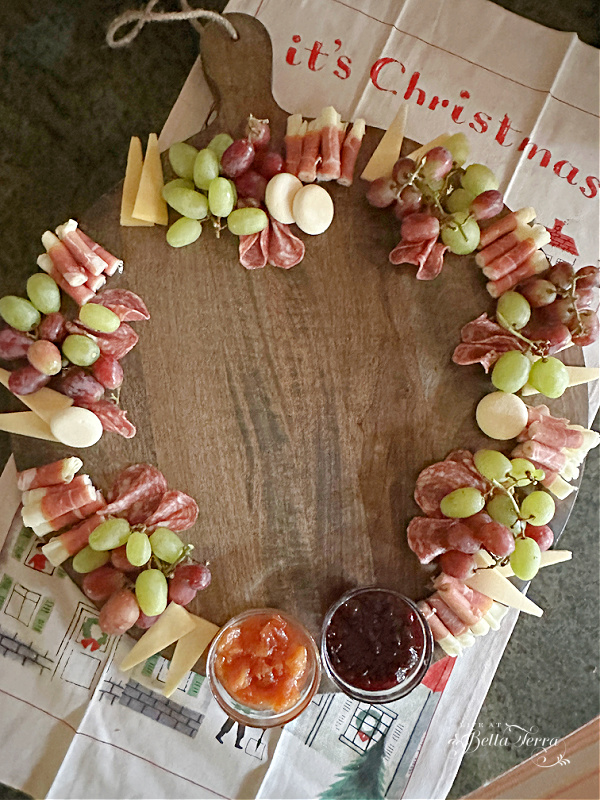
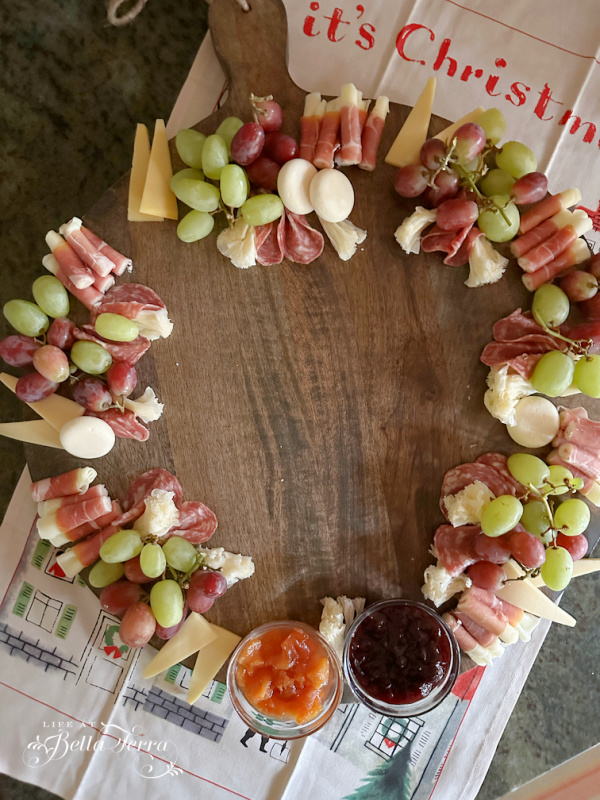
Here is our progress so far (before all the Baby Bell is added):
There are many ways to add the salami slices. You can lay flat, make a rose, or fold them in a curvy pattern.
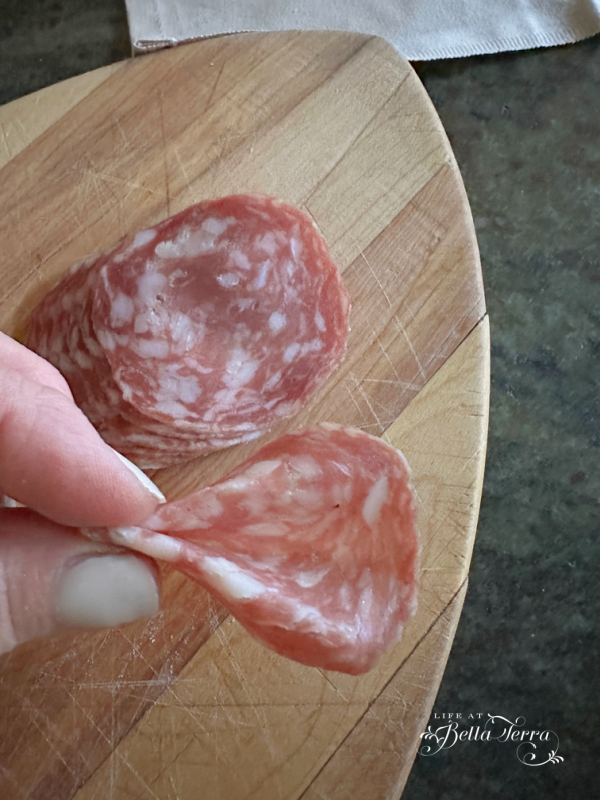
Tuck the folded salami under the grapes/prosciutto area.
I find the delicious “ruffled” cheese at Costco. Quite honestly, I have never seen this product before, but what fun to include it on a board. It’s called Tête De Moine Fromage de Bellelay.
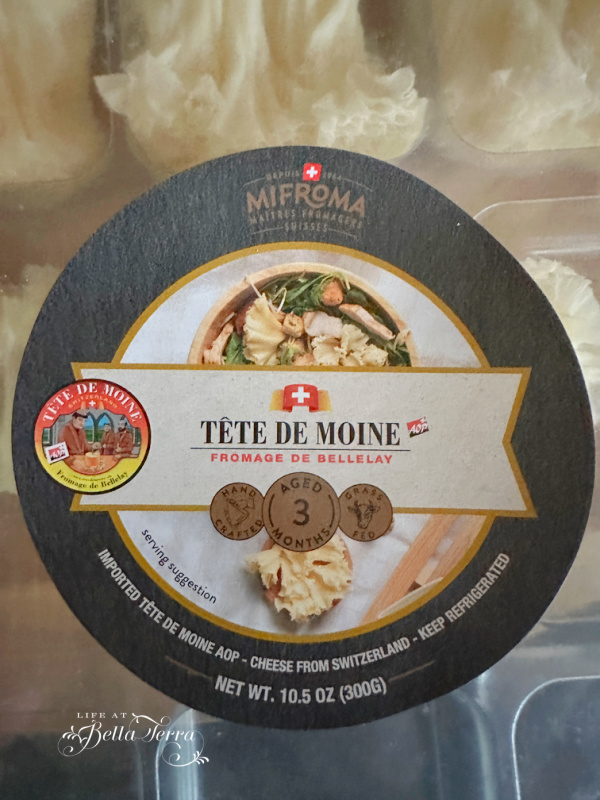
There is a YouTube video that shows how they make the ruffles from a round of cheese. So interesting and you can see it here. This is a mild, nutty and delicious cheese is made in Switzerland melts in your mouth.
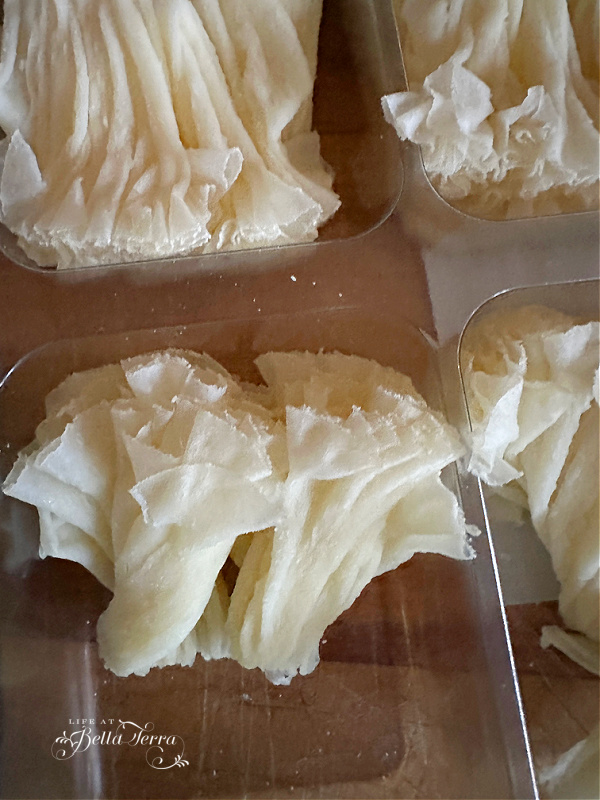
Tuck in the ruffles wherever you’d like, but I do so around the Baby bells, grapes and salami.
The cubed cheese is a great filler. In looking at the tray, it is easy to see where the gaps exist and now is the time to fill them.
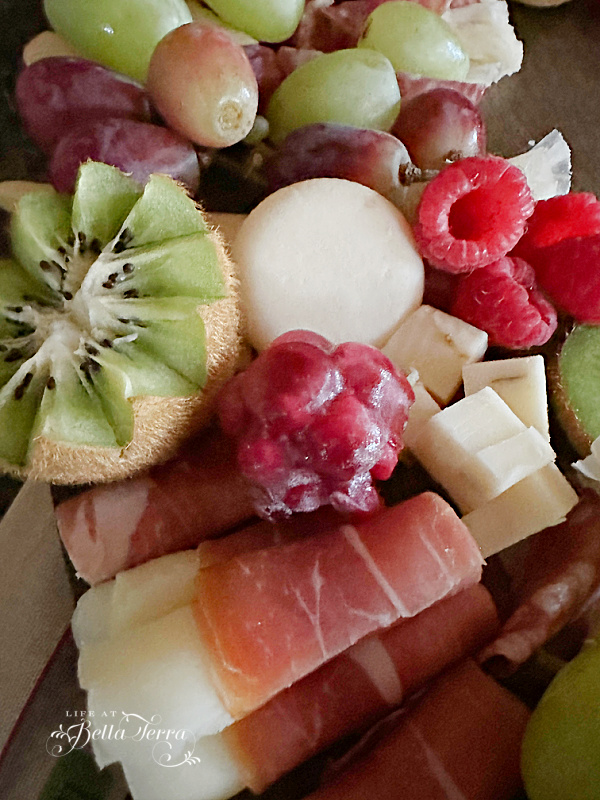
Now Add More Fruit
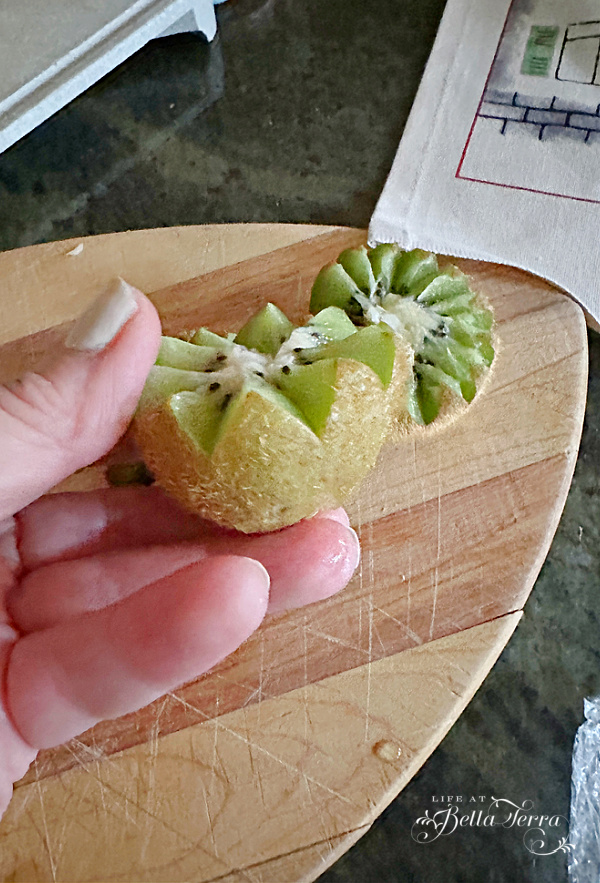
If you cut the kiwi a few different ways, it makes for an interesting display. I use a paring knife to create this zig saw shape (fairly easy) and some slices. You can see how this pretty green complements the other items.
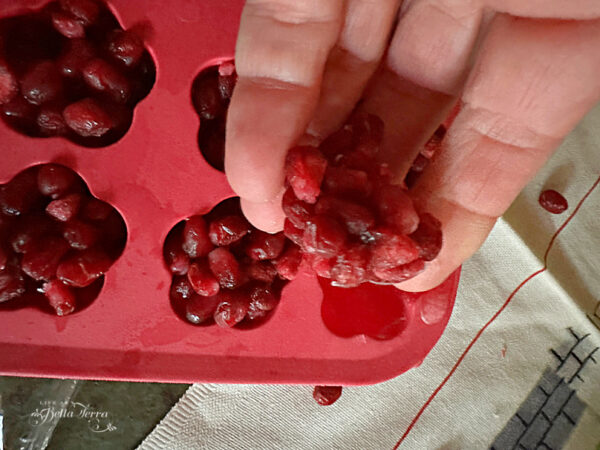
Fresh red raspberries are the perfect fruit and color to add to our charcuterie wreath. Since pomegranate arils will get a bit lost on this board, I freeze clusters of them ahead of time. This step isn’t necessary as you can just add more fresh raspberries.
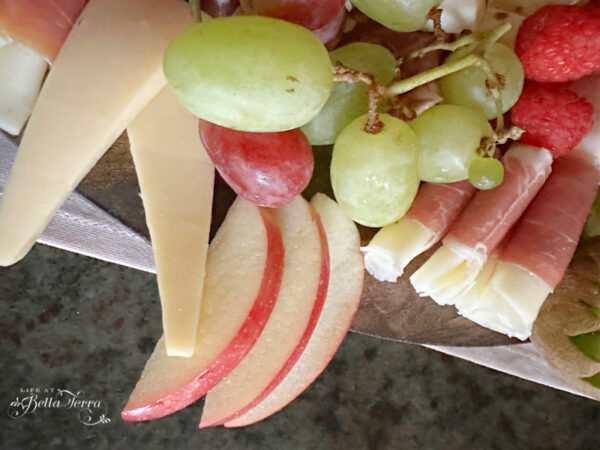
Thinly slice apples and squeeze a bit of lemon juice on them to prevent browning. Place the apples in sets of 3 slices pointing off the board near the cheese triangles.
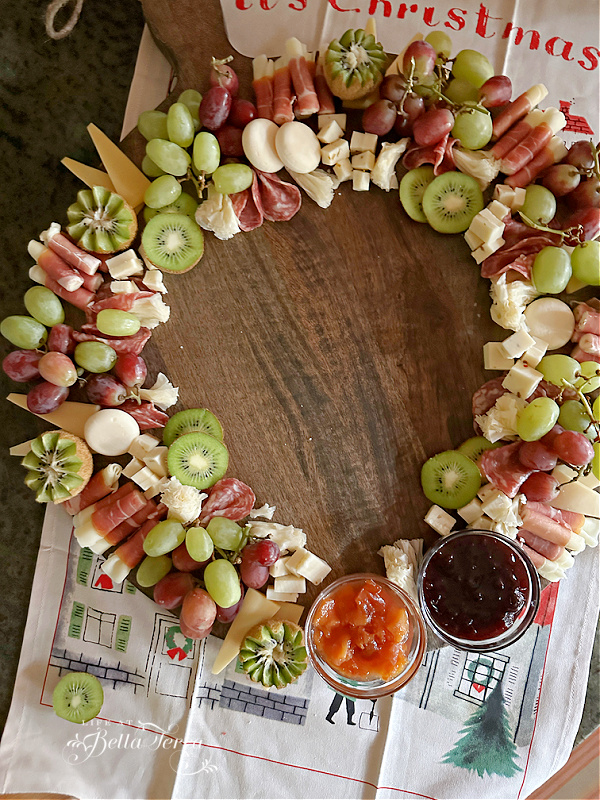
Adding the Finishing Touches
Adding fresh leaves of sage and sprigs of rosemary gives a Christmas feel to the presentation. But the pièce de resistance is sugared cranberries! My sweet friend, Chas from Chas’ Crazy Creations made these for the Fall Styling Workshop the night before. They certainly add that holiday sparkle to your appetizer. See the recipe below.
Look how the fresh herbs and cranberries elevate this! I also add some to decorate the jars of jam.

Here is a video of the board:
I hope you are inspired to try a fun, holiday themed appetizer for your family and friends!
Happy Tuesday! The house is a mess with holiday decorating boxes but I have to get busy as the week we have two events at the house. Nothing like entertaining others to get you motivated and in gear!

If you enjoy this post, please share on Pinterest.
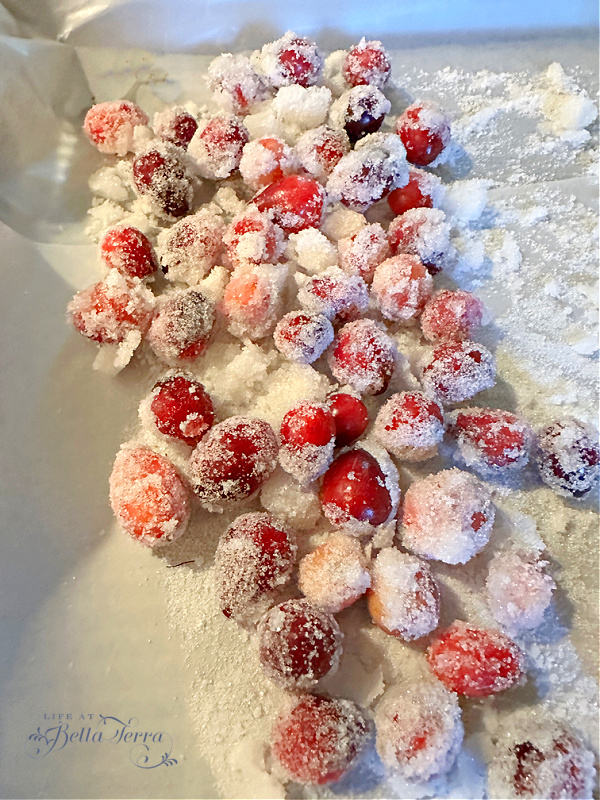
Sugared Cranberries
Sugared cranberries are such a festive garnish and easy to make with 3 ingredients
- 1 cup fresh cranberries (do not use frozen)
- 3/4 cup water
- 1-1 1/4 cups granulated sugar, divided
-
Place cranberries in a large heatproof bowl. Set aside
-
In a medium saucepan set over medium heat, bring the water and 3/4 cup of sugar to a simmer, whisking until the sugar has dissolved. Remove the pan from the heat and allow to cool for 5 minutes.
-
Line a baking sheet with parchment paper or a silicone baking mat. Using a slotted spoon, transfer the cranberries from the sugar syrup and place them on the prepared baking sheet. Allow to dry, uncovered, for 1 hour. The cranberries will be quite sticky at this point.
-
Pour remaining 1/2 cup sugar into a large bowl. Toss the cranberries in the sugar, coating them all the way around. Place the sugared cranberries on a parchment~or silicone baking mat-lined baking sheet and let them dry uncovered for at least 1 hour at room temperature.
-
Store them lightly covered at room temperature or in the refrigerator for a few days. If they start to look a little wet, toss them in a little more sugar. Do not freeze.