How to Paint Brass (or any) Lamps
I do love brass lamps but it has to be the right shade of brass. We have two not-so-pretty-color brass lamps at our cabin. Several years ago I decide to spray paint them, but I did so without any prep work or primer. Since these lamps are located outside under a covered back porch, the finish needs to stand up to the outside elements. Here is detailed tutorial on how I primed and painted two brass lamps
Prep Work is So Important!
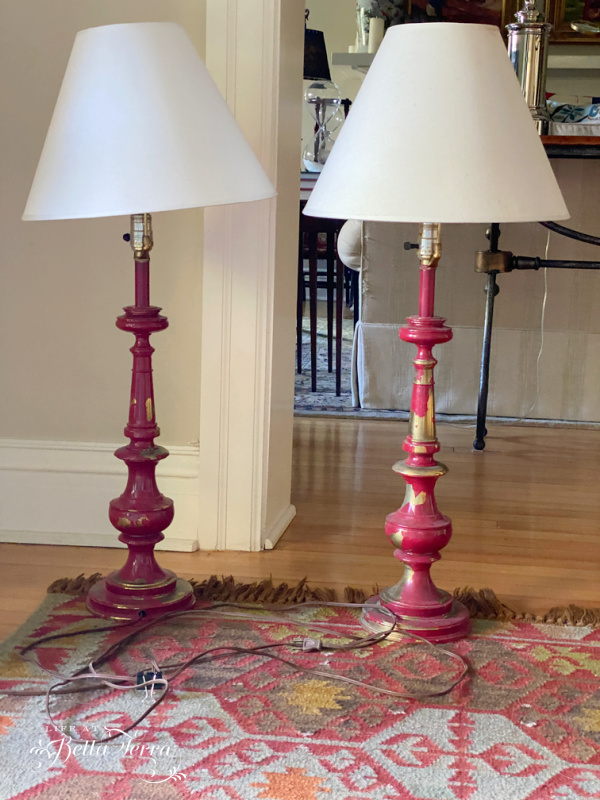
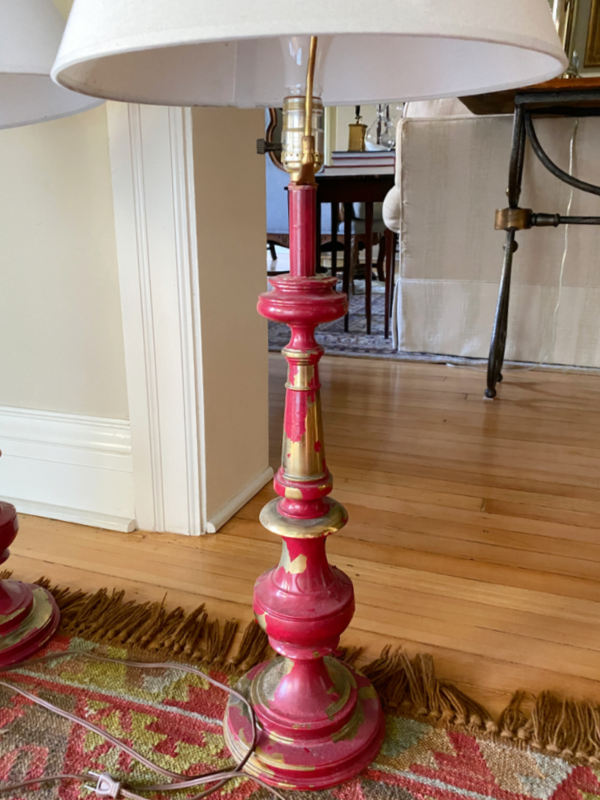
As you can see from this photo, these are two sorry looking lamps. The white shades are wrong and the Rust-o-leum paint I used is chipping off. Not sure what I was thinking when I selected this color. But it is definitely time to re-do these lamps.
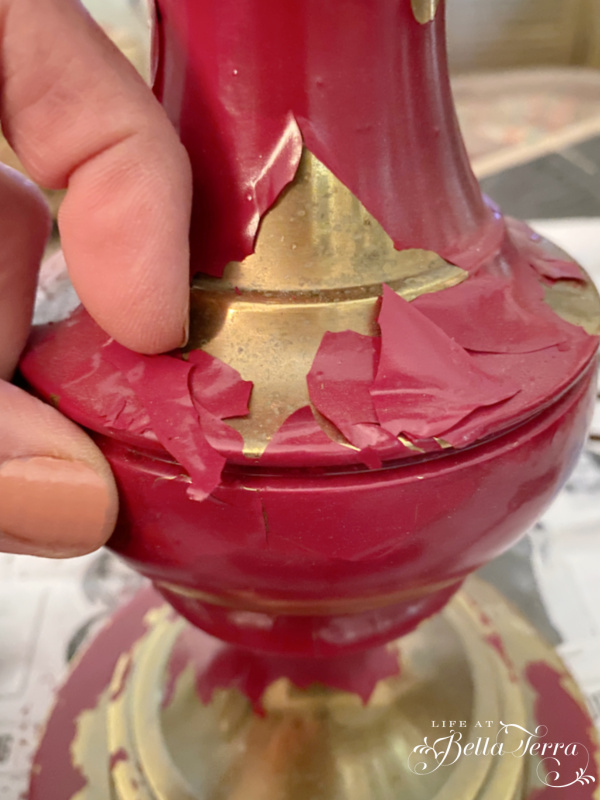
In order to have better paint adherence, you must remove all the flaky paint. Most of it falls off, but the few patches left. I use both a stiff brush and a fine grit sandpaper, as I do not want to scratch the brass surface, just remove the red paint.


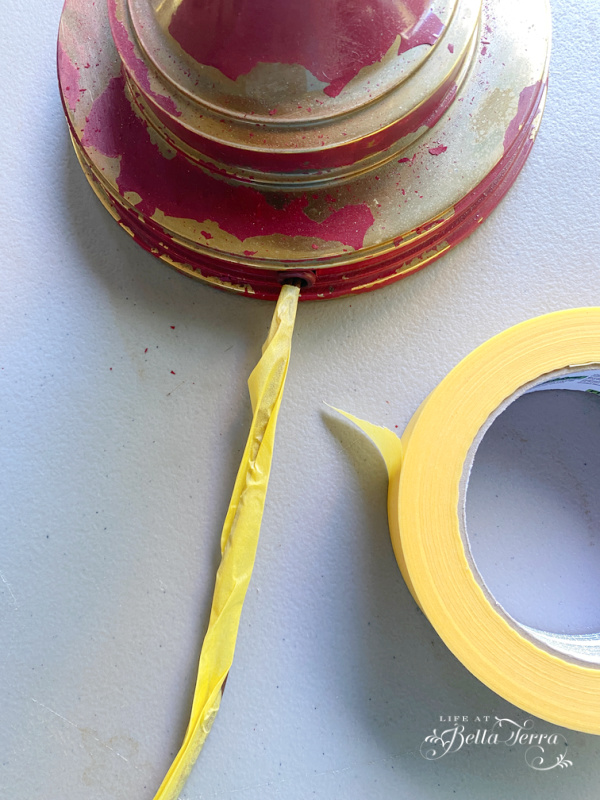
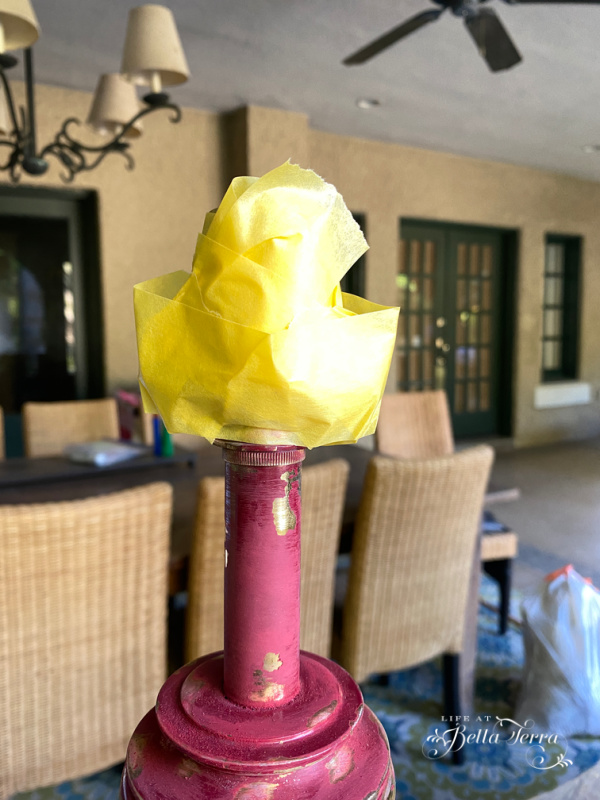
As you can see, I do not (cannot)remove ALL the red paint, but try and make sure there are no hard edges or ridges. Next is taping over all the parts that you do not want to paint. In this case, I am using Frogtape for delicate surfaces.
Use a Primer Paint
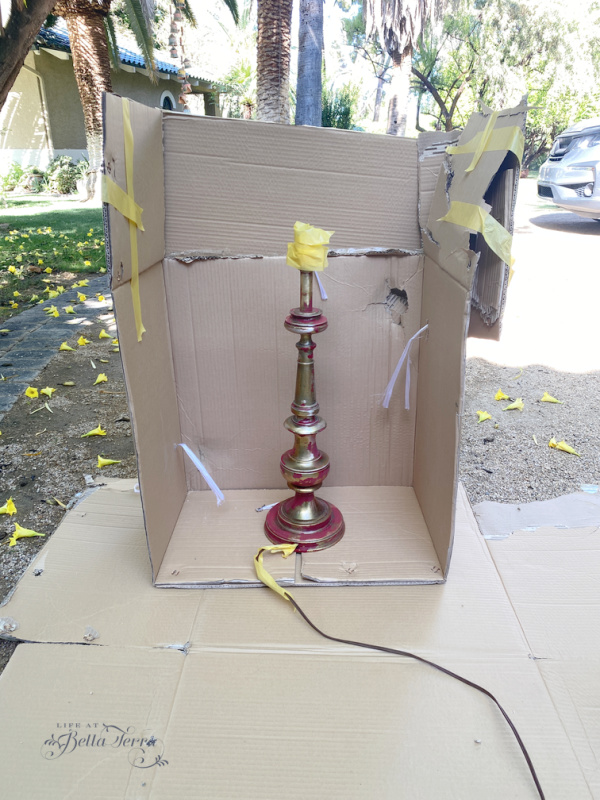
Since I tend to be a messy DIYer, I create a painting containment structure out of a cardboard box. Before painting starts, I put on disposable gloves, a face mask and protective eye wear. When using spray paint, the fumes and paint particles or dust are significant and you want to protect your lungs, eyes and skin from the overspray.
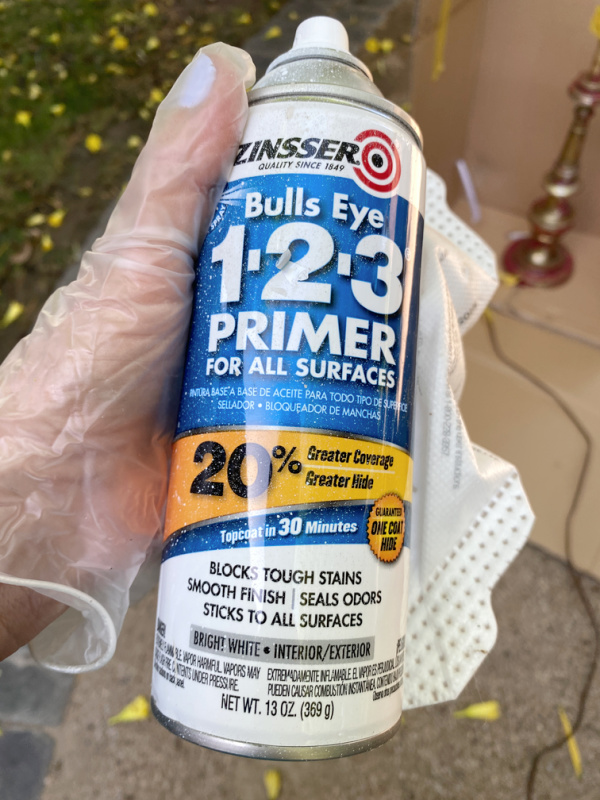
Using Zinsser Bulls Eye 1-2-3 primer spray paint, I spray all areas of the lamp, making sure I reach all the underneath places too.
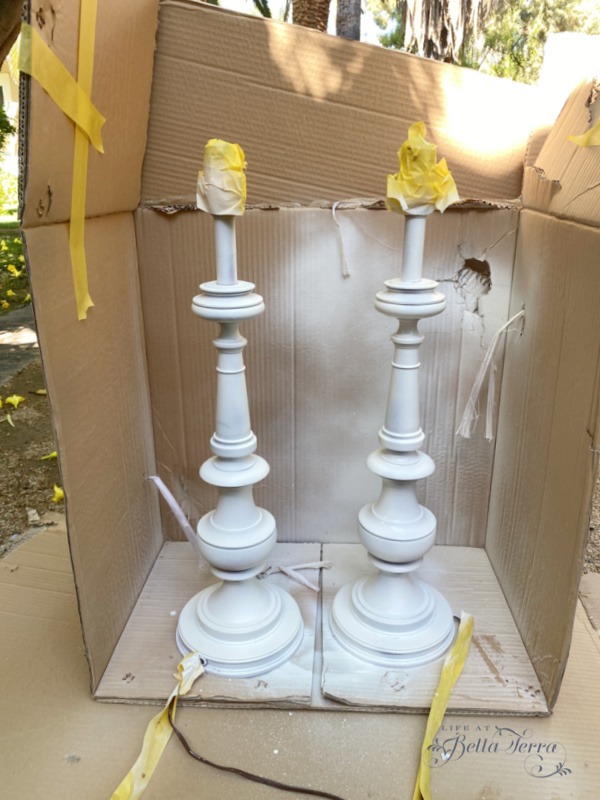
The lamps look noticeably better just after the one coat of primer. Here you can see the pretty details, which were lost with the red paint color. Let the primer dry according to manufacturer’s instructions.
Selecting the Right Color
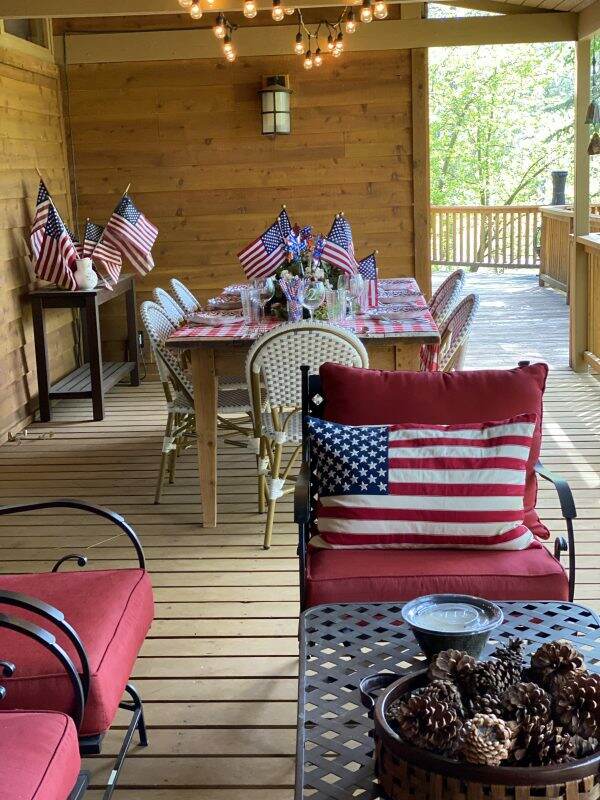
Since the lamps will be at our cabin on the back porch, the surrounding environment is a bit rustic. The cabin is cedar planked, complimenting the nature shade of the adjacent Ponderosa pine forest. In choosing a new color for the lamps, I am keeping this back porch in mind.
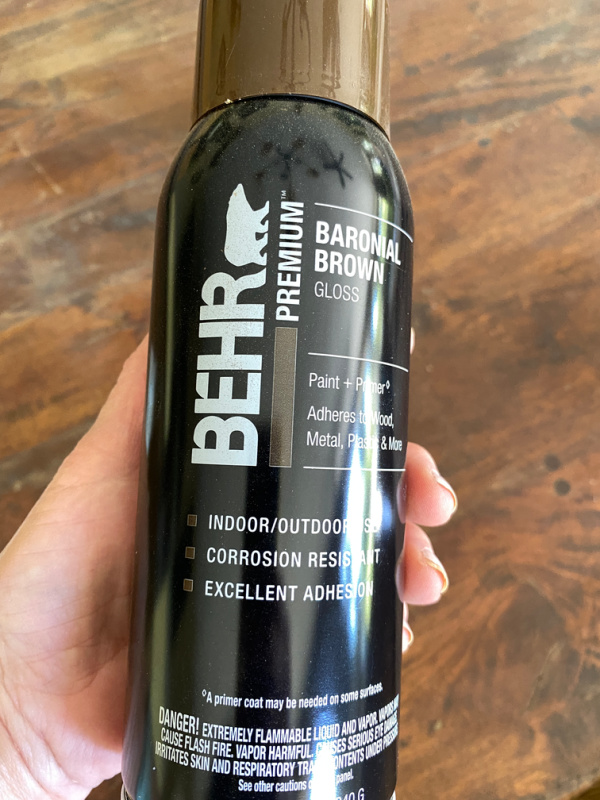
For me, selecting the right paint color is the most difficult part of this DIY. I select Behr Premium Baronial Brown in gloss and keep my fingers crossed.
Adding a Custom Touch
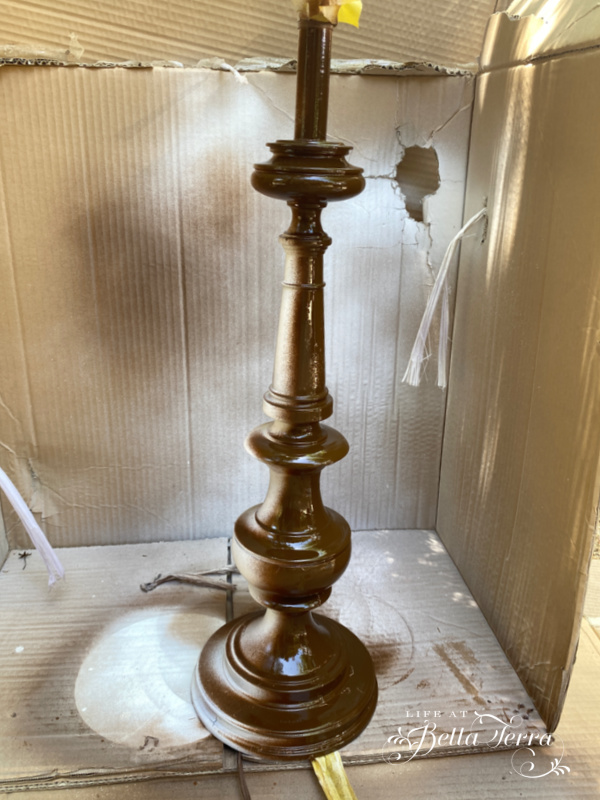
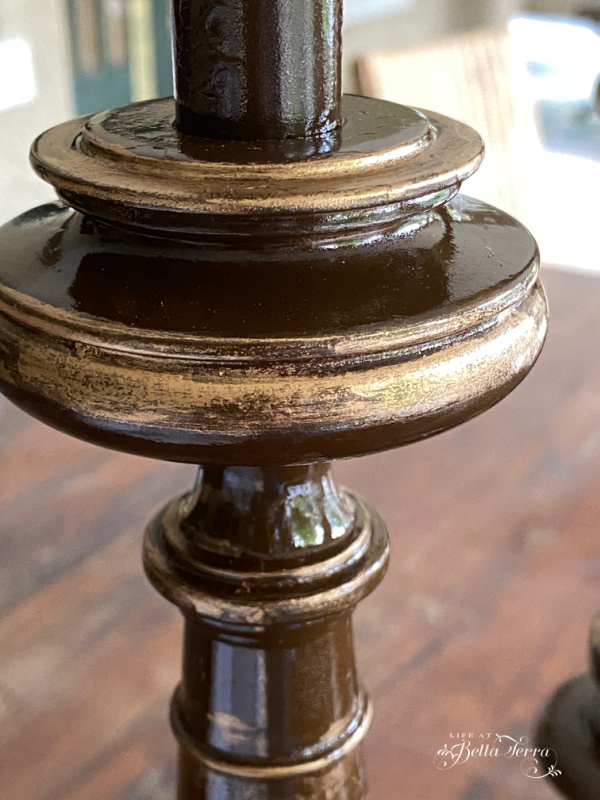
Fortunately the lamps need only one coat, which is good because I did use one full can of spray paint to cover both lamps. With just the brown paint, the lamps feel a bit boring to me, so I dig out an old tube of Rub ‘n Buff in Antique Gold.

Using a very small amount on an old rag, I rub this wax metallic finish into some of the lamp’s details. Again, I would suggest using latex or gloves to prevent this substance getting on your hands. There is a bit of breath holding as I rub this in, because once on the paint, it doesn’t really rub out. If this is your first time using this product, go sparingly as you can always add more later. A little goes a long way.
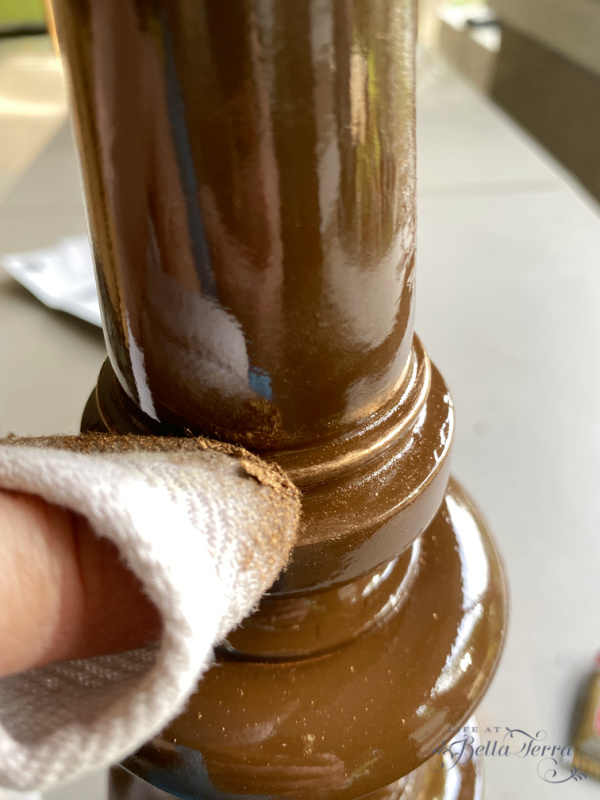
The question is how much is too much? I apply this in small amounts, step back, assess and finally reach the point where I believe I am finished.
Choosing the Right Lamp Shade
Oh how I struggle here. Not wanting the white linen shades any more, should I try and cover them? I debate using burlap; I search the internet for rattan or wicker shades. After having this internal discussion for far too long, I look for new shades. Boy, and can they be expensive!
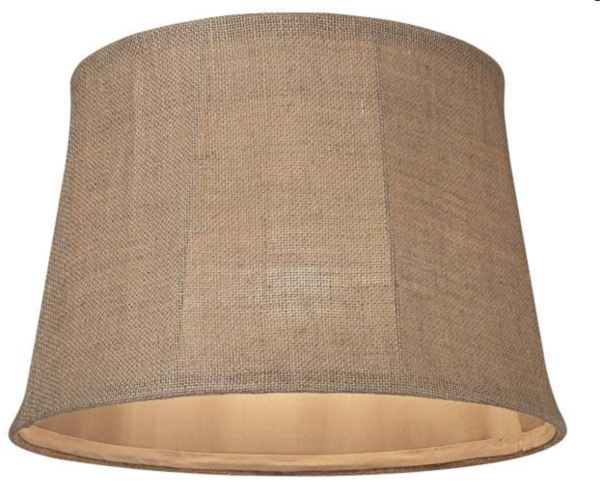
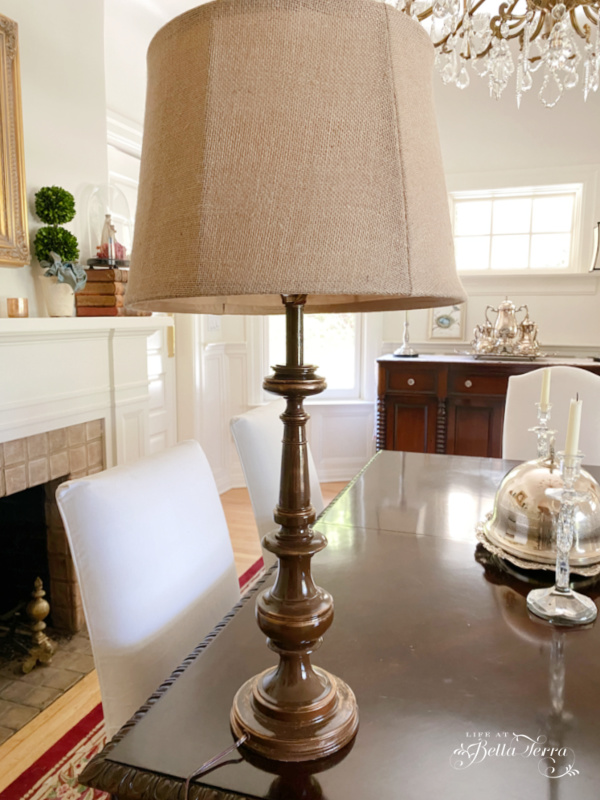
I finally find a set of shade at Lamps Plus (online), and take the leap. Two natural burlap large drum lamp shades are the answer at $44.99 each. They arrive in less than 4 days (how do they do that?) and I am happy to report, they look terrific.
Do you know how to determine the right size for a lamp shade? The shade should be twice as wide as the lamp base, and one third of the total height of the lamp. My drum shade is a bit wider than the base, but if I went down a size, then it would be too small. I’d rather err on the larger size.
We are heading up to our cabin this week and I am so excited to see how these “new” lamps look in the back porch. I will take pictures and share with you on Saturday.
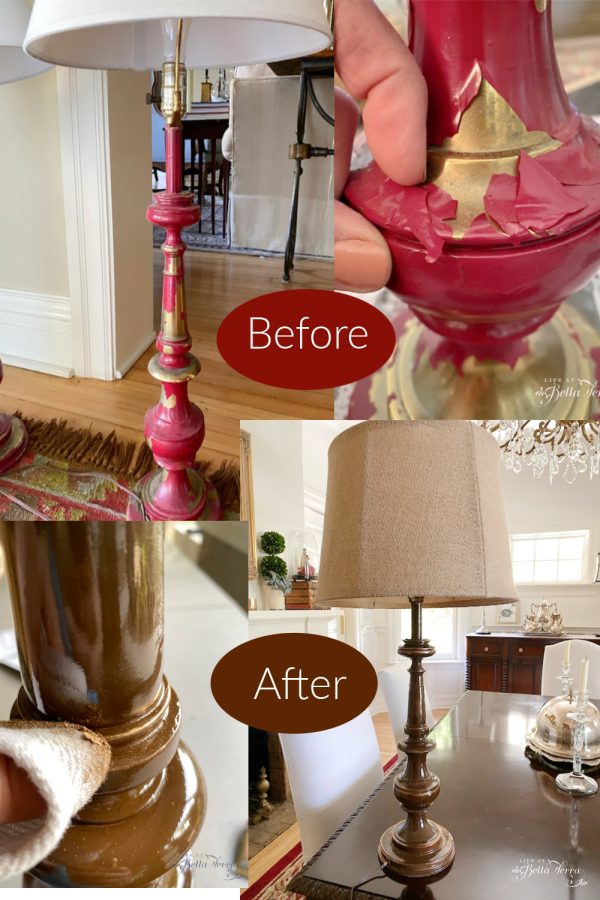
Before and After
So, from this:
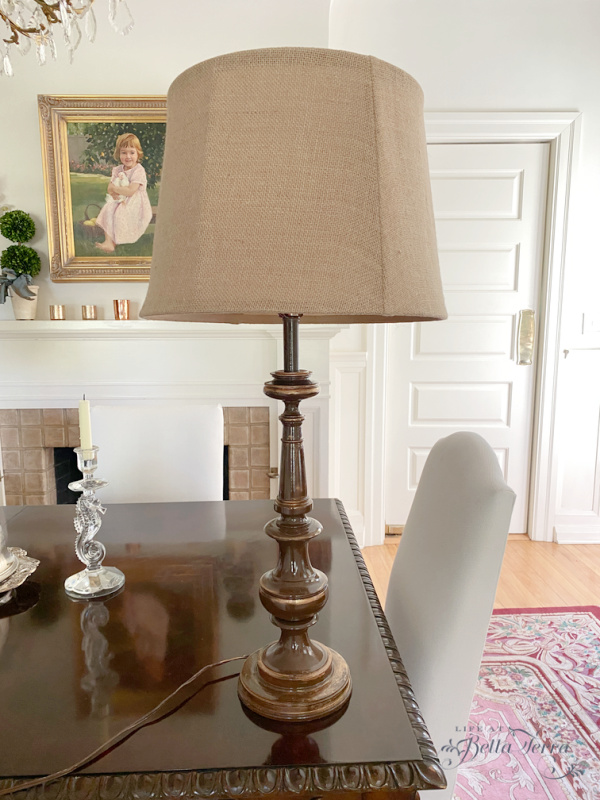
To this:
I am happy to salvage these lamps and look forward to many evenings out on the cabin’s back porch with family and friends.
Happy Wednesday and I hope you are staying cool wherever you are!

If you enjoy this post, please share on Pinterest. Thank you.