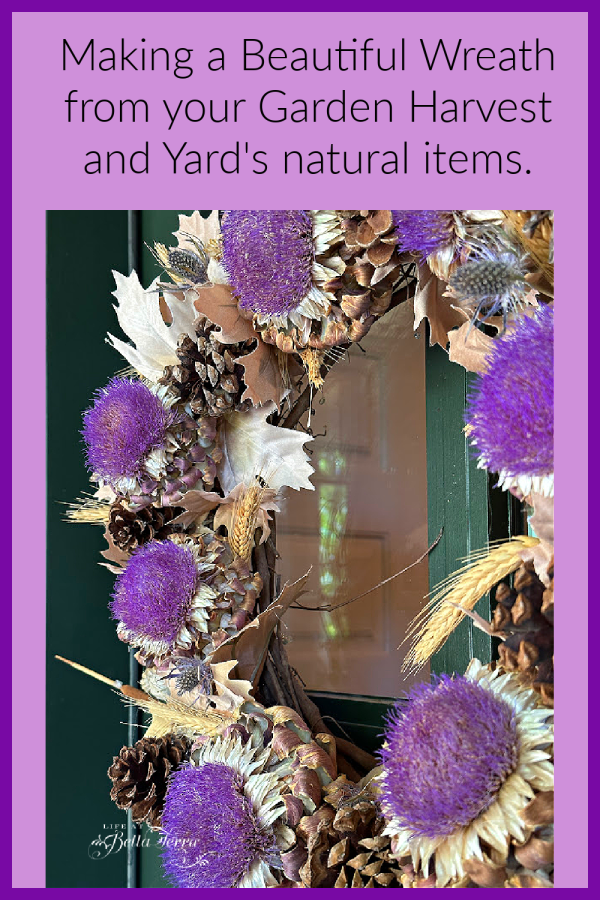
Making a Harvest Wreath from Your Garden
This year, I did save some of my garden produce and flowers in order to make a Harvest Wreath. The autumn represents the end of the growing season in most areas. Even though, here, we start our gardens in the fall, most of the summer plants have gone to seed or have been harvested. If you have never made a wreath from dried materials, it’s a simple and affordable way to celebrate this time of year.
Wreath Base
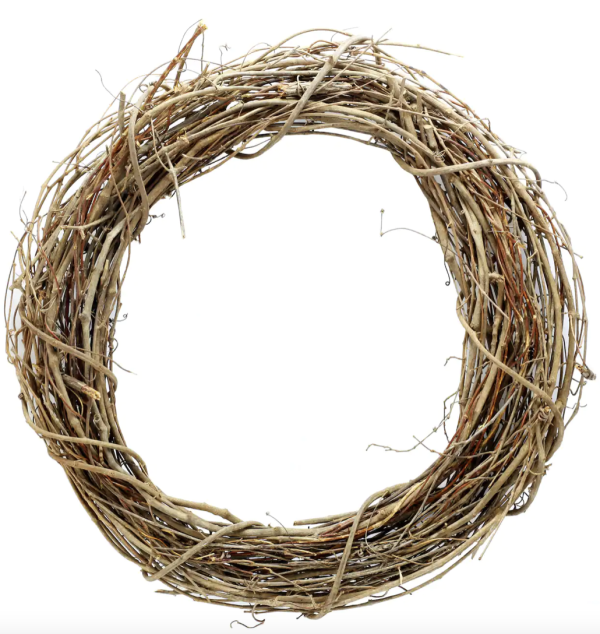
Michaels is currently having great bargain pricing on wreath frames. This 18″ grapevine wreath is only $5.99 and it is the base I choose for my Harvest wreath. I tried finding this price on Amazon, but it’s quite a bit more.
Wreath Materials
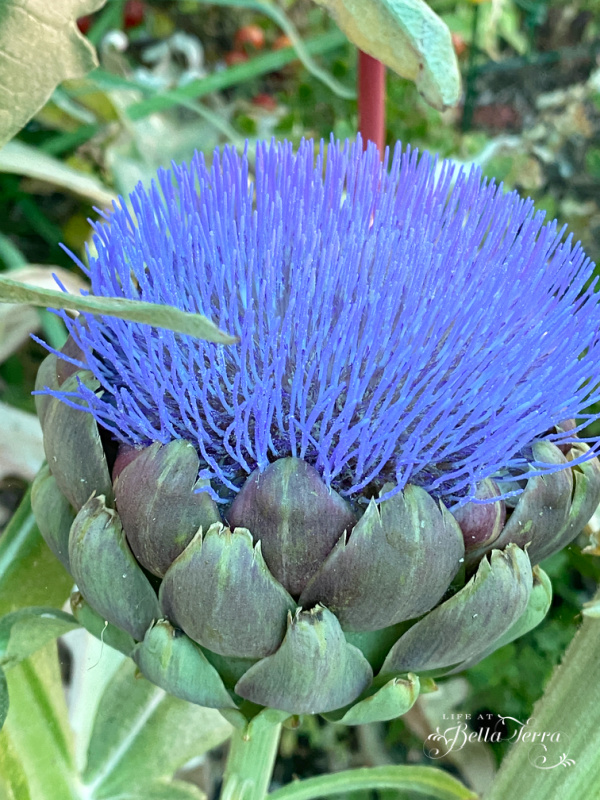
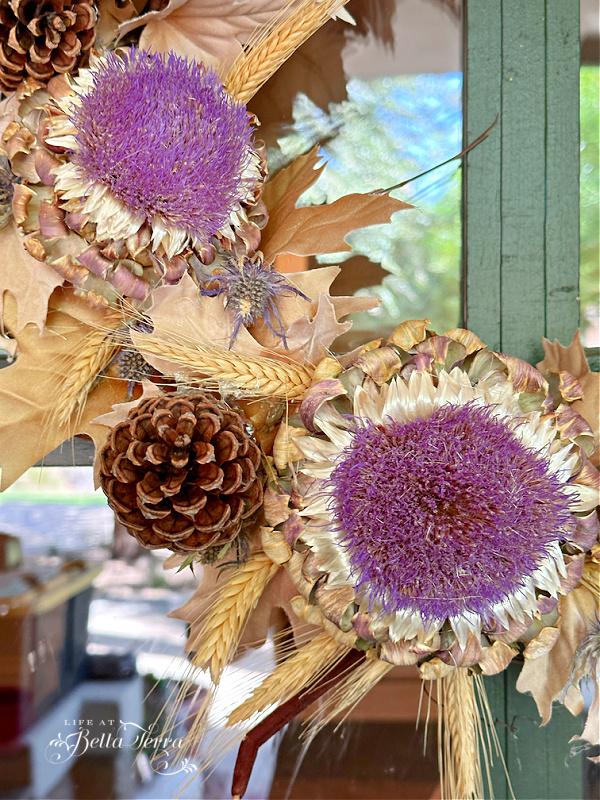
I love growing artichokes for eating but did you know they are beautiful after they go to seed? Their brilliant purple “crew cut” is very fun to touch. I always let a few stay on the plant and dry them for later projects.
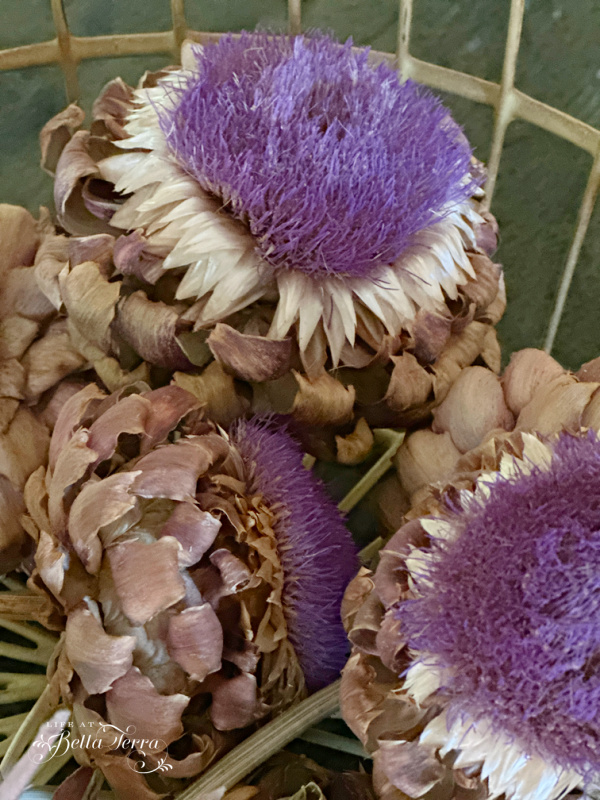
Here is what this artichoke looks like once it has dried.
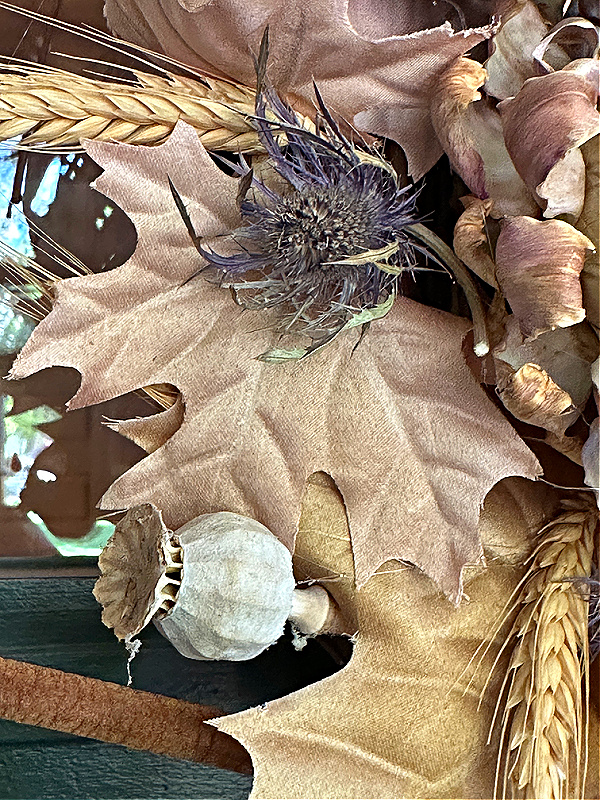
Remember my spring poppies? Here are the pods that remain after the blossoms are gone. Vents appear at the top and when the plant leans over, all the poppy seeds fall to the ground for next year’s flowers.
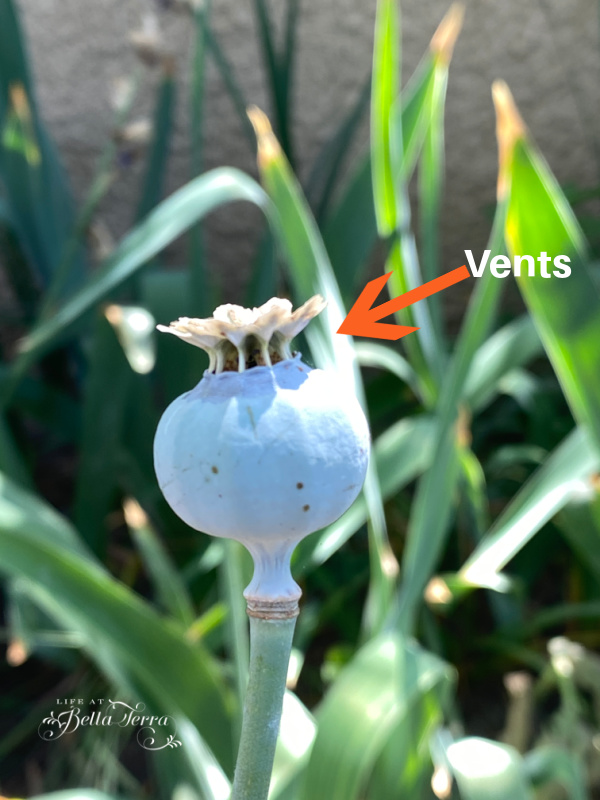
The dried pods looks like this and are perfect to add to a wreath.

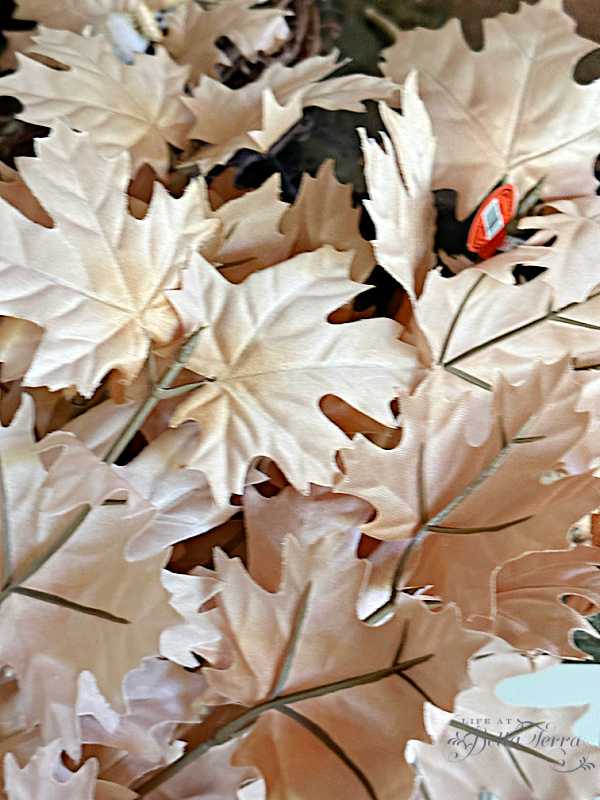
Any faux fall leaves will work depending on how much color you want or need to add to the wreath. I will use neutral or light brown maple leaves like this~purchased at Hobby Lobby, but you can find similar online or at Michaels.
Wheat sheaves, cattails, pinecones and dried thistle are a few fall items you can also add.
Other Items Needed
- Wire cutters
- Glue Gun
- Bowl of Ice water
Assembling the Wreath
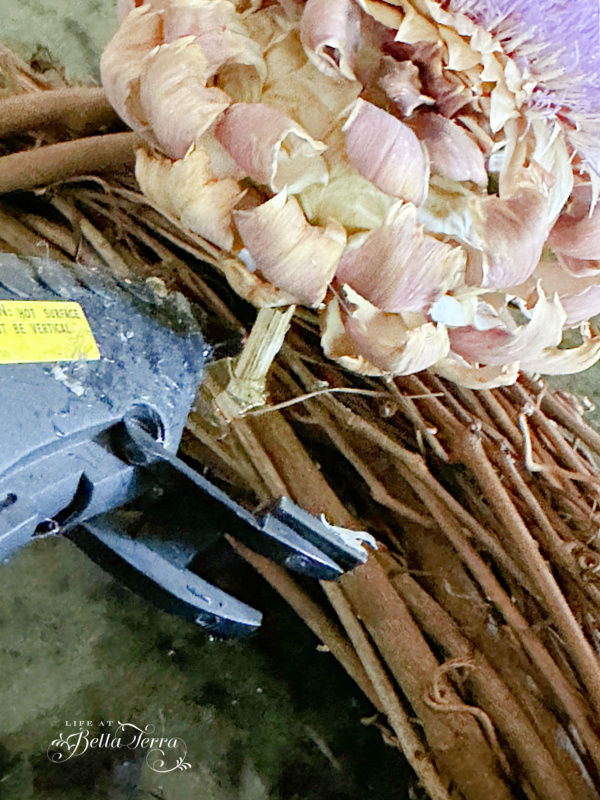
For this diameter wreath, I will use 7 (I like odd numbers) dried artichokes. Attach the base of the flower to the wreath with a glue gun. One of my subscribers suggests keeping a bowl of ice water nearby as it is easy to get the hot gun glue on your fingers (ouch!). A very great and helpful tip.
Using a wire cutter, cut the light brown maple leaves from their stems.

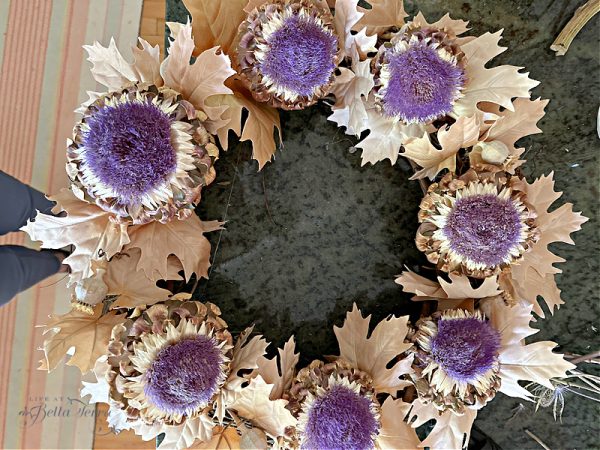
Add the leaves, again with the glue gun, as a backdrop to the artichokes.
Here is where you can add whatever you want to give the wreath a more lush feel. I add sheaves of wheat which has a completely different texture.
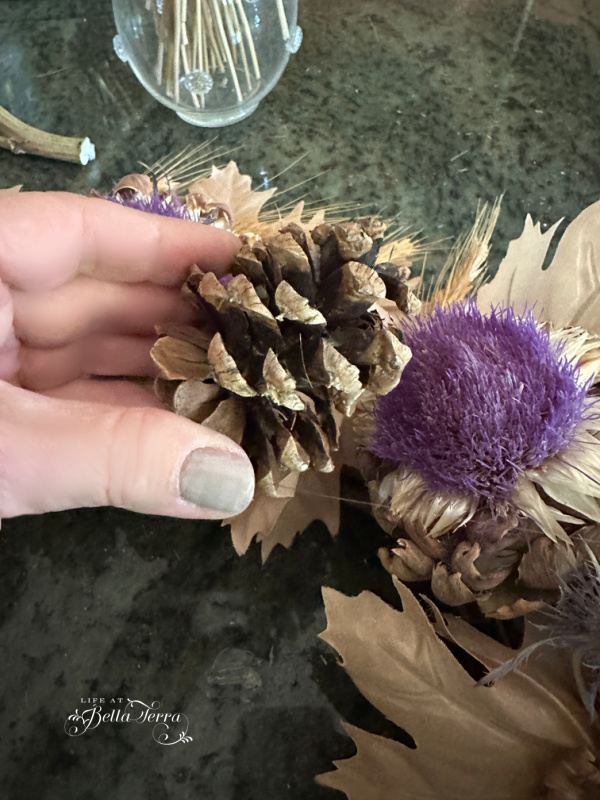
Since I need to break up the space between the artichokes, I add pinecones.
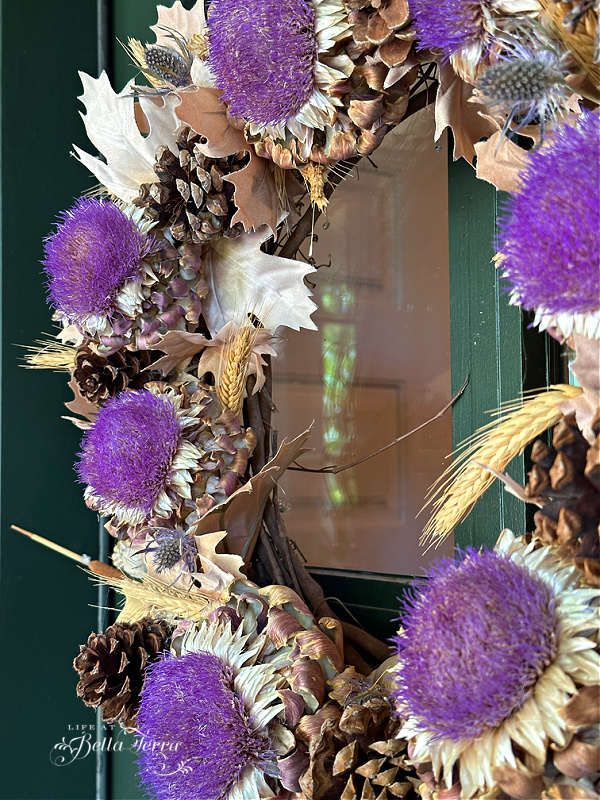
Dried thistle (prickly so be careful) is used because it is in the purple family, though faded with drying. Narrow, smaller cattails bring some foundation to the wreath and only placed on the bottom end.
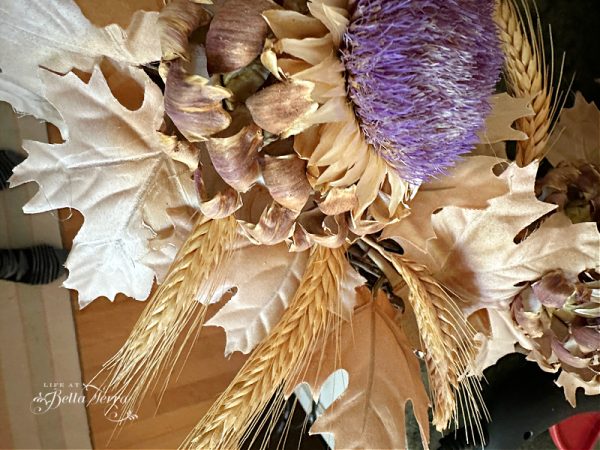
Even though the colors are similar and neutral, the textures and shapes of the elements makes it interesting.
This wreath is hanging on the back Dutch door and I love that it represents our garden harvest and items from nature. The cost is minimal (the wreath) and the rest is free from Mother Nature.
Artichokes grow very well here so if you have never planted any, you may want to try. Typically I plant them in the spring for an early summer harvest.
I hope you try this DIY as you will get a great deal of satisfaction using beautiful, natural items from your life.

If you enjoy this post, please share on Pinterest.