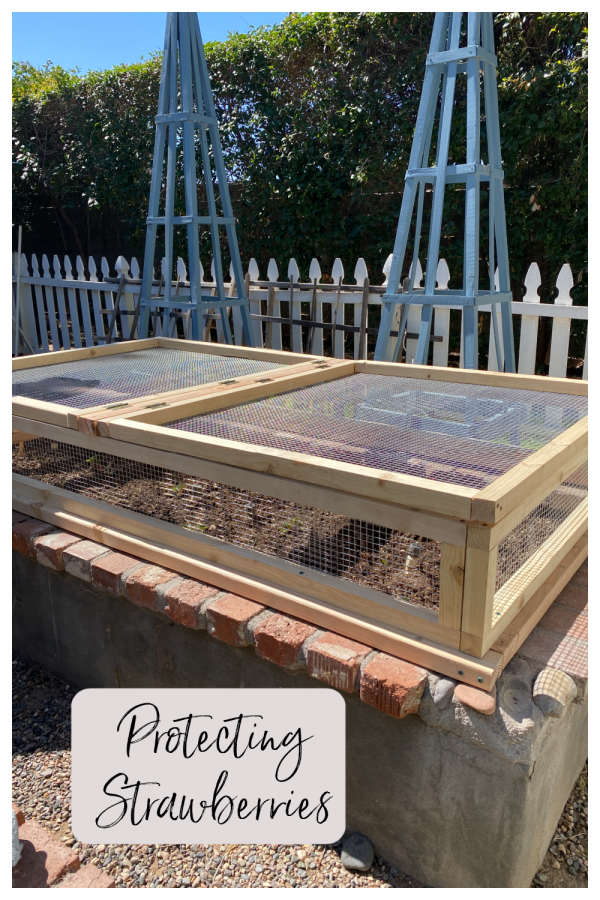
Protecting Strawberries
This year I want to grow strawberries and rhubarb and make a fresh pie. Many years ago I did this with good results. But the in-between years there have been more strawberry failures. With a recently acquired batch of strawberry roots from Gurneys, I am determined more than ever. Today’s post is how we are protecting strawberries in my garden.
Since my handy husband is the brains behind the operation, here is his story on protecting our strawberries.
As many of you know, my wife never stops moving. From leading our neighborhood association in its never-ending effort protect the integrity and ambiance of our iconic residential community, to creating new culinary delights, she makes holidays magical, as well as parties with amazing table-scapes and gardening.
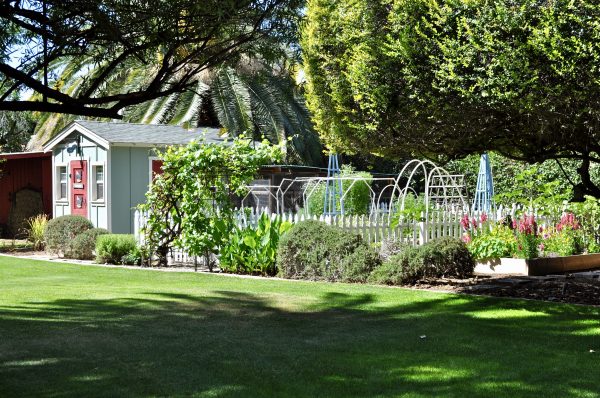
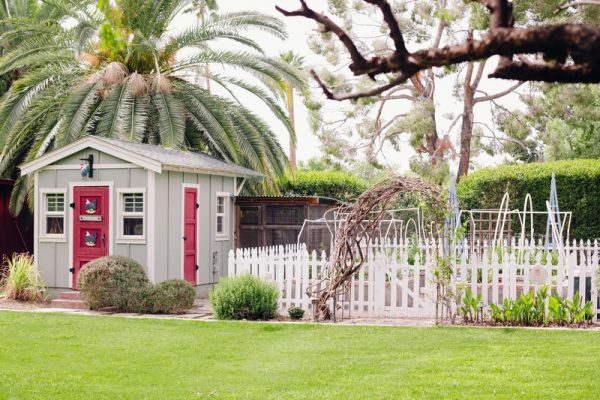
I often volunteer to help and enjoy the whirlwind from the periphery. Sometimes I have the opportunity to add value and that is something I truly love. We have a spacious garden near the barn and chicken coop. We also have birds (quail, sparrows and doves) and other critters which have discovered the benefits of healthy eating.
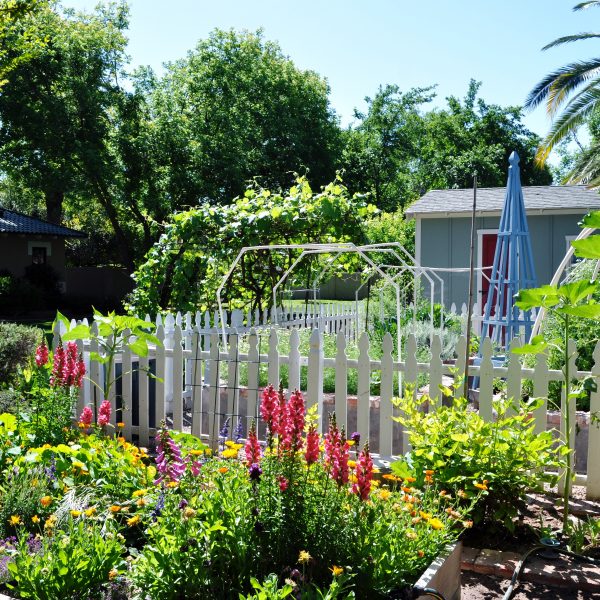
As a result we have become creative in protecting our budding sunflowers, kale and other appetizers for the local fauna. We recently purchased a number of strawberry 🍓 plants and need a way to protect them as they produce runners and hopefully an abundance of fruit.
My wife says: “Maybe we can build an enclosure.” I say: “I’m sure we can.” And so it begins. There are many examples online but I like to draw and think it through and be creative.
My first step is to get the materials, 2X3’s for the base, 1X1’s for the sides and top and wire mesh.
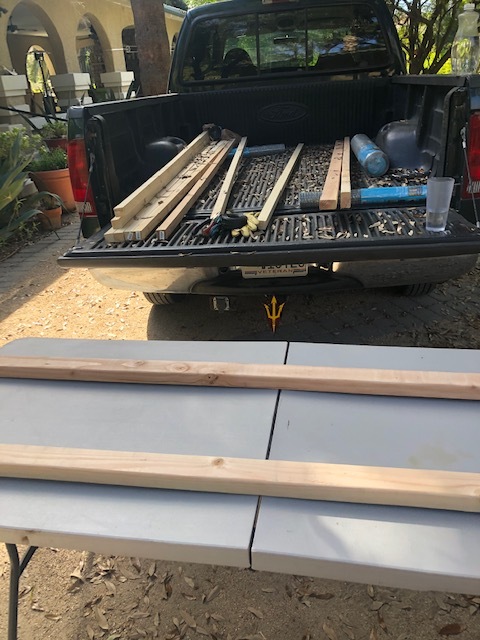
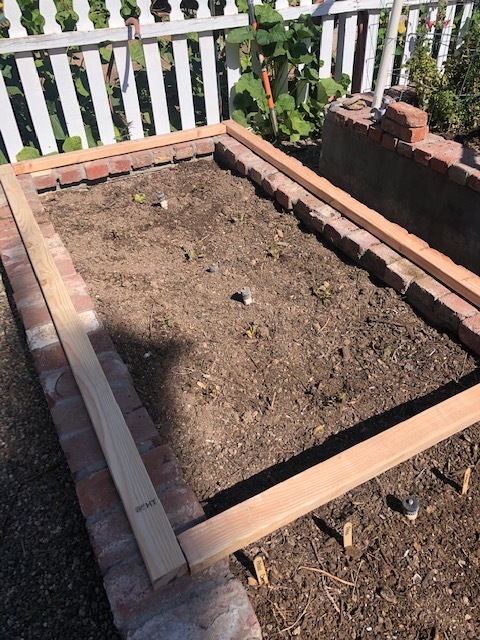
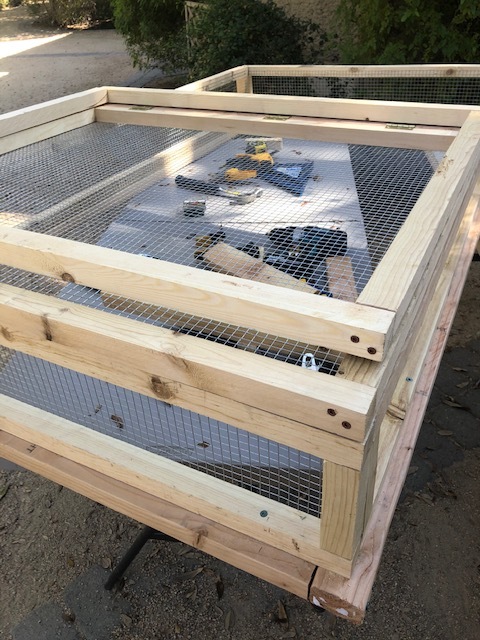
I measure the base on site, and cut the wood and screw it together.
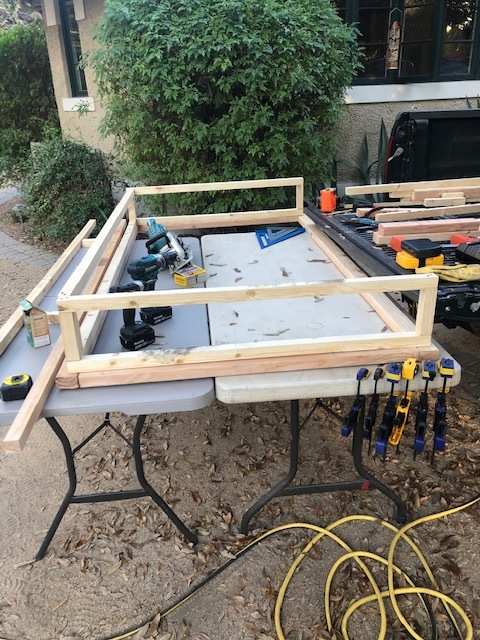
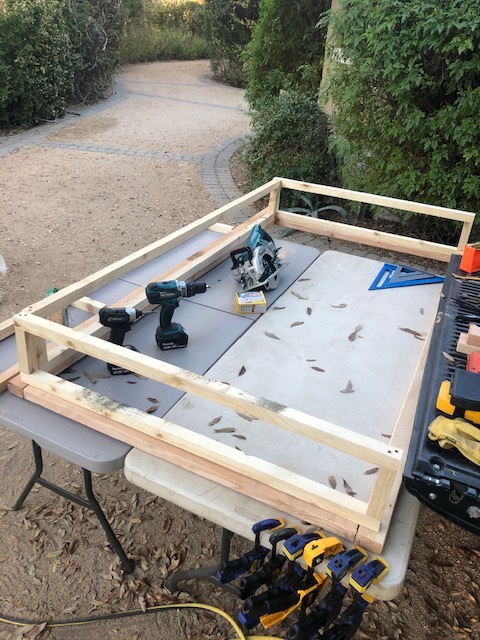
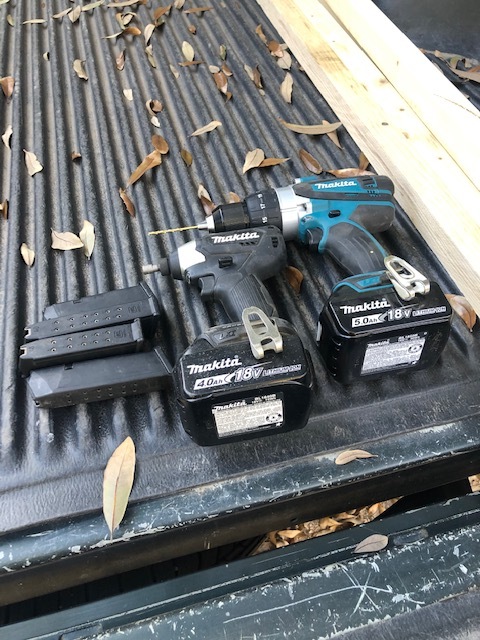
Next, I begin the assembly of the sides and ends. They can be free-standing and then I screw them to the base and to one another. Luckily with the help from a circular saw, clamps, speed squares, tape measure, a drill for pilot holes and another drill to drive in the screws, the work happens quickly.
Once the side pieces are built I need to attach the wire mesh. It’s a welded wire hardware cloth that is smaller, tighter and stronger than chicken wire. No critters allowed. I use diagonal cutting pliers to cut the mesh (one clipped wire at a time) and decide the easiest way to attach it is with construction staples. I try my staple hammer (like the one my Father had) but find a staple gun and a hammer are easier.
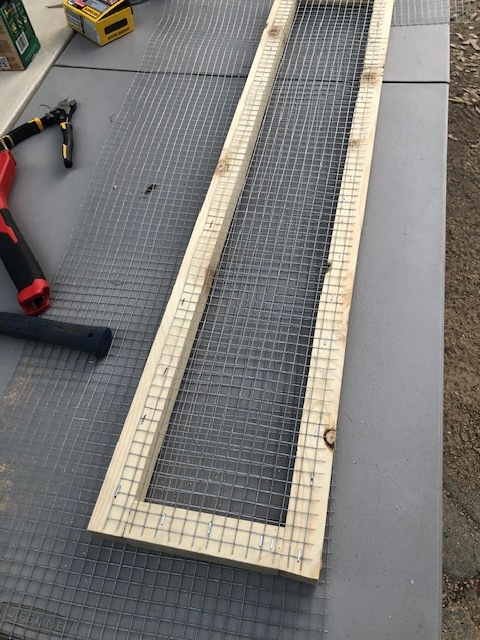
It takes some time to build these sides but now they’re finished.
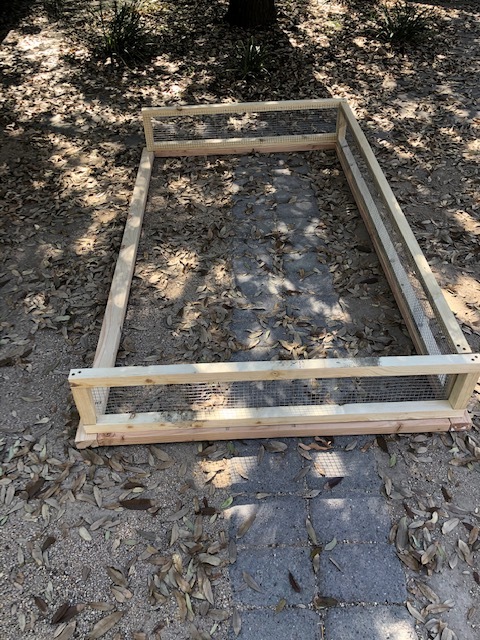
Now I start to attach the sides to the perfectly squared base. That goes pretty quickly.
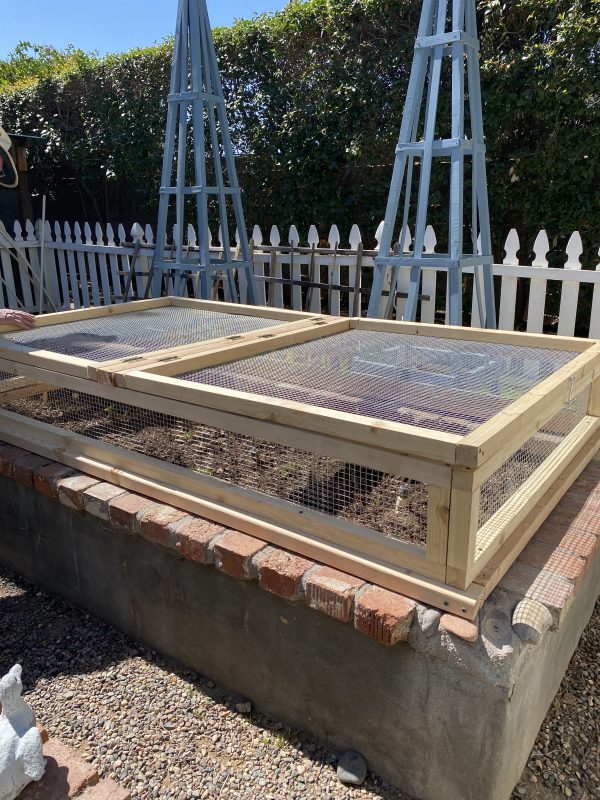
Once that’s done, I’m on to the top pieces. In order to make this functional, I build two. They attach to a vertically supported, center 2X3” cross piece with hinges that allow each side of the top cover pieces to open and fold flat. This allows for easy access to the plants and soil. I use a wider role of hardware cloth for the top.
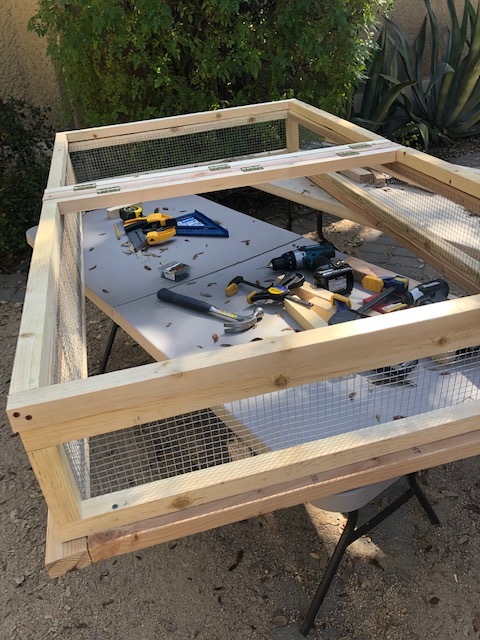
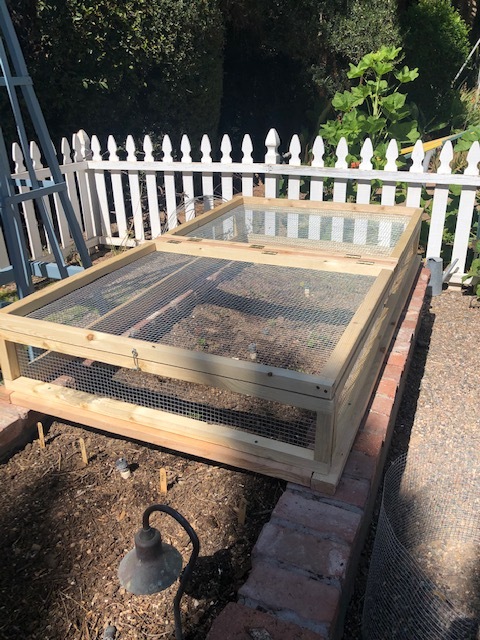
I also put eye hooks on the ends to ensure the tops are secure. Once built we carry it to the garden and put it in place over the strawberry plants. With the addition of some wire mesh, the south end between the bottom of the build and the dirt, the enclosure is complete, functional and critter proof.
I find it always fun to build things. Reminds me of the things my Father built when I was growing up on 2+ acres in Colorado and in Wyoming and Connecticut. I feel like he’s here helping me. 😇

If you enjoy this post, please share on Pinterest.
This post shared with Between Naps on the Porch Metamorphosis Monday #634