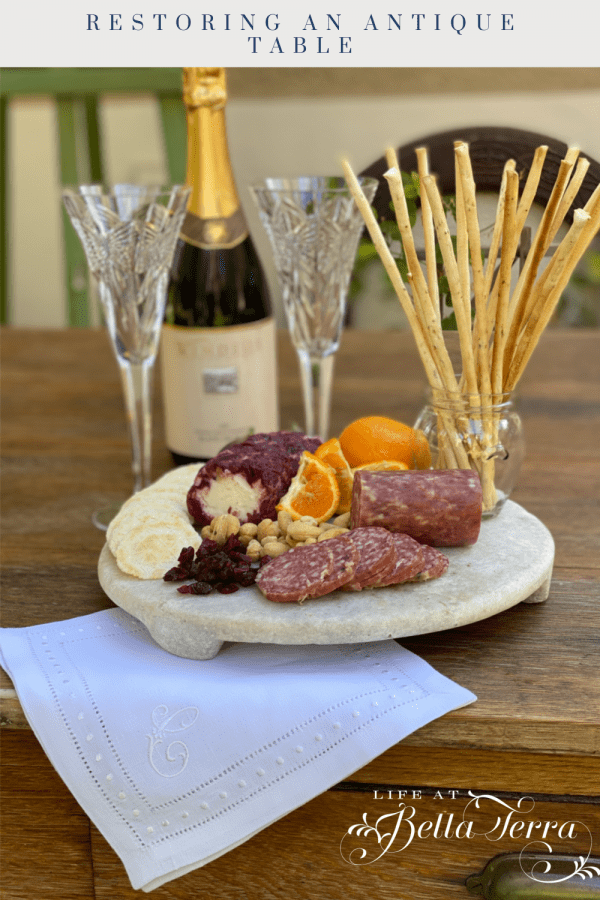
Restoration of an Antique Table
Once again, I am participating in the DIY Blog Hop. The focus for January is on tables. Today I have a guest blogger. My husband Scott recently completed the restoration of an old table that we’ve had for almost 26 years. Here’s Scott’s story about this unique piece of furniture.
The Table~Before
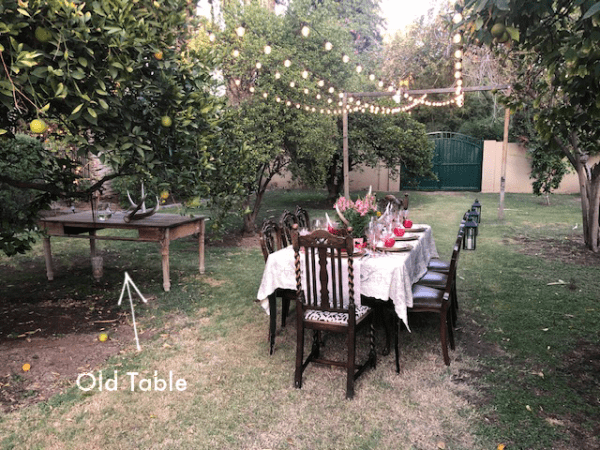
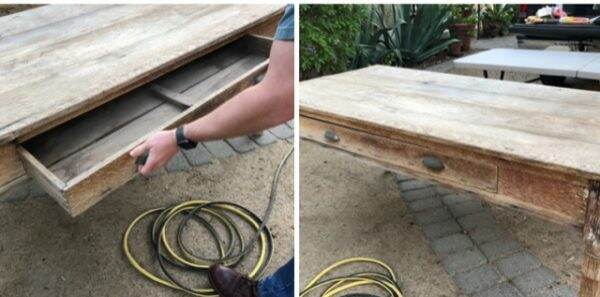
When my wife and I were married (seems like yesterday), our decorator and designer, Robert Lashua, catered our wedding reception. One of the things he brought was this antique table. He beautifully staged it with an abundance of flowers and food. We kept it and have used (and abused) it for entertaining, ever since. The table is the one on the left in a recent photo. And the drawer (an unusual feature on a table) is missing.
One of the legs is splitting. the drawer is coming apart, and the under table support for the drawer is half gone. I am fixing the table so the drawer is functional and the table can continue to provide service for a couple of more decades. Mary loves this table because it’s wide and perfect for staging food for entertaining.
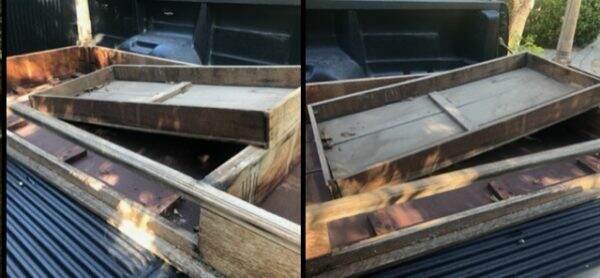
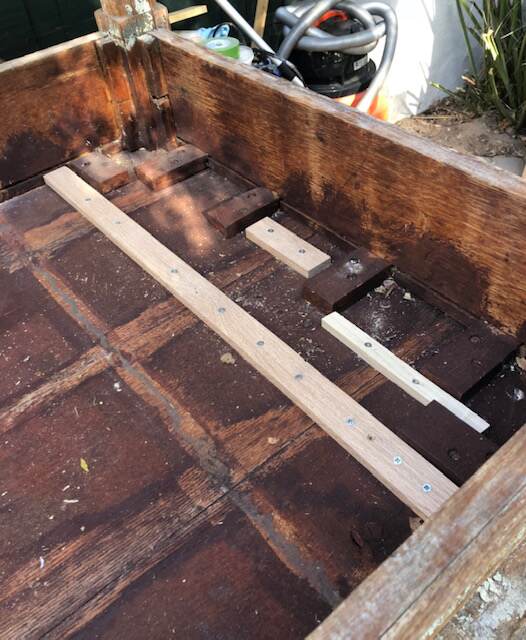
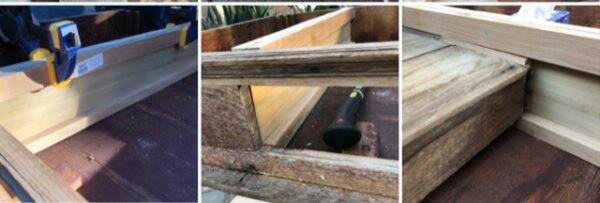
The drawer is apart in one corner and on the underside (see below). In the picture on the left you can see one whole side of the under table drawer support is missing. A consult with a woodworking master (Steve Renneckar) to figure out how to proceed proves invaluable.
A trip to Home Depot provides the hardwood I need to replace one side of the structure for the drawer to slide on under the table. I’m using some wood glue and Liquid Nails to pull the drawer together.
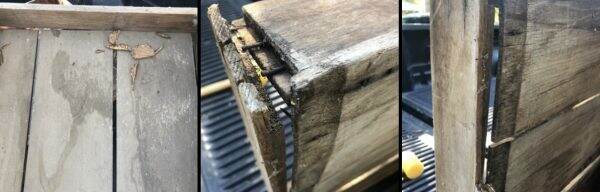
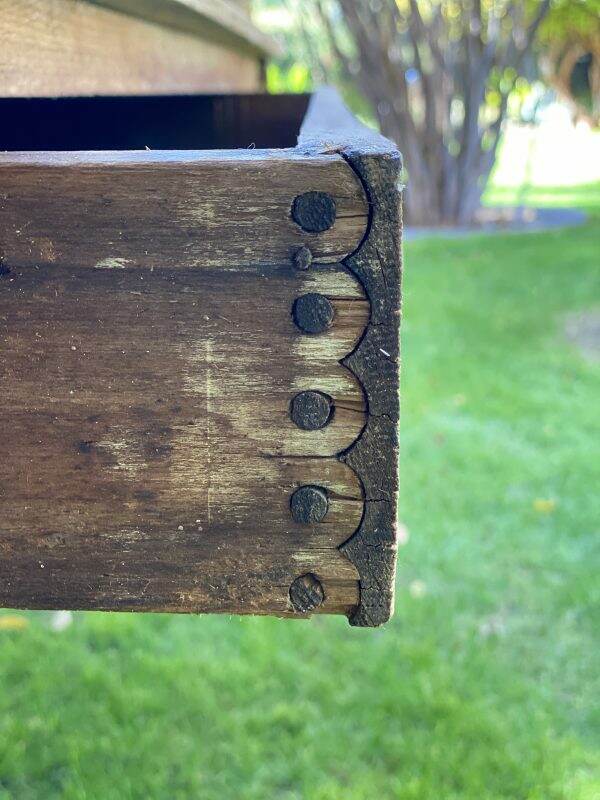
You may be asking….why bother. This is a very old table. Take a look at the unique pin and cove round style dovetail on the drawer (below). This method of joining corners was developed in the United States in the 1870’s.

This dovetailing is on Victorian and Eastlake furniture in the US and Canada from the 1870’s into the 1890’s. I have no idea how old this table might be but it’s certainly worth my time to bring it back to functionality.
The Work Begins
The first steps include fixing the split leg (liquid nails polyurethane and clamps), repairing the drawer and planning the under table structure (in the empty area of the center picture below). It is a mirror of the structure shown in the picture on right below.
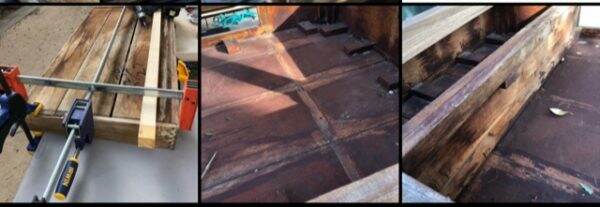
There are several places where the wood is split or separated. A lot of wood glue (Titebond here) and some clamps do the trick. The boards of the table top are fitted together with dowel joinery but have separated a bit. I attach hardwood strips to the edges of the table (first one end, then the other). Using my two large bar clamps (40 plus inches- a Jorgensen and an Irwin – you can see them above on the drawer), I pull the slats together and screw hardwood strips underneath to hold them in place (below). You can find the clamps on Amazon here.
Now I need to finish the repair on the drawer and install the new vertical support for the hardwood drawer slides. This is a hardwood drawer on hardwood slides. What could go wrong 😑.
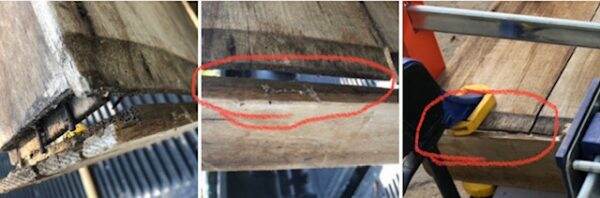
First step is to put the drawer back together and try to replace (with hardwood) the portion of the drawer that is gone. The side of the drawer has a slot for the slats. The part where I’ve circled is where the bottom of the drawer has disappeared.
Using maple hardwood (and my brand new Makita circular saw – the old Craftsman finally quit) I cut some pieces to replace the missing parts of the drawer. I glue them, place them and clamp them. That evening it started to rain so everything was moved into the garage.
Today it’s sunny and with the oversight and assistance from our son Benjamin, it’s time to finish the project. First we sand down the repairs to drawer. Then, slide it into the table (upside down at the moment) to make sure it still fit and to finalize the side support.
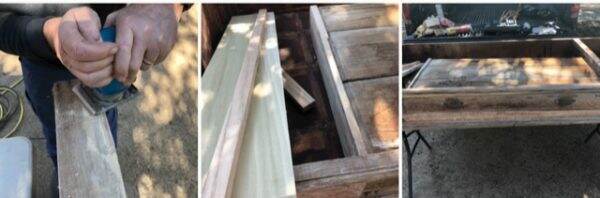
We cut and place the side piece and slide rails (tried nailing but ended up using screws. I check the final fit of the repaired drawer and ….
The After
Project is complete- (other than waxing the slides and staining the new wood and maybe refinishing the top 😉).
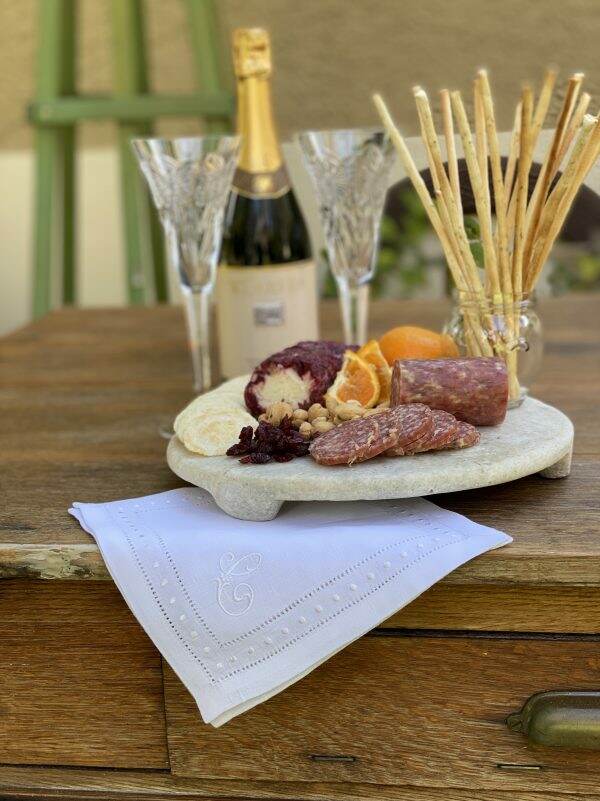
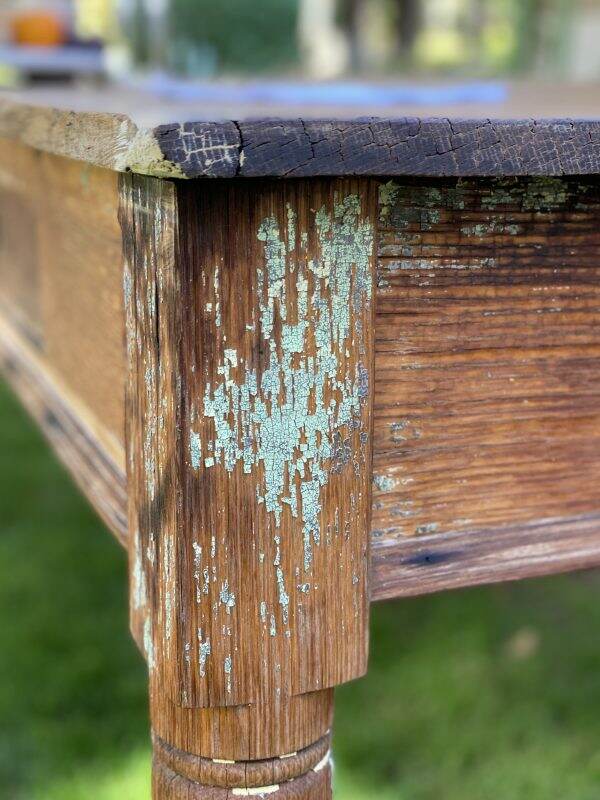
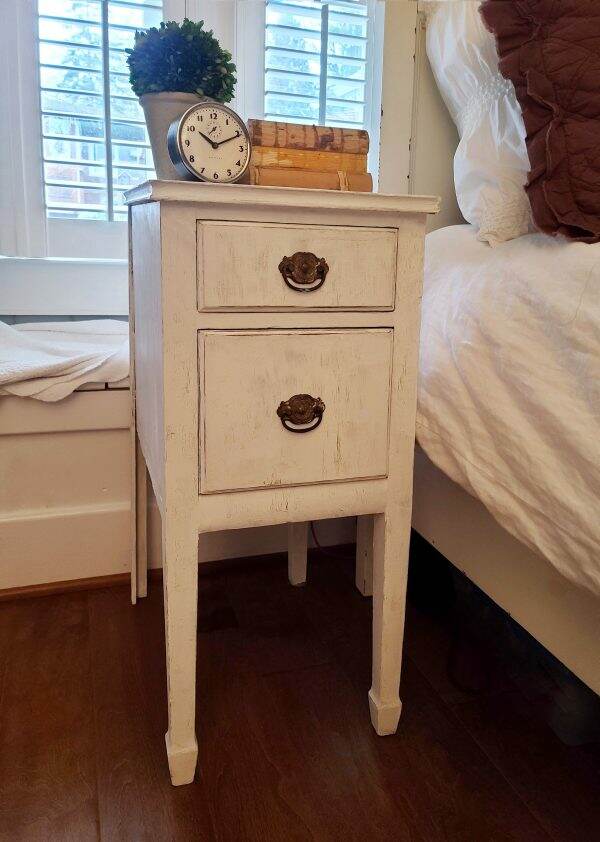
Now the table can be used again. Mary loves the chippy old paint that is still seen on the sides.
The drawer works beautifully now. The original brass cup hardware looks great on this newly functioning drawer!
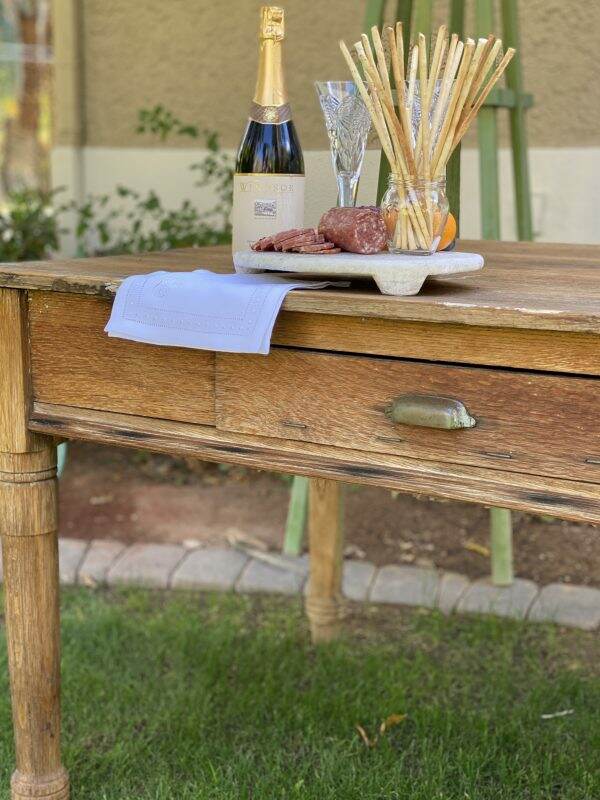
The artistry of joint construction like this is long gone. All the more reason to restore this table vs. buying a new one.
Thank you for joining me today and now it’s off to the DIY Blog Hop to see other table ideas from these talented bloggers.

If you enjoy this post, please share on Pinterest.

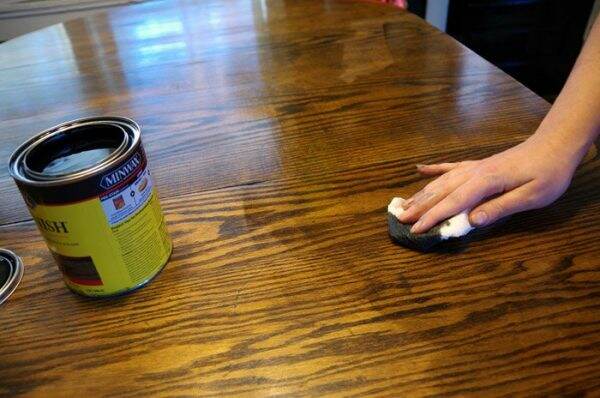
Tarah from Grandma’s House DIY writes about How to Remove Paint, Scuffs and Scratches from wood Furniture.
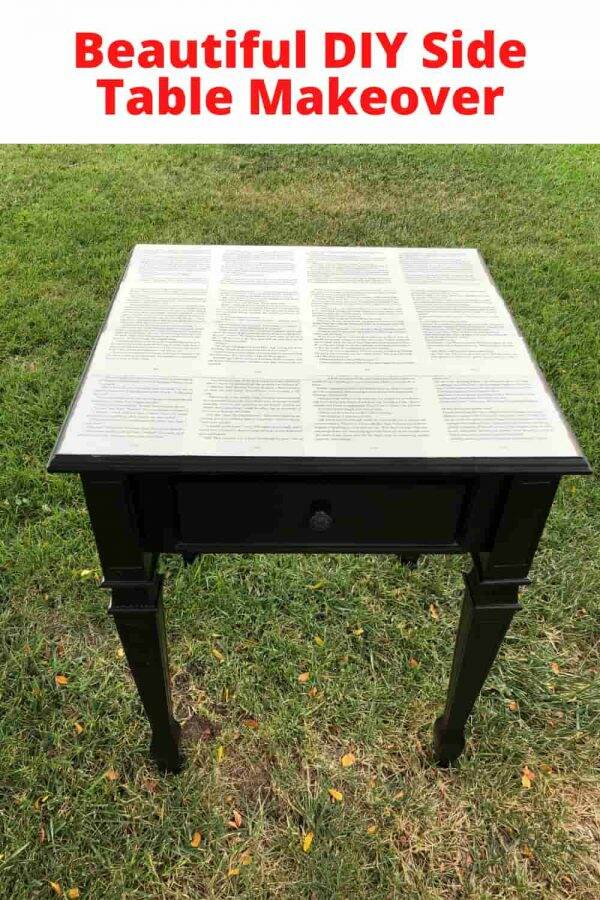
Chas from Chas Crazy Creations has a tutorial on a side table makeover.
Kim from Shiplap and Shells has A Simple and Easy Way to Upgrade a Garage Sale table here.
Kristin from White Arrows Home is showing some Creative End Table Ideas here.
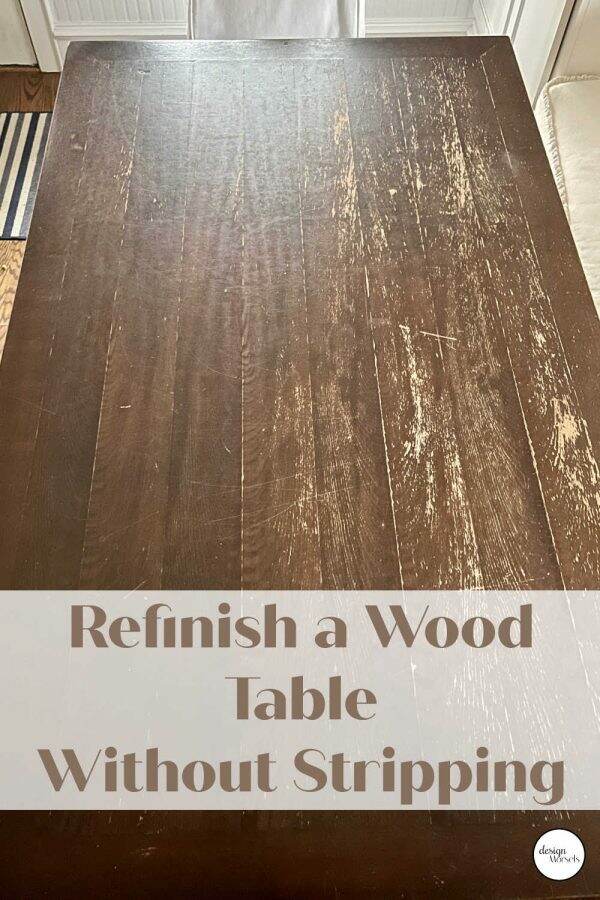
Andrea from Design Morsels shows us how to refinish a wood table.
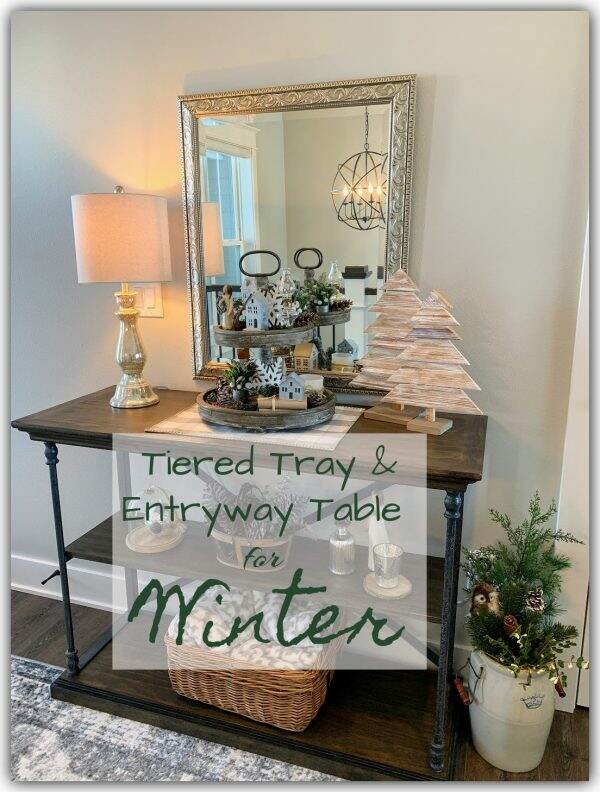
Niky from The House on Silverado displays a Winter Tiered Tray on her Entry table.
Kippi from Kippi at Home is demonstrating simple ways to update furniture
Please remember we all love comments and feedback!