Update~Stenciling a Bathroom Floor
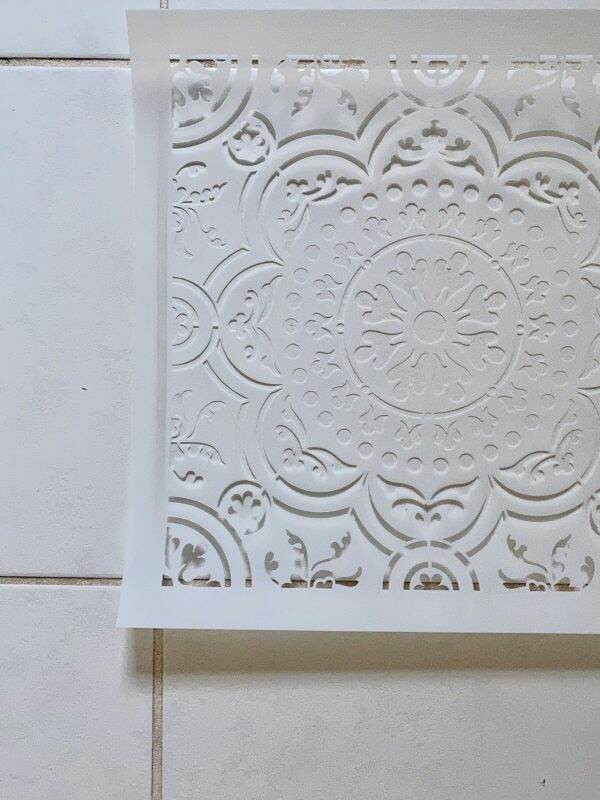
Back in July, I shared with you a project I have been wanting to try ~ stenciling a tile floor. Well, I finally started and I have got to tell you, this project is kicking my butt. I just re-read my first post about this (click here to read), and my enthusiasm is high.
Well, I am now day 4 into the project and it is like climbing a mountain. Sort of reminds me of that volcano hike I took last year in St. Kitts. What the heck was I thinking???
Prepping the Floor
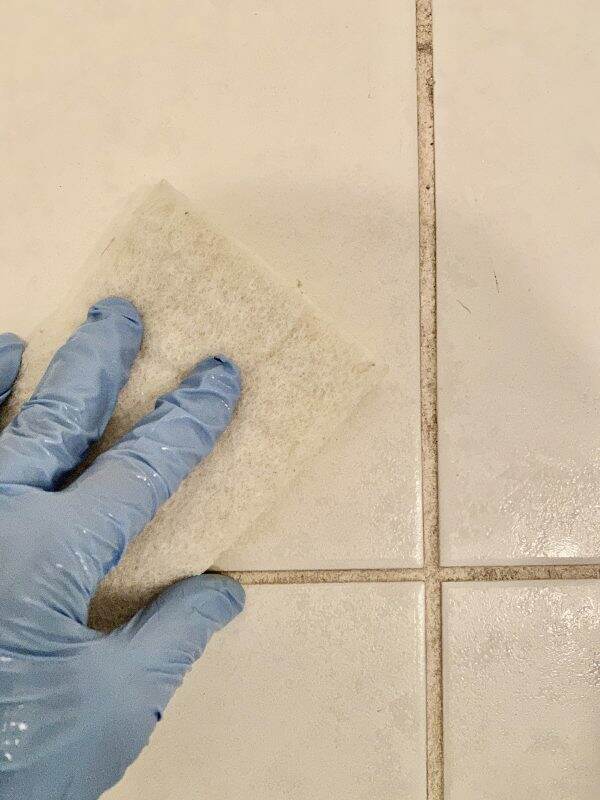
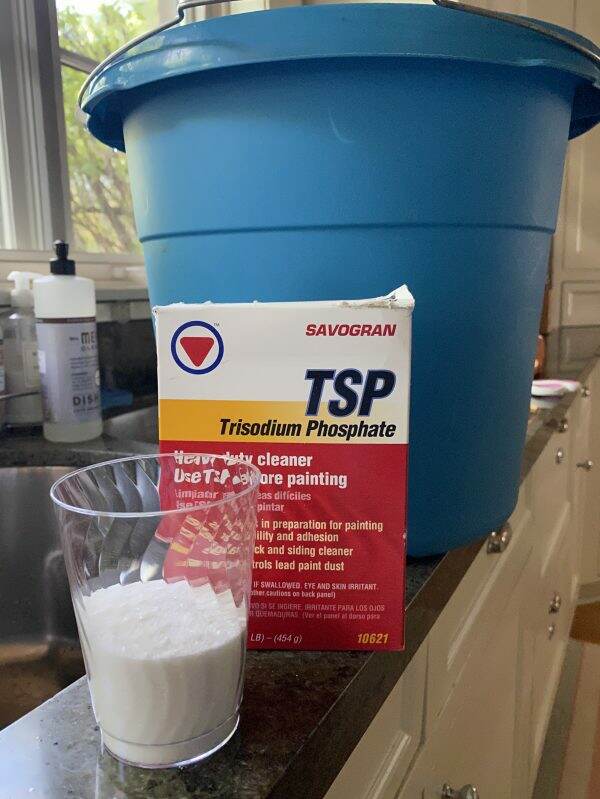
I started this project on July 12th. That day, I started prepping the floor by washing it with TSP (trisodium phosphate). This heavy duty cleaner is recommended before painting. So one washing coat and then another with clear water to remove any residual TSP. Be careful using this product as the warning labels are pretty scary.
Priming the Floor
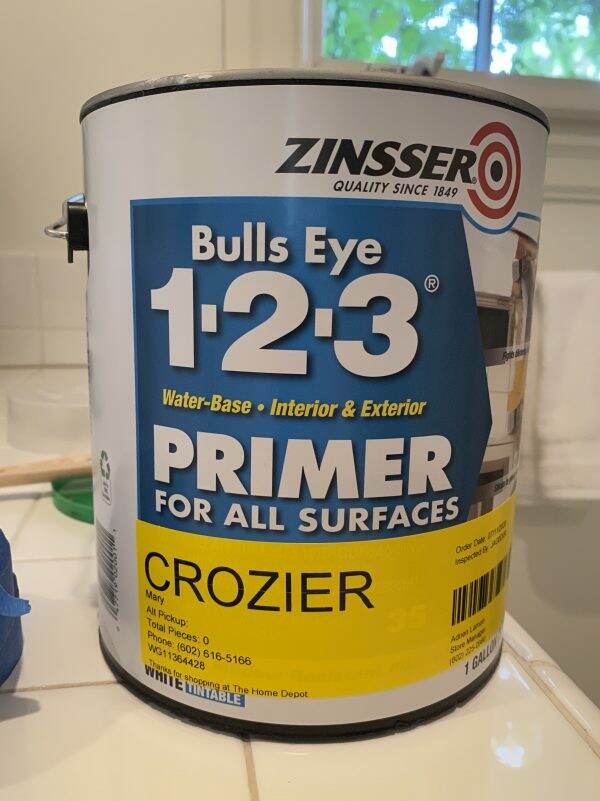
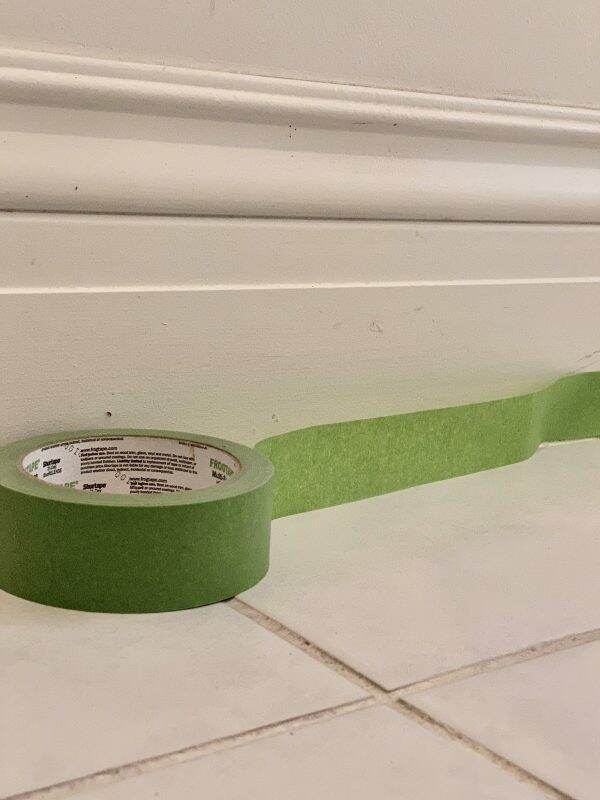
Next I primed the tile floor with 2 coats of Zinsser’s Bulls Eye 1-2-3 primer. This apparently is supposed to work on tile. But first, I taped all all the baseboards with Frog’s Green paint tape.
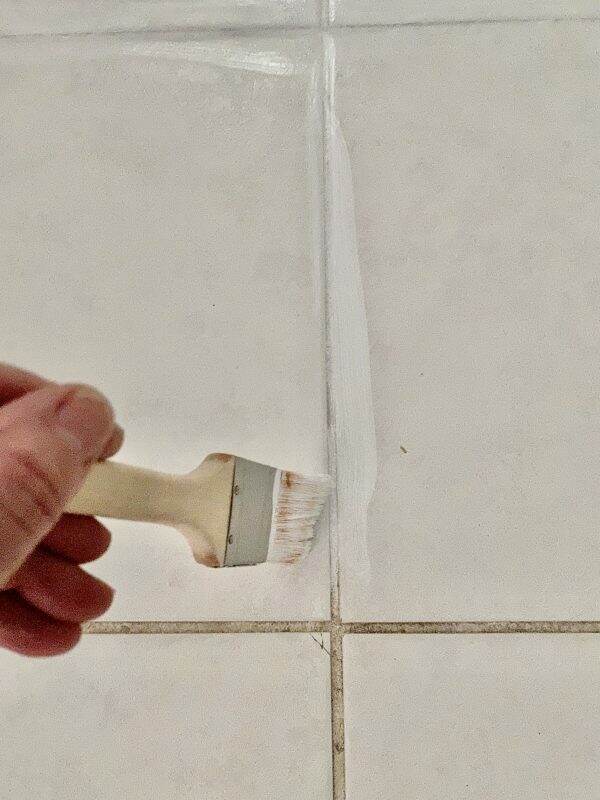
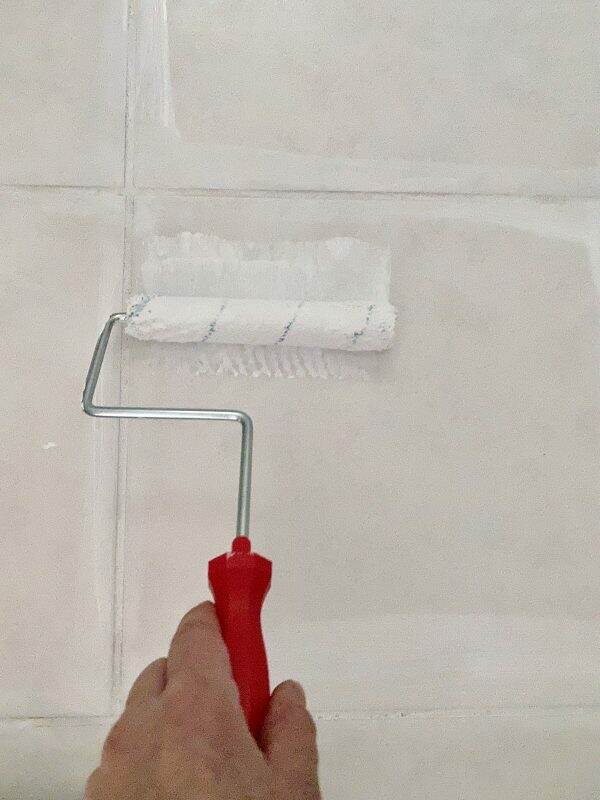
I apply the primer with a paint brush for the grout lines and a roller for the tiles. Letting the first coat dry, I then apply a second coat. I let the floor set for a few days. The floor is looking better already because the dirty grout is now a pristine white.
Here is the floor with the crisp, white primer on it.
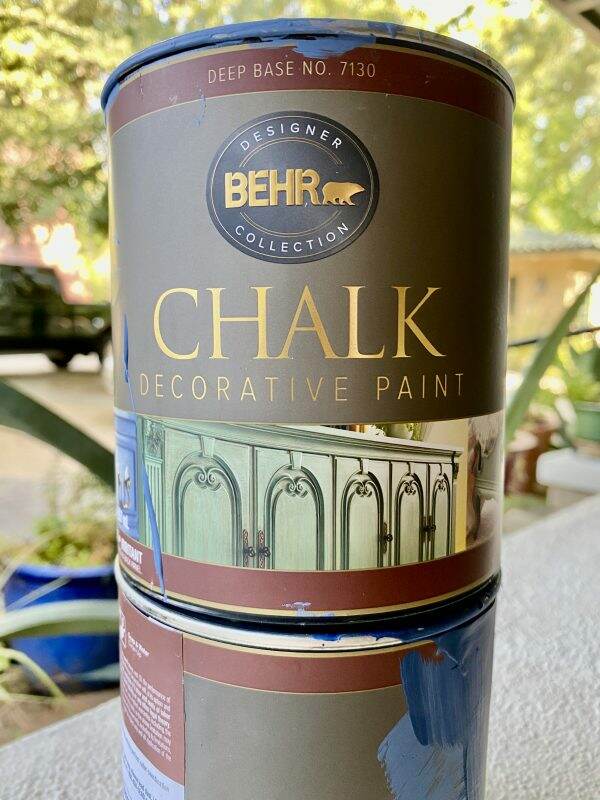
After the floor is primed and dried according to the manufacturer’s instructions, two coats of Behr Decorative Chalk paint in white is applied as the base coat.

Selecting the Paint and Colors
I selected chalk paint because it gives an aged appearance and adheres well to any surface. But it does require a finish coat to protect it against staining and scratching.
There are now several chalk paints on the market today. After reading the article comparing Annie Sloan, Rustoleum and Behr chalk paint by Three Coats of Charm, I was inspired to try something other than my go-to, Annie Sloan.
During a recent trip to Home Depot, whose limited inventory of Rustoleum included black only, I picked 2 blues from the Behr paint line. What is nice about Behr is that they can mix whatever color you want, which is mixed in with the white base paint. My two blues are: Inked and Arrowhead Lake.
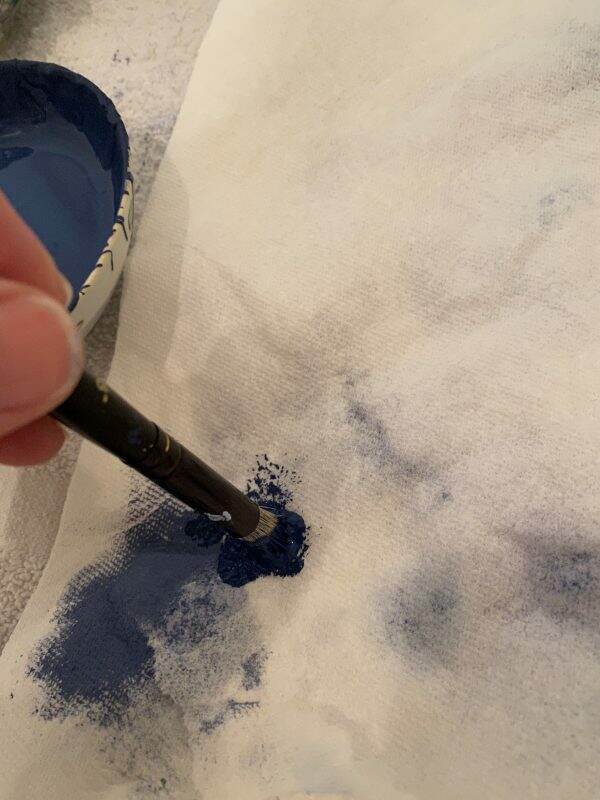
Naturally I am excited to start painting the stencil. I experimented with different colors of blue on some drawing paper beforehand. This step is time consuming, but well worth it.
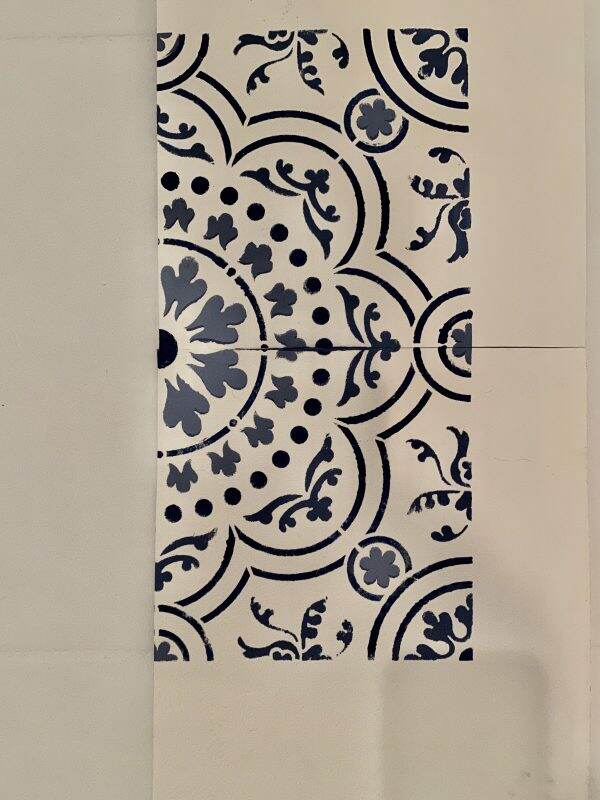
After an overwhelming consensus that this stencil needs 3 colors, not two, I mixed up an additional lighter shade of blue by adding Inked to the white paint.
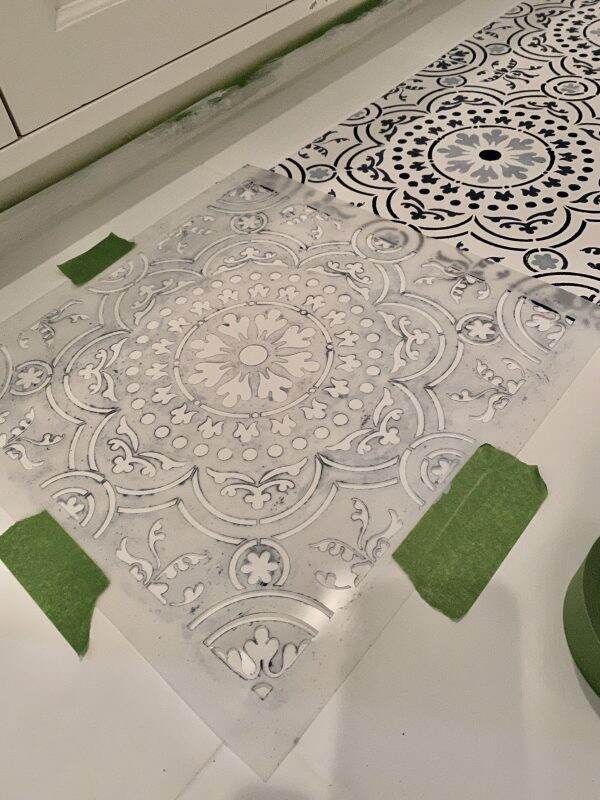
The Painting Process
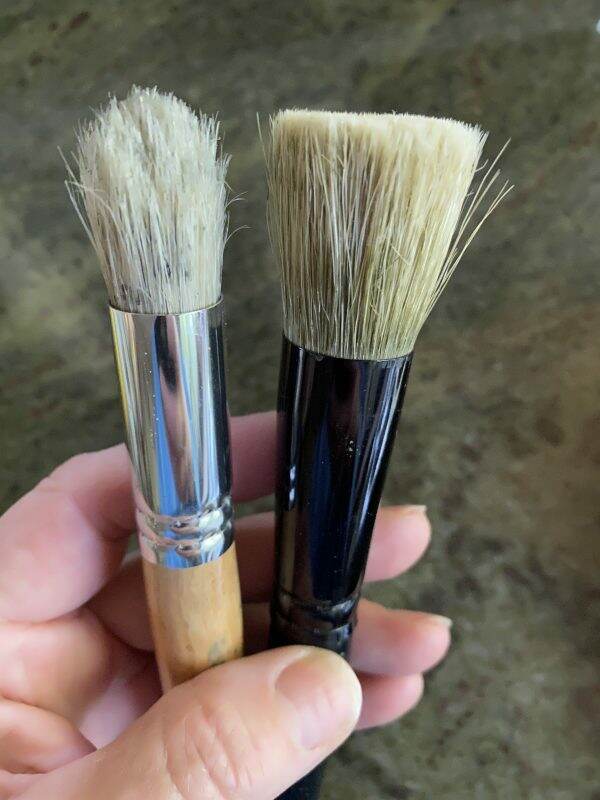
As a side note, if you decide to do this, get good stencil brushes. Mine are from Royal Designs. I also bought a set from Walmart but the bristles keep falling out. This is tedious work so it’s important to use the best tools.
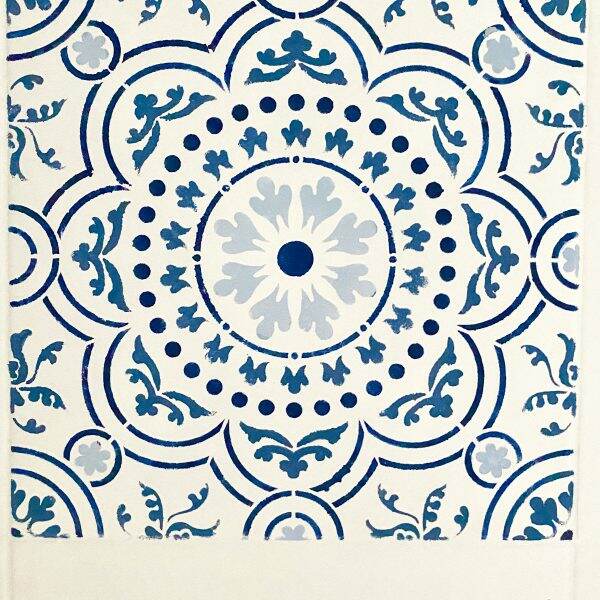
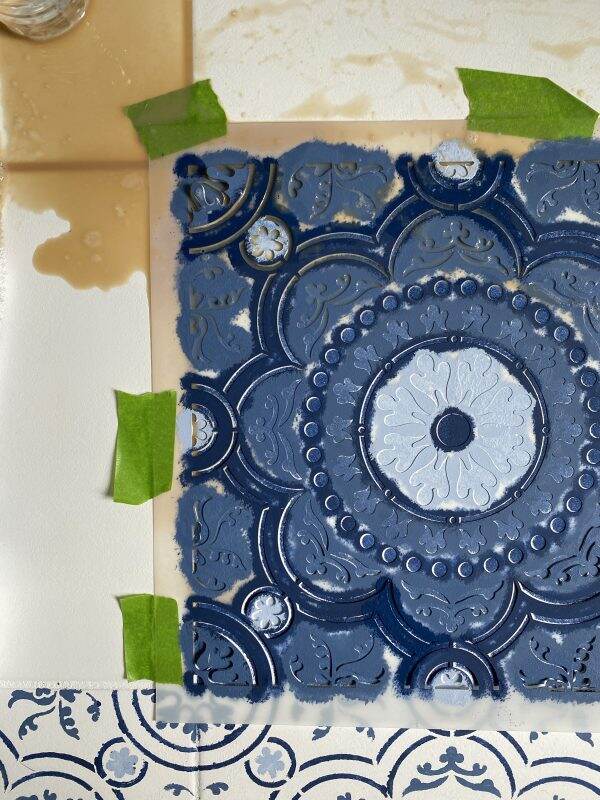
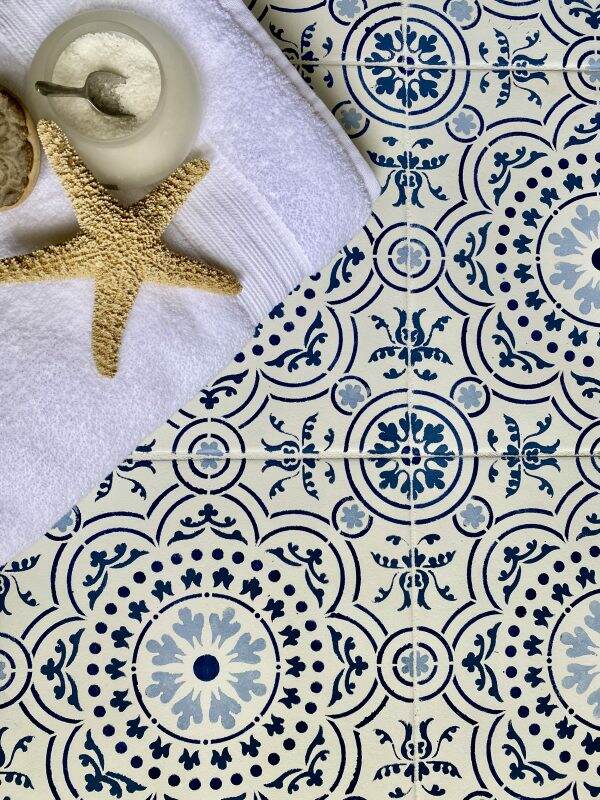
Here is the color combination I selected~ three shades of blue.
By the time I was comfortable painting the stencil, it took approximately 15 minutes to finish a stencil. I counted 77 tiles, some full size, others were partial tiles on the perimeter. Figure in additional time to accurately line up the tile and tape it down.
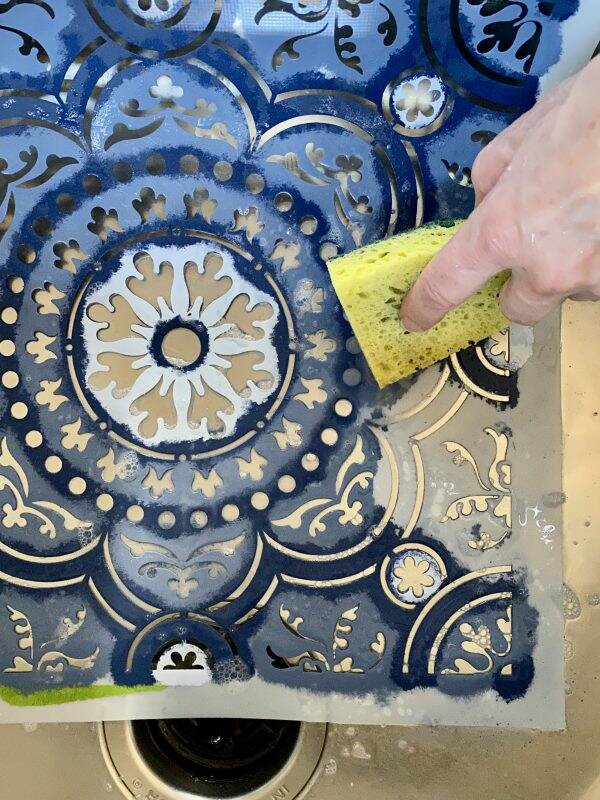
About every 10th tile painted, the stencil and brushes require washing.
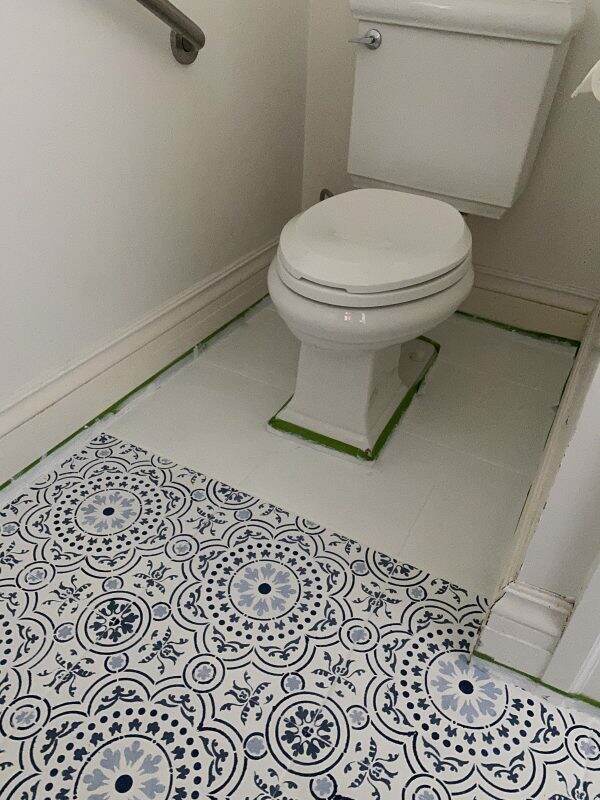
Today marks 4 days I have been working on this. I was hoping that today’s post would reveal the completely painted bathroom floor. However, there is still a bit more to do~the partial tiles under the vanity and those around the toilet.
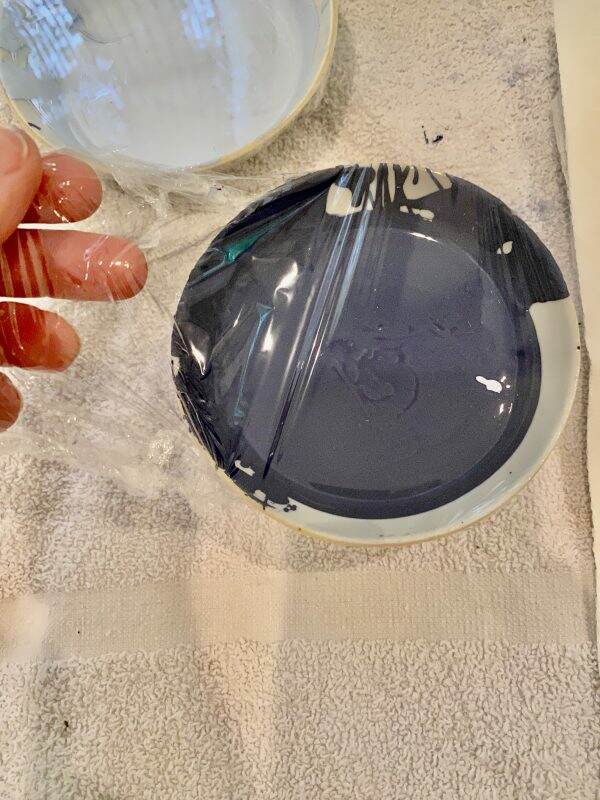
Each cutout requires hand dabbing and I use different size brushes for the size of the cutout. Some painting tips: The paint is in 3 individual bowls which I cover in Saran Wrap to prevent it drying out. It is also helpful to keep paper towels nearby to dab the excess paint off the brush before applying it to the stencil.
I apologize for the photos~I had the overhead lights on and it just makes the photos dingy.

My goal is to complete 10 tiles a day. It doesn’t sound like much but what I didn’t take into consideration is that all this work is done either on your knees or on your butt. Hovering over the tile, while on my knees, is a great isometric exercise, but very tiring. I tried spreading the pain by using different body positions. Plus the getting up and getting down added to an unexpected fatigue.
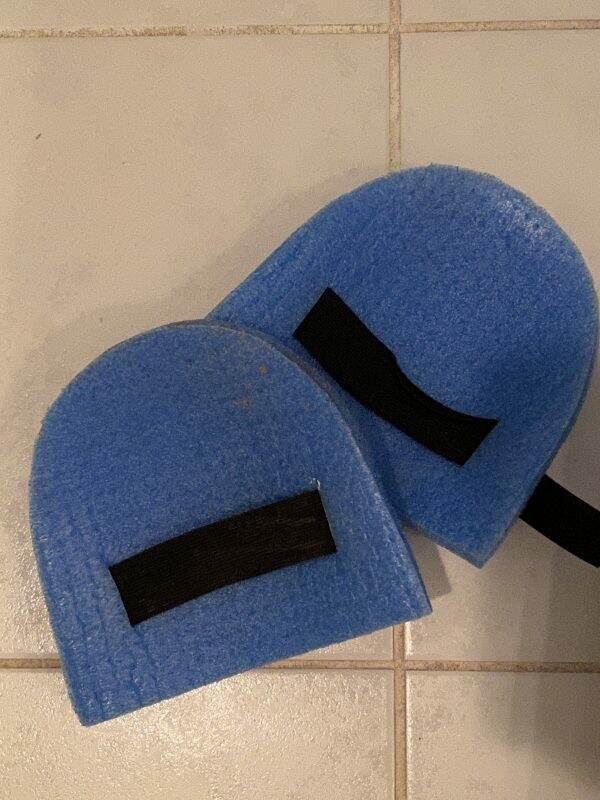
I recommend investing in good knee pads, not these! The plastic material increased sweating which made keeping the knee pads in place difficult.
Expect the unexpected
And then of course, are the unexpected disasters. Once I had completed this tile, I inadvertently kicked over my cup of coffee. It smeared the wet paint and this tile was ruined. I was able to fix it by priming it again with 2 coats of white chalk paint, and letting it dry for an entire day. A minor setback, but discouraging nonetheless.
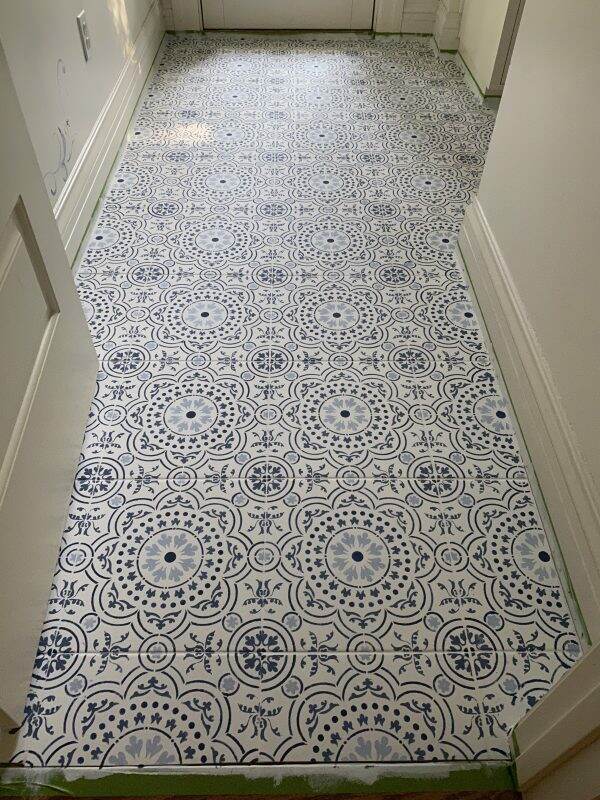
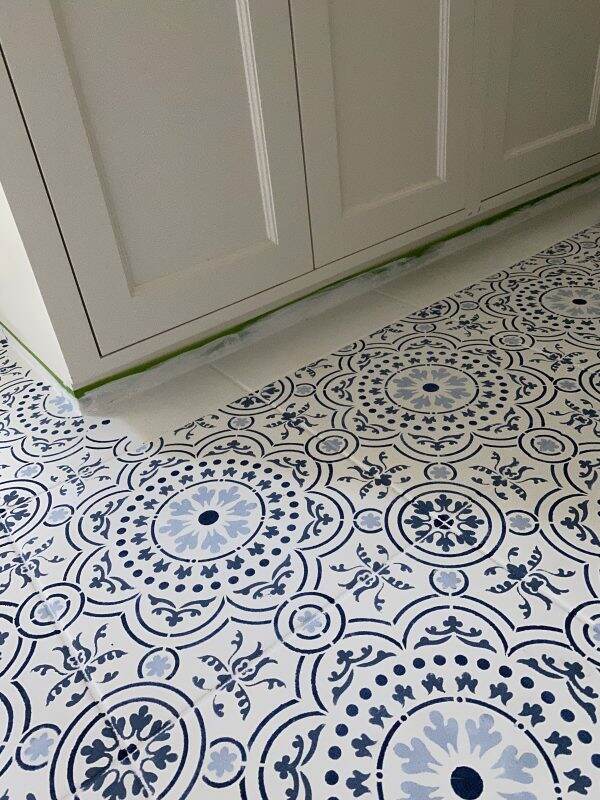
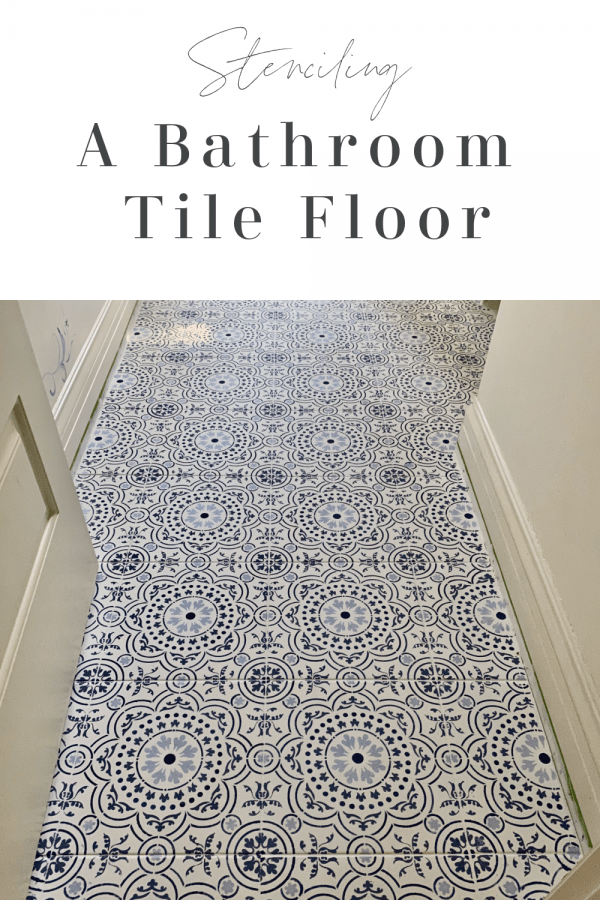
So as of today, most of the floor is painted. This is the entry view from the hall. I still need to get the partial tiles done under the vanity and around the toilet.
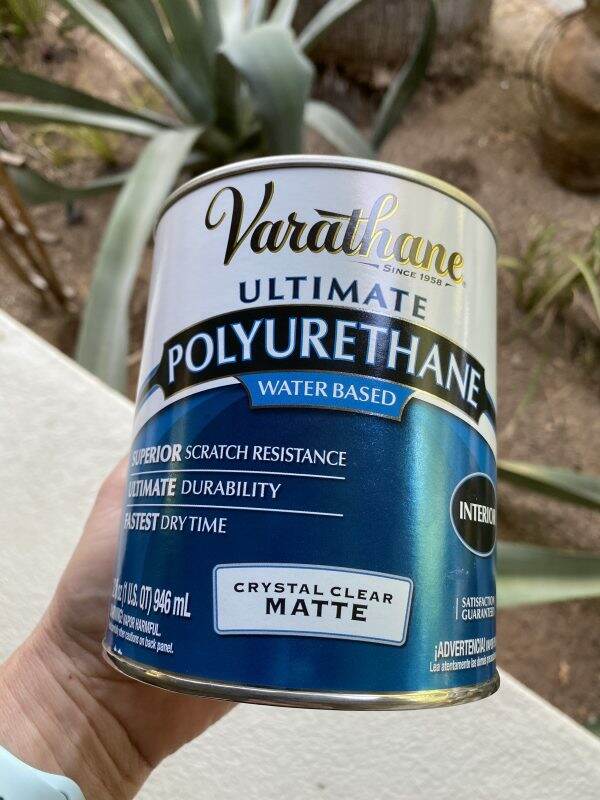
Unfortunately, I need to take a break from this today to can the 50 lbs. of tomatoes I have, as those cannot wait. Once I complete the last few tiles, then I will paint the floor with 2 coats of a polyurethane.
I love how it looks, but in all honesty, this was a HUGE project to undertake. In retrospect, here are my thoughts. It would be much easier with a less intricate tile. Using one paint color the application could go faster and easier with a paint roller. Obviously having a smaller floor to finish would significantly cut the labor time.
But as I stand back and look at it, this is now a work of art. Once I finish I will sign a corner. And, at the end of the day it looks so much better than the previous floor!
Happy Tuesday to everyone! August is an interesting time of year here. Typically we get our monsoon rains but there hasn’t been a drop yet. The yard, regardless of our watering system, looks tired. Everyone is done with the heat and looking onward to a cooler fall.
Also, I am sending prayers for those along the eastern seaboard in hopes the hurricane doesn’t adversely affect you.

If you enjoyed this post, please feel free to share it on Pinterest.
This post shared by Tuesday Turnabout #60 by My Wee Abode
Charming Homes and Gardens #16