DIY~Stenciling a Wood Floor
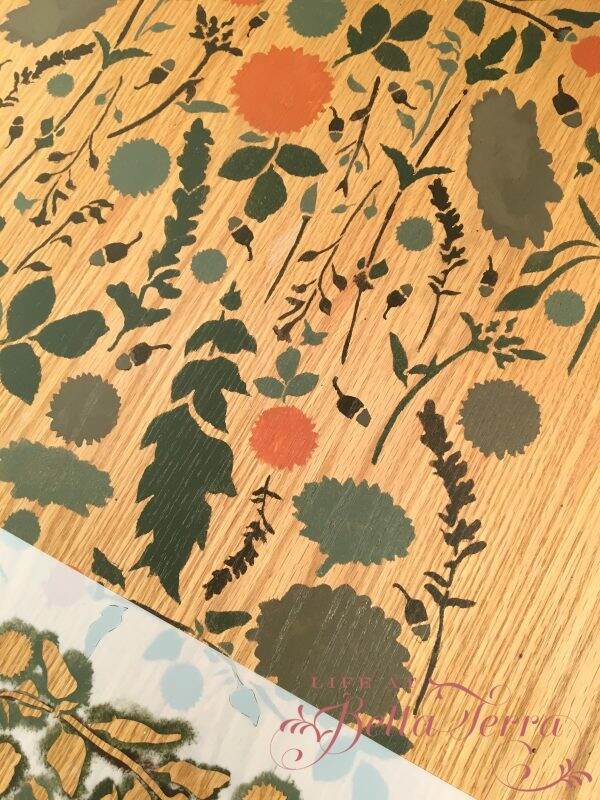
We are fortunate to head to the mountains for the holiday weekend. Typically that means rest and relaxation, but instead I am tackling a DIY project~stenciling a wood floor.
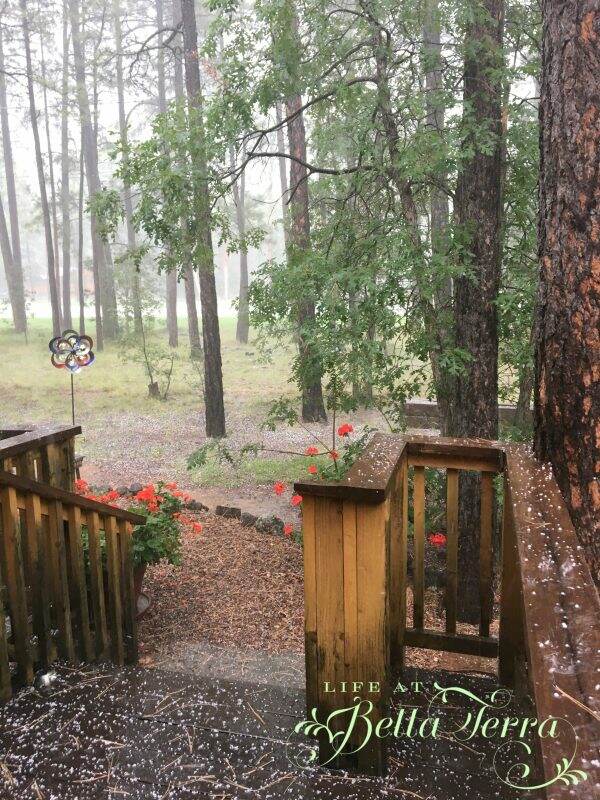
The weather this particular afternoon was chilly and hailing…very conducive to working indoors. To see more of our mountain cabin, click here.
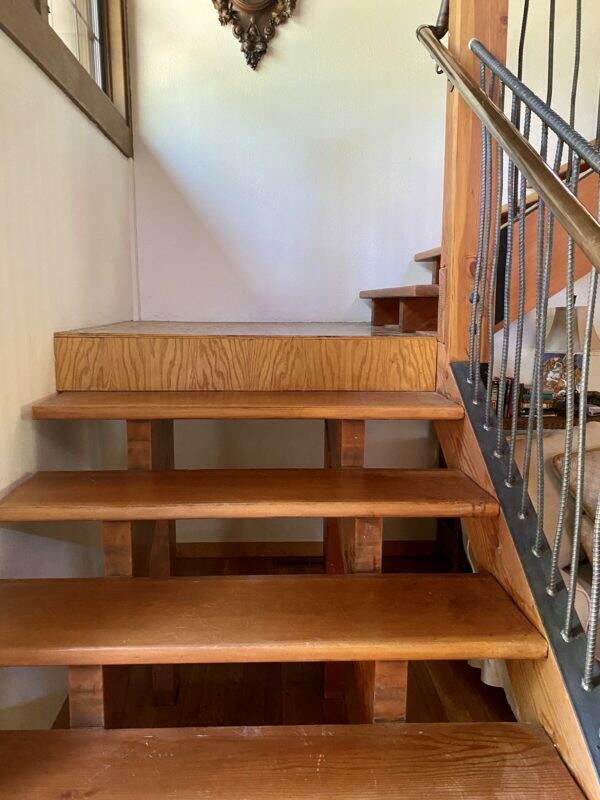
The space needing improvement is a landing on the interior steps to the second floor. Where the stairs make a 90 degree angle, the landing is covered in an oak/pine veneer? The overall look is rather cheap, compared to the adjacent chunky, floating steps.
Determine the Stencil Design
In keeping with the old adage, if you can’t hide it, make it a focal point. In attempts to cover this area, I decide to stencil the wood floor. The “Forest Floor Damask” stencil from Royal Design Stencils is $49.95 online. The stencil is 22″ x 22″ which will require about 4 full repetitions and 4 partial stencils to fill the space. I also did not pre-treat the floor~~just wiped it clean with water.
Select Your Paint Colors
Honestly, the hardest part for me was determining what color paints to use. I considered using just one color, but decided to take on the challenge of multiple colors.
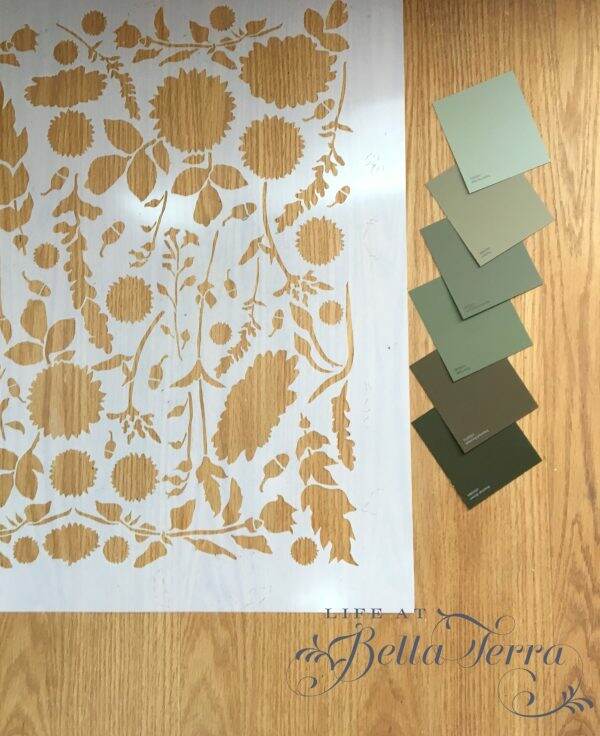
Since the theme is Forest Floor and the cabin IS in the mountains, I select shades of nature in browns and greens. I am using small sample paints from a local hardware store.
Measure and Secure
Since this stencil is a random pattern, I place the first stencil in one corner of the landing. If the stencil design has a border or a block design, I would measure and place the stencil in the visual center.
Starting with two main colors, I add white paint to each color to obtain various hues. Using plastic disposable cups is perfect for mixing paint. I secure the stencil to the floor with blue painters tape.
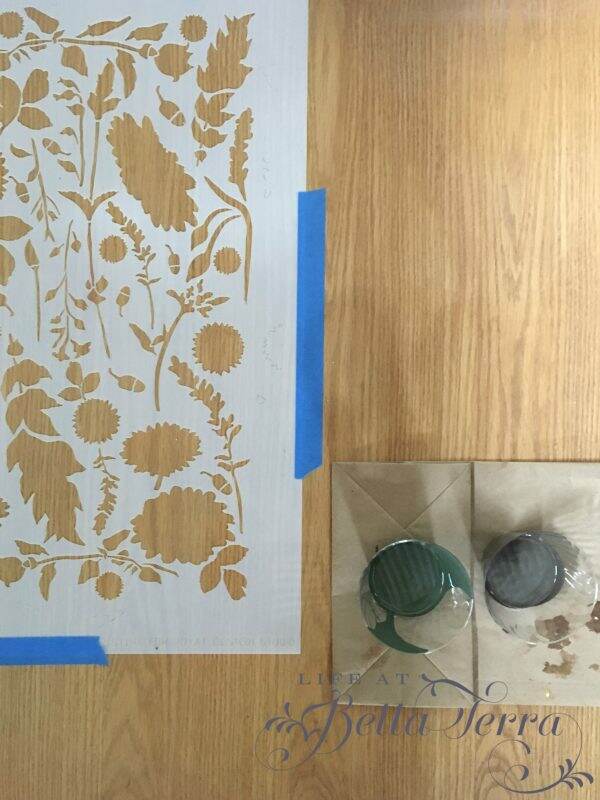
Apply by Dabbing
In order to keep the paint from bleeding under the stencil, I tap the excess paint off the bottom of the brush. The paint is applied by dabbing, not stroking the paint on the stencil. Note: Make sure you use good stencil brushes. Mine are from Royal Stencil Designs. There are sold out, however, you can purchase other stencil brushes online here.
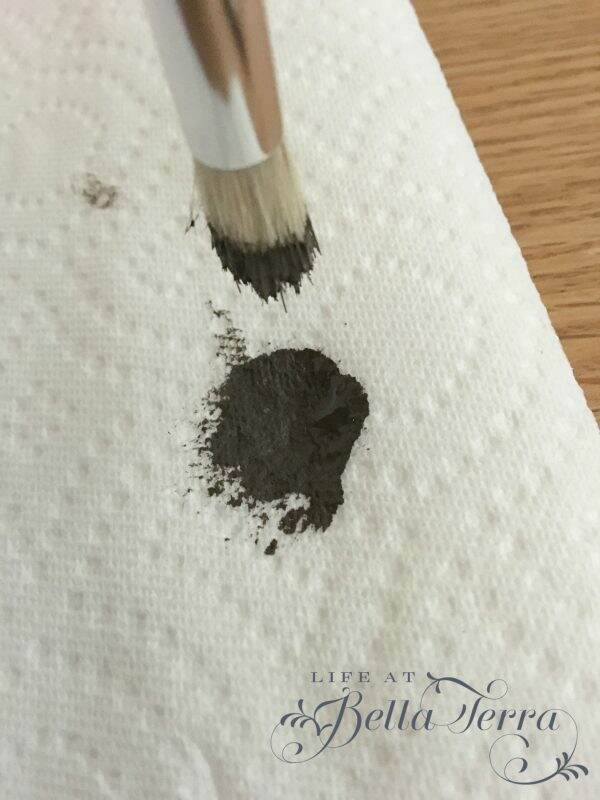
I paint the “branches” in a shag bark color. See below for the Sherwin Williams colors used.
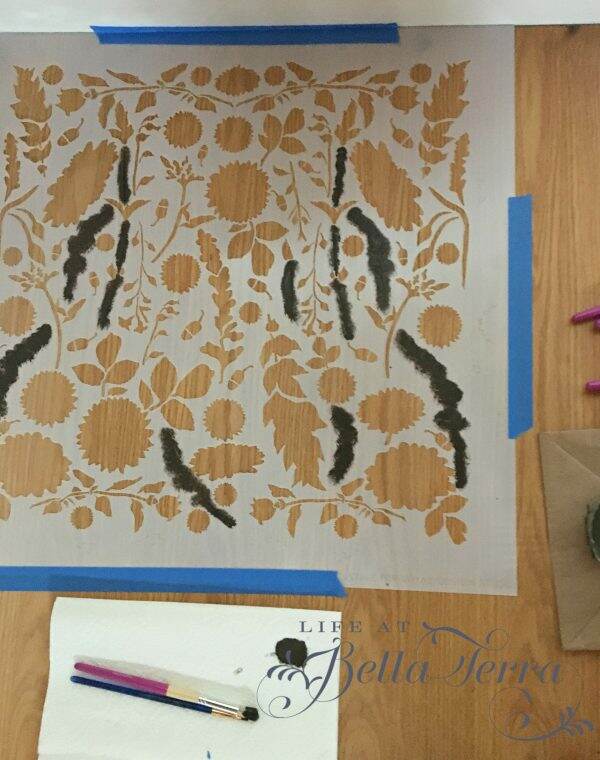
Sorry for the shift in light in the photos but we added industrial lamps so I could better see my work space.
Next, I paint the larger leaves in a pine green. Doing the very first stencil is a bit intimidating as I wasn’t completely sure what color would go where. But it is typical to feel this way but go with your instincts.
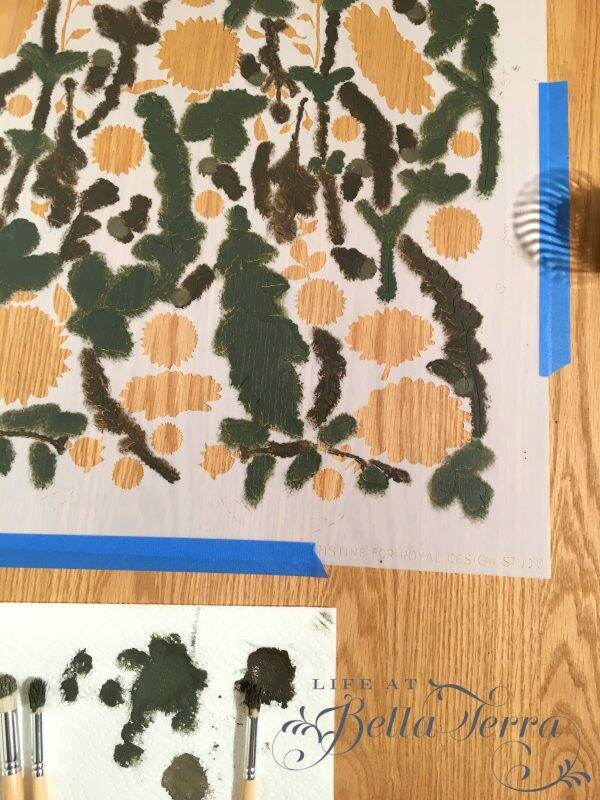
The orange flower color is a combination of yellow, sienna, raw Sienna, alizarin red, gold and copper acrylic paints (from my art supplies). Make sure you mix enough paint to complete all the flowers (or make good notes on the color of paint and quantity you are using).
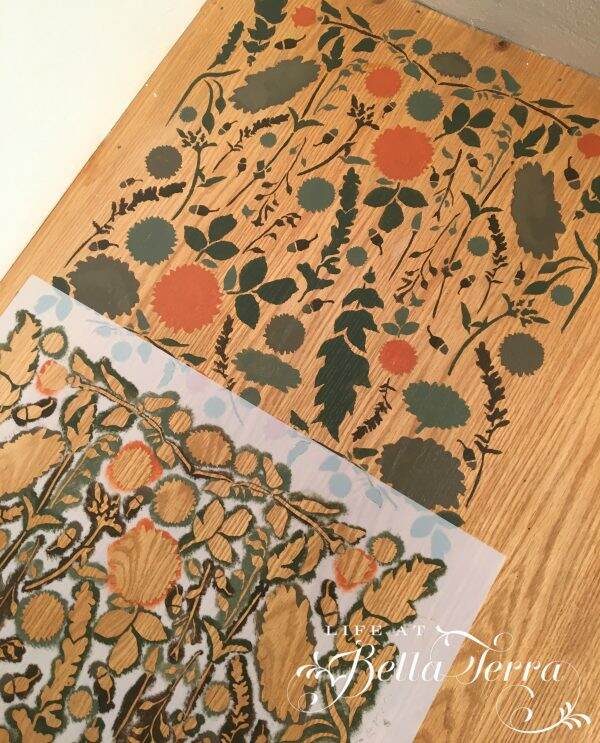
The stencil has guide marks in the border to help align the design.
Four complete stencils cover most of the landing. Look at the very unattractive edge at the top of the photo. I will cover that later with a solid 1.5” painted border.
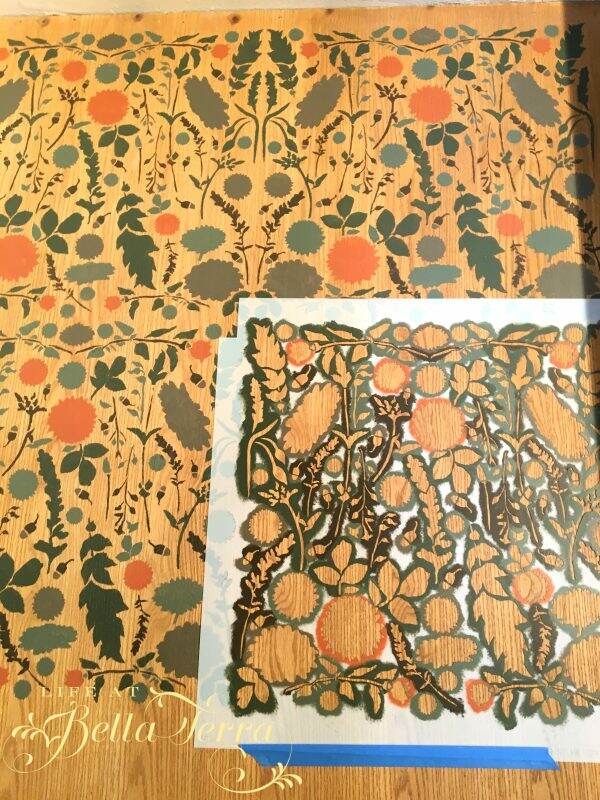
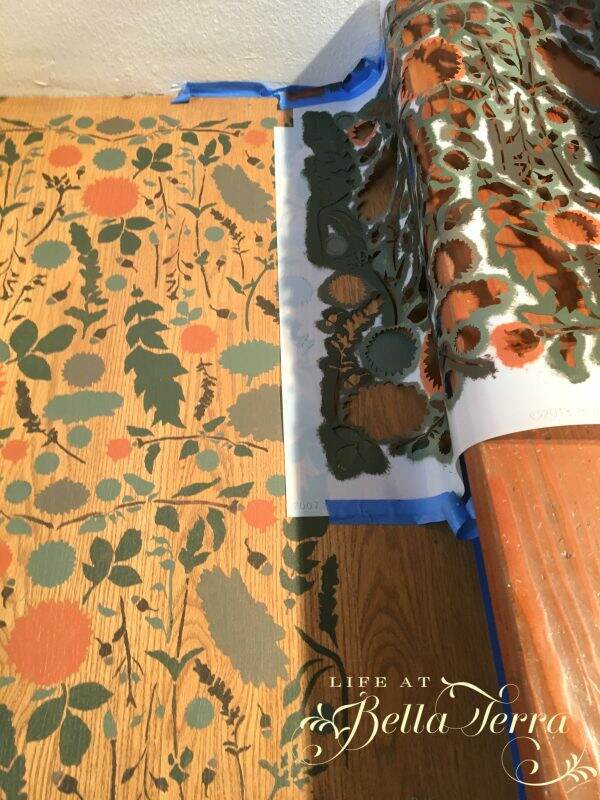
Stenciling the Edges
It is a bit difficult to bend the stencil to get the partial stencils painted on the edges but securing it with the blue tape helped.
Add a Border
Lastly I add a solid border on all four sides. Please make sure your stencil paints are completely dry. You can then tape the border size you want with blue painters tape. I also use the blue tape on the walls to protect them from any splashing paint.
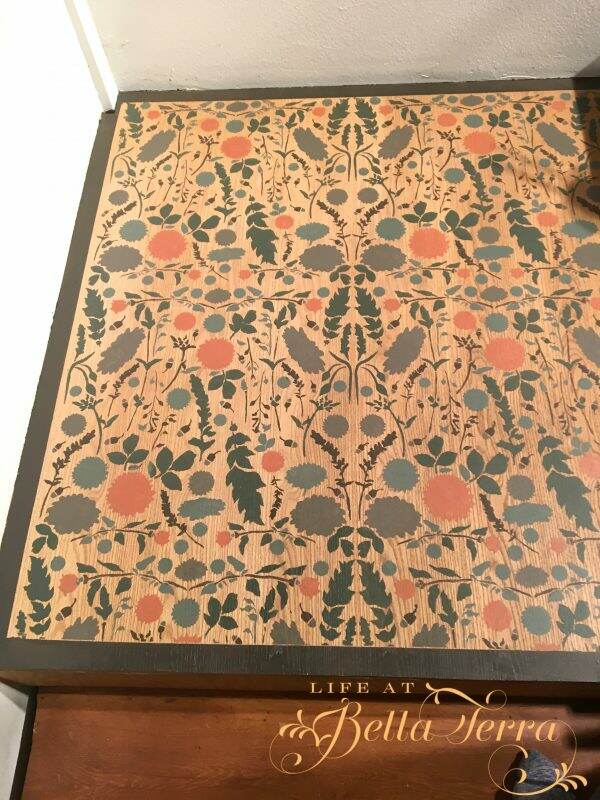
Here is a photo I took the next morning. Again, it’s hard to capture the actual colors due to the indirect light. The brown tones look blue here.
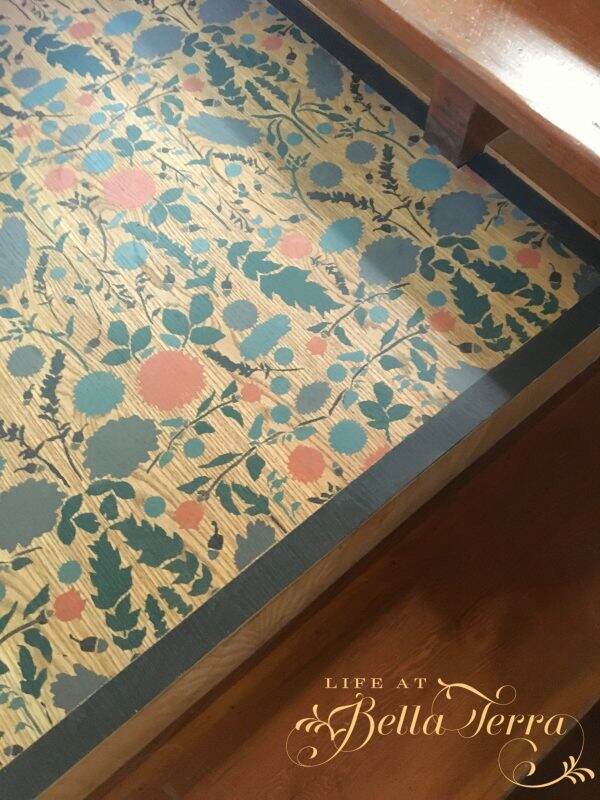
Apply Protective Layer
I will add a matte finish protective coating over the top during our next trip to the cabin.
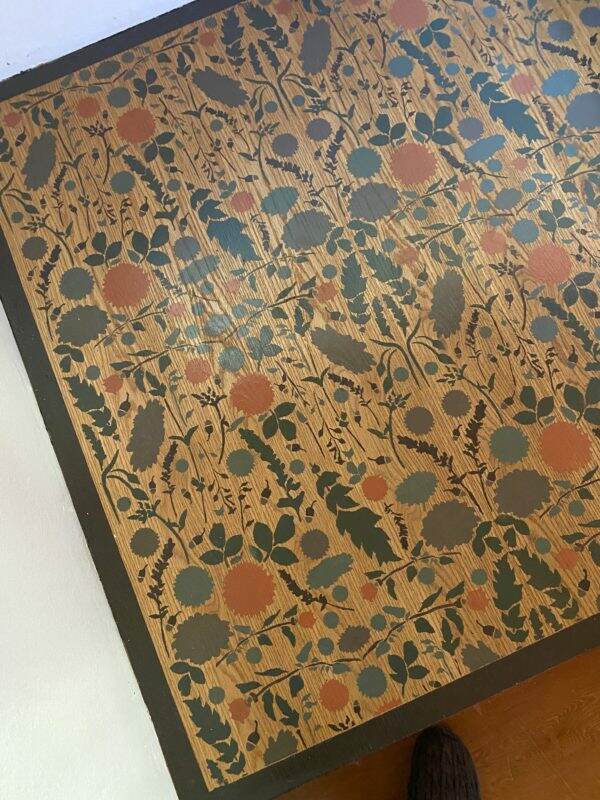
All in all, I was pleased with the end result. If you have a floor or wall that you aren’t happy with, you may want to consider stenciling it. Now, instead of an eyesore, I have a piece of original art!
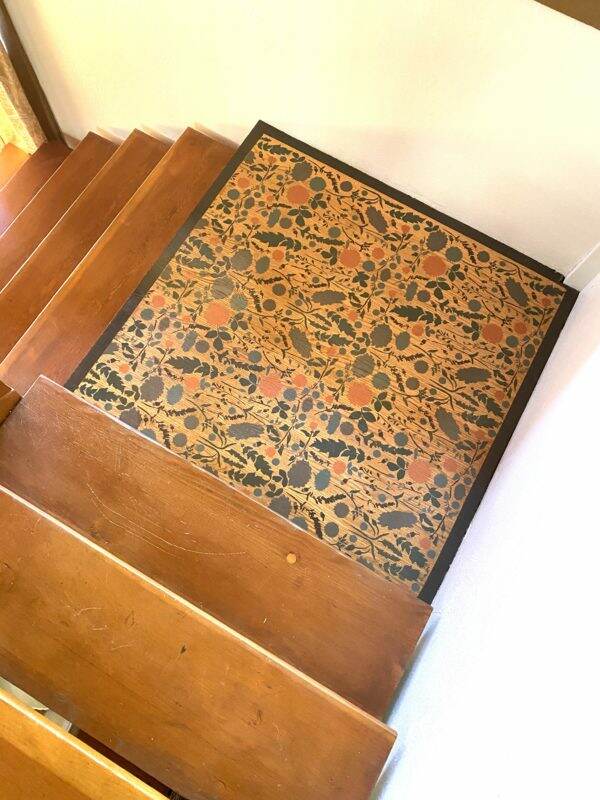
Have you ever stenciled a floor? To see my prior floor stenciling project on a concrete floor, click here. And I recently completed a DIY project stenciling a bathroom tile floor, which can be seen here. Stenciling is an affordable way to upgrade a floor, wall or backsplash.
Thank you for visiting Life at Bella Terra. If you love old historic homes, please sign up and follow my blog. As a fan of Before and Afters shots, I try to include many of them in the houses I restore. You can also find me on Instagram @lifeatbellaterra and Facebook. I so appreciate you following me and look forward to your comments and feedback.
Have a wonderful week!

If you enjoyed this post, please feel free to share with others on Pinterest.
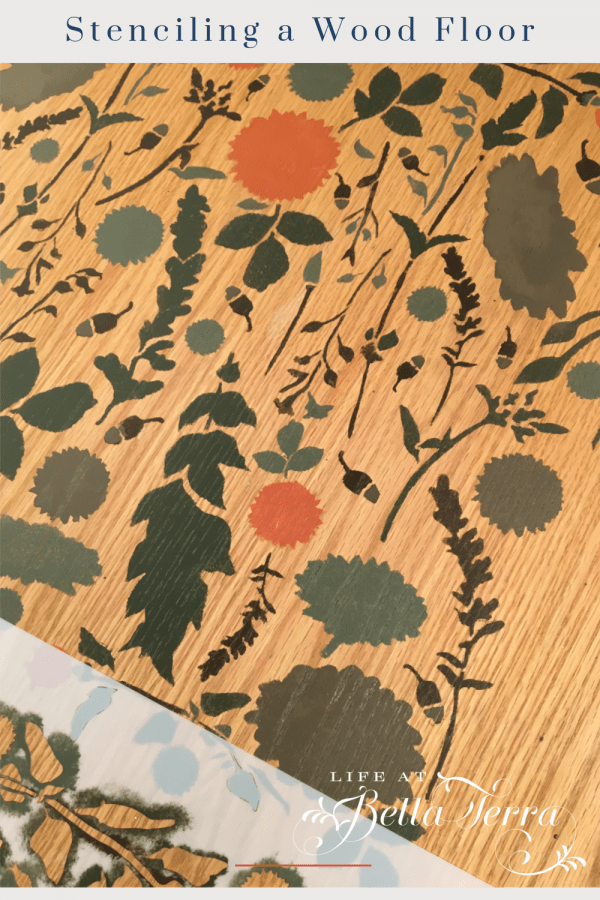
Stencil: Royal Design Stencil Forest Floor Damask
Paint: Sherwin Williams Latex Acrylic, SW 3001 Shagbark and SW3037 Shade Tree.