Getting Back to Basics

I am from the generation that grew up with one television.  The only time we were allowed to watch it was Sunday night. After a bath (there was no shower) and in our jammies, we would all sit together and watch a show.   The television was never on during the week but we didn’t seem to miss it.  Our lives were full of school, athletics and activities. 

Weekends were spent playing down the street with the neighborhood kids.  We knew it was time to come home when we heard Dad’s whistle~~you know, the one that you use your middle finger and thumb?  The one I never mastered? But the minute we heard that high pitched sound, we dropped what we were doing and ran home.

Make a connection
Sunflower in my garden

We were middle class America~~Mom and Dad and five children.  It was a good life where there was a clear distinction between right and wrong.  There were simple rules to live by, such as “if you can’t say something nice, don’t say anything at all”.

Each of us had our responsibilites~~cleaning the house, doing laundry, mowing the lawn, taking out the garbage. Dinner was always served around a big table.   We ate together as a family. We knew that Christmas and birthdays were the only time we got gifts. Grades were very important to my folks and we never wanted to let them down. My parents lived within their means.

Getting Back to Basics
Chicken life

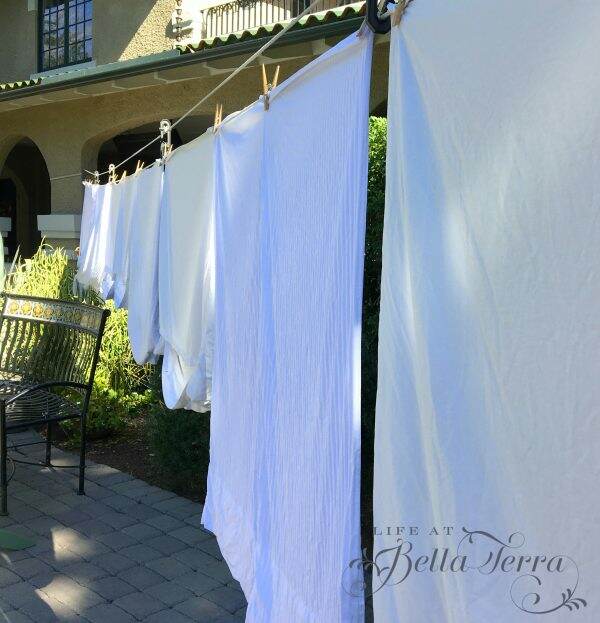
It’s time to slow down

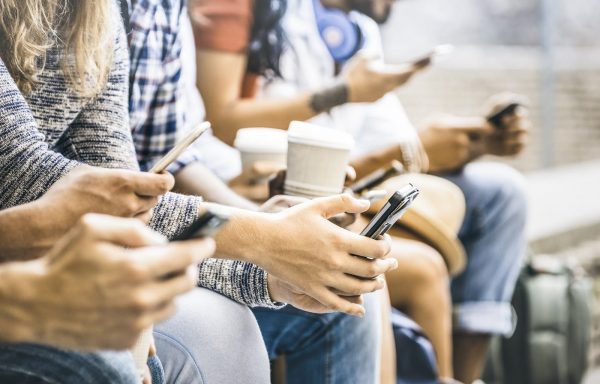
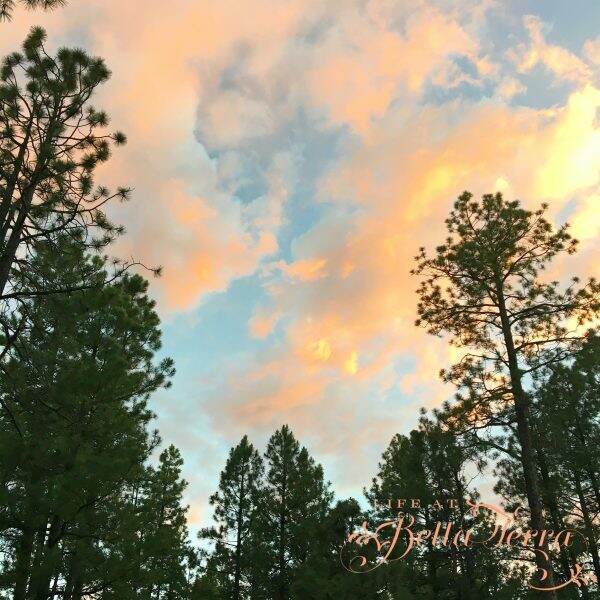
Sometimes I think the world is moving too fast.  As much as I appreciate what technology has added to our lives, it is difficult to avoid being over connected.  Facebook, Instagram, Twitter, Snapchat, 24/7 news, and the hundreds of channels accessible to us.  Am I the only one who wants to shut my eyes and cover my ears? When was the last time I laid in the grass and watched the clouds sailing by?

Lay in the grass! Look at the clouds!

The other day I realized I felt weird without my iPhone.  Remember when the only phones in the house were the wall phone in the kitchen with the extra long cord and the extension one by the parent’s bed?  And you could listen in on someone’s conversation if you slowly and quietly picked up the other receiver?

The need for simplicity

I don’t want to sound like an old person but I long for some of that simplicity.  We NEED the quiet, the simple, the honest, and the genuine. Our souls are not fed by the number of Instagram followers we have nor the number of likes on Facebook.

My flower garden

I had a social media epiphany lately.  After researching all the ways to get more followers, more likes, more exposure, I realized I was spending hours checking social media.  Today, I finally put down my phone and thought, “what the heck am I doing?”

My friend, Connie’s cat

All this research was supposed to help support my blogging. But when I really stopped to think about it, I was straying from my core values. I felt like I was going down the wrong path, trying to become something that didn’t feel honest, genuine or simple.

Starting this blog did not include the goal of making money or getting advertisers.  It was born from the loss of both my parents…a way for me to document life in order to perhaps slow it down. And here I was trying to increase subscribers, viewers, likes, etc. and wasting hours of my day.  For what?

Art Exhibit at Hirshhorn Plaza, DC

Why I blog

Here are the reasons I started Life at Bella Terra.

1) In this crazy and often cruel world, I want to capture simple goodness.  I want to provide to you, my subscribers, a place that is beautiful, creative, thoughtful, educational and interesting.  Every day I am so grateful for my life, my world, my family and my home.  This gratitude is worth sharing.

Getting Back to Basics | Put Down Your Phone
A good summer harvest

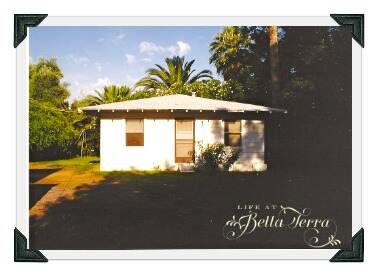
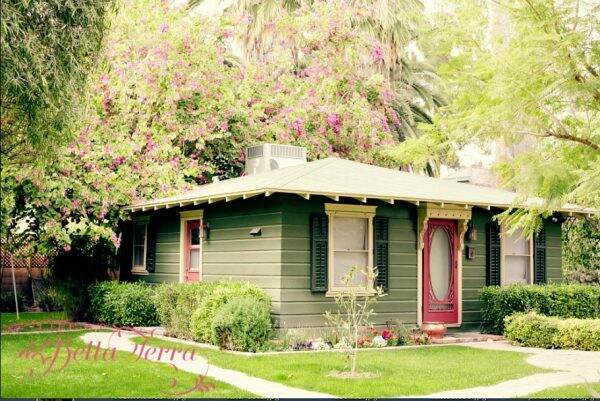
Bella Terra is a safe harbor for our children, a warm place for our friends and family, a historical gem for our city.  We are its guardians. In what feels like an unsafe world where you are cancelled for having your own thoughts and opinions, everyone is welcome here.

Old Italian fountain in our front yard

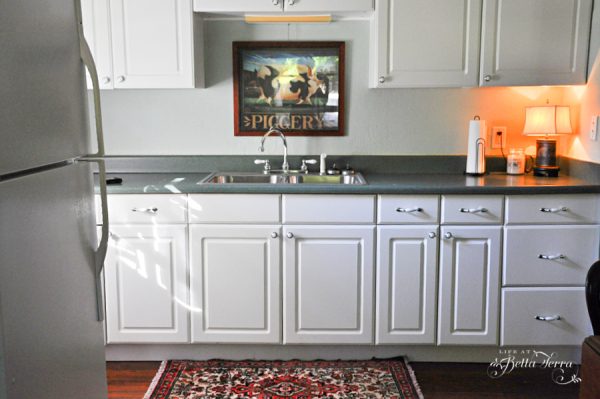
2) This blog allows me to look at my life through a different lens.  When you spend a great deal of time in a place, it is a challenge to look at things objectively.  How did I not see the really ugly paint color in my kitchen?  However, I did see it in my photographs.

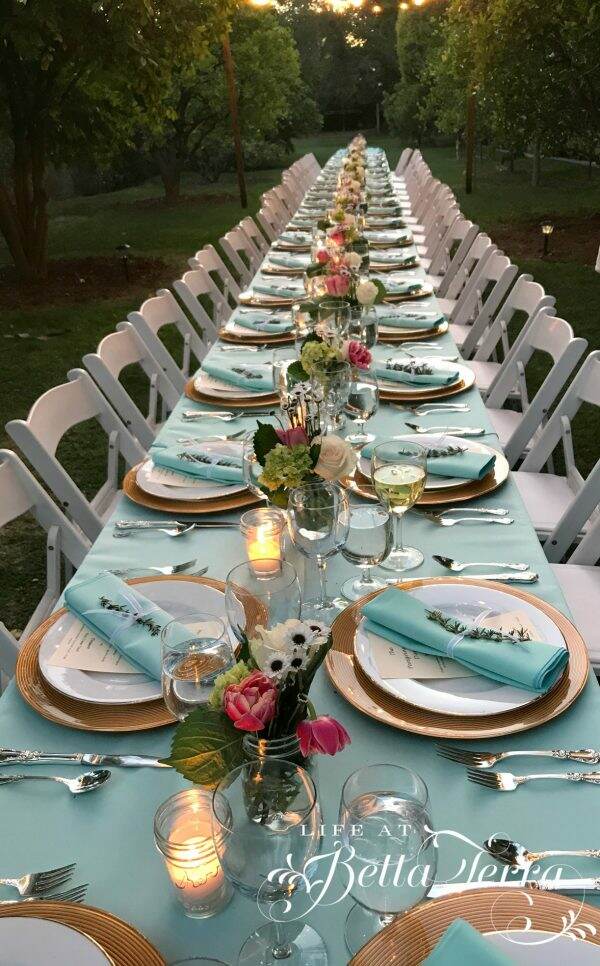
When I set a table, it looks good to me.  In a photo, the silverware is cattywampus and how did I miss all the dust on the table?  I’m learning something new every day. I am seeking more grace in my daily activities.

Dinner in the Orchard

3) This blog is a living diary.  I try and share what makes me happy, what inspires me, and perhaps something new that I have learned.  I am excited to share that with you. It is with great hope that what makes me happy, makes you happy.

A favorite cup of Joe

Quite honestly, I don’t care about Instagram’s algorithm.  Nor am I feeling as if I have to post something every day.  I have a life to live and why would we want to waste precious time staring at our phones or spending hours on our computer?

My personal goals are to post something on Tuesday, Wednesday and Saturday. However, I will blog only when I am inspired to share something with you, not because of some fake deadline or sense of responsibility. 

Fresh and clean

Thank you for listening to my revelations about blogging and Life at Bella Terra. As always, I love hearing what you like about this blog, what you would like to see more of, and while you’re at it, what you don’t like.  If you family or friends are needing a bit of beauty, I hope you refer them here.

My artwork

So if you feel like life is spinning a bit out of control, put down your phone, turn off the television.  Make a connection with someone you love or someone you would like to get to know better.  Help someone in need. Find depth and meaning in the simplest of things. The world needs more love, honesty and human connections. We do need to care for ourselves while being graceful and patient with others.


7 Ways to Look and Feel Younger

Gardening is therapeutic

Let’s face it. We all get older. But don’t you find it interesting that there are people in their 70s that have more energy and joie de vivre than some people in their 40s? What is the secret to living life to its fullest and looking good in the meantime. I certainly don’t have all the answers but here are some ways I try to look and feel younger. Making an effort to improve your health, attitude, appearance and spiritual connections will enhance your life.

1) Posture and Shrinking

Working on your posture is W.O.R.K. However, if you do not, you will eventually be stooped over, look shorter and older.

There are several reasons why a person may lose some height as they age: osteoporosis, flattening of the feet, dehydration (which can cause our spinal discs to compress), stooped posture due to loss of core muscle strength.

The good news is that you can improve your posture and slow down shrinkage by exercising and eating right. Calcium and Vitamin D are key to building strong and healthy bones – but vitamin C and vitamin K also play an important role in bone health.  Strength exercises are a must, whether lifting weights, playing tennis, running or jogging, as they all contribute to bone health.

Bad habits. Photo from 123RF

Bad habits that contribute to shrinking include slouching, a lack of physical activity, smoking, drinking alcohol or caffeine excessively, extreme dieting, taking steroids and poor nutrition.

Four years ago I had my first bone scan and I was surprised to find out that I have some bone density loss. Actually, it made me mad because at that time I was working out 6 days per week. So I consulted with my chiropractor, started using bone building supplements and changed my workout routine. The latest bone density scan test results show a big improvement~much to the surprise of my doctor. I am nearly back to normal bone density.

I take Strontium (one capsule) from Ortho Molecular Products every morning.

And I take 2 Bone Builder Forte from Metagenics at night.

Please check with your doctor before taking any supplements. You can find these on Amazon.

Admittedly, during the pandemic, my exercise program took a bit of a nose dive. Even though I tried keeping active, it’s not the same as working up a sweat and pushing yourself. Trust me, I groan nearly every time I need to go and workout. But if we don’t put in the time, we will never get the positive results.

2)Sitting is the New Smoking

Photo from Posturite.co.uk

Get up and move. I try to limit the time I spend at my computer writing this blog, and I am always trying to practice good sitting posture. When I walk, I squeeze my shoulders together and engage my gluts, while holding in my abdomen. This very hard task isn’t something I am yet to retain throughout my walk, but I keep trying!

My Pilates instructor, Heather at Maximum Pilates

I cannot say enough about Pilates as I take a one hour class twice a week. This gets me to move in ways I typically wouldn’t and it is part of my weekly exercise program. Pilates keeps your core very strong which also helps with your posture. And it’s a wonderful community of like-minded women, who are trying to age the best way we can.

3) Keep Hydrated

Pretty ways to help me drink more water

Dehydration negatively affects the body in several ways. It is the main cause of heat exhaustion. It also leads to a loss of strength and stamina. Chronic dehydration will lead to kidney problems. For some reason, I have not been drinking enough water. Please join me in trying to drink half your body weight in ounces every day. There is a quick way to tell if you are not drinking enough. Check your urine. It should be a light straw color. And being hydrated plumps out the wrinkles!

4) Care for your skin and hair

Petting dogs lowers your blood pressure

Dry skin and dull hair just makes you looks older. There are so many products available at all different price points. Invest in a good haircut. Keep yourself groomed. It only takes a few minutes to tidy yourself up if your are going out in public. You will feel better and as a result, look better too. Haircut by Roscoe at Pucci Salon.

5) Are you Happy?

We all look much better if we are smiling. Smiling is an instant face lift. Are you happy? If not, what can you do to add happiness to your life. Though life can certainly throw you curve balls, happiness can be a choice…..your choice.

My friend, Chloe recently sent me this quote from Pavana Reddy. “Your soul is attracted to people the same way flowers are attracted to the sun. Surround yourself only with those who want to see you grow”.

Quite honestly, dump those people in your life that are energy vampires. Life is too short to be robbed of your spiritual essence. Be happy. Keep smiling. To see my post about the Importance of Smiling, click here.

6) Limit your Media time

Photo from TMS Center, Lehigh, PA

I no longer watch the news. It is the best thing I have done this year to promote positivity in my life. And I don’t care if I am not informed. So much of the news isn’t really news, but opinions and if something is monumental, I will hear about it. The benefits are enormous as I am no longer spending a few hours a day watching television and getting frustrated. Now, if I do watch television at the end of the day, it’s something happy before I head to bed.

Getting off of my smartphone is another goal of mine. There are some benefits with checking in a few times a day but if you find yourself spending hours watching other people’s lives, then it may be time to put the phone down and use that time for yourself. Studies show a correlation between social media and depression. For more information on this, click here.

7)Care for Others

Photo from Benchmark One

If you focus your efforts on helping others, it’s amazing how good you will feel. Pick up the phone and call a friend. Help a neighbor or an animal. Get involved in your community. So many people need a helping hand and doing so will take your mind off your own problems and give you a sense of well being.

There are so many things we can do to increase our happiness and health. One of my top blog posts of all time, 10 Tips on Aging Well is full of even more information. See it here.

I am constantly trying to be a better, kinder, and more interesting person. My goal is to be active and as healthy as I can be until the day I die. Please share any tips you have on staying young at heart. We need to keep motivating each other!

Happy Tuesday, sweet friends!

If you enjoy this post, please share on Pinterest.


Organizing the Kitchen Pantry

I am getting ready for turning 60 pounds of fresh tomatoes into jarred tomato sauce, so having enough room in the pantry is critical. It seems that every few years I need to organize the kitchen pantry. Here is the story of before and after and how I use this small, yet efficient space. The pantry is original to our historic home so all the narrow shelving and bead board reflect kitchen life over 100 years ago.

The Before~Messy and Unorganized

As embarrassing as this is, I have to show you the “before” picture of my kitchen pantry.  How do things get this messy?  It becomes the room that we just toss stuff in.  You can’t even walk inside.  Moan. After hanging onto the door frame and stretching long and reaching in, nearly breaking my neck, I decide it was time to clean it.

Messy pantry

Sorting and Organizing

This first step is removing everything from the pantry. There is a breakfast table nearby for easy access to stack and see what items are actually currently in the pantry. I throw out all the expired food (2017, really?) and donated all the “near” expiration dates and those items I have multiples of (way too many garbanzo beans). Surprisingly, this removes a good percentage of the canned goods.

Organize cans alphabetically

All the food items are now organized alphabetically.

Making a decision on how to use this space may vary per family member. I use this for all canned goods, back up supplies (plastic wrap, coffee pods, etc.) and cookbooks.I do not use this for small appliances that I infrequently use (such as a crockpot). But when you live with others, they can just dump things in here when they don’t have a better location. That is always a challenge.

Beverages are now organized and in one place. The open shelves allow a quick glimpse to see what is in stock.

Do you have alot of recipes?

I finally sort and organize piles of recipes I had cut out of magazines or printed off the internet. Years ago, when I was busy with 3 little children, I hired my friend Linda to sort and organize my recipes.  She created these fabric covered binders which I use ALL the time.

Each recipe is in a plastic sheet protector which proves beneficial around this messy cook.

After my aunt passed away, I was delighted to get her handwritten recipe cards. I am currently looking through and sorting them. What a fun glimpse into foods from decades ago. These will be placed into the binders in their appropriate tab.

My late aunt’s recipes

I reduced my cookbook collection significantly, only keeping those I use frequently or cherish.

Staying Organized

Shelves are labeled so hopefully, other family members will know where things are located.

Cleaning out this room made me realize we don’t need to buy Ziploc bags for a long time! It also helps to create a grocery list where items are needed and encourages me to use those products where I have multiples.

My sweet husband polished all the copper Martha Stewart cookie cutters I purchased long ago.  The salami and cheese ball are fake, but fun to use when staging for a party.  The miniature utensil rack is a gift I received several years ago from my sister, Joanie. No reason not to make your pantry pretty.

The After

Here is the “after”:

Ok. So I’m a little giddy over this.  I can actually walk in the pantry, finally!

There are 9 foot ceilings in our home and I use the upper sections for hanging large platters that don’t seem to fit anywhere else.

The original pantry had one door that unfortunately would swing right into the adjacent door to the basement.  We resolve this by putting in two narrow swing doors with metal mesh screens.

We feel so fortunate to have this space within the kitchen area. As I try to can and preserve food from either the garden or a local farmer, this space is ideal.

Canning tomatoes

Often I am inspired to tackle a project after seeing someone else sorting and organizing. Hopefully you will feel a need to tidy up an area of your home after reading today’s post.

Have a wonderful week!


Take a Peek into Our Guest Cottage

I’ve had a few requests to share pictures of the guest cottage interior. This sweet small building sits in the quiet northwest corner of our property and is very secluded from the main house. We estimate the age of the guest cottage to be from the 1930 to 1940. So let’s take a peek.

I recall the first time we toured the house with the realtor. When we opened the side door to the guest cottage, you couldn’t see in as it was packed from floor to ceiling with stuff. After some substantial cleaning and a second visit, we did get a glimpse inside only to find the entire bathroom ceiling on the floor and in the tub. Apparently, a roof leak several years earlier caused the collapse and the debris was left for years. Sigh.

Here is a photo of the guest cottage when we bought the property back in 1999. The guest cottage became the first building to undergo a complete renovation, as we needed a place to work, meet with contractors and put up guests who were courageous enough to visit our job site.

Size and Space

The guest cottage is approximately 576 square feet and has one bedroom, one bath, a living room and eat-in kitchen. It has everything anyone would need including a washer/dryer and its own parking space.

Guest cottage exterior

The guest cottage has the original single paned window on a rope and pulley system. Note the large roof overhangs which keeps the direct sun off the sides of the cottage. Old green shutters are from France and a thrifting find. The front door overhang is a custom made piece to help accentuate the front entrance. It is clad in a type of shiplap-style siding before shiplap became so trendy.

Behind the cottage is a very large, mature Hong Kong orchid tree which provides a colorful backdrop with its fragrant purple blossoms.

By the front door an old vintage/antique mailbox hangs below the lantern. To see how I updated this sweet old mailbox, click here.

Interior

When you enter the front door you arrive in the living room. There is no foyer or hallway. The floor is carpeted with a thick berber rug. Vintage wood framed pictures of mallards hang on the wall. A skirted table sits in the corner allowing additional storage below.

Sofa is a pull out queen bed

To the right of the sofa is a small scaled secretary with a writing desk. The wing chair provides extra seating.

Secretary provides a work space

Though not ideal, the wicker coffee table is a $35 find at a second hand store. I really need to find a rectangular or oval table. The pull-out sofa and loveseat are Ethan Allen purchases from decades ago (really..) and covered in Sunbrella fabric. Same with the wing chair.

Since the guest cottage is heavily shaded, the living room tones are neutral with soft blue accents.

Cozy seating
Faux peonies and coffee table books

All the accent pillows are from a previous Pottery Barn purchase but you can find beautiful pillows online for great prices, like these 2 gorgeous ones here for only $14.99!

Across the room from the sofa is a distressed white console and a wall for the television.

Console under television

The Bedroom

The bedroom’s grand carved headboard is from an 1897 Victorian house I owned in Alameda, California.  The previous owner left it in the master bedroom and it has moved with me to each house ever since. 

Victorian bed

Lampshades and decorative pillows are from Pottery Barn.  The matelasse coverlet and sheets are from J.C. Penney. I really love this coverlet and I’ve been unable to find another one. The skirt to the bed is the same coverlet but in white. The edges are scalloped and it is a nice weight.

The JC Penney store by us has closed and not sure what their status is~but I always had good luck with their bedding.

Blue matelasse coverlet
Decorative pillows from Pottery Barn

The Bathroom

The full bathroom has a stackable washer/dryer and plenty of storage. The mirror over the sink is from an old dresser and the wall lamps are added to the frame. Walk-in shower and plenty of storage in this small room.

Vintage lighted mirror over sink

Kitchen

The kitchen is actually a pretty good size and is fully equipped with a gas stove, refrigerator, dishes, pots and pans and silverware.

Guest cottage kitchen

An antique drop leaf table allows more dining for guests. Both the kitchen and the bathroom have engineered hardwood plank flooring. It’s hard to believe that something with this small square footage has everything you need!

Eat-in kitchen

The journey to the guest cottage is a bit magical as the walkway is through an arch of vines. During the spring, the arch is covered with fragrant white clematis. Not only do our guests enjoy their privacy tucked away in this corner of our property, but we do as well.

I hope you’ve enjoyed peeking into the guest cottage! Happy Wednesday!

If you enjoy this post, please share or save on Pinterest.


My First Key Lime Pie

This post is one of my most viewed and it is the perfect, easy dessert for a hot summer day. Since we are driving back to Phoenix today, it is a good time to share this oldie but goodie.

I have never made a key lime pie….ever.  I did try my hand at Lemon Meringue once and it was a total disaster.  We were at Ranch Market this the weekend. They had key limes for $0.99 a lb. and I couldn’t resist buying a big bag of them. Remember, key limes are the very small and yellowish-green.

Key Lime pie

Though the limes I use in this recipe are more green, the produce manager assures me these are key limes.

There are quite a few different recipes for key lime pie~~with and without eggs.  The recipe I select is from Allrecipe because it is customer rated with 5 stars. There are just a few ingredients you need for this pie~graham crackers, sweetened condensed milk, sour cream, butter, sugar and cinnamon.

Pie ingredients

The Crust

You can use either a store-bought graham cracker crust or it’s very easy to make your own from scratch.

Here’s how to make the crust. For 1 1/2 cups of finely ground graham crackers, I use approximately 1.5 packages of graham crackers.  Using the Cuisinart, it takes a few seconds to pulverize the crackers into crumbs. You can also put the crackers into a Ziplock bag and use a rolling pin to crush them.

Crush the crackers in the Cuisinart

Has anyone else noticed how small graham crackers have become?  I actually googled it and there have been numerous complaints on the reduction in size and diminished taste.  Graham crackers were a favorite childhood treat, but now they seem a bit skimpy. I digress…

Crushed crackers, sugar and cinnamon

Back to the pie. Add sugar and melted butter to the crushed graham cracker crumbs.  Cinnamon is optional but I include it in this recipe. Mix well.

Press the mixture into a 9 inch pie plate~~I use a small measuring cup to tap the crumbs down.

Use a small cup to pack crust

Due to the butter, the crumbs stay in place and adhere easily to the side of the pie pan/dish. As a side note, my favorite pie plates are Pyrex. There are so many sizes to choose from but here is a link to pie plates.

Bake the pie crust for 7 minutes.

Bake it at 375 degrees for 7 minutes.  Cool before adding the filling.

The Filling

To make the key lime filling, squeeze the tiny fellas until you get 3/4 cup of key lime juice. It takes approximately 19 limes (14 or so limes = 1 lb.) and fortunately my strong son did all the squeezing.

This is the BEST hand-held juicer from Zulay that works for both lemons and limes. Honestly, I use this kitchen tool ALL the time.

Squeezing lime juice

The lime zest is an important ingredient in this recipe as it helps step up the citrus flavor. By the way, I LOVE this zester by Microplane. The handle comes in all different colors. By far, this is the best zester I have ever owned. Not only do I use it for lemons and limes, but for grating fresh nutmeg too.

You can use a stand mixer or hand-held one, or a good strong arm will do to mix the sweetened condensed milk, sour cream, lime juice and lime zest together.

Mix the filling

Pour the filling into a COOL crust and bake for ONLY A FEW MINUTES.  I was so surprised that this didn’t require more time in the oven (5-8 minutes).  DO NOT BROWN!

Bake for only 5-8 minutes

Here is what it looked like after I took it out of the oven. Note the tiny pinhole bubbles just on the surface.  Chill pie thoroughly before serving.

The Topping

You can make your own whipped cream using this professional whipped cream dispenser or purchase a can of Redi-Whip. Someone once gave me a whipped cream dispenser as a gift and it’s the only way we make whipped cream. All you do is pour in fresh whipping cream, sweeten (or not) with confectioner’s sugar and use a small nitrogen (N20) cartridge. Within seconds, you have whipped cream.

There are several varieties of whipped cream dispensers at various price points. Since we seem to use ours all the time, we have a more expensive one here.

Top the pie with fresh whipped cream and lime slices.

If there is any pie left, refrigerate it until someone comes looking for a second piece!

Bon Appetit! Have a wonderful day!

If you enjoy this post, please share on Pinterest.

Here is the recipe for Key Lime Pie by Allrecipe:SaveSaveSaveSaveSaveSaveSaveSaveSaveSaveSaveSaveSaveSaveSaveSaveSaveSaveSaveSaveSaveSaveSaveSaveSaveSaveSaveSaveSaveSaveSaveSaveSaveSaveSaveSave


Key Lime Pie

  • 1 9" prepared graham cracker crust
  • 3 cups sweetened condensed milk
  • 1/2 cup sour cream
  • 3/4 cup key lime juice
  • 1 TBSP grated lime zest

Graham Cracker Crust

  • 1 1/2 cups finely ground graham crackers
  • 1/3 cup white sugar
  • 6 TBSP butter (melted)
  • 1/2 tsp ground cinnamon
  1. Preheat oven to 350 degrees F (175 degrees C).

  2. In a medium bowl, combine condensed milk, sour cream, lime juice, and lime rind. Mix well and pour into graham cracker crust.

  3. Bake in preheated oven for 5 to 8 minutes, until tiny pinhole bubbles burst on the surface of pie. DO NOT BROWN! Chill pie thoroughly before serving. Garnish with lime slices and whipped cream if desired.

To Make a Graham Cracker Crust

  1. Bake in preheated oven for 5 to 8 minutes, until tiny pinhole bubbles burst on the surface of pie. DO NOT BROWN! Chill pie thoroughly before serving. Garnish with lime slices and whipped cream if desired.

  2. Bake at 375 degrees F (190 degrees C) for 7 minutes. Cool. If recipe calls for unbaked pie shell, just chill for about 1 hour.

Dessert