Hand painting Furniture
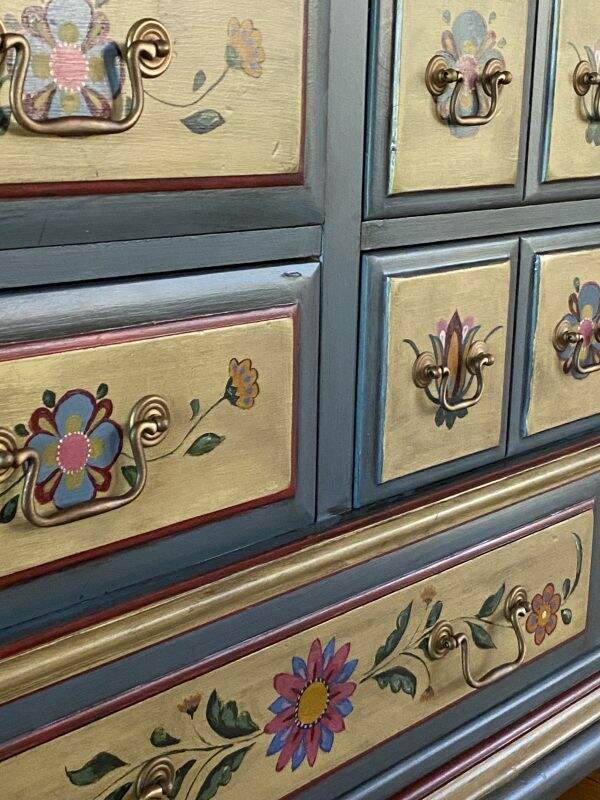
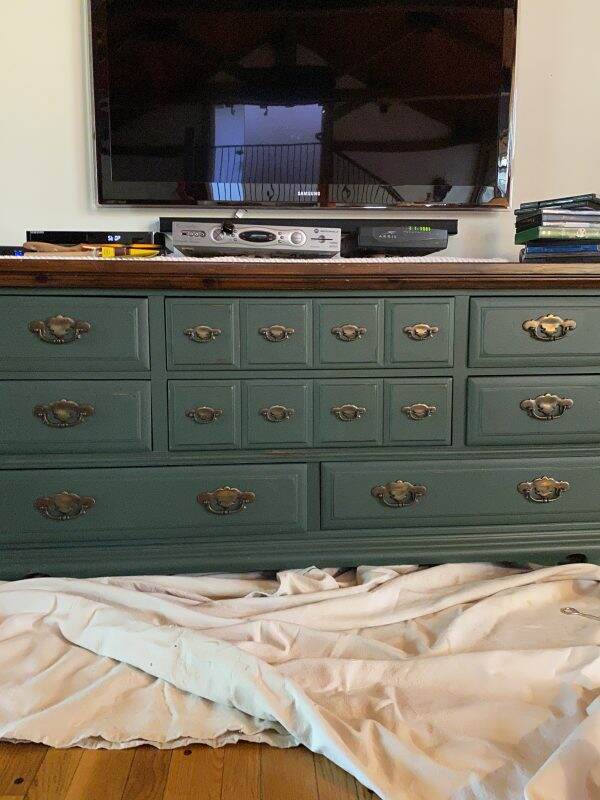
When we purchased our cabin, the previous owner left a few pieces of furniture. I don’t consider them to be my style, yet it is nice to have furniture already there that doesn’t require moving. This plain, brown dresser is a large piece left behind that we moved into the family room. Placed under the flat screen television it houses all the television equipment and family games.
The Original Cabinet
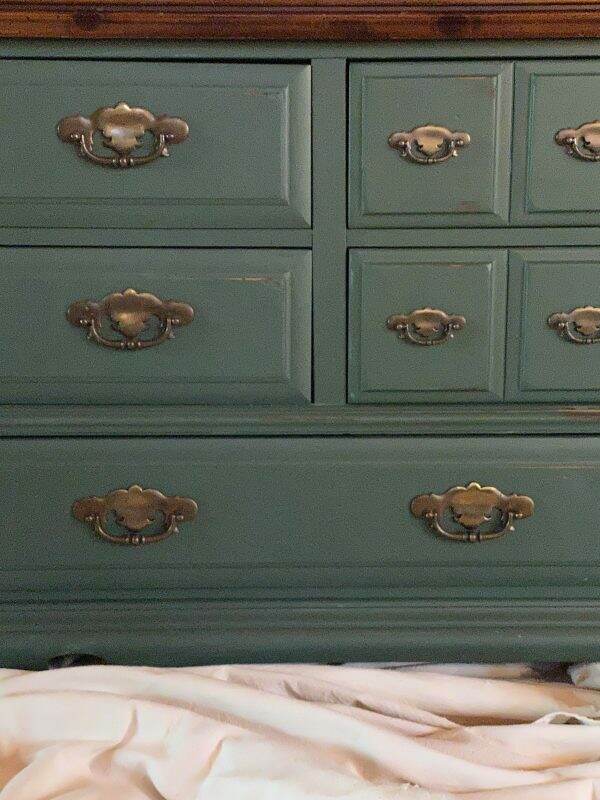
A few years ago, my daughter and I painted it green, sanding the edges for a rustic effect. We left the top of the dresser the original brown. The drawers in the middle look like 8 individual small ones, but they are really 2 large drawers with 8 small pulls.
The Inspiration
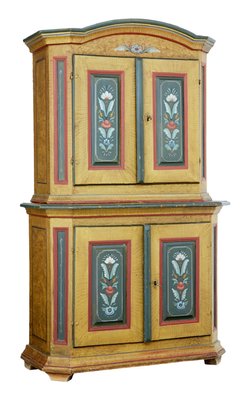
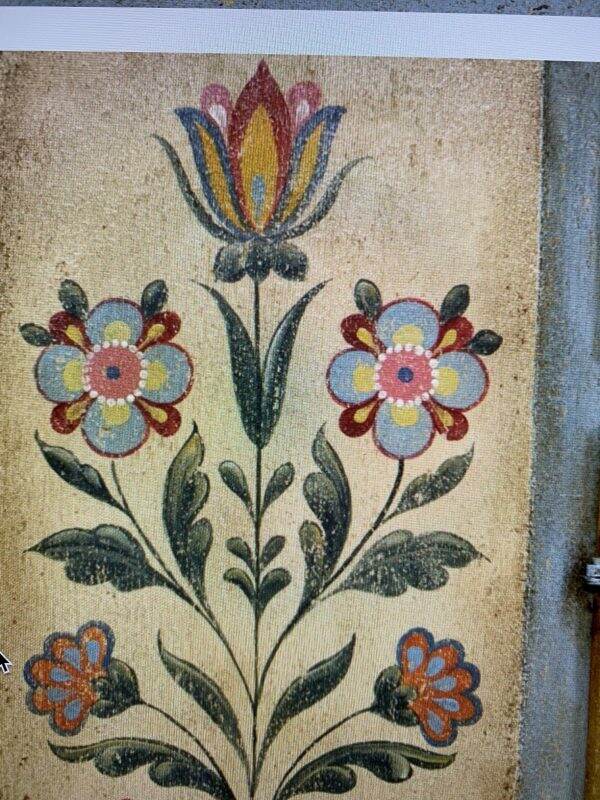
As you know I am trying to add a more Scandinavian/European flair to the cabin (see that previous post here). Since I have never been in love with this piece, the decision to hand paint it made sense. Searching the internet for hand painted Swedish antiques, I am inspired by these photos.

The Plan
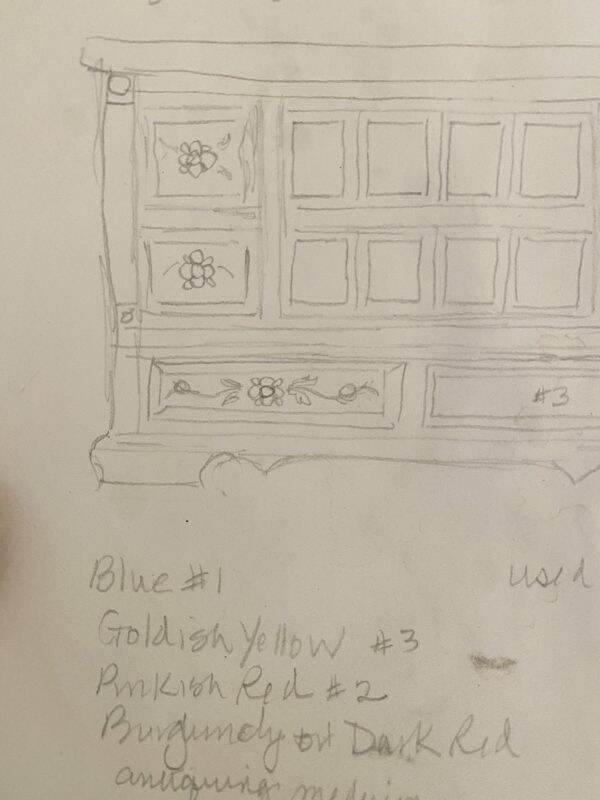
Starting with a rather rough sketch, the design and colors are developed.
The actual flower design is inspired by this photo.
Painting the Base
The blue and parchment paint choices for the base cabinet are historical colors from Benjamin Moore. Instead of getting full size quarts, I purchase these in sample sizes from Ace Hardware. The deep red is leftover paint from a previous project. The actual colors names are up at the cabin but if you need them, let me know.
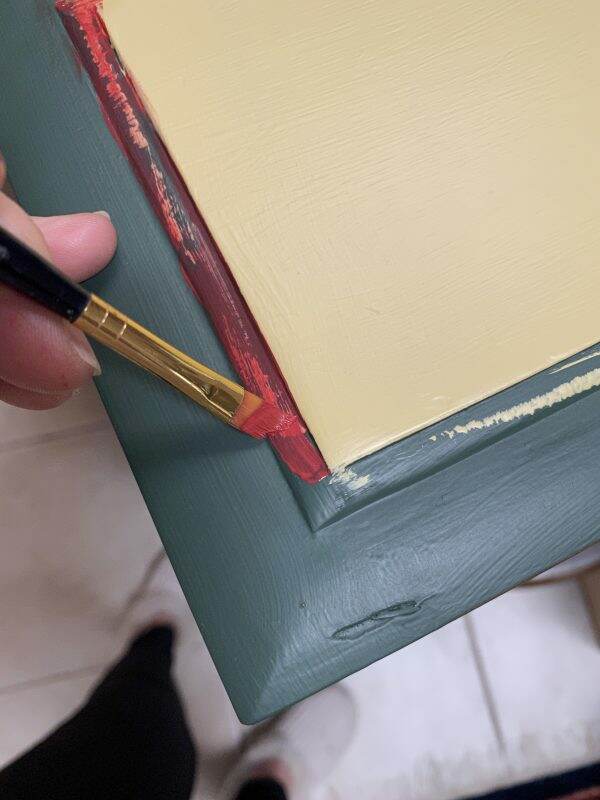
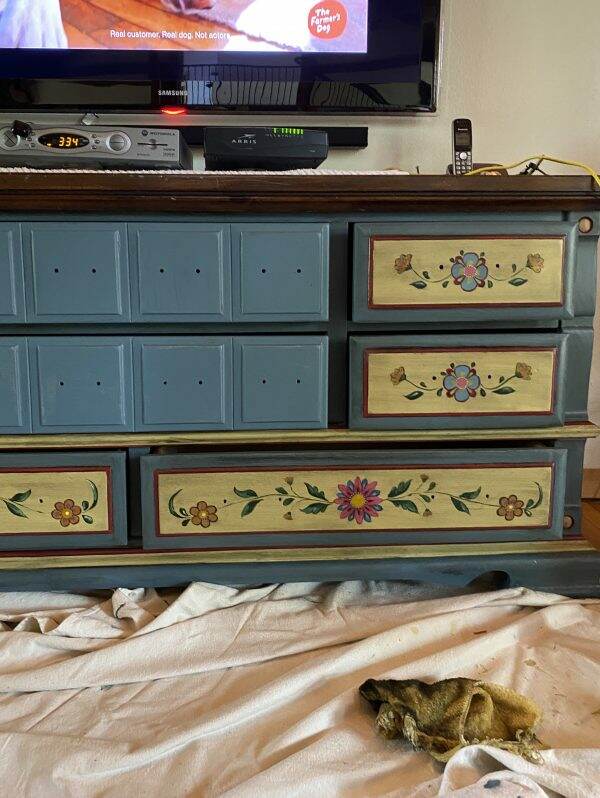
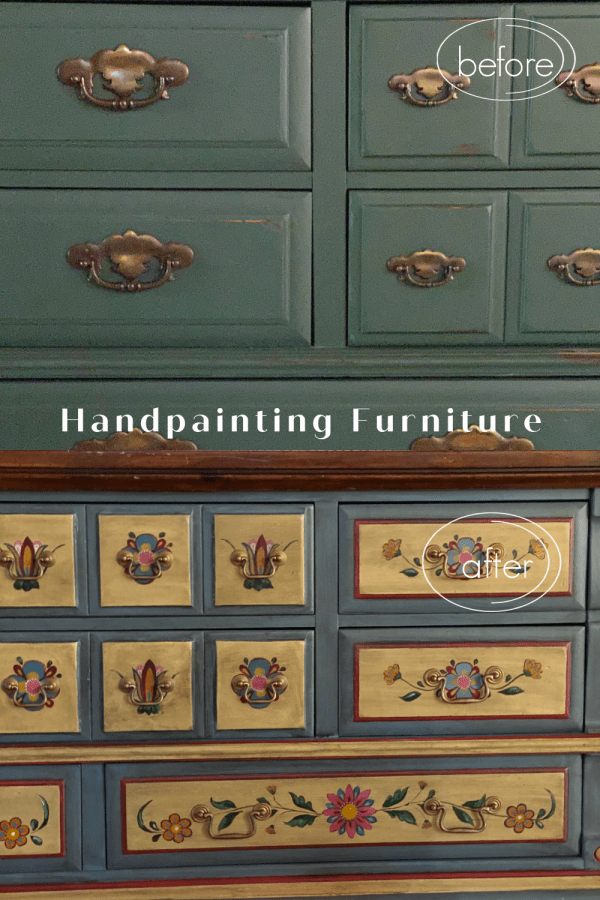
Most of the cabinet is painted blue; the drawer faces are parchment, and the drawer detail is in red. I do need to put on two coats of paint to completely cover the previous green. The hardware appears dated to me and I am looking for drawer pulls that are less bulky and intrusive.
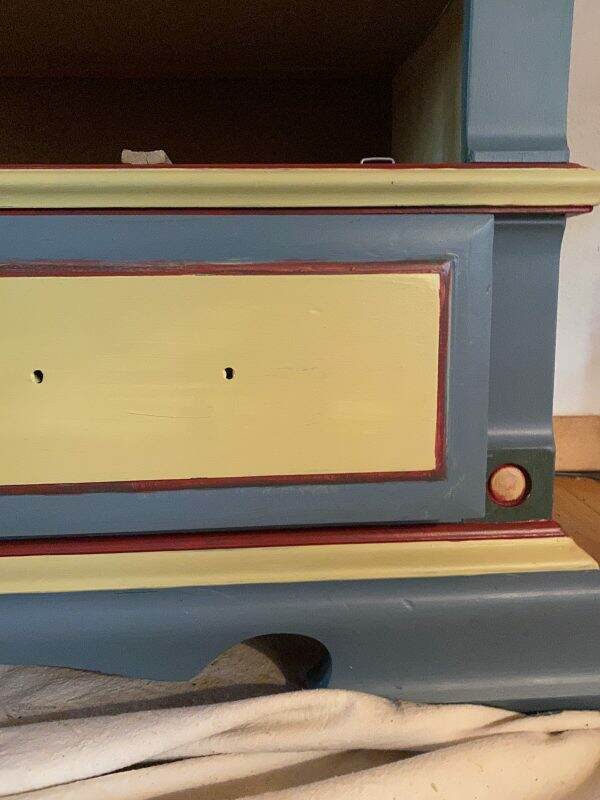
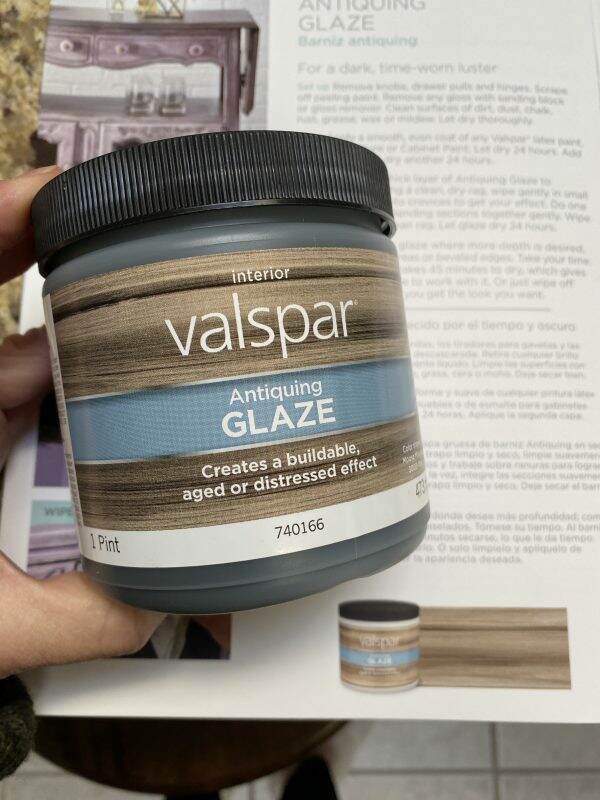
At this point, the parchment looks more yellow and I am hoping to add an antique glaze at the end to tone everything down a bit.
Adding the Detail
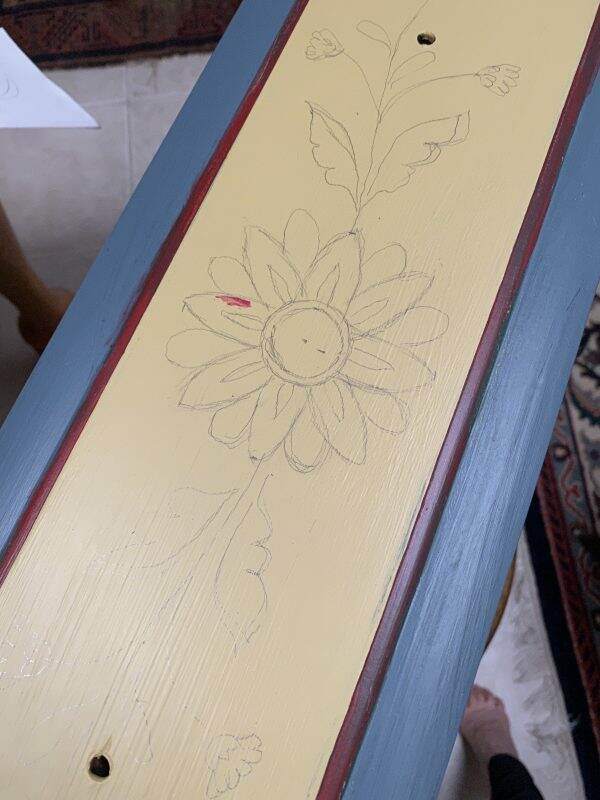
Next, I hand sketch the design on the larger drawers. Using my acrylic paints, I select the color combinations I want to use. Any mistakes I make I figure I can clean up later.
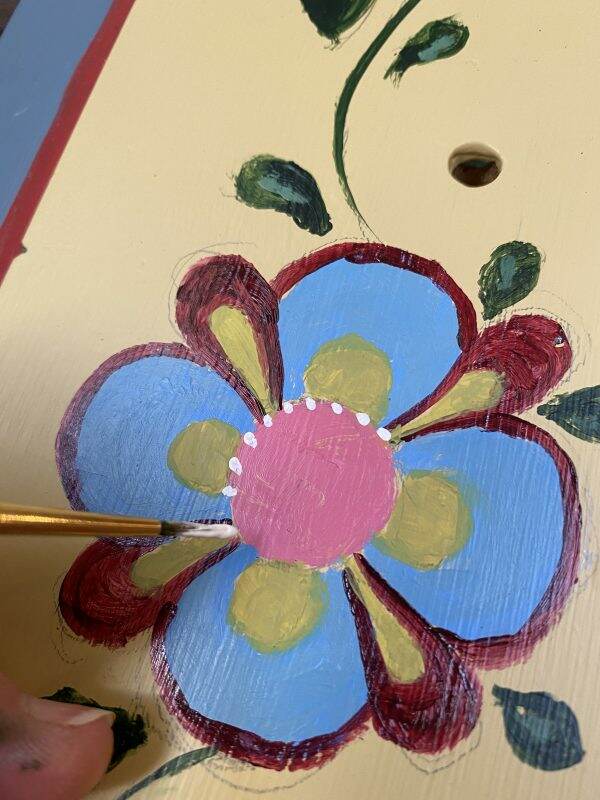
I paint the large drawers first (2 of them) and then continue with the smaller drawers (4 of them).
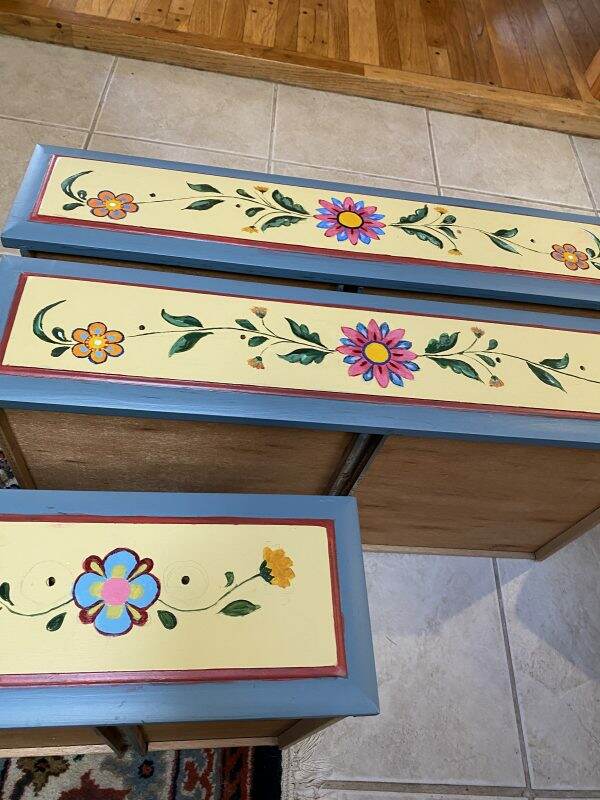
The Obstacles
So far I am happy with the results. And now I struggle with what to do with the two center drawers. I attempt to paint them in the same fashion as the larger drawers, but think it may be too busy. Do I leave them plain blue? So I sit and stare at my options for a few days.
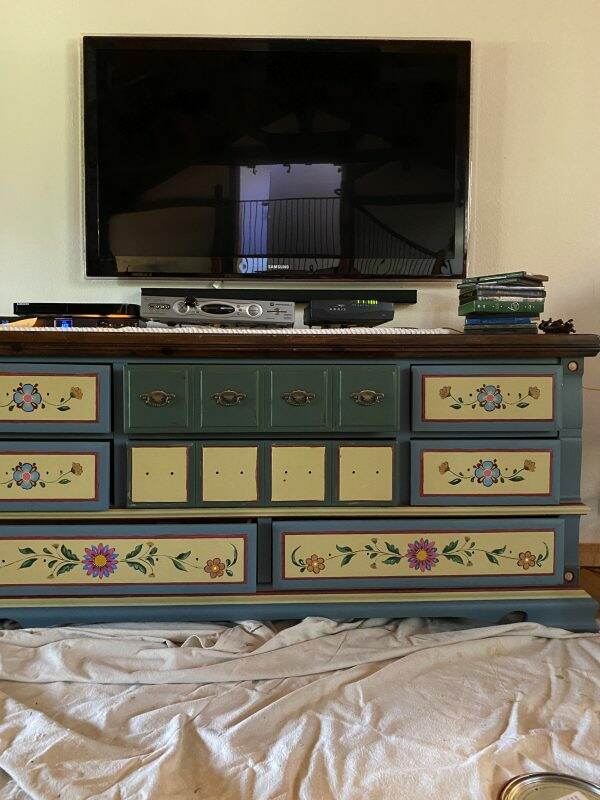
I consult a few of my very artistic friends and ask their opinion. Whatever I do can be always painted over, right?
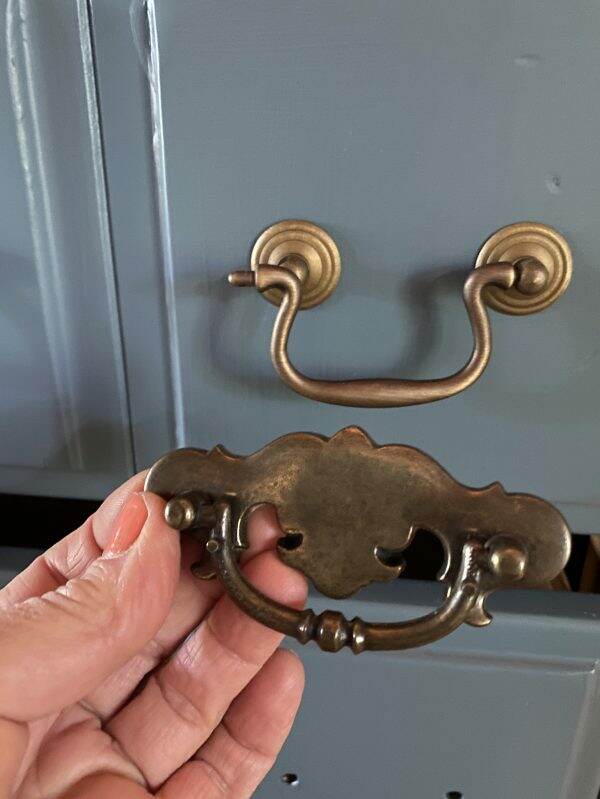
The new hardware finally arrives! These Restorers Classic Curved pull handles with rosettes are in antique brass. Their smaller profile will be less dominant than the existing ones. See the link here.
But the sizes are wrong for the smaller ones and I am two short on the larger drawers. What was I thinking when I ordered these? Here you can see the style of the new hardware vs. the old, but the pull is too long. So I wait another 2-3 weeks for the right size hardware.
Adding the Glaze
In the meantime, I decide to paint individual flowers on the 8 smaller drawer fronts and antique glaze the entire piece.
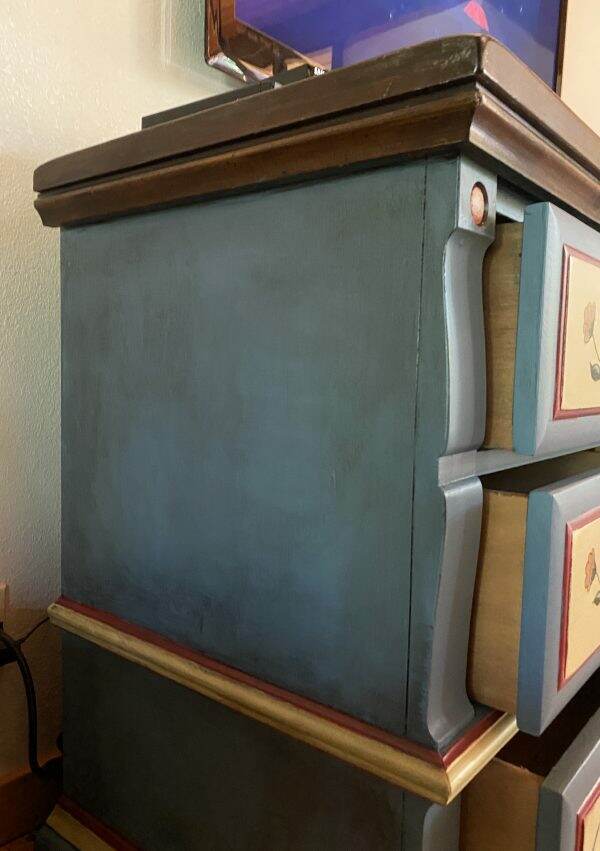
The Finished Piece
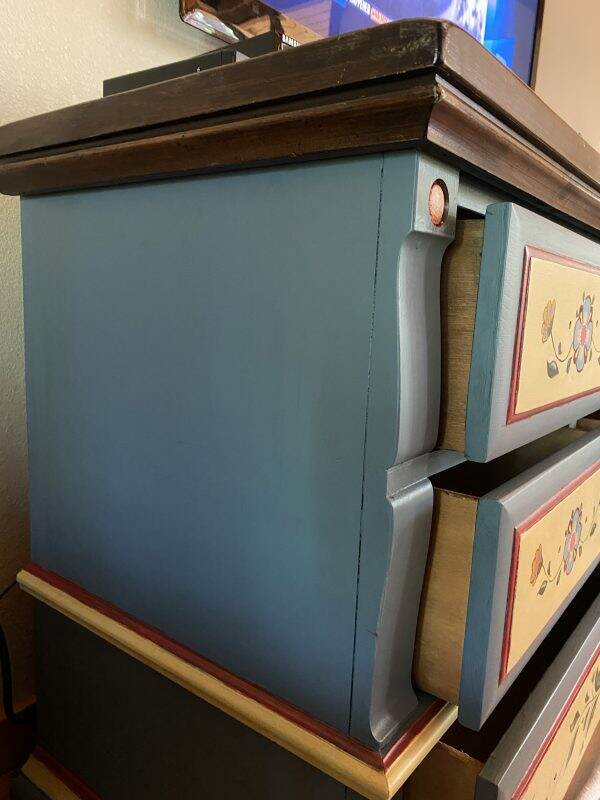
So here is the finished piece…..well, I think it’s finished. I am wondering if I should add a red border to the 8 smaller drawer faces? And I am thinking about painting the top blue vs. leaving it wood. Your thoughts?
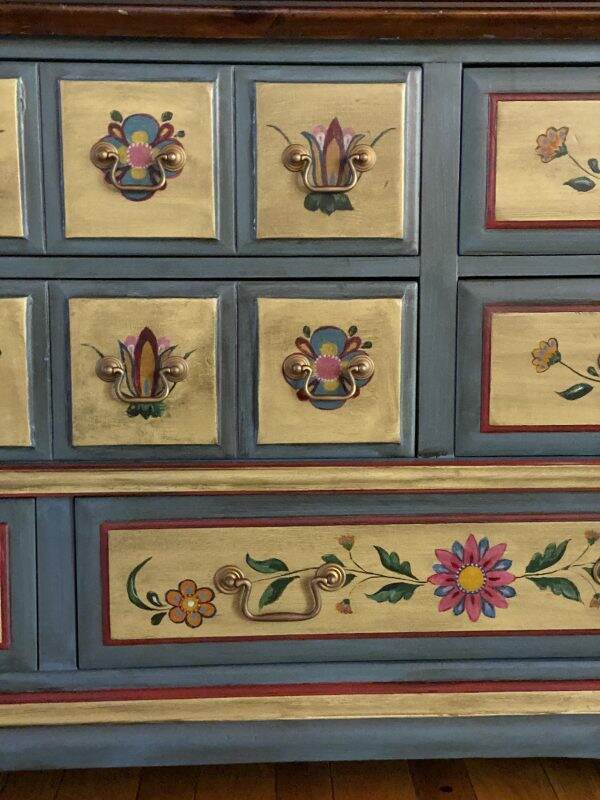
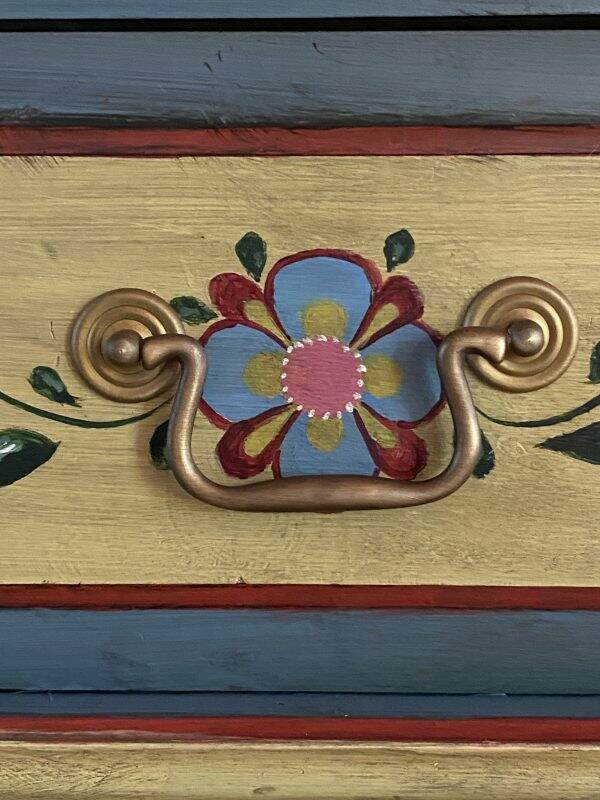
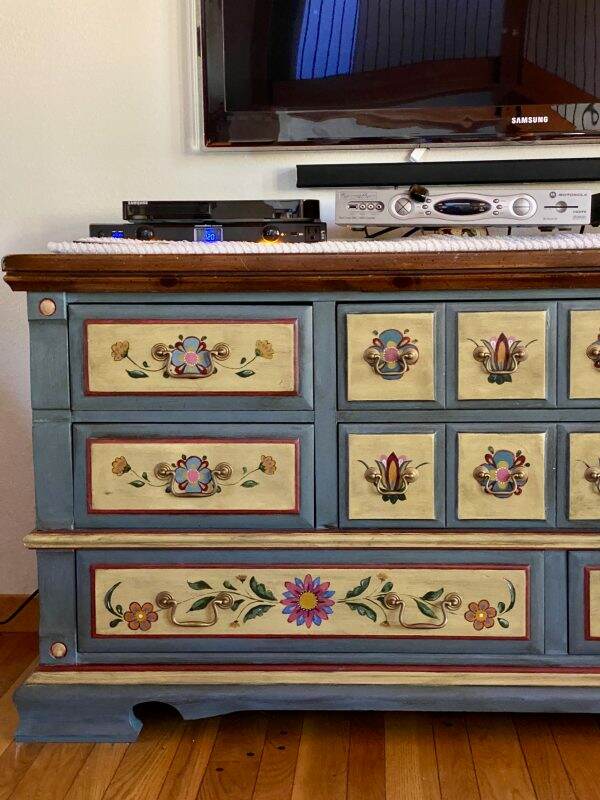
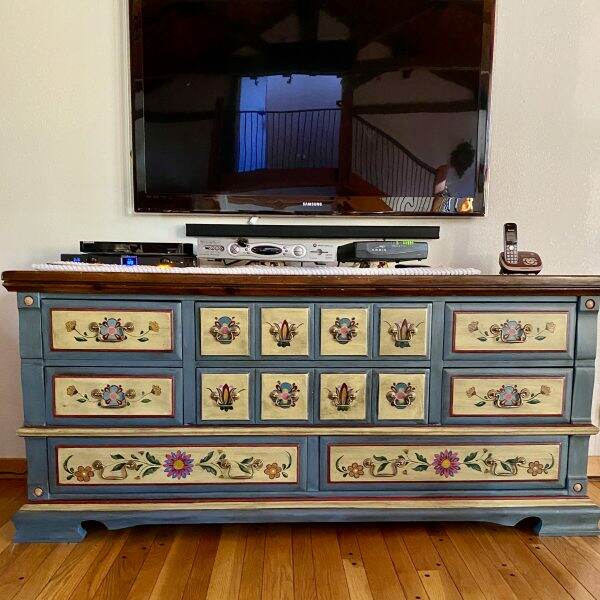
Once I am certain it is “finished”, I will put a coat of satin polyurethane over the hand painting to protect it.
Now I just need to find a way to hide the television equipment. It is so ugly, right? I do miss those huge armoires where you could tuck it all away and out of sight.
These colors go nicely with the oriental rug in the family room and adds lots of color to the rather bland walls. And I am so happy to have another daunting project in the rearview mirror!
Happy Tuesday to everyone. We are experiencing the most glorious cooler mornings and beginning to have my cup of coffee outside……finally after the hottest summer on record. Yippee!

If you enjoy this post, please share on Pinterest.
Just a reminder that any words that are italicized bring you to the source. If it is a product on Amazon, please note that I am an Amazon Affiliate. If you purchase something through my website, I receive a small (very small!) stipend, which doesn’t affect the price you pay at all. My goal is to make sourcing the items easy for you. Thank you for your continued support.



Your hand-painted furniture pieces are absolutely stunning! The attention to detail, color blending, and artistic craftsmanship truly make each piece unique. ‘Art and Success’ is clearly helping refine these skills, turning furniture into beautiful works of art. Keep up the amazing work!
Great job on the planning and execution of the project. You have talent. Do you have any Rosmaling teachers in your area. Vesterheim museum in Decorah are doing online classes now if you are interested in learning more techniques.
What a photo at Simsbury, Connecticut! I mean…talk about a fall scene! beautiful!
and wowwwwww! to the dresser! It looks amazing and I love the floral design. I like how you planned well too before painting it. It really looks good! Thanks for sharing!
It’s gorgeous, Mary! Great job!
I couldn’t have done it without your talented eye!
What a beautiful job! Could you hide the TV equipment behind a three sided screen? Framed fabric across the front could be painted, embroidered, or appliqued with the flower motif while allowing the remotes to be used. It’s just a thought, but whatever you come up with will be gorgeous I’m sure!
Liz, what a clever idea! That particular wall in the living room is large and white. The ceilings are really high (not sure how high) and I do need to think about what I want to do with it. I’ve considered built-ins possibly, but the bid was cost prohibitive. But I love your idea! Thank you so much for sharing!
Great job on the dresser. Long a fan of painted furniture, I have done some myself. For fun, check out painted Victorian cottage furniture. Also you can decoupage materials to furniture as well like cutouts from wallpaper. I love this stuff.
Betty, yes, I will check out the painted Victorian cottage furniture! Never thought to decoupage either….such fun ideas! This is my first attempt, but I am sure it will not be my last.
Mary, I love this. You did a wonderful job – I am constantly impressed with your talent!
Cindy, thank you! If you are ever down this way, let me know. We are overdue for coffee…..or wine!
What an incredible upcycle friend. You are so very talented, and I am in awe of your lovely work. Thank you so much for sharing.
Chas, that means a lot coming from the QUEEN of upcycling! Thank you!
So Pretty – thank you for the step-by-step.
Beautiful work that you and your family will enjoy for many, many years.
Flo, thank you. Let’s hope they don’t throw it out after I die!!! Ha!
Mary, this came out so beautiful! What a treasure. You did a fabulous job on this! You’ve given me some ideas for a free standing cabinet I made with raised panel doors many years ago and never finished it!
Karen, I would love to see your cabinet…it sounds beautiful with the raised panel doors. Keep me informed of what you do to it!