A DIY Chicken Feeder Picnic Table
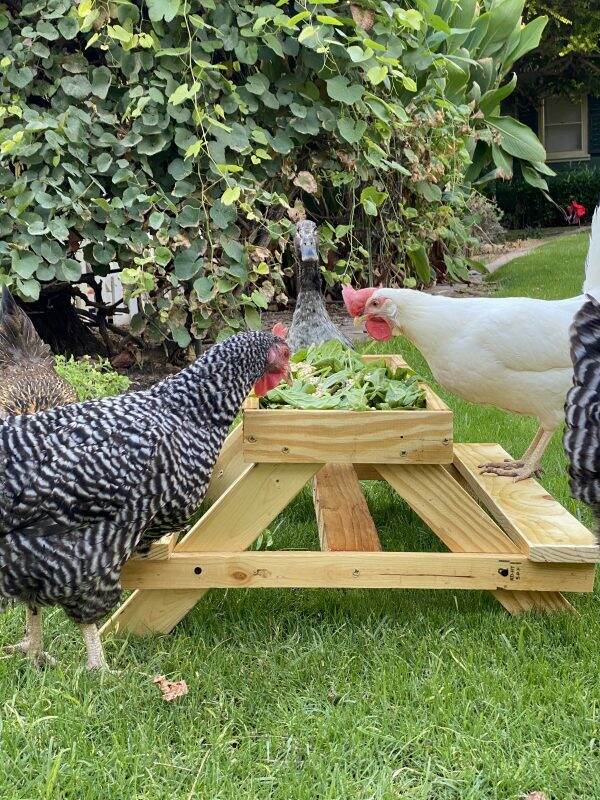
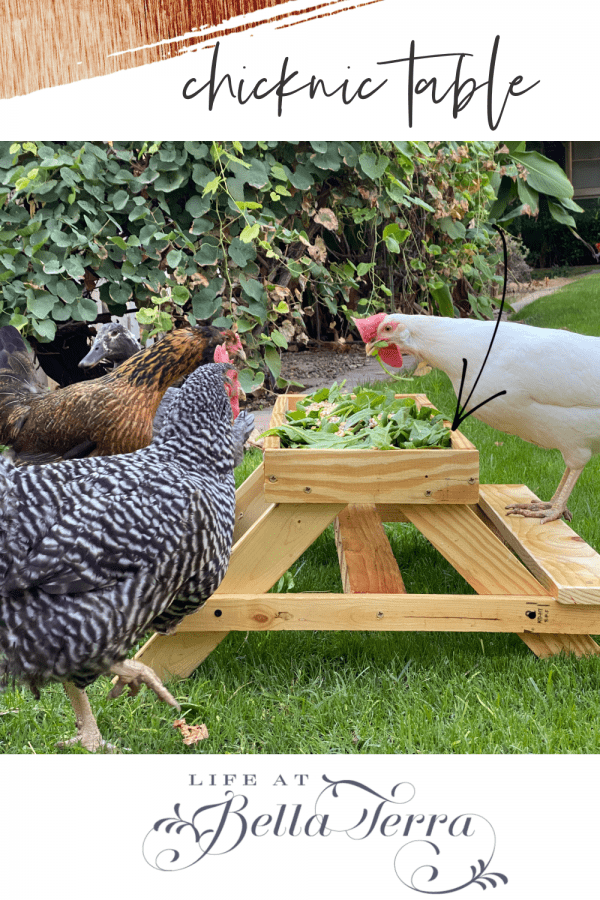
Since Mary is busy getting ready for houseguests, I am filling in today! So here is a DIY project I made this week. Inspired by photos seen on Pinterest and Etsy, this chicken feeder picnic table is aptly named a chicknic table!
Not everyone likes projects. However, a friend sent me a picture of one of these several months ago and I decide I want to make my own. I buy some scrap wood from Home Depot and use a pallet from the delivery of a new dishwasher. It all crystallizes today. Here’s the finished project. I will walk through the construction as cryptically as I possibly can.
The first step is to cut the base of the table. I cut a piece of 24” X 24” plywood into 3 — 8” X 24” pieces.
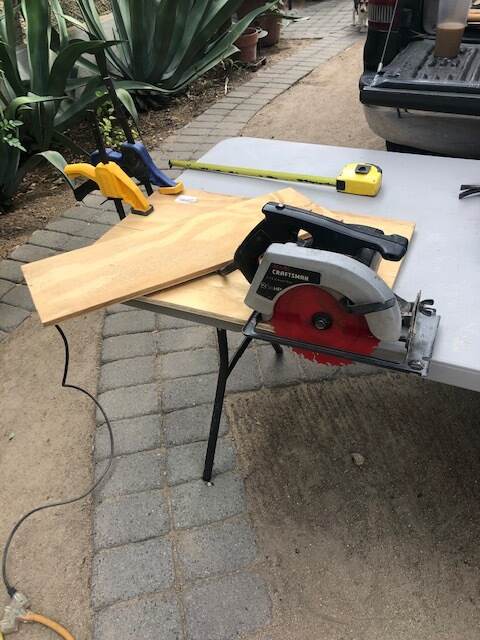
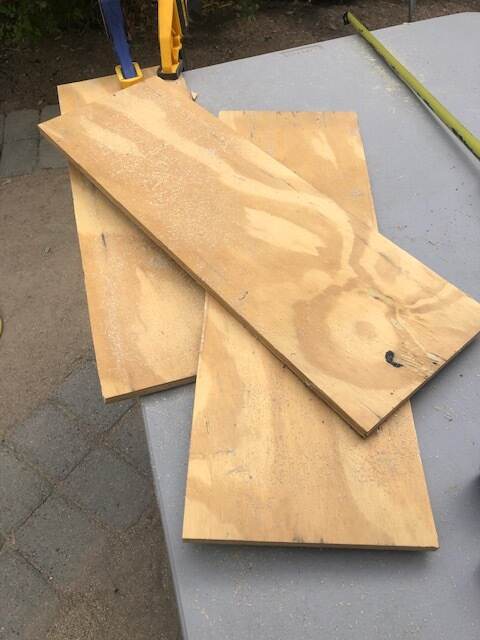
Next I cut the pieces for the edges of the table. I pre-drill, glue and screw them in place. The plywood is 3/4” so the drilling and screwing are done carefully.
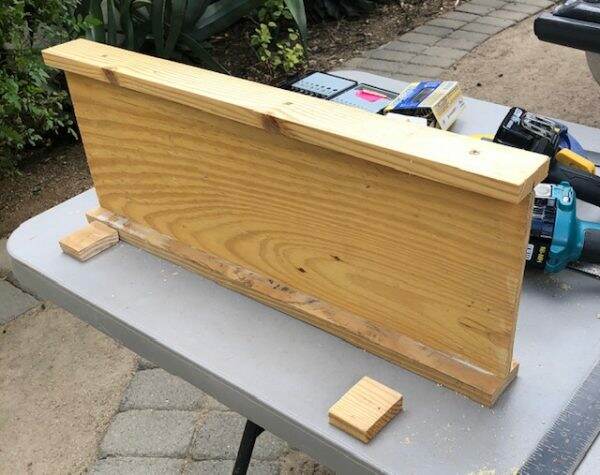
The legs of the table come next. Four pieces, the same length, cut at 45° on both ends. They attach to the underside of the table with screws coming in through the underside edge of the table. Again, you should pre-drill the holes to minimize splitting.
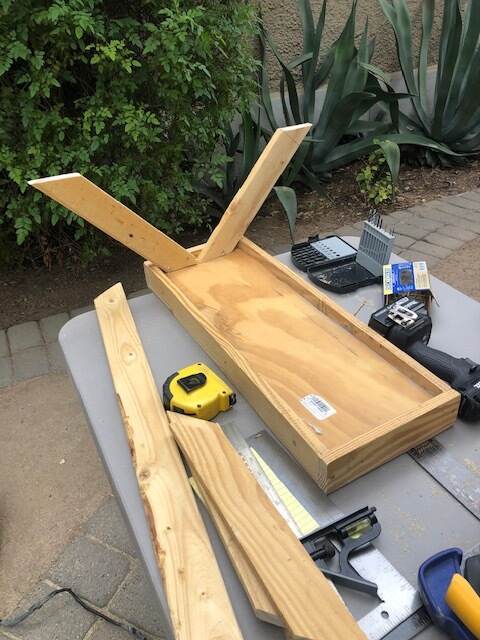
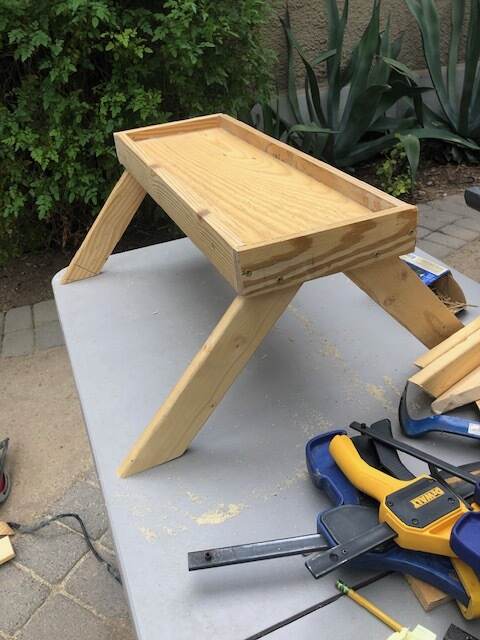
Finally, I put on the braces and seats. The side braces are long enough to glue and screw the seats in place. I install the center brace after attaching the side braces. I have no plans so this is done on the fly. Measure twice and cut once.
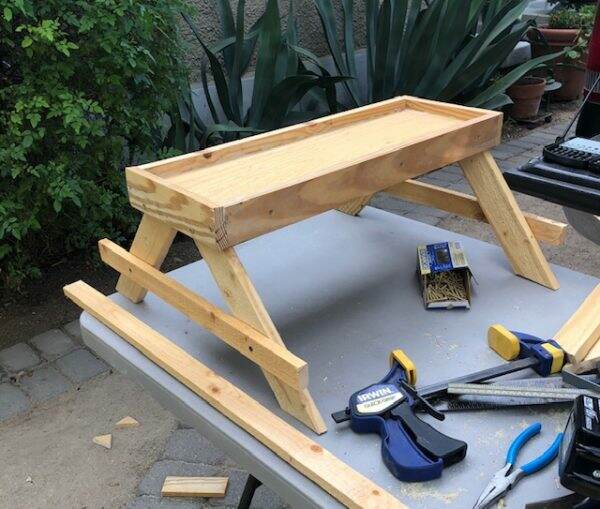
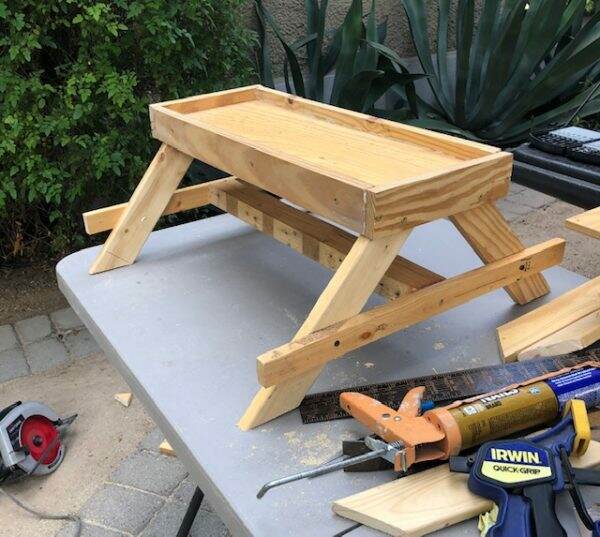
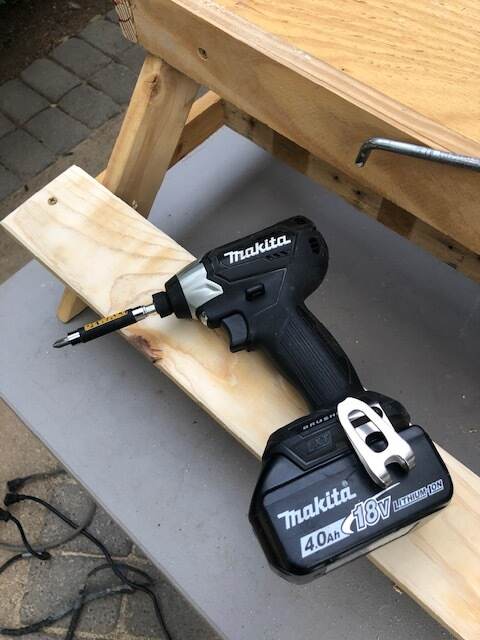
My tools include two drills (one, an old school Craftsman which plug in (my battery powered DeWalt died on me 😐) and my Makita (very reliable for driving screws). See link here. I also use a Milwaukee circular saw (link here), some screws, liquid nails glue, the wood and a square and measuring tape. A miter saw will work well for the project too. Here is my favorite mitre saw (here).
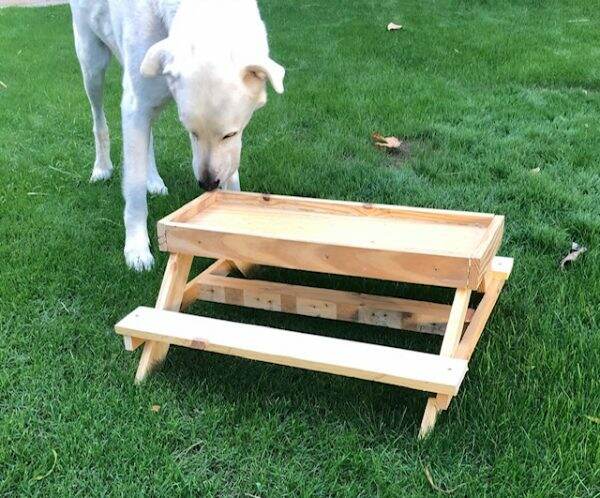
Here’s the finished project with my quality control executive doing an inspection. This project took a couple of hours of work. I seal it with some spar varnish and may put drain holes in the table top (although it will be under cover).
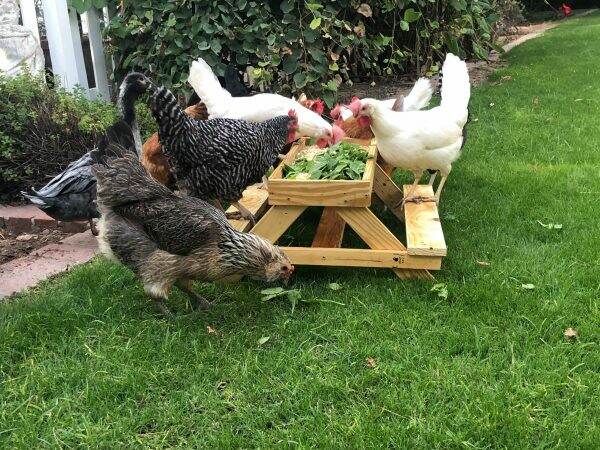
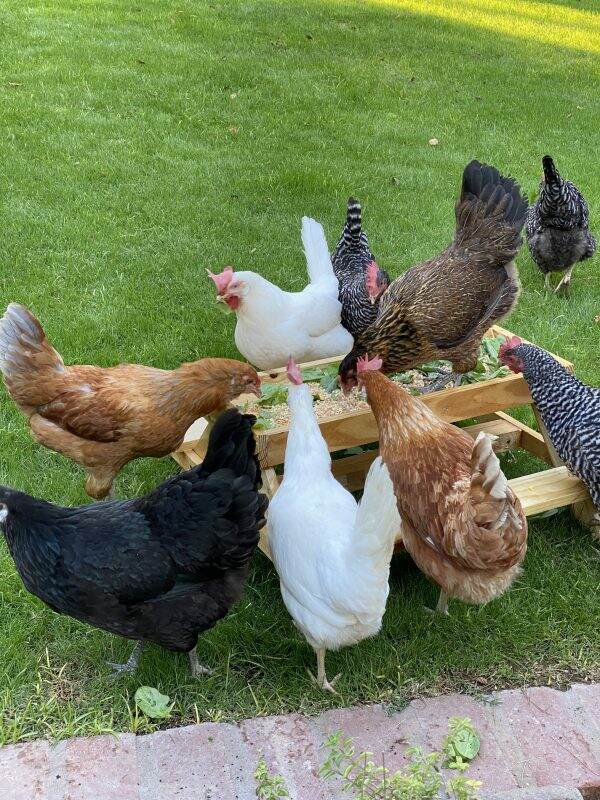
The chickens (and our duck) got their first look at it today. It takes them awhile to find it but seem to appreciate the spinach and scratch. Maybe I’ll build a couple more. 🐔🐔🐔🐔🦆
To see another project of mine, click here. Thanks for joining me today! Mary will be back again soon.

If you enjoyed this post, please share on Pinterest.
Just a reminder that any words that are italicized bring you to the source. If it is a product on Amazon, please note that I am an Amazon Affiliate. If you purchase something through my website, I receive a small (very small!) stipend, which doesn’t affect the price you pay at all. My goal is to make sourcing the items easy for you. Thank you for your continued support.



I love that Scott stepped in to post for you! This is such a cute project!
Yes, he has occasionally been my guest blogger…the chickens really love this table and each afternoon I try and put some fresh veggies from the garden there for their snack….
This is the most fun thing – almost made me want to be a chicken, living in such splendor! It was fabulous seeing it in person, and sweet of you to step in and help your wife out! I’m liking the Scott-blog idea! 🙂
Barbara, I will share your comments with Scott. He will be so delighted! Glad you were able to see it in person too. Can’t wait until we can connect again.
Running out to get a couple chickens now!! This is the best. Wishing my dad was still around so I could share it with him and his chickens! I have seen smaller versions for squirrels; but never one for chix! They seem to love it so hopefully their picnic area will expand! And…I’ve got to say…there is nothing better than a man with tools who can actually build things!!
Very impressive Scott! Perhaps you should start your own blog!
Lucky Mary! You are cute and talented, too! A keeper!!!!
Scott, you are a man of many talents. Great job!
This is great! It’s cute and very functional.
Masterful…..Those chickens are living the good life! I think Scott is on his way to becoming a blogger. Kudos!
Nice job!
Nice job the chickens love it!!
Nicely done!!! Bravo!!
This is just the cutest thing ever! Getting to see it in person and spend time with you has been so amazing! Thank you so much for sharing