Learning How to Make One of these Fabulous Mesh and Ribbon Wreaths
For years I have been making wreaths….but not like this. Our friends and recent house guests, Melissa and Kinita share their wreath making skills with me. Their wreath-making technique is very different and what a gift for them to share their skills and techniques with me. The creative possibilities are endless as you get to determine colors of the mesh, ribbons, and accouterments.
Supplies You will Need
You can choose whatever size you would like, but for this DIY we are using a 16″ work wreath. I did not know what a work wreath is, but it is a lightweight double frame wreath with pipe cleaners (or twisty ties) spaced evenly around the frame. The interior circle is higher than the outer circle, making a fuller, lush looking wreath.
Right now, stores like Hobby Lobby are stocked with their Christmas work wreaths at 50% off. This 16″ work wreath is normally $6.99 and marked down to $3.49.
- 16″ work wreath
- 1 roll of Polypro Mesh Ribbon (weatherproof) 10″ width x 30′-color and design of your choice
- 2 rolls of Wired ribbon 1.5 inch width x 30’~colors and design of your choice
- 1 roll of Wired ribbon 2.5 inch width x 30’~color and design of your choice
- Optional: an item of interest to hang in the middle of the wreath (sign, seasonal prop)
- A measuring device that is approximately equal to the width of the mesh (we used a wooden spoon)

I have never used mesh before in my wreath making, but mesh gives the wreath a lovely fullness. Plus it can be used in many ways in decorating centerpieces and garland. One roll of mesh will make approximately 2 wreaths. Make sure the decorative ribbon you select is wired so you can manipulate it.
Again, all these products are on sale at Hobby Lobby at 50% off. If you would rather order supplies online, Amazon has a nice selection here. Work wreaths are available on Amazon but at a much higher cost and with 3 rings, not 2.
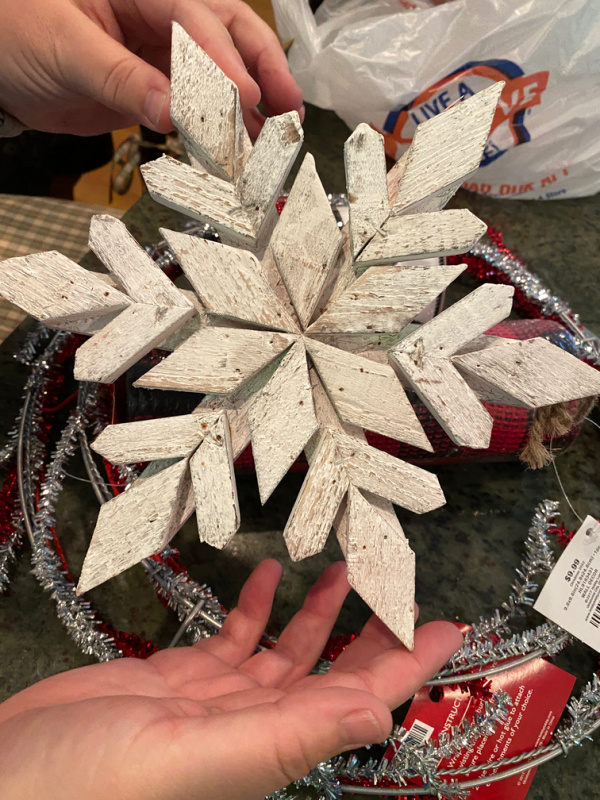
If you decide you want something in the middle, make sure the size and scale (and weight) are appropriate. Since this wreath is for the Christmas holidays, Kinita selects a wooden snowflake ($9.99 on sale for $4.99)
Prepping the Wreath frame
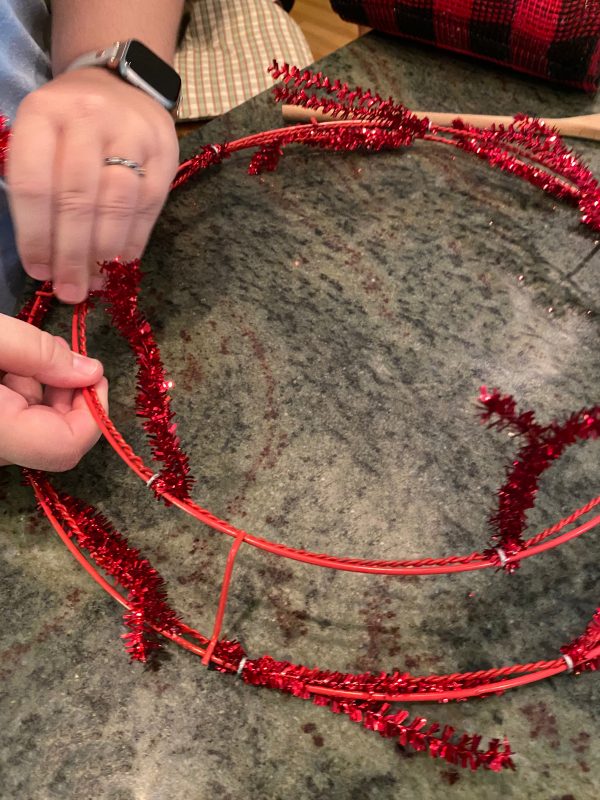
Since the ties or pipe cleaners are willy nilly, Kinita pulls the ties on the top inside frame straight up. The ties on the bottom frame are pulled and flattened out.
Where to Begin
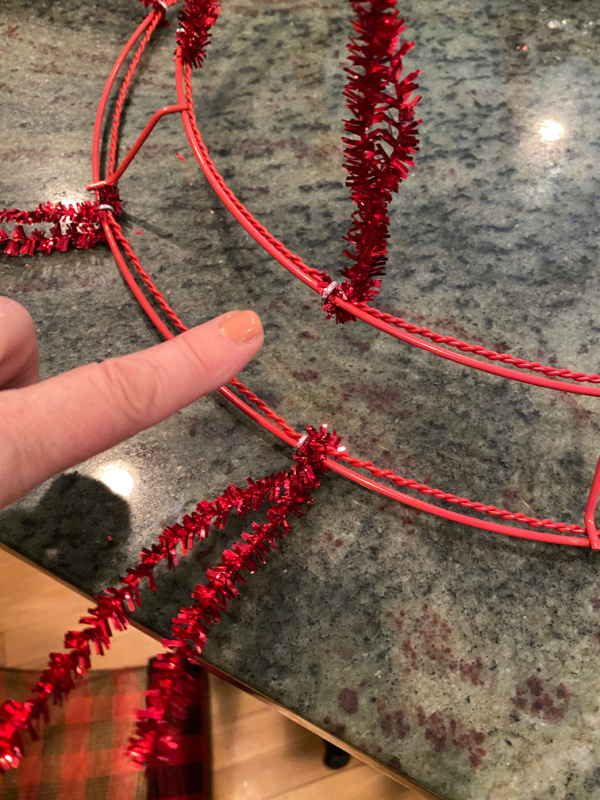
In order to start applying the mesh, we select the point on the wreath where the inner ring tie is in the similar location as the outer ring tie. Scrunch or pinch the end of the mesh and tie it to the outer ring.
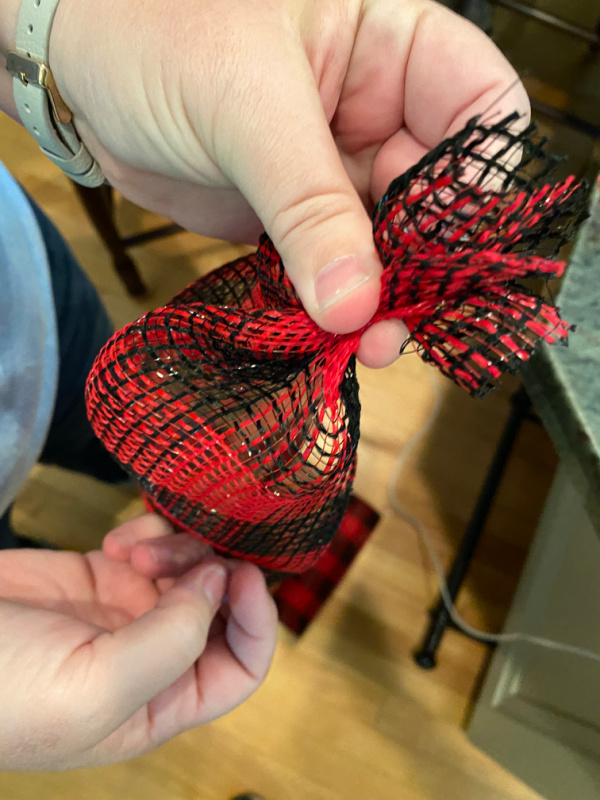
Then tie the mesh to the inner ring tie. The inner ring will be where you continue to work with the mesh.

Filling the Top or Inside Ring
Since the width of the mesh is approximately 10″, we use a wooden spoon handle as the approximate length of the mesh poofs that will go around the wreath.

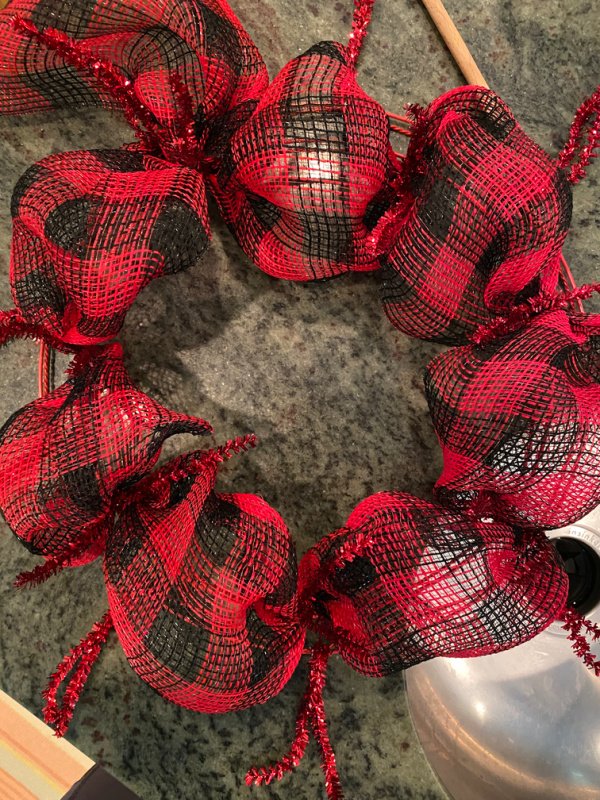
Continue to pinch or crimp the mesh at the top of the handle length. Tie this crimped section to the adjacent one. Fluff this section to create a balloon affect.
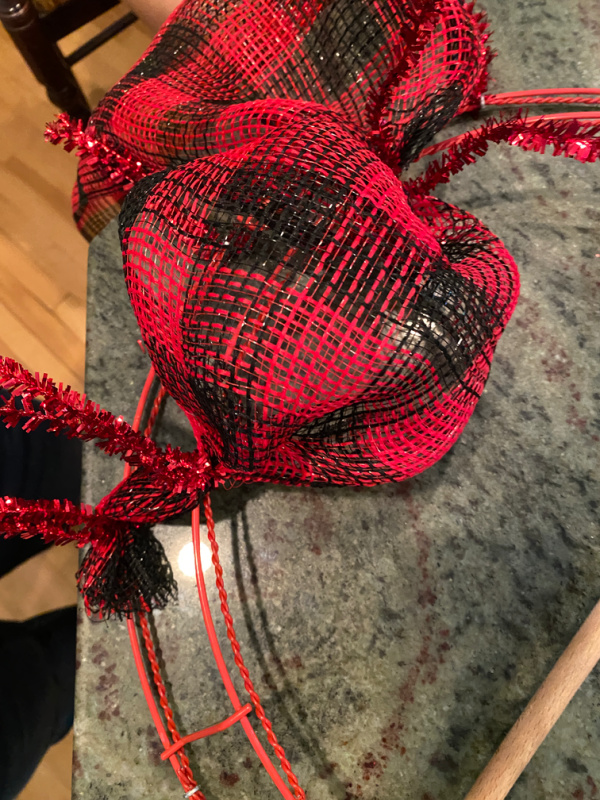
Continue around the inner ring until all ties are used. Your wreath should look like this.
Moving onto the Bottom Ring
Continue this technique along the bottom ring. You will find it easier to work with the ties with them sticking out as they will not get tangled with the mesh on the inside ring.
With two rings of puffy mesh, the wreath becomes more substantial.

When you reach the end of all the bottom ties, cut the mesh.
Adding Ribbon
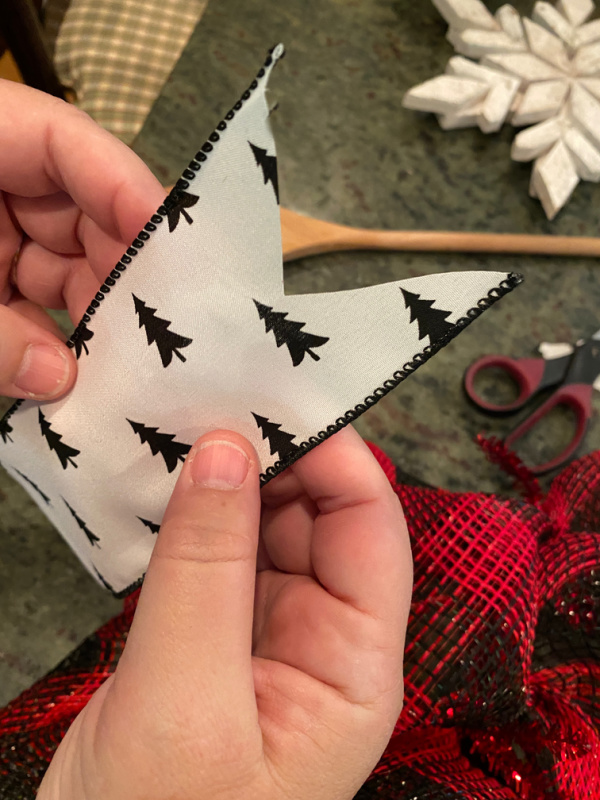
With the theme of this wreath being red, black and white, Kinita finds this cute white ribbon with black evergreen trees, which is 2.5 inches wide. Trim the edge of the ribbon.
Start with the inner ring and crimp and tie a section of the ribbon. Balloon the ribbon to the next tie and secure. Do this again, secure and then cut the ribbon.
Continue around the wreath doing both the inner ring and outer ring. Use your eye to see where the ribbon looks best.

Again, Hobby Lobby and Michaels are good choices for this 2.5 inch ribbon. Or you can find a good selection online here.
Adding More Ribbon
For more color and sparkle, Kinita selects a 1.5 inch wide ribbon in both black and red glittery mesh. Measuring one piece using the wooden spoon, this is used as a template to cut a total of 9 pieces in each color.
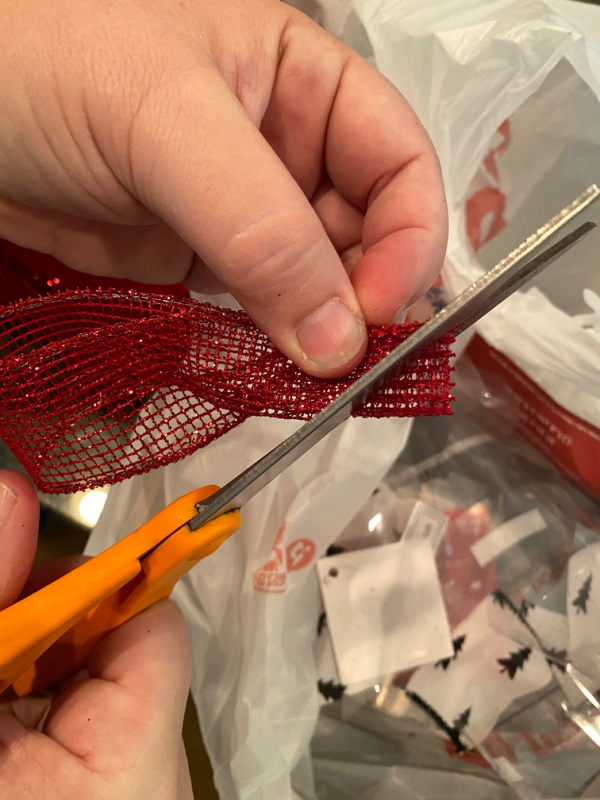
Folding the ribbon in half, and then in half again at the ends, provides a way to notch both ends of the ribbon with a V shape.
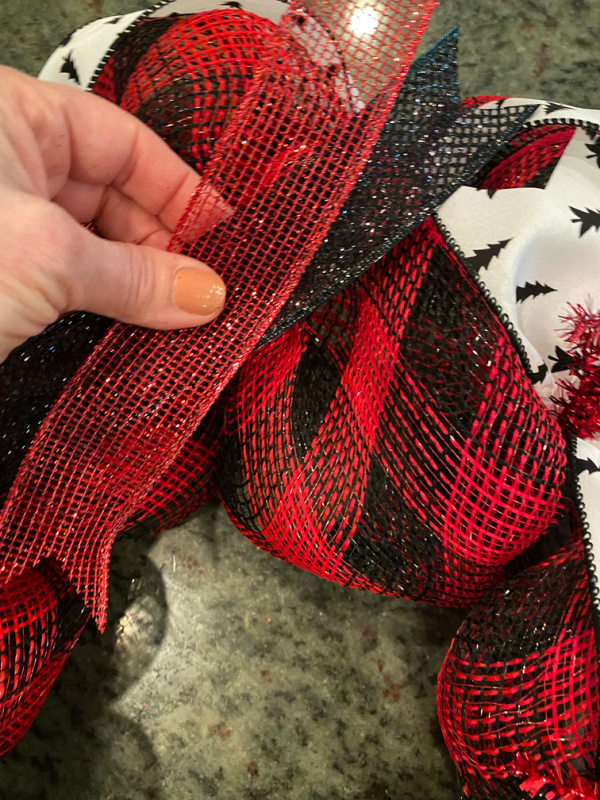
Stacking the red and black ribbon on top of each other, you are now ready to crimp them and secure to one of the ties. With 9 sets of ribbon, you will alternate and skip every other one. But eye the wreath and make sure you balance the ribbon placement.
At this point in the wreath you can keep adding picks or other Christmasy items or keep it as is.
Affixing the Center Decoration

Find the most logical part of the wreath that would be considered the top. Using the tie, secure the decoration. In this wreath design, the red, sparkly ties enhance the feel of the wreath. You also have the option to cut them short if they are the wrong color.
The Finished Wreath
Isn’t this pretty? It is nice and full, colorful and festive.
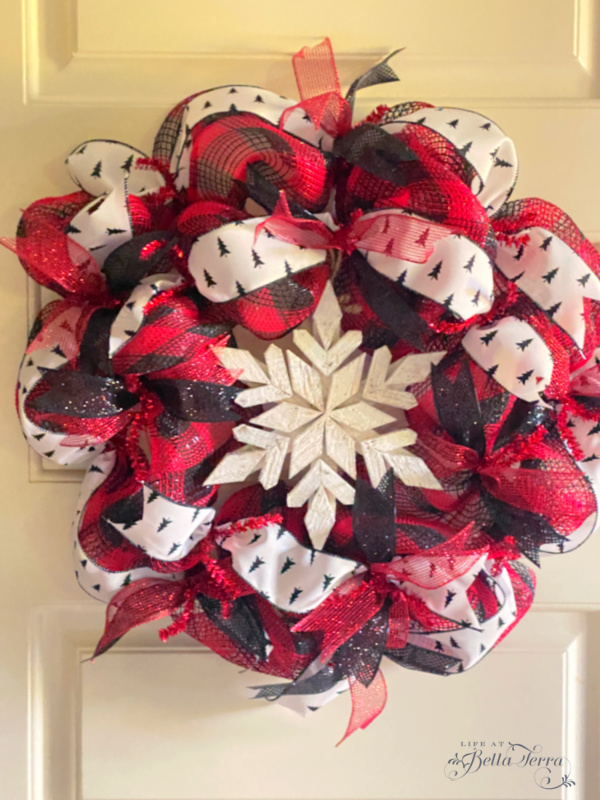
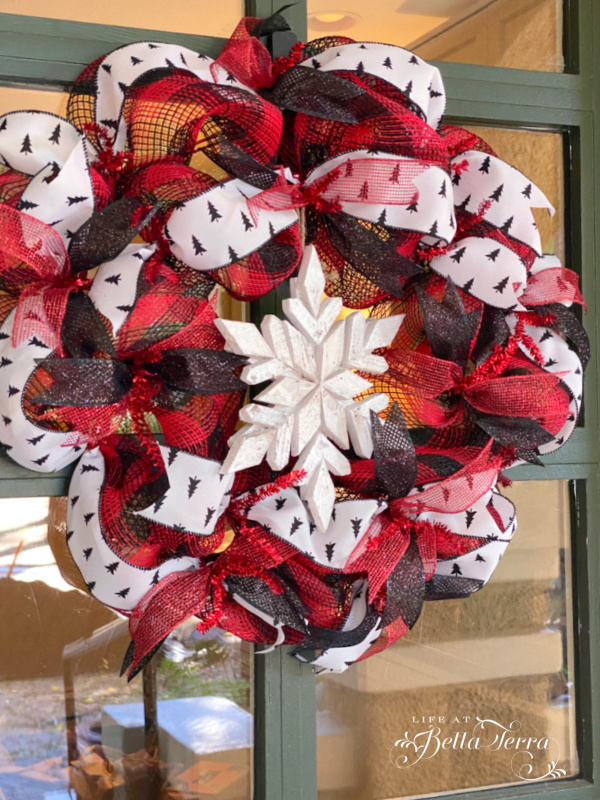
The approximate cost of making this wreath is minimal. There is leftover mesh so one roll of 30 feet will make 2 wreaths. All the leftover ribbon will make 3 wreaths. So if you were to estimate the cost of materials, this 16′ wreath would be approximately $15.80.
Personally, I found this wreath very easy to make and you can customize it however you want. It would be a great gift for anyone.

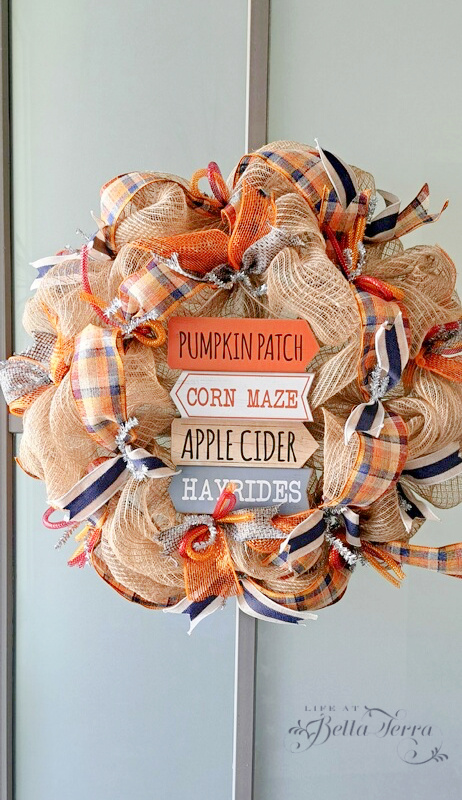
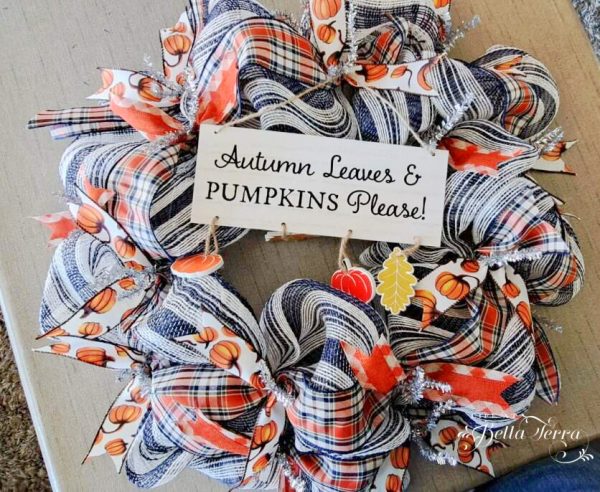
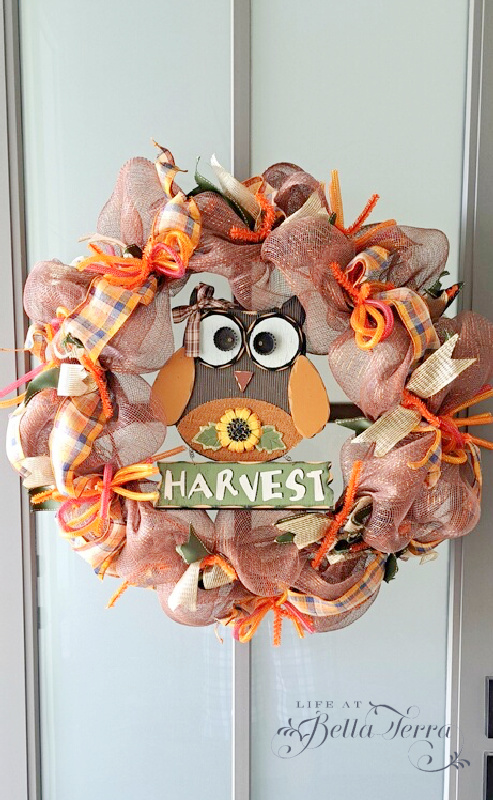
Here is another example of a Halloween wreath made by my friends. If you live in Boise, Idaho and love their wreaths, I can provide contact information for purchasing. Not only are they fabulous house guests, but how nice for them to share this craft.
Happy Wednesday!

If you enjoy this post, please share on Pinterest.

Just a reminder that any words that are italicized bring you to the source. If it is a product on Amazon, please note that I am an Amazon Affiliate. If you purchase something through my website, I receive a small (very small!) stipend, which doesn’t affect the price you pay at all. My goal is to make sourcing the items easy for you. Thank you for your continued support.




Mary, I totally enjoyed watching this wreath making post! I’ve been wanting to learn for years! Thanks so much for the tutorial and the inspiration! Have a wonderful autumn season!
Darla, thank you! I, too, wanted to learn how to make it. Good luck making your own!
Interesting info on wreaths. Hope you enjoy your time at the cabin and enjoy the apples also
Sorry I can’t help with the identification. They look like would be a delicious snack on a cool day.
Those are darling, Mary!
Janie, thank you! So fun to learn something new.