Secrets to a Delicious Homemade Peach Pie
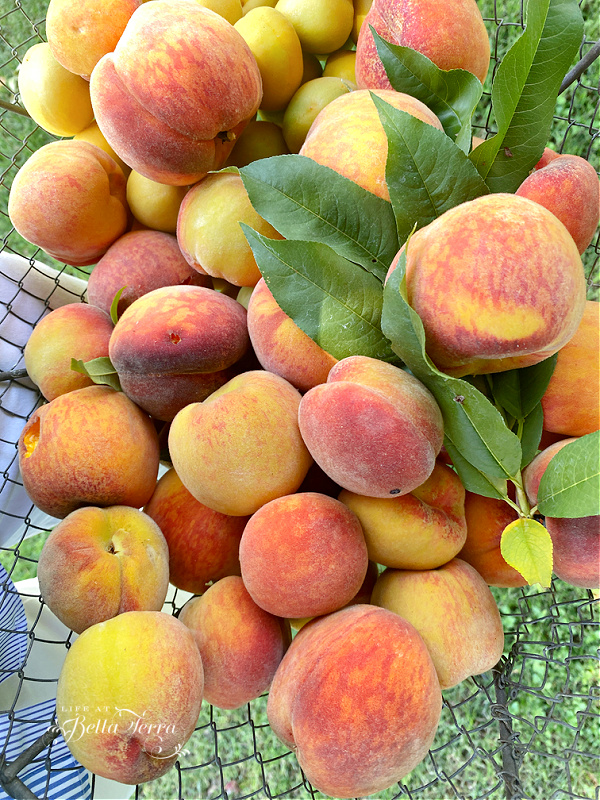
There are two times during the year where peaches are center stage. One is in May, when our peach tree sheds its fuzzy juicy fruit. The other is in September/October when the famous Utah peaches are ripe and available for purchase. Fortunately we have connections and I just received a 32 lb. box of tree picked peaches. I am making many recipes with this stone fruit, but the favorite is a classic peach pie.
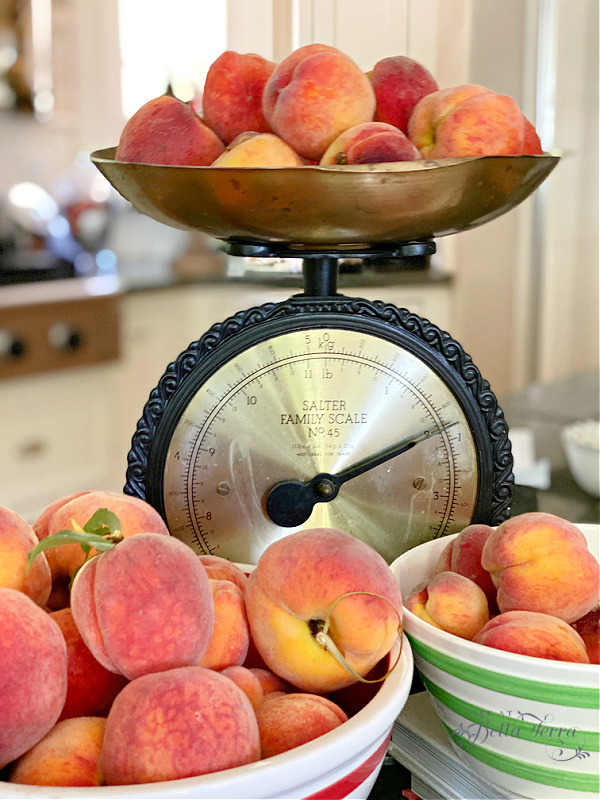
I have made many peach pies before, but because they are SO juicy, the bottom crust often suffers from the wet and soggy syndrome. Since this pie is to be dessert at a friend’s house, I am determined to find a solution.
Sourcing a Reliable Recipe
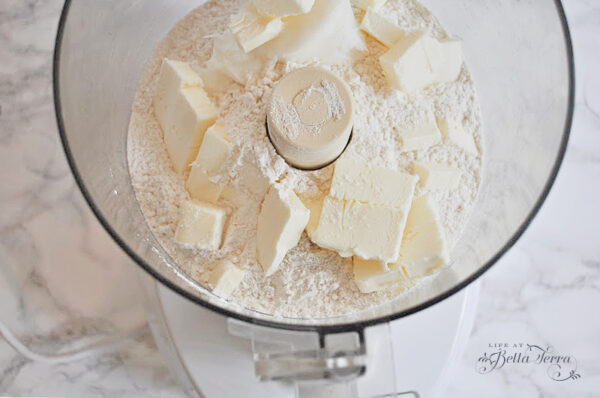
I google a peach pie recipe from Serious Eats, as I have had good recipes from them in the past. For the pie crust, I use my very easy homemade pie crust recipe (see here). Making the dough with my food processor, takes only a few minutes. While the dough is in the refrigerator chilling, I prepare the peaches.
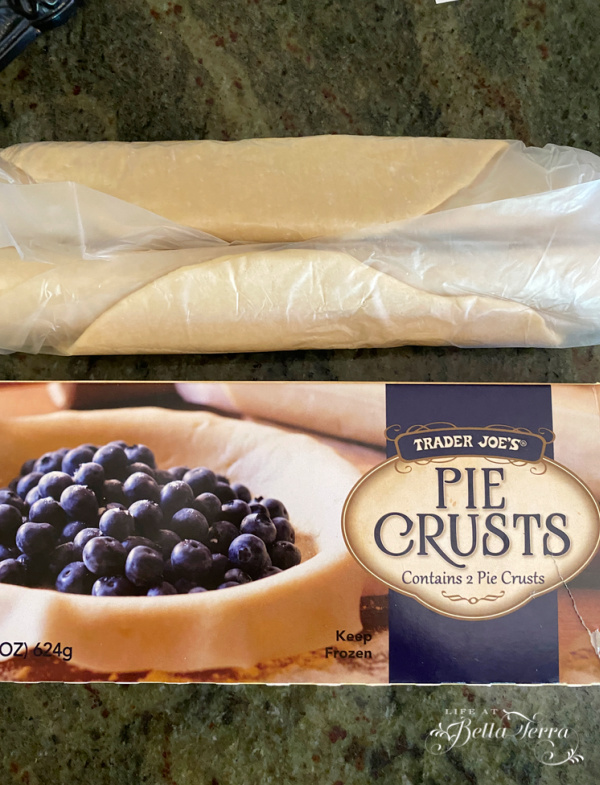
Note: if you do not want to make your own pie crust, use a store-bought one. My favorite is Trader Joe’s. Unfortunately, these frozen pie crusts are only available during the fall/winter season.Right now they are in stock and I need to buy my winter stash. Each box holds two crusts.
To Peel or Not to Peel
Often times, you find peaches from the market but they are hard and without scent. To speed up the ripening, put them in a paper bag with a ripe banana and viola! In just one overnight, they are ripe enough and perfect for pie making!
I typically don’t peel my peaches for pie-making, so this is a first for me. Note: Peeling is optional.
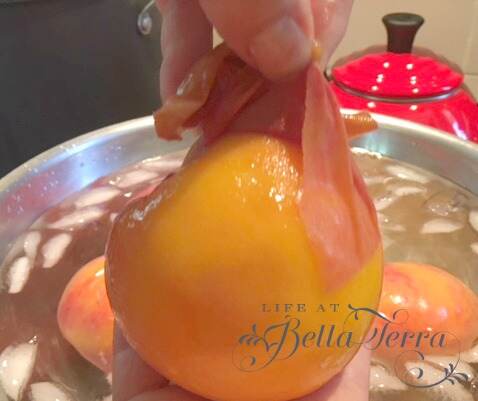
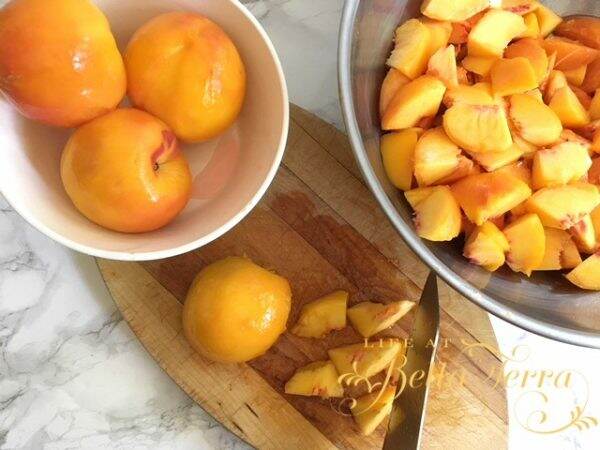
Drop the fresh peaches into a large pot of boiling water. Do not crowd the peaches. Boil for 30-40 seconds.

Remove the peaches and immediately place in an ice bath. Cool for 1 minute.

The skins will easily separate from the fruit.
Prep and Assembly
The recipe calls for each peach to be cut into 8 pieces, but these were exceptionally large peaches so I cut them into chunks.
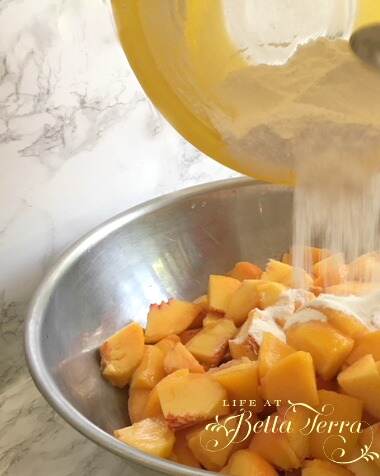
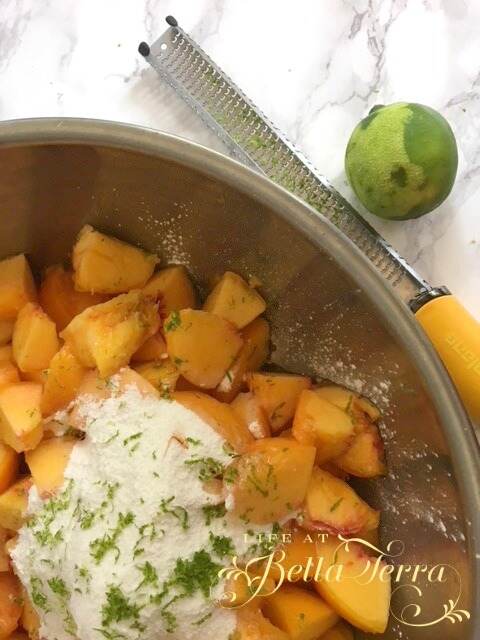
Add the cornstarch, sugar and lime zest and mix. If you don’t have this fabulous microplane to zest your limes, you must get one! It is very versatile and can be used for many things-cheese, whole nutmeg, chocolate, and zesting any fruit.
Fill the chilled bottom crust with peach filling. Now this is key~chilling the pie crust helps prevent soggy bottoms.

I love a high pie so abundance in the filling is a must.

Adding the Top Crust
Keeping the top pie crust chilled is an important element too and will result in better baking. There are many ways to put on the top crust~either use the whole crust or get a little creative in your design.
Who doesn’t love a lattice crust? It is a bit more work but the end result is so attractive. I cut the top crust into strips for a basket weave pattern. Using a pastry wheel would make the edges of the lattice strips much more attractive. You can make the strips different widths~there is no hard and fast rule. I refrigerate these on a floured sheet pan until I am ready to assemble.
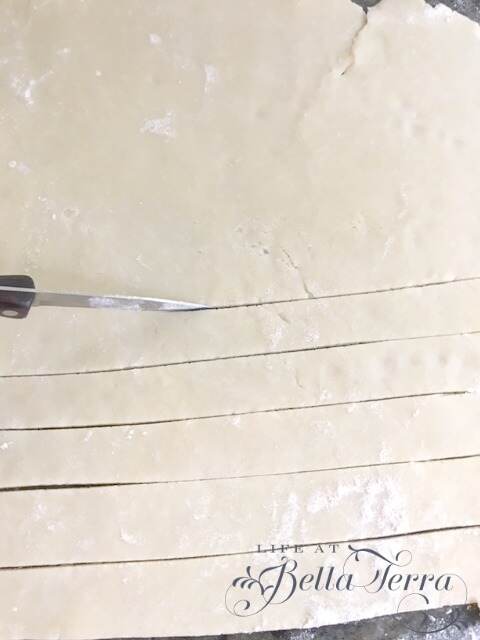
Apply the strips in one direction one at a time, evenly spaced over the filling.
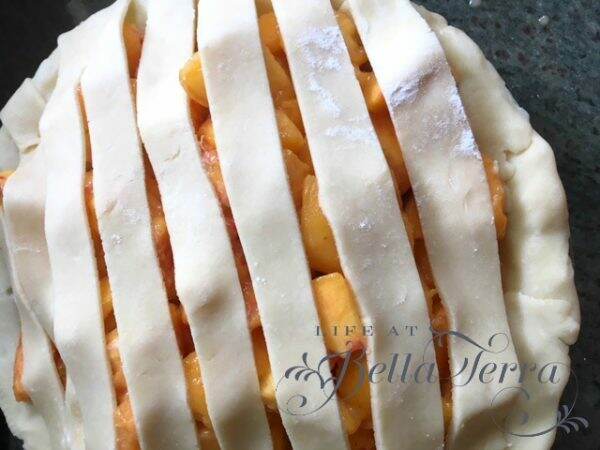
Alternate lifting up and laying down perpendicular strips until you have successfully completed a basket weave pattern for the top crust.

Trim off the excess pie crust edges.

Using a fork, crimp the outer edge of the pie to seal in the filling.

Brush the crust with a beaten egg and salt.
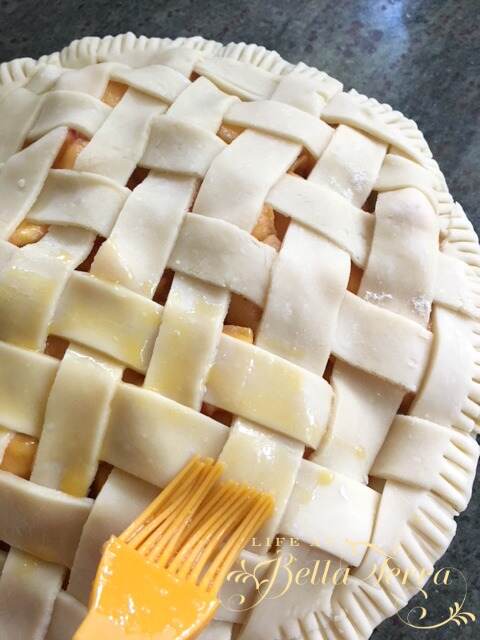
Sprinkle the top with sugar and then chill the entire pie for a minimum of 20 minutes. Do not skip this step.
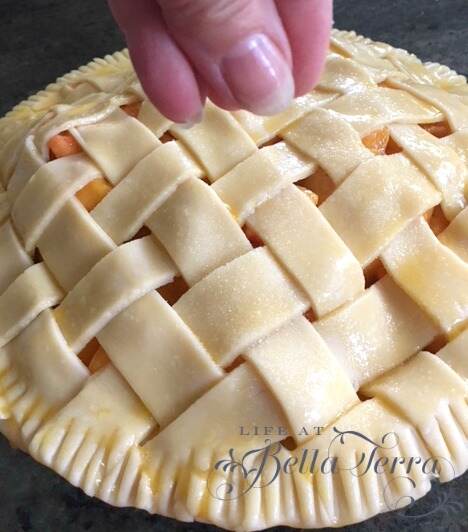
Baking Instructions
Place in the preheated 425 degree oven for 15 minutes. Then drop the temperature to 375 degrees and bake for 30-40 minutes until golden brown and the filling is bubbling over.
I add a pie crust shield mid-bake to prevent the edges from browning too quickly. If you don’t have a pie shield, use strips of aluminum foil and tent it around the edges of the pie.
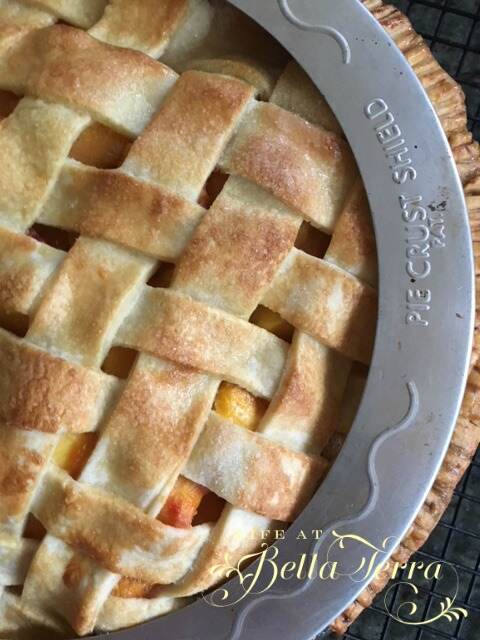
Ta-Da!
Here it is! The juices were bubbling and dripping out of the pie. Note to self: while pie is baking, put a pan beneath it or a piece of foil as the sweet drippings were stuck all over the bottom of my oven.
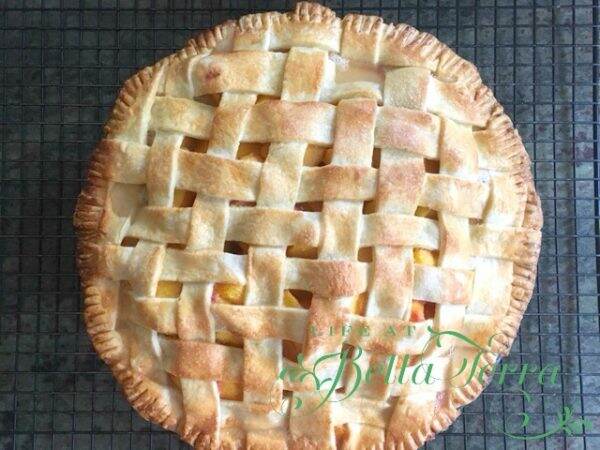
I think I could have left this in the oven for a few more minutes as I like a more golden top.
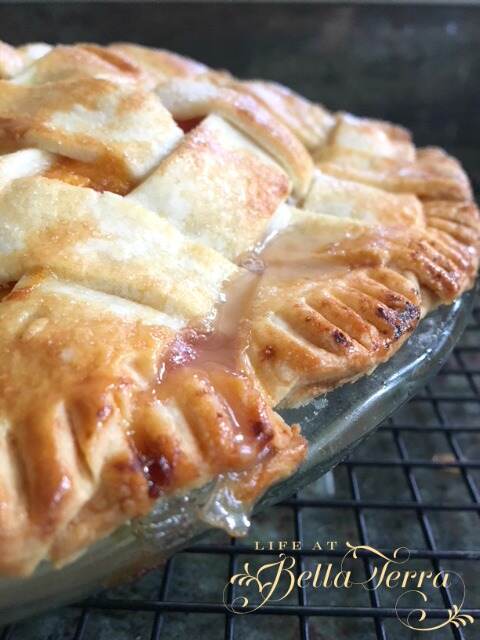
We brought the pie with some homemade vanilla ice cream to friend’s house and failed to take any pictures of a cut piece.
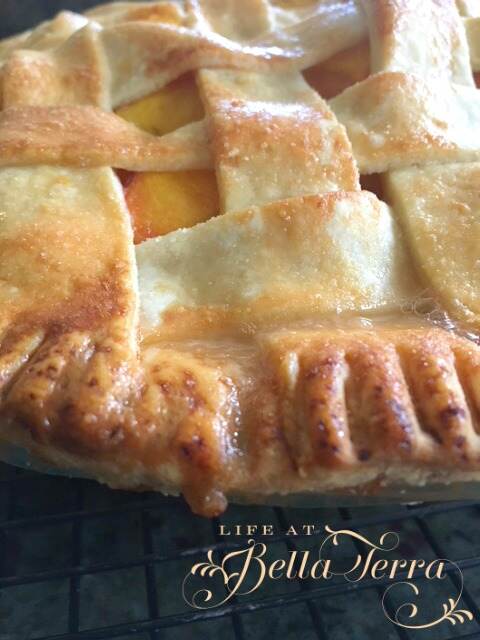
However, it is DELICIOUS! Lots of peach pie juice, but the crust is NOT wet or soggy. I believe keeping the crust cold and then chilling the pie before baking is the key.
Final Notes
- I used a 9″ deep dish pie dish. The recipe calls for a 9″ pie pan.
- I didn’t weigh my peaches so it’s highly possible I had over 4 lbs.
- The recipe instructs you to turn the pie dish while baking to help with even browning.
- You make any style of top crust you would like.
- Usually I add pieces of butter to a peach pie before baking, but didn’t do so this time. There wasn’t any noticeable difference in the flavor.
- The pie has quite a bit of juice. However, the bottom crust was not soggy. Yippee!
- The homemade ice cream is made in a Cuisinart Ice Cream maker. It takes 20 minutes to make and a few hours to freeze. Using only a few fresh ingredients, it is worthwhile to make.

Classic Peach Pie
Ingredients
Equipment
Method
- In a large bowl, combine peach slices, sugar, cornstarch or tapioca, and lime zest. Toss the mixture until the peaches are evenly coated, then pour into the prepared, chilled pie shell. (For the pie dough, shape one half and chill in a pie plate; the other roll out flat and chill on a floured sheet pan)
- Cover the fruit with the prepared, chilled top crust, shape as desired. Chill the shaped pie for at least 20 minutes. Meanwhile, preheat the over to 425 degrees F (220 degrees C)
- Brush the top of the chilled pie with egg wash just before baking. Sprinkle with sugar and bake for 15 minutes, rotating the pie halfway through. After 15 minutes, lower the oven temperature to 375 degrees F (190 degrees C) and continue baking for 30 to 40 minutes, rotating again halfway through. Bake until the top is golden brown and the filling is bubbling over.
- To remove peach skins, bring a large pot of water to a rolling boil and set up a large bowl of cold water and ice next to the stove. Using tongs, add the peaches to the boiling water three or four at a time and allow them to boil for 30-40 seconds, fully submerged. Then, lift the peaches out of the hot water and plunge them into the ice water bath. Allow them to sit completely submerged in the ice water for 1 minute. Once the peaches are cool, the skins will rub right off the peach flesh, and they're ready for baking.
Notes
Just a reminder that any words that are italicized bring you to the source. If it is a product on Amazon, please note that I am an Amazon Affiliate. If you purchase something through my website, I receive a small (very small!) stipend, which doesn’t affect the price you pay at all. My goal is to make sourcing the items easy for you. Thank you for your continued support.




Oh my goodness I could sure use a piece of that pie right now.
Virginia, I wish we lived close to each other as I would run a piece over to you!
Oh my word, Mary – I just drooled all over my keyboard. WOW. Does that pie ever look beautiful and delish. Thanks for sharing the inspiration. MMMMmmmmmmmmm yum!
Michele, I give full credit to the rolling pin! Now I want to make sugar cookies with it. So easy to use with excellent results.
Brilliant! The crust- chilling tip is priceless! Thanks!
Barbara, it is a very good start to reducing soggy bottoms.
My mouth is watering just looking at this!
Michele, thank you! I need more peaches as I would love to make another.
Julia Child could not have done that better or articulated each step better. It truly looks too beautiful to eat. You made some edible art there.
I knew your house and the previous owners, Doc and Mary, well. While it was purely “them”, your vision for what it could be startles my consciousness. Your home rivals many fine homes of New England and you can be justifiably proud of your achievement. I would think KAET would be interested in doing a short documentary of how you saved a piece of Arizona territorial history with your vision and determination.
Miguel, I am just now seeing your comments (so sorry) and how fun that you know the house and knew John and Mary. Yes, I agree the house reflected them perfectly. I grew up in New England which is why I was so drawn to rescuing this house. How nice, as I would certainly entertain a KAET visit! Thank you for your nice compliment about my pie. I love beautiful food! Thanks again for sharing your comment.
Wow!! That pie is the picture of perfection! I know the taste is as well. 🙂
Valerie, Thank you!!