Cabin Master Bedroom Remodel
First of all, thank you SO much for all the well wishes and prayers for a quick recovery to my eye injuries. Yes, I am feeling much better and my vision is almost back to normal. Prayers answered.

Our sweet little cabin in Pinetop, Arizona was in dire need of a master bedroom re-do. The original cabin has lots of knotty pine and charm. We use this small cabin as a vacation rental from Memorial Day to October.
The Bedroom Before
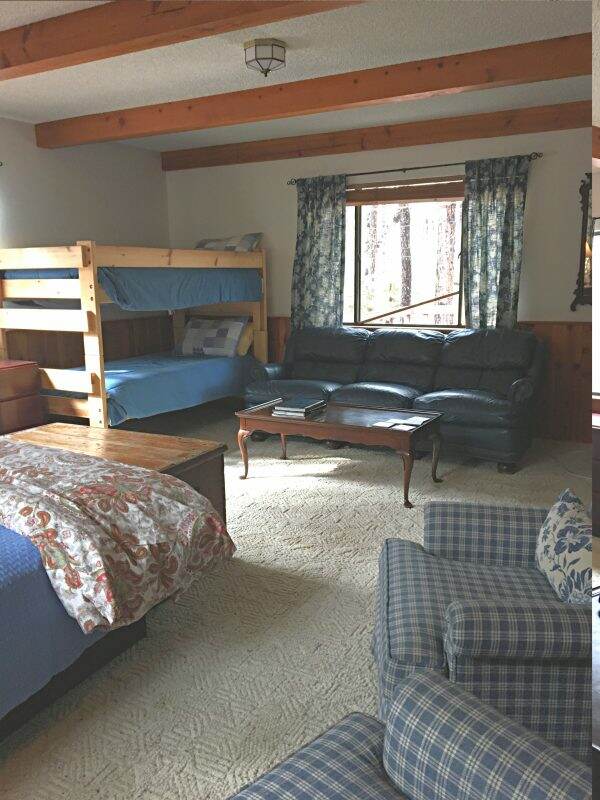
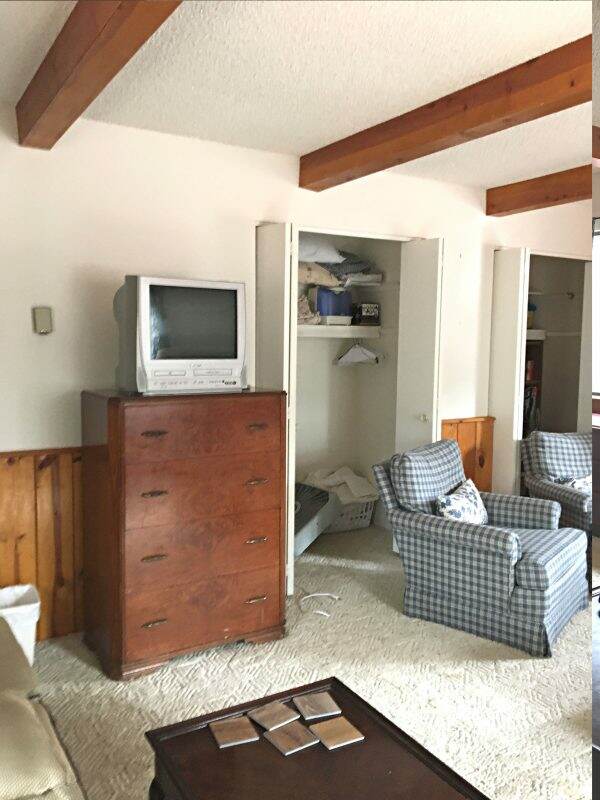
Prior to purchasing it over 25 years ago, someone had built a rather odd master bedroom addition. With popcorn ceilings, faux beams, inadequate lighting and too much drywall, the old master bedroom looked like this.
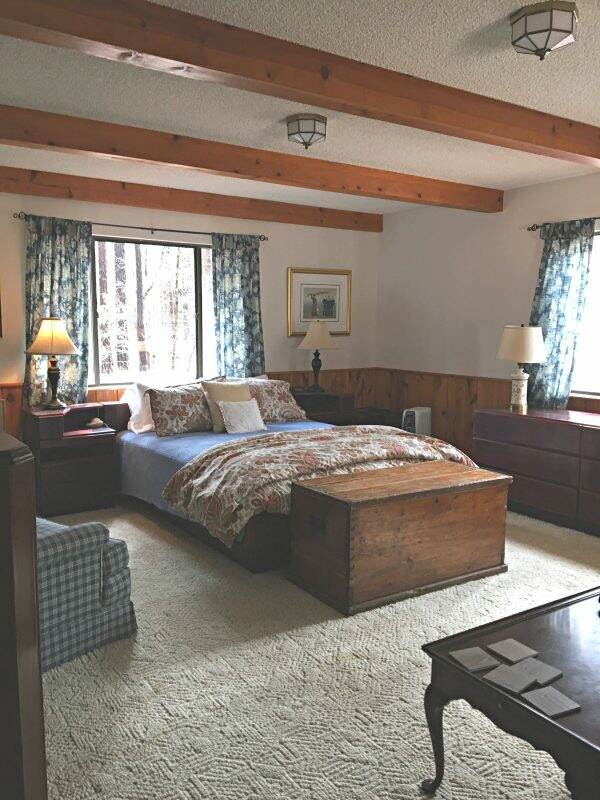
We didn’t help the look by using Scott’s bachelor furniture and leftover pieces. Though a rather large room with 3 big windows, I never gave much thought to the furniture placement. Though unattractive, it was functional.
The Work Begins
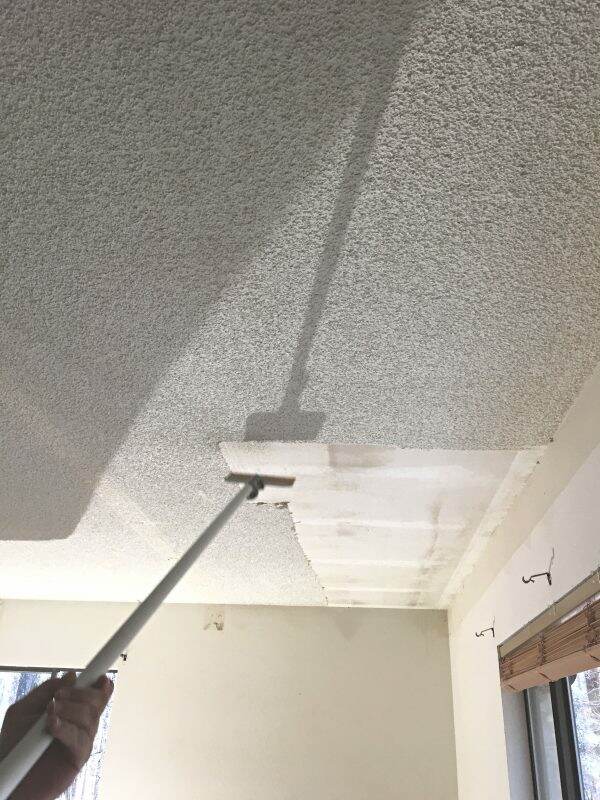
The first weekend, Tony (the BEST electrician/contractor) took down the faux beams, scrape off the popcorn ceiling, added lighting and ripped up the carpet.

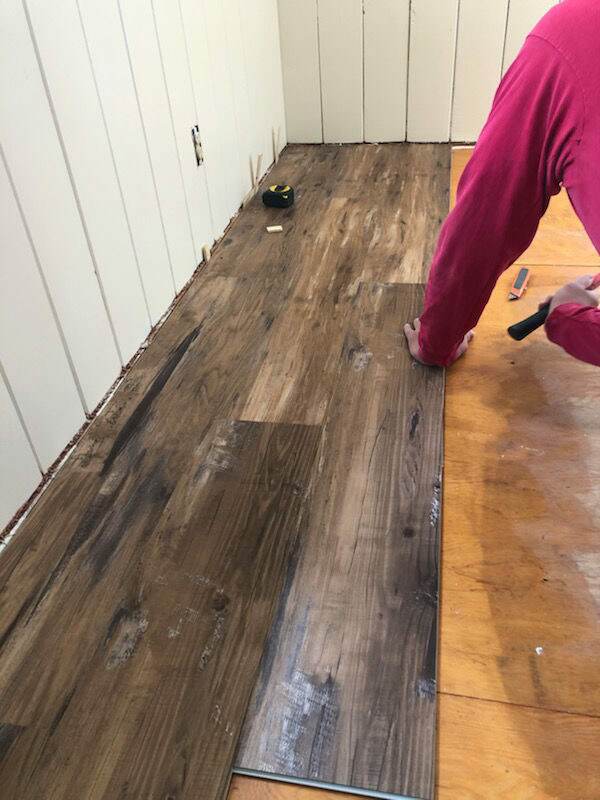
The natural wood wainscoting chopped up the room so we painted it the same color as the walls- Sherwin Williams Cottage White. Since the room is so big and now so white, I chose a vinyl flooring that looks like wood planks to anchor the space.
The After
Here is the finished product. It took a few weekends and many hands, but it is nearly complete for our first guests in May.
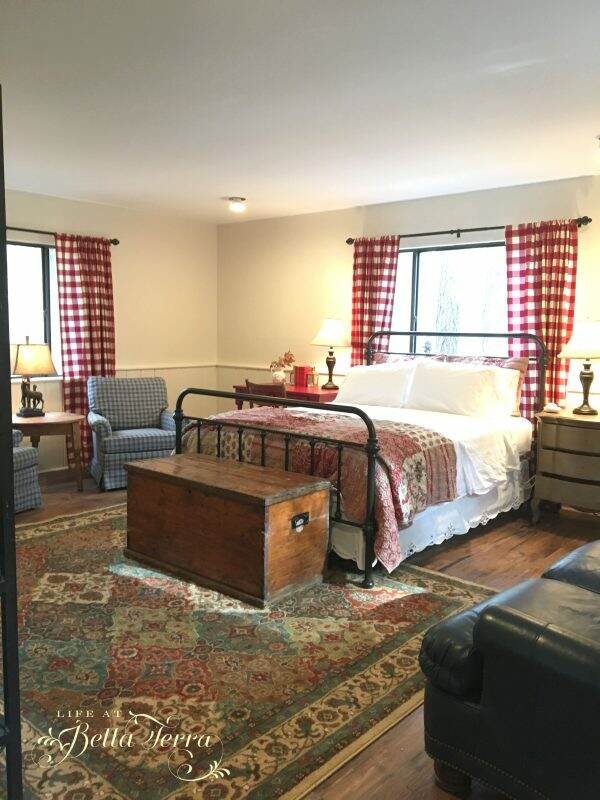
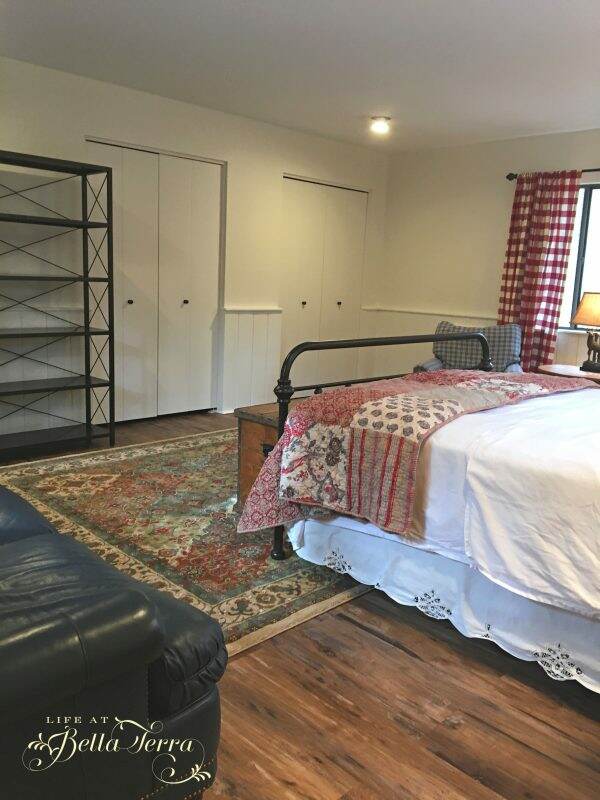
I was able to retain a few pieces of furniture~~the Drexel blue checked chairs, the antique trunk and the blue leather sofa (not my favorite but my husband put his foot down on getting rid of it!)
The side table and red desk are new purchases. Resources are listed below. The pulls on this bedside table were a brushed silver (which was a strange choice) so I spray painted them anodized bronze paint from Rustoleum.

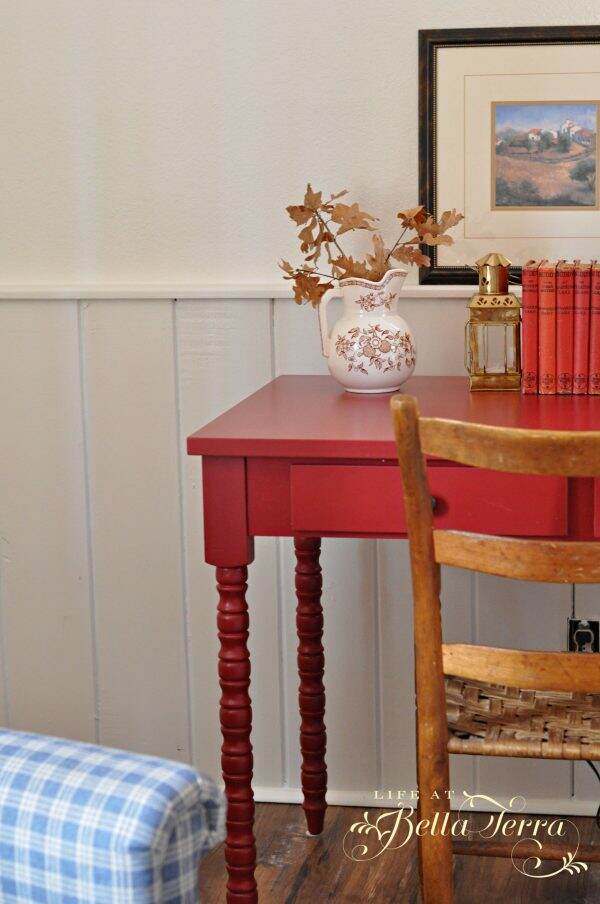
I love how the flooring turned out. It looks like real wood and will be warmer during the winter months.
I was going to have the curtains made but it would have been cost prohibitive. These red/cream checked drapes are from The Vermont Country Store. I was so disappointed when Country Curtains closed their store. However, they now sell their products through The Vermont Country Store.
The round primitive table, desk chair and elk lamp were recently purchased from a local vintage store.

The 8′ x 10′ rug came from Home Depot. The metal etagere was purchased from Ballard Designs long ago as a staging piece in one of my previous remodels. Here is a similar one from Walmart. I took these pictures before I pushed the can lights up to the ceiling!
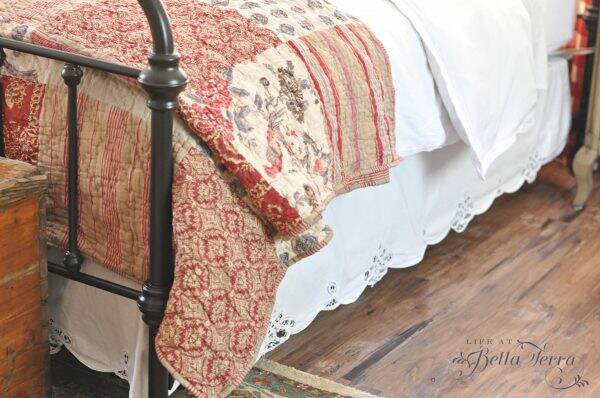
After spending several weeks researching metal beds, I didn’t want one that was cheap and wobbly. Reading review after review, I am so pleased with this selection from Wayfair. The quilt and shams were a 70% off purchase from Ballard Designs.
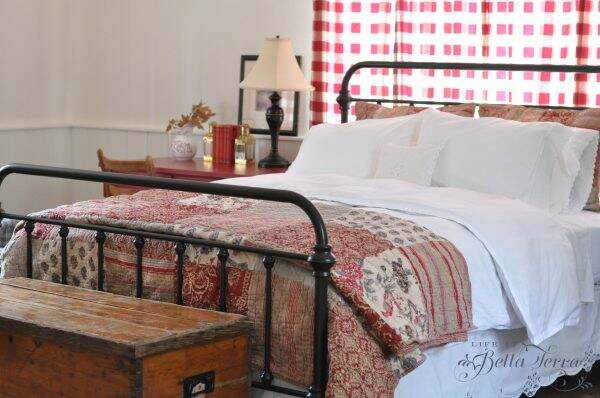
There are a few things left to do but all in all, I am very pleased with the change. Though the master bedroom will never look like the rest of the cabin, this room has a pleasant, mountain feel.
Before and After:


Resources
Rug Persia Almond Buff 8′ x 10′ ~~ Home Depot. $225.00
Cavaillon Panel Metal Bed- queen (see similar here) from Wayfair ~~$275.00 (keep on eye on their sales)
Red Writing Desk~~Birch Lane $174.99. Similar Overstock here.
Chelmsford Antique Taupe Nightstand from Hayneedle ~~ $244.25. Similar on Amazon but much more $$ here.
Vinyl Flooring from Home Depot ~~$1,108.70
Red Checked Curtains from the Vermont Country Store~ $59.95 for 2 panels. I doubled up on the windows so total cost was $359.70
Curtain Rods: Lowes
Annabel Patchwork Quilt/Shams from Ballard Design-discontinued but I know it was significantly discounted. Similar here from Walmart.
Art by the Bed: Local Goodwill $4.00

If you enjoy this post, please share on Pinterest.

Just a reminder that any words that are italicized bring you to the source. If it is a product on Amazon, please note that I am an Amazon Affiliate. If you purchase something through my website, I receive a small (very small!) stipend, which doesn’t affect the price you pay at all. My goal is to make sourcing the items easy for you. Thank you for your continued support.






So beautiful. I liked the beams but they were the wrong color and too deep. They would have looked great if they were not so deep and painted in a faux finish to blend with the floor. It isn’t difficult to do but, perhaps, they weren’t your favorite.
You did an excellent job.
What a transformation! I love the before and after pictures and the room feels like a breath of fresh air…great job!
What a blessing your eyes are healing.
Looks amazing, neighbor! Seems like so much more light coming into the room now. And sorry to hear you had something wrong with your eye. Hope to catch up with you this summer!
What a charming redo!
Wow Mary, very nice. Was the popcorn ceiling difficult to scrape off? Always wondered! Glad you are feeling better and thanks for sharing!
I am told that if the popcorn ceiling is NOT painted, then it easily comes off. Tony just sprayed water on it and it literally came off with the scraper. Much easier than I anticipated. So glad it is gone-such an ugly design feature!