DIY Neck Warmers
After living in the warmer climate in Phoenix, Arizona, I tend to get chilly quickly. Often I’m cold, but not really enough to put on a coat or jacket. These simple neck scarves or warmers do just the trick to make me feel cozy and warm, especially if you have a long neck. Here is a simple DIY on how to make these neck warmers.
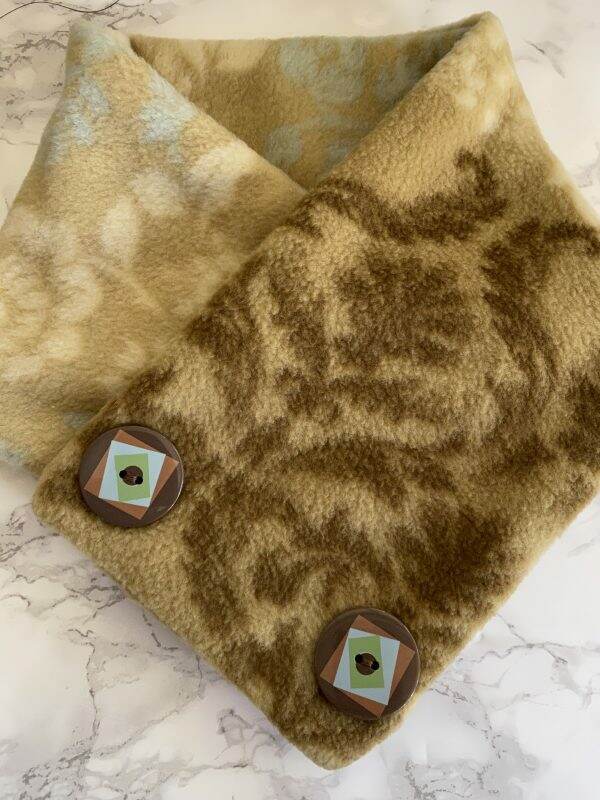
My Inspiration
Many years ago, I was in New York and went to a Christmas market in Bryant Park. I purchased this colorful item below that wraps around your neck and is secured with snaps. The buttons are decorative.
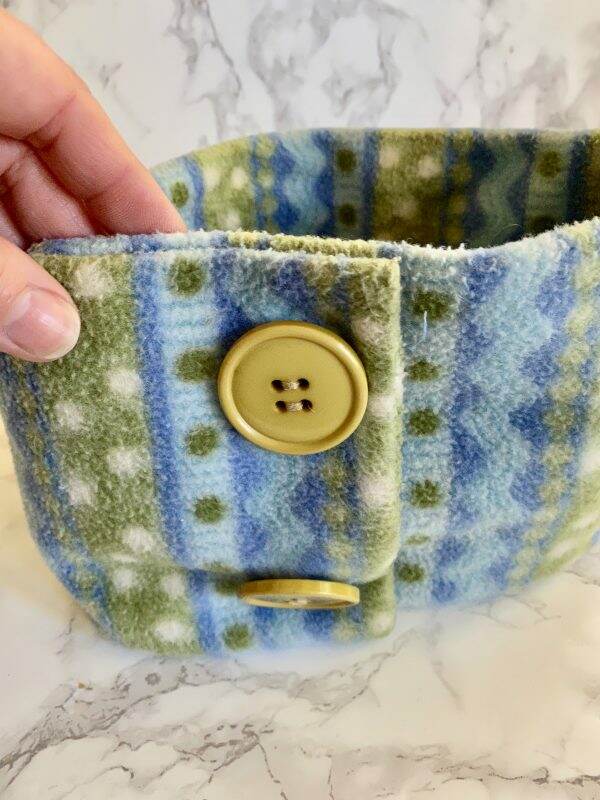
It’s not really a scarf, but I would refer to it as a neck warmer. I LOVE scarves and have several, but there are some days when a woolen, cashmere or even cotton scarf is just too bulky and a silk scarf isn’t enough.
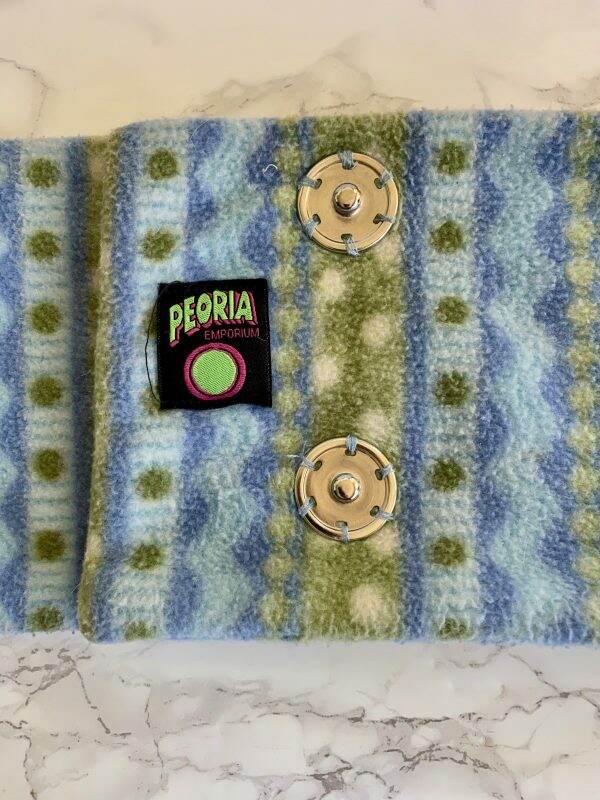
Since we live in a drafty old home, having my neck covered does just enough to ward off the chills. I tend to wear this with a long sleeve t-shirt or light crew neck sweater.
Since I’m not a big fan of turtlenecks, this neck warmer provides the perfect amount of warmth, without the bulk. It snaps on and off so it’s easy to use; no pulling it over your head. There are no long ends to get in the way if you are cooking or doing an activity.
Supplies you will need
Since I haven’t been able to find anything similar, I decide to make some. Using my original one as a pattern, I also experiment with where I want the neck warmer to fasten.
You will need lightweight, soft fleece type fabric, buttons and snaps. Really, any warm (not scratchy) fabric will do.
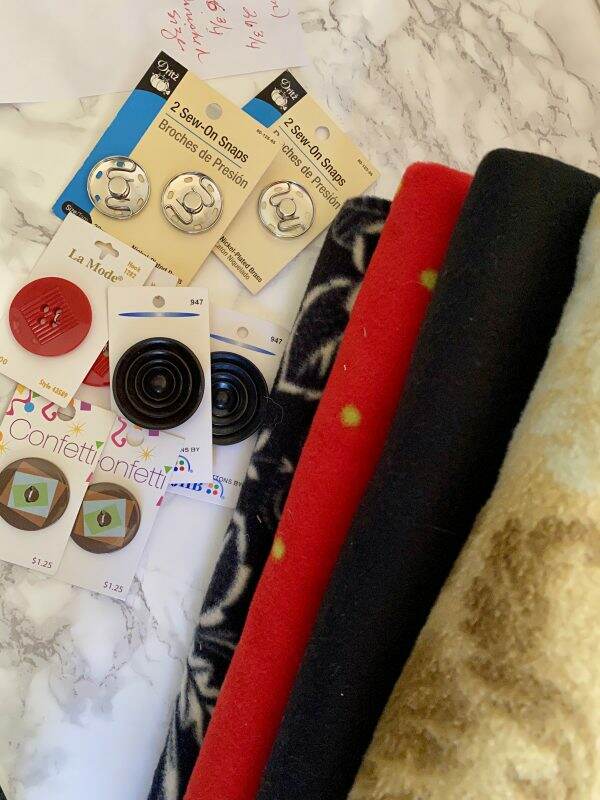
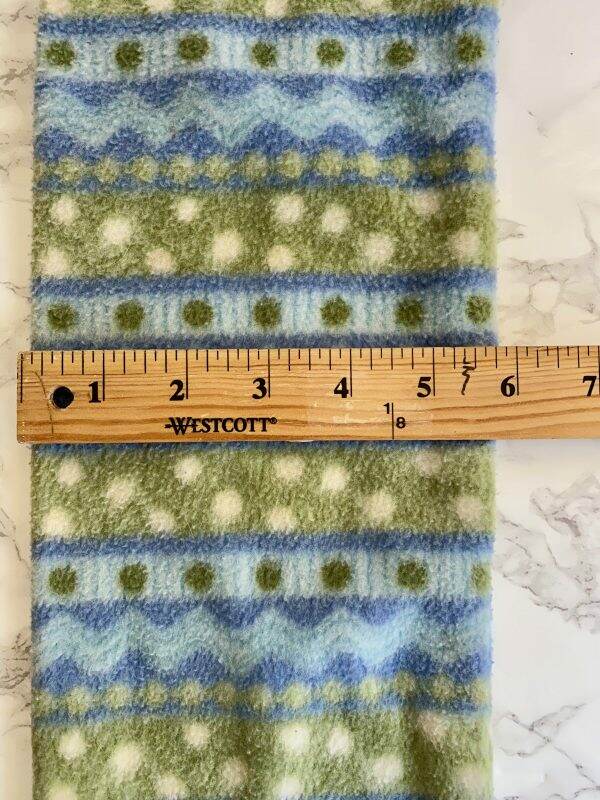
The neck warmer, before sewing, measures at 27″ x 6″ with 1/2″ seams allowances. You could easily make it bigger too. I have a long neck and short hair and this size works perfectly for me.
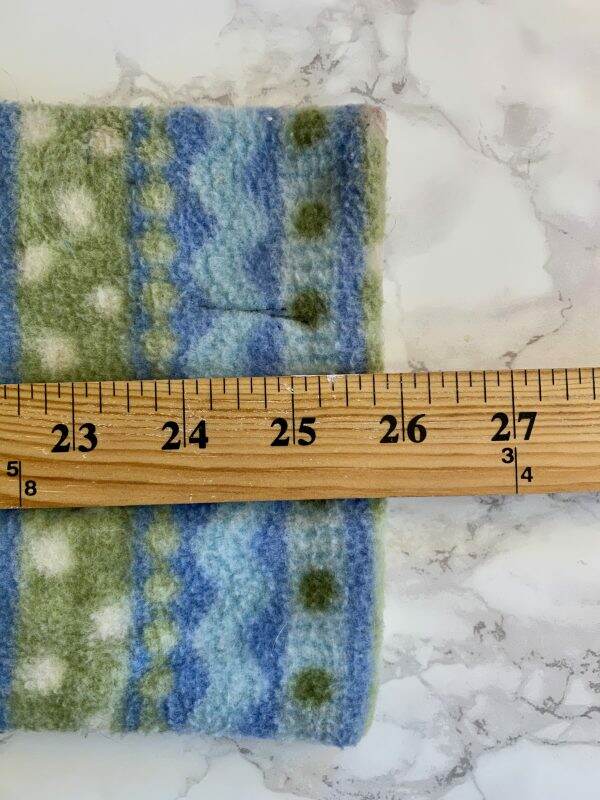
As my Dad would say, measure twice and cut once.
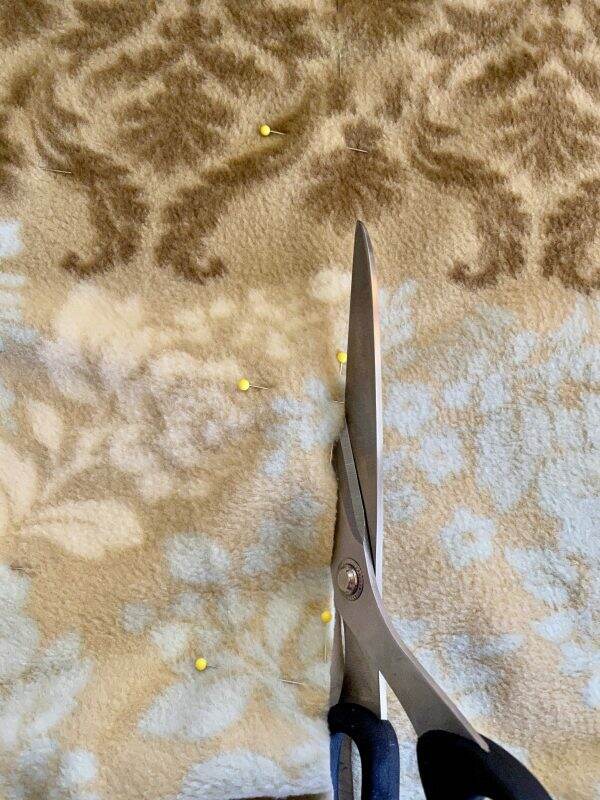
Cut out 2 two rectangles of fabric. I used straight pins as guides.
At this point, you have the option to add the buttons and snaps before you sew the rectangles together. Since I use a multi-colored (with different values) fabric, I sew the buttons and snaps on before I stitch the rectangles together, so you will not see the back side of my stitching.
However, on other fabric, I can sew the rectangles together first, and add snaps/buttons later because the stitching is not as visible.
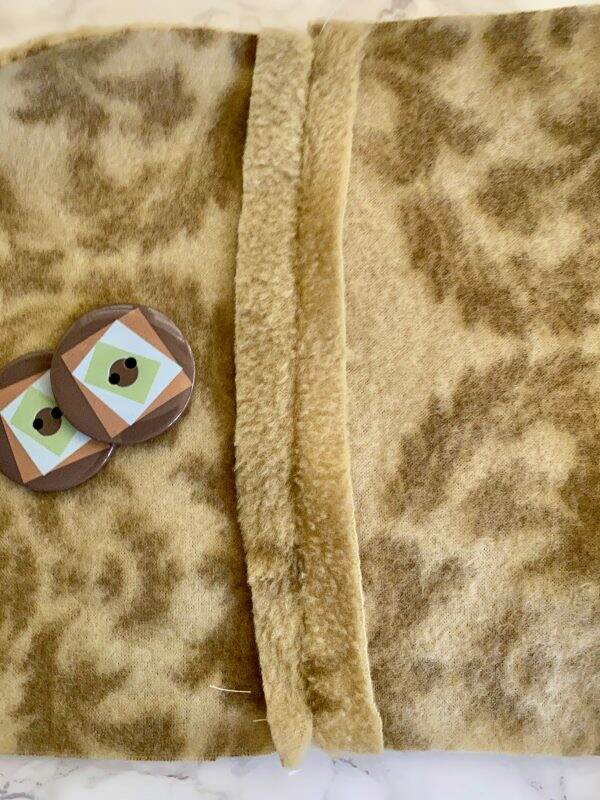
Sew one end only (the 6″ side) before determining the placement of the buttons and snaps. Remember the buttons are only decorative; it’s the snaps that secure the neck warmer.
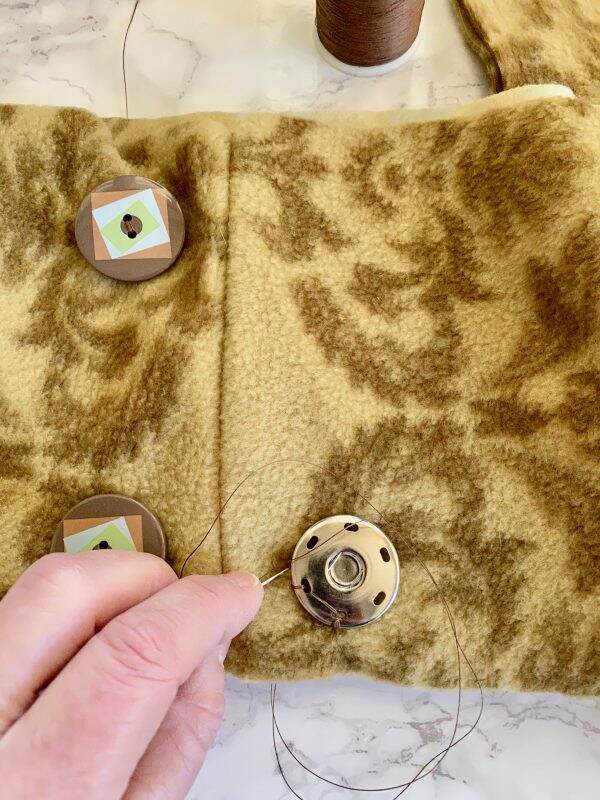
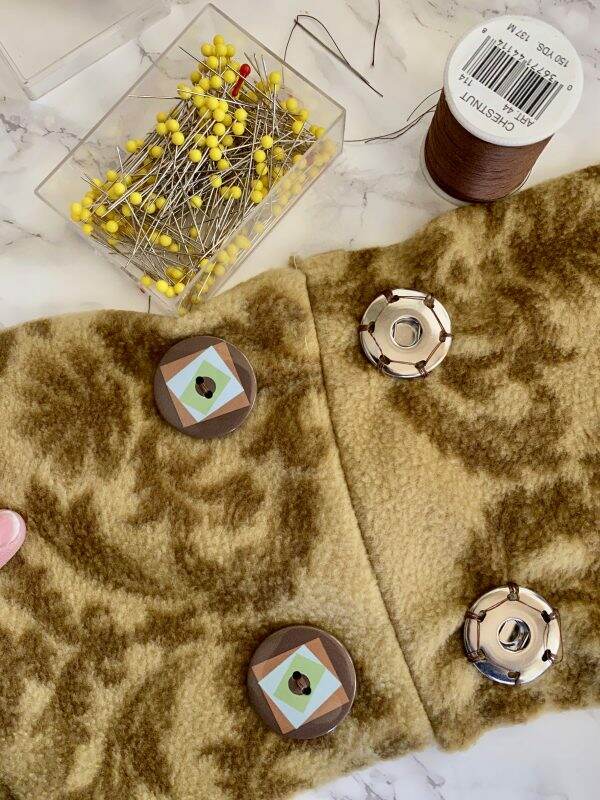
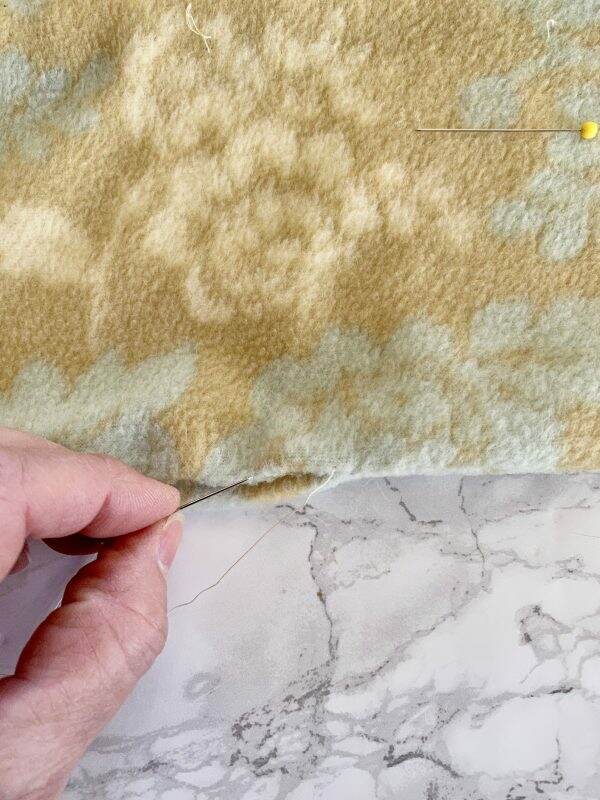
Sew the rectangles together (right sides facing each other) and leave a small pocket open to turn it inside out. Slip stitch the pocket to close the seam.
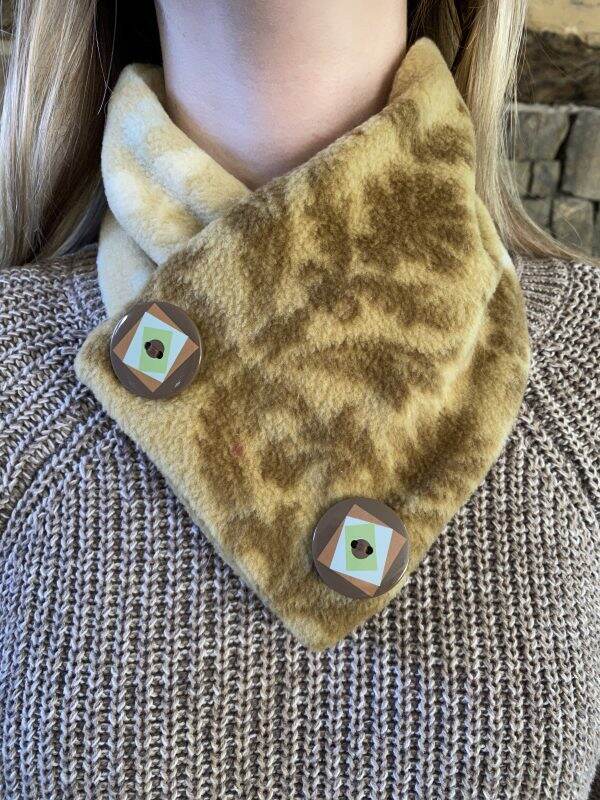
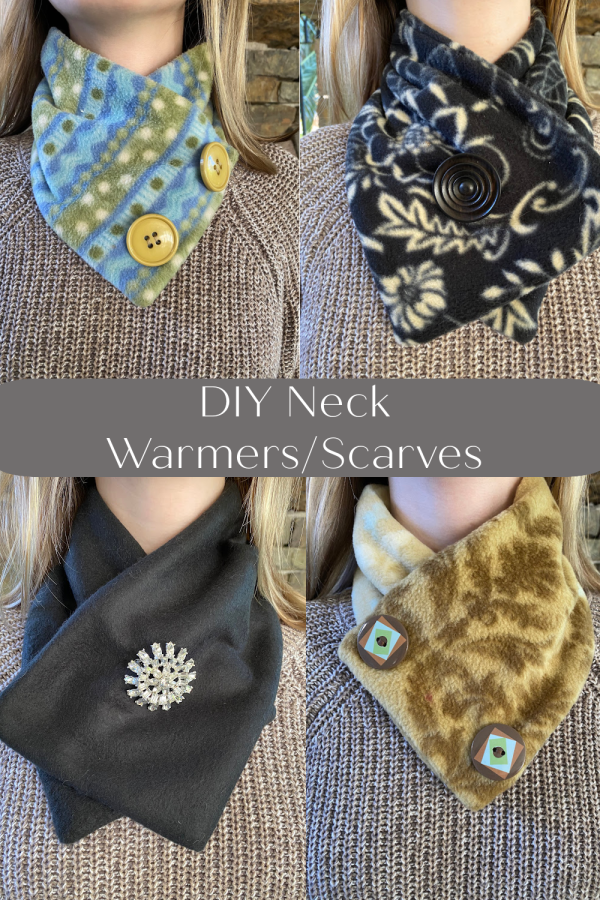
Here is how the finished product looks on. My daughter, Elisabeth is my model.
Experimenting with Different Fabrics/Buttons
The next one is so much easier to make! Since the fabric is busy, I add the one button and snap after sewing the neck warmer pieces together. Here you can determine if one snap/button works better than two.
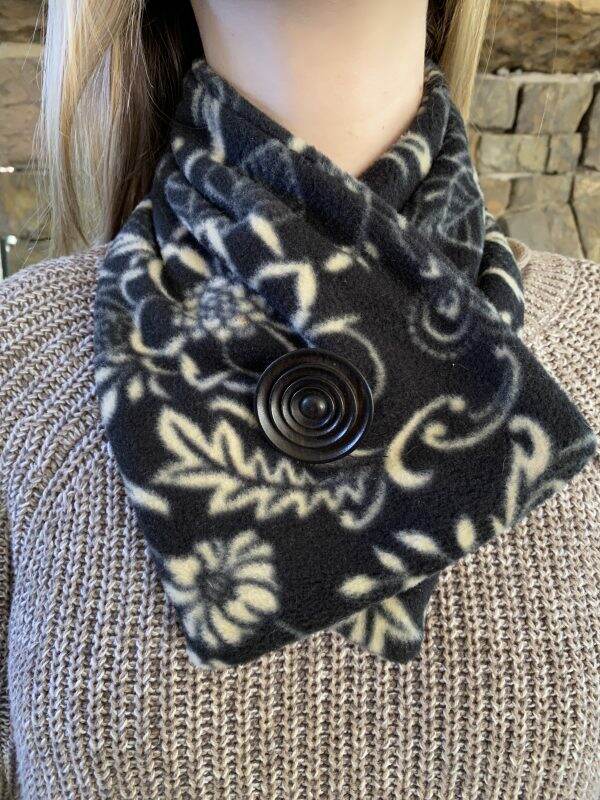
With one button you can wear it like it is above, or turn the neck warmer where the button is sitting to one side for a completely different look.
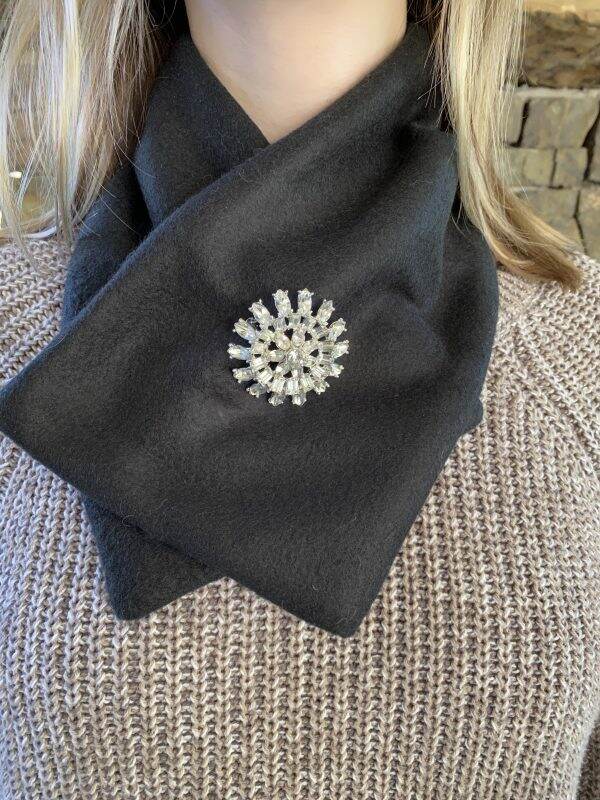
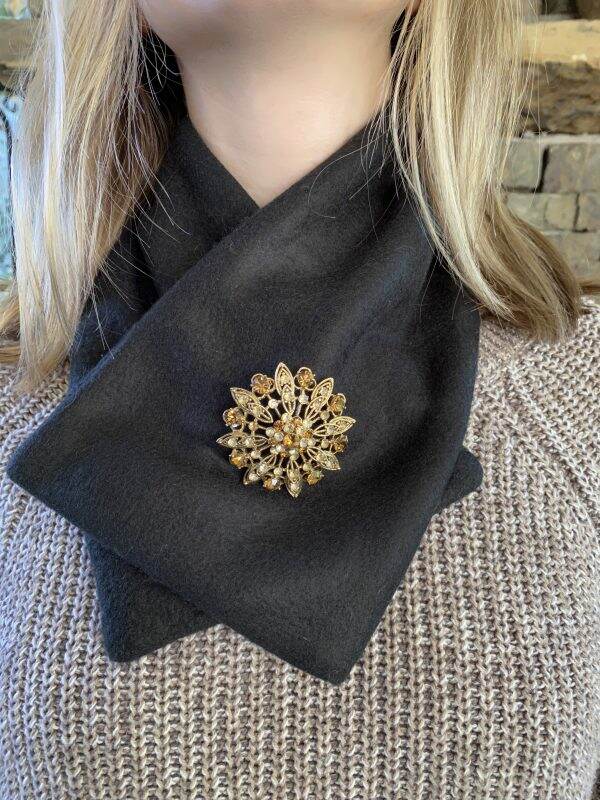
The third one is with a fabric that has a cashmere-like feel. Being solid black color, I decide to sew on the snap but left the button off. Instead I used a jeweled pin, which can be interchanged, for a dressier look.
Create different placements
The original scarf is designed as a cowl style. However, I rearrange the snaps and make it this style, which is slightly tighter around the neck area (and warmer).
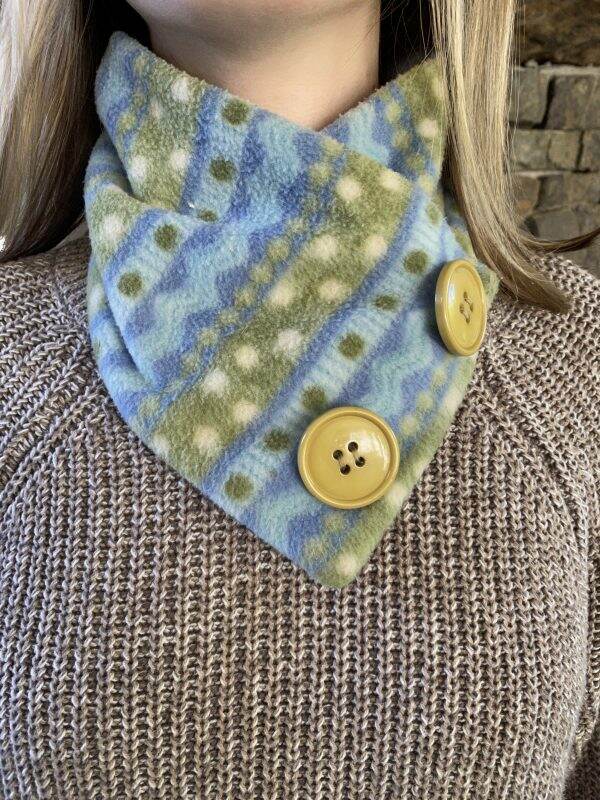
There are endless ways you can get creative with these, depending on where you put the snaps. For just a few dollars, you can make them out of various fabrics and the button selection is endless. You could add some top stitching too or use two different fabrics on the same neck warmer.
These neck warmers also work well when I am having one of those days when I’m hot, then I’m cold, then I’m hot again. Being able to snap it on and off and not needing a mirror to make sure it is organized properly is very convenient. And, unfortunately as we age, our necks age too. These scarves are a great way to be warm, cover your neck and look stylish too!
I always get compliments when I wear one and they make perfect gifts for the holidays. Happy Wednesday!

Just a reminder that any words that are italicized bring you to the source. If it is a product on Amazon, please note that I am an Amazon Affiliate. If you purchase something through my website, I receive a small (very small!) stipend, which doesn’t affect the price you pay at all. My goal is to make sourcing the items easy for you. Thank you for your continued support.


I have no idea how I missed these, Mary, they’re amazing! I love how you can use them during chilly Fall nights and during the winter season too. Plus, they’re so easy to customize as well. They would make such a lovely gift idea. Can’t wait to share them in today’s From the Front Porch post. Big hugs, CoCo
CoCo, I love these neck warmers and you are right, you can customize them easily. Thank you for sharing them on your blog. You are the best!
Mary,
I love all these designs. So cute and easy to make. I’ll share a link on Sunday.
Rachel, thank you. I love your Sunday posts!
These are adorable, Mary, and they look so cozy. I cannot wait to try one.
Wendy, thank you so much! An easy DIY project with lots of personalization.
Brilliant, Mary! What a perfect and lovely solution to the Too-Hot-Too-Cold dilemma! And it looks easy enough for ME to sew! 🙂 Thanks as always for the fabulous inspiration!
This is a great idea and I intend to make some for me and for others. Thank you for the wonderful
instructions as I am not one who does much with crafts. Thank you for sharing.
Blessings,
Virginia, if you do make them, send me pictures. I love these and keeps my long and aging neck warm!!!
These are so fun and easy to make! I made them for all the gals last Christmas. Great demo!
Wait? What? I don’t remember getting one! 🙂
Love this idea! My neck and shoulders get chilled too and this is a great way to handle that without bulking up with sweaters and scarves. Thanks for showing me my next project!
Simply love this Idea! Thanks for sharing. Going to make some for my 92 year old Mother. Bet you my 93 year old Dad will want one too. Finely have a use for some of those buttons in that old tin that I’ve had for 60 years. Hugs
I know, right? I have buttons galore too! They will love them. Funny you mention your Dad, but as I was making them, my husband wondered if I could make a guy version. Leather buttons?
Let me know how they turn out!
We were just at that market in December, what a blast with the tree etc. Pretty cool looking Mary!
We went the year Julianna sang at Carnegie Hall-was that 4th grade? We were so impressed with that market! How fun that you were just there. Wonder if the vendor who made the scarf is still in business?
Love this idea! If my neck is cold, I’m cold. Scarves aren’t always convenient. Thanks for this easy tip!
I’m really surprised how easy they are and how creative you can become in making them. Who ever thought I could design a fashion item! Too funny!
you are amazing!