artificial flowers | decorating and design | flowers | Gardening | household | Informational | planting | porches
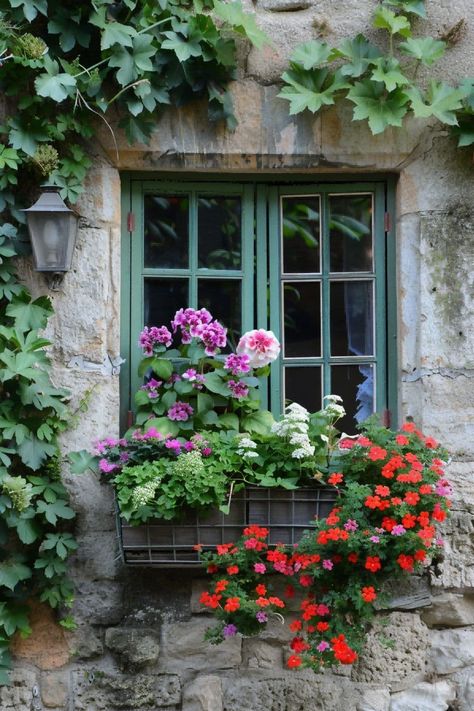
Who Loves a Beautiful Window Box?
Currently I am traveling in Connecticut and during my morning walk, I am surprised to see so many beautiful window boxes filled with colorful flowers. Naturally this got me thinking about window boxes and how I do not have a one. Nada. No where on either of our properties is there a single window box!…