autumn | centerpieces | decorating and design | DIY | Entertaining | fall | Family | flowers | historical homes | holiday decorating | planting | Thanksgiving | traditions | Uncategorized
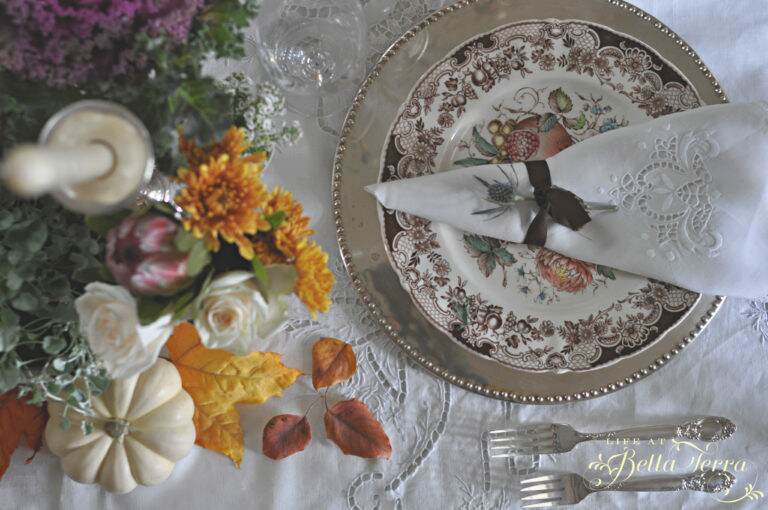
Our Thanksgiving Table
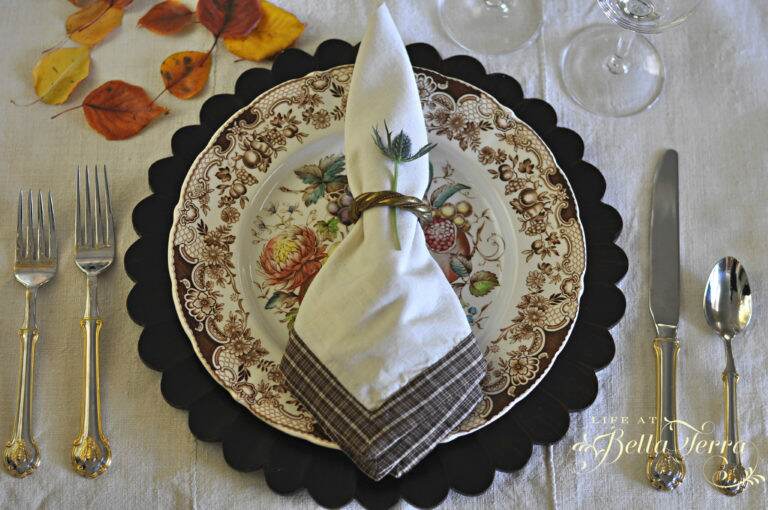
Thank you so much for the feedback on my last post. Based on consensus, I went with the silver beaded charger~~still surprised I hadn’t thought of it before. A bit of thistle is stuck into the napkin for color and texture. I was so excited when I made the decision to go silver, but then…