bargains | cleaning and repairing | decorating and design | DIY | furniture | historical homes | household | Informational | painting | Uncategorized
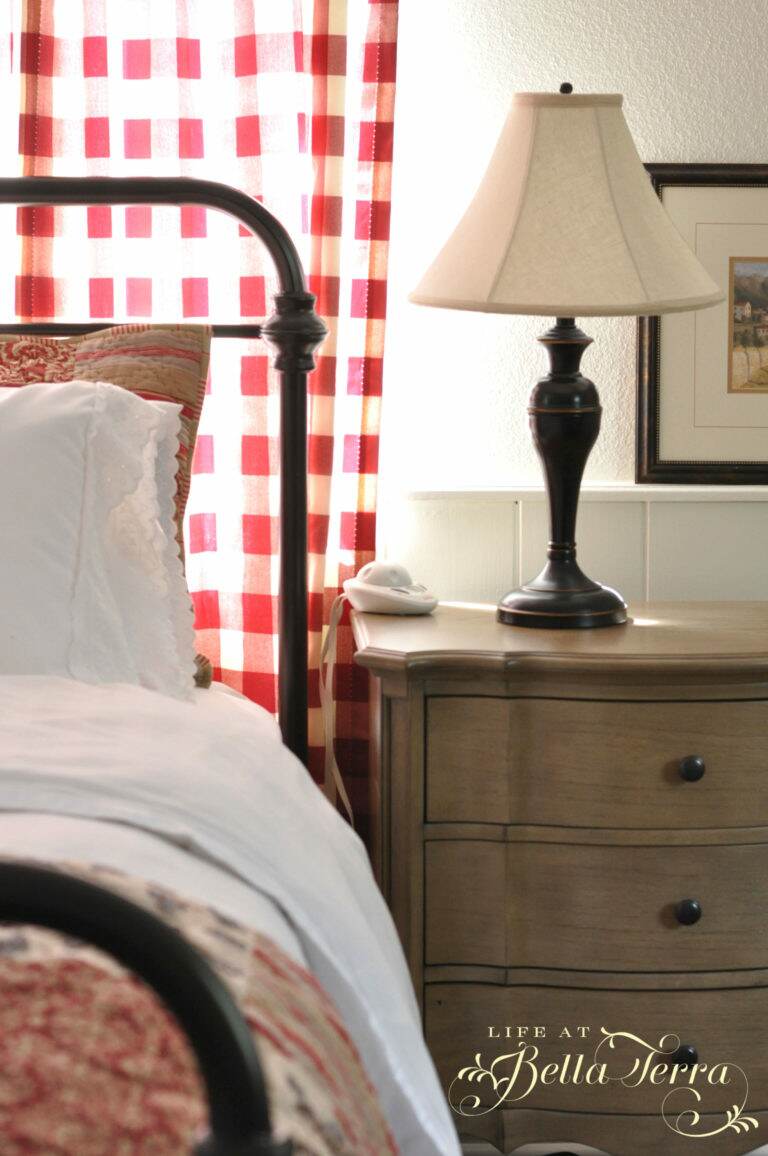
Refinishing Lamps
My son’s bedroom remodel is taking FOREVER. I wish I had one week without interruptions to finish it, however, that is not my life right now. But this weekend I was able to refinish 2 lamps and wanted to share the process with you. You know you are blessed with good friends when they are…