art | artificial flowers | autumn | Books | centerpieces | decorating and design | DIY | fall | flowers | furniture | historical homes | holiday decorating | painting | Reading
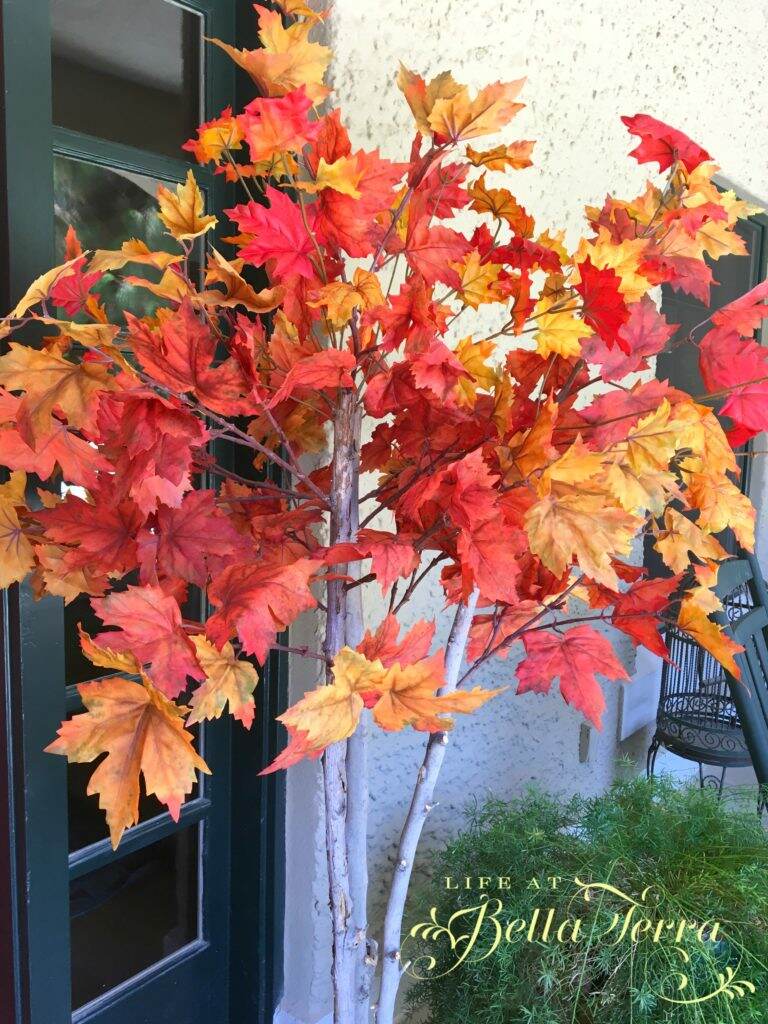
Fall Decor Touches in the Living Room
It is that time of year when the temperatures are shifting ever so slightly lower, that I am inspired to add a few fall decor touches to the living room. I recently went to Trader Joe’s to buy pumpkins for my living room mantle and they had NONE. They had not shipped yet from the…