art | autumn | decorating and design | DIY | Events | fall | fall decorating | furniture | Gardening | Halloween | household | Informational | painting | Pets | planting | travel
Saturday Meanderings
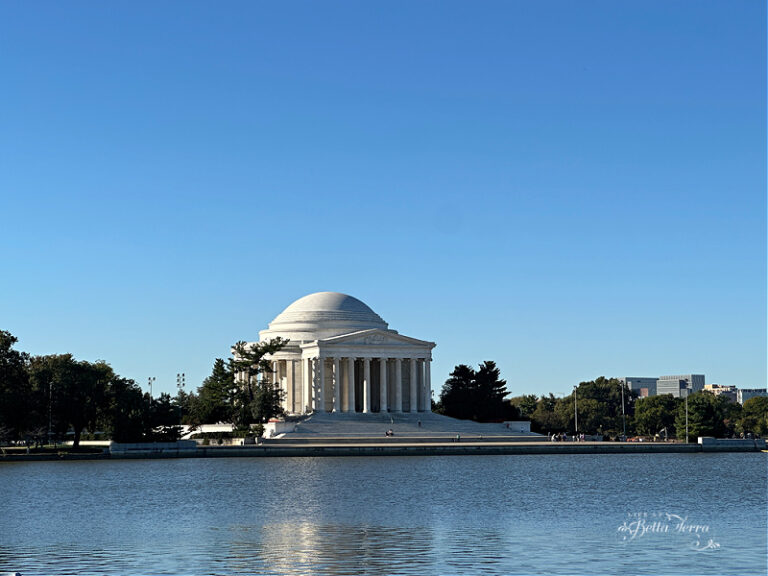
It’s that time again to grab your favorite beverage and see what has been in store this last week with my Saturday Meanderings post. A week ago I was in Virginia Beach, attending the bridal shower of my future daughter-in-law. It’s hard to believe we will be wrapping up October soon so I am trying…