art | art classes | autumn | beverages | centerpieces | Charitable events | Chickens | Christmas | cleaning and repairing | decorating and design | desserts | DIY | Easter | Entertaining | fall | flowers | furniture | Gardening | Halloween | Hen House | historical homes | holiday decorating | house restoration | household | online store | Orchard | Outdoor living | painting | planting | Recipes | renovation | Spring | Thanksgiving | travel | Uncategorized | Upholstery | vacation | Valentines Day | White Mountain Summer Homes
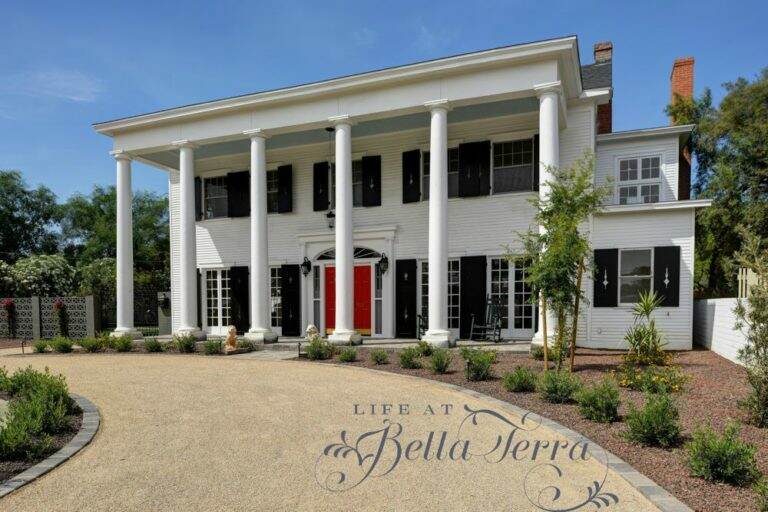
It’s Been A Year!
A year ago today, I sent my first blog post of Life at Bella Terra. It was an intimidating moment, because I thought “who would ever want to read this?” I don’t consider myself a very good writer and I’m really trying to improve upon that. But your words of encouragement have brought me back…