autumn | decorating and design | DIY | fall | fall decorating | flowers | Gardening | Informational | Wreaths
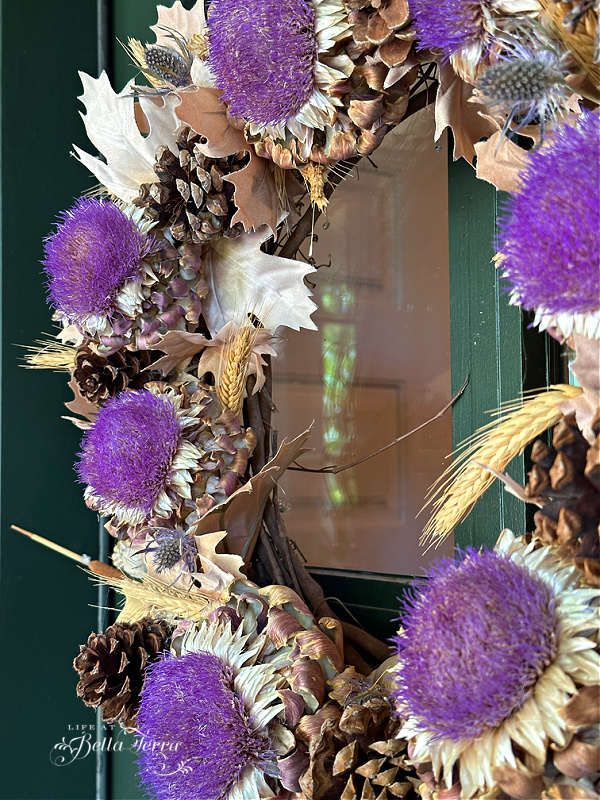
Making a Harvest Wreath from Your Garden
This year, I did save some of my garden produce and flowers in order to make a Harvest Wreath. The autumn represents the end of the growing season in most areas. Even though, here, we start our gardens in the fall, most of the summer plants have gone to seed or have been harvested. If…