Two Easy DIY Patriotic Garlands
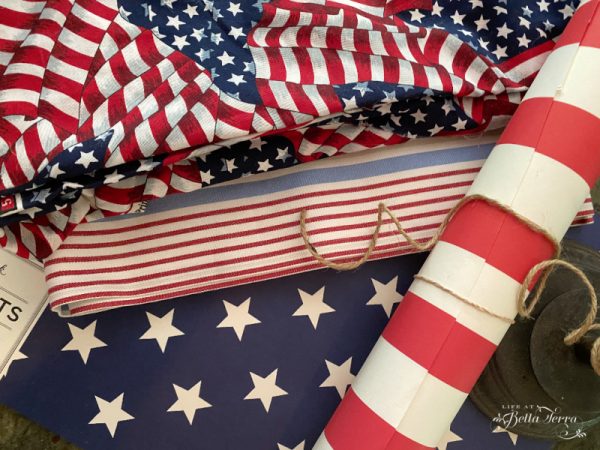
I do like making decorations I can use over multiple holidays. Anything red, white and blue is good for Memorial Day, Flag Day, July 4th, Labor Day or just a fun summer holiday party. Here are two easy ways to make two DIY patriotic garlands using both paper and fabric, some twine and glue. All the items I have laying around so get creative and see what supplies you may already have on hand.
The Paper Banner
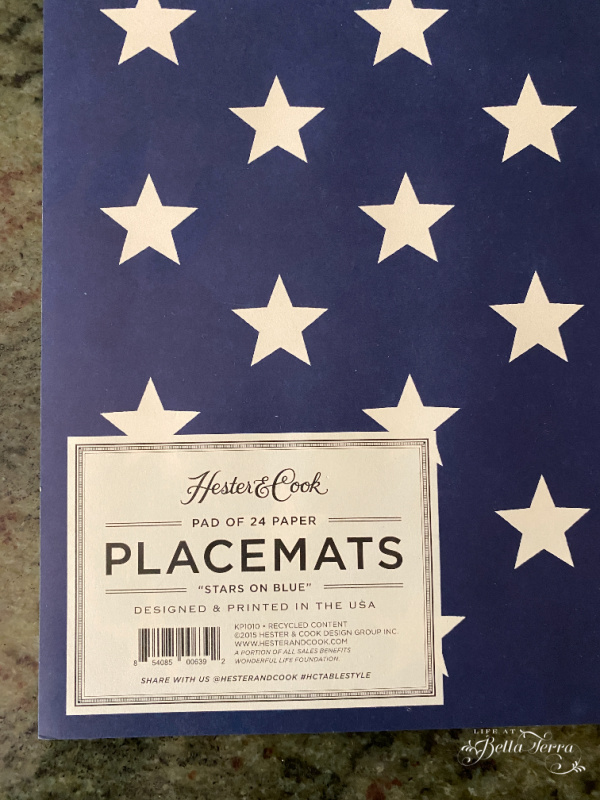
These paper placemats from Hester & Cook will be used on my patriotic table for July 4th. But I am using two of these placemats to create the blue triangles for a 5 foot long garland. Hester & Cook is a great resource for pretty holiday and seasonal items ranging from placemats to table accessories to greeting cards.
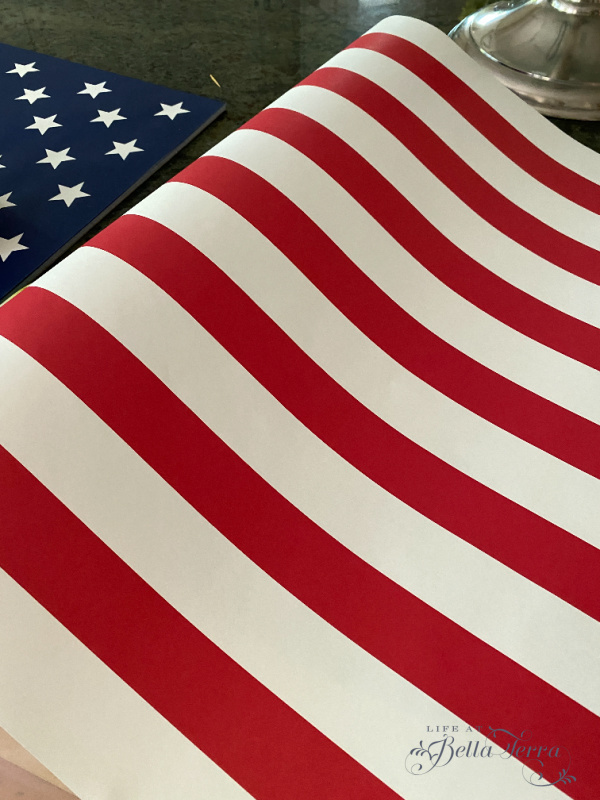
For the red/white triangles, use any paper from a craft store. This red and white paper table runner I am using is also from Hester & Cook. Even though these products are designed for table settings, I often use them for crafts or wrapping paper.
If you need paper supplies, Amazon has a great selection of patriotic paper here.
Folding and Cutting
First I fold the paper placemat length-wise, creating a 6″ x 18″ cutting surface, with the pattern inside.
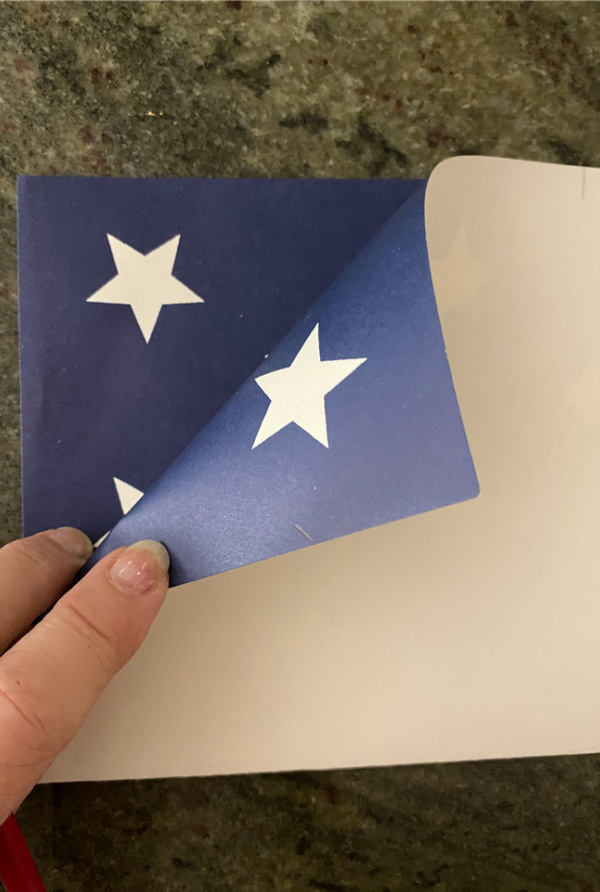
Not wanting to make this a difficult math problem, I divide the 18″ into 6 triangles that fit within the paper size. You can make the size of the triangle whatever you want. Mine are 6″ wide by 6″ long.
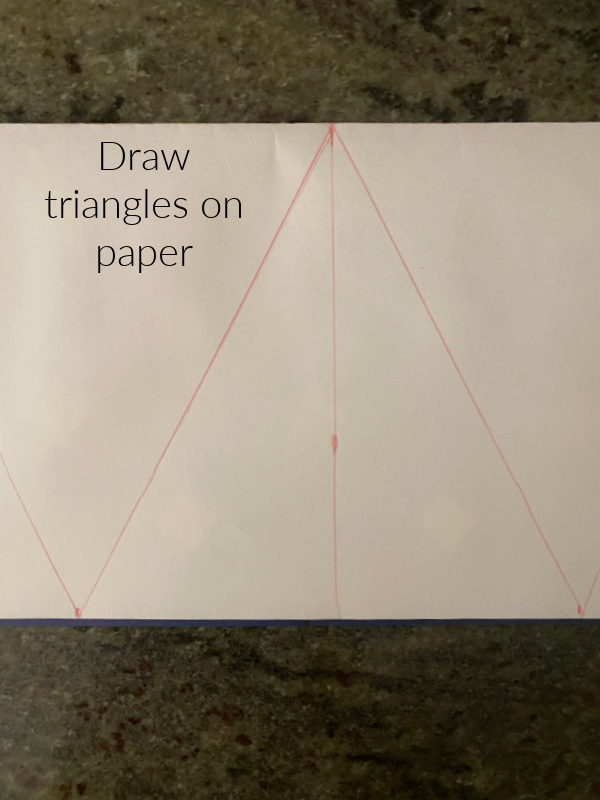
Since I want a garland with the pattern on both sides, I will only use the triangles I can fold over and secure. So in the picture above, I will have leftover triangles. You can toss these or create another project with them.

Using the first triangle as a template, I trace it on the red/white striped paper that I, too, fold.

Once I have cut enough red and white striped triangles (really diamonds), I am ready to assemble.
Assemble the Garland
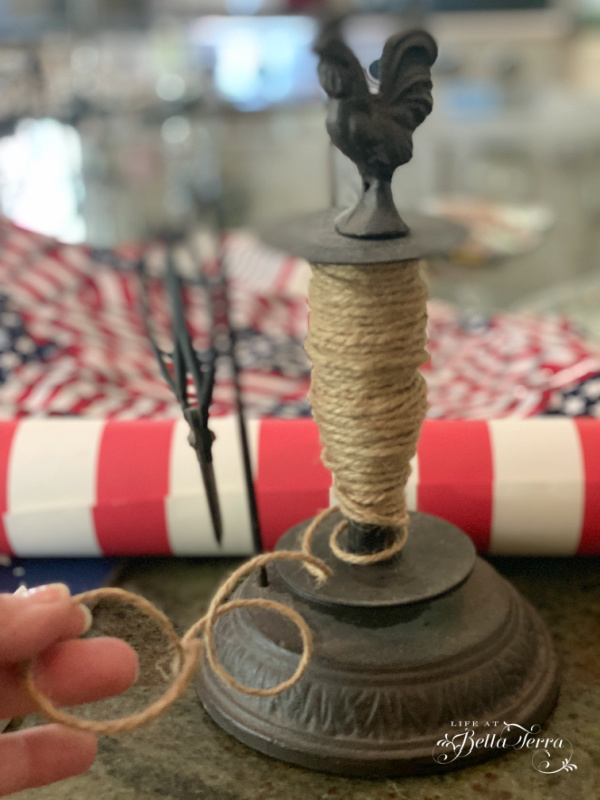
Cut the appropriate length of your twine. This cute twine holder with scissors in the above photo can be found here. I keep this handy in the kitchen on the shelf above the stove, as I use it often. Would make a great hostess gift, right?

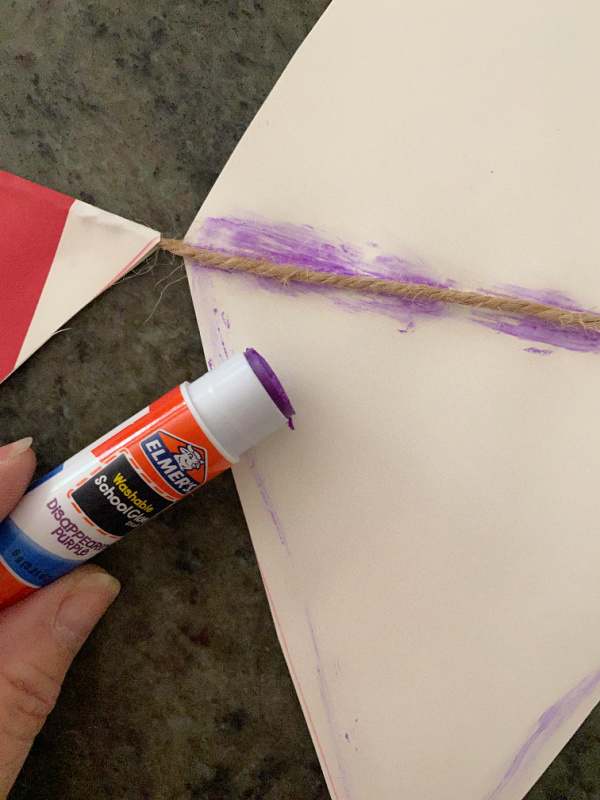
When you lay open the folded triangle it forms a diamond. Using glue sticks, secure the triangle to the twine, so they do not slide. Also add glue to the edges and tip. I try to limit my use of glue because the paper can look bumpy if you use too much. Use too little and the triangle will not stick to itself. Fold the triangle over the twine and press to secure.
Alternate the colors of the triangle. I do this until I have 5 blue star pattern and 4 red/white stripes. You can certainly cut more triangles for a longer garland, but 9 triangles at this size will make a 5′ long garland.
Affixing the Garland
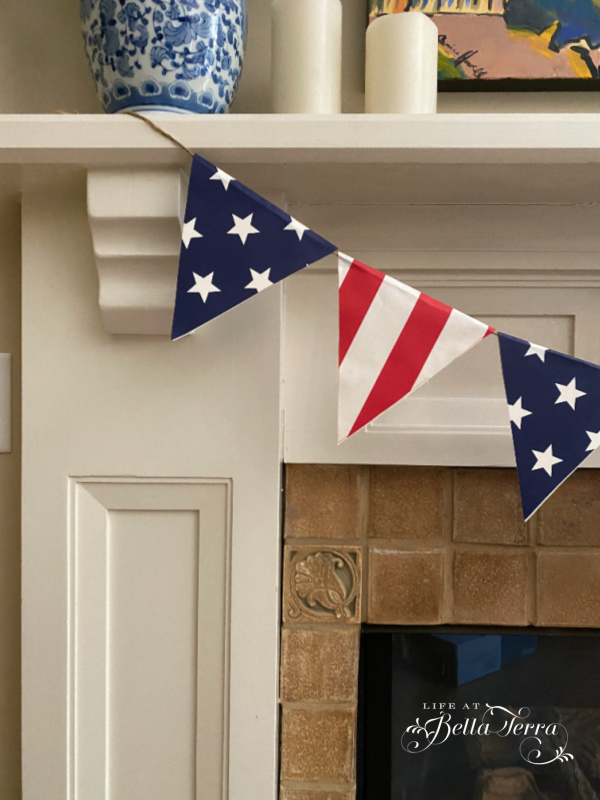
Using removable clear Command hooks, I secure each end of the garland to the top of the mantel.
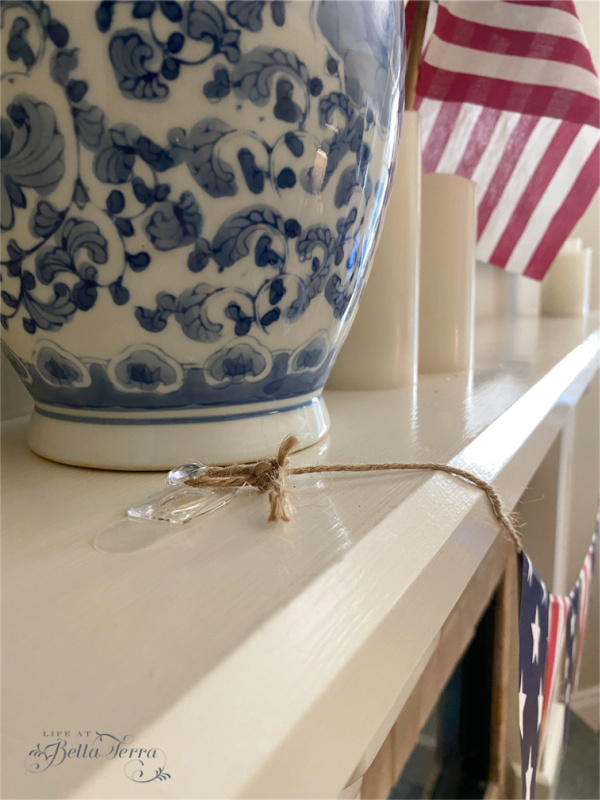
What I like about the Command hooks is that you can remove them without any damage to your surface.
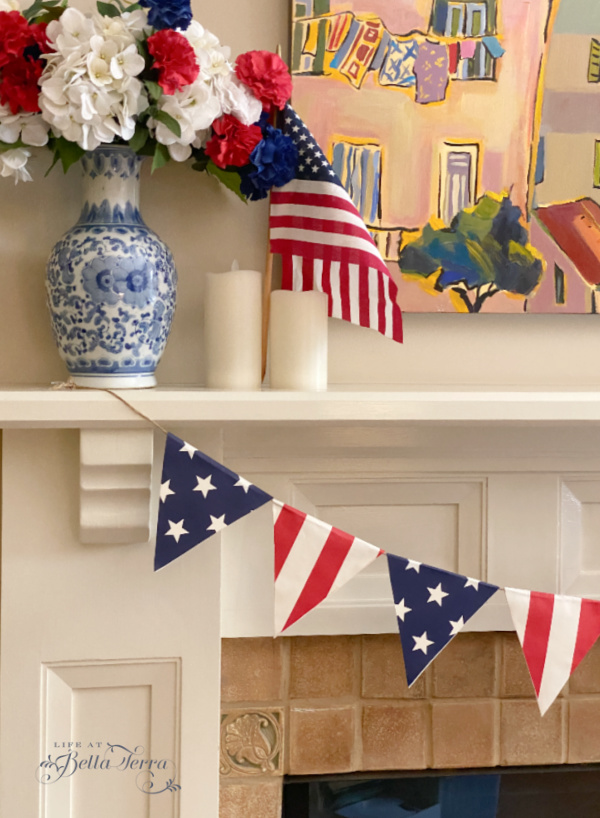
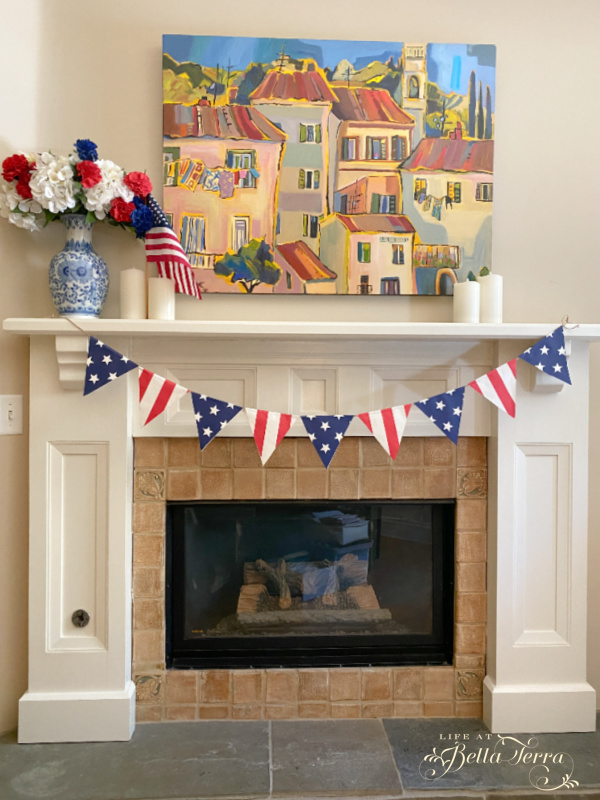
Here is the finished garland hanging on our breakfast room mantel. All I need now is to trade out my artwork to something more seasonal. It is so simple and very colorful!
Making a Fabric Garland
Finding yards and yards of this flag fabric in our garage inspires me to try a different type of garland…one with torn strips of material.

The side benefit of making this garland, is that tearing fabric is a bit of a stress reliever. There is something soothing and rewarding as you tear away!
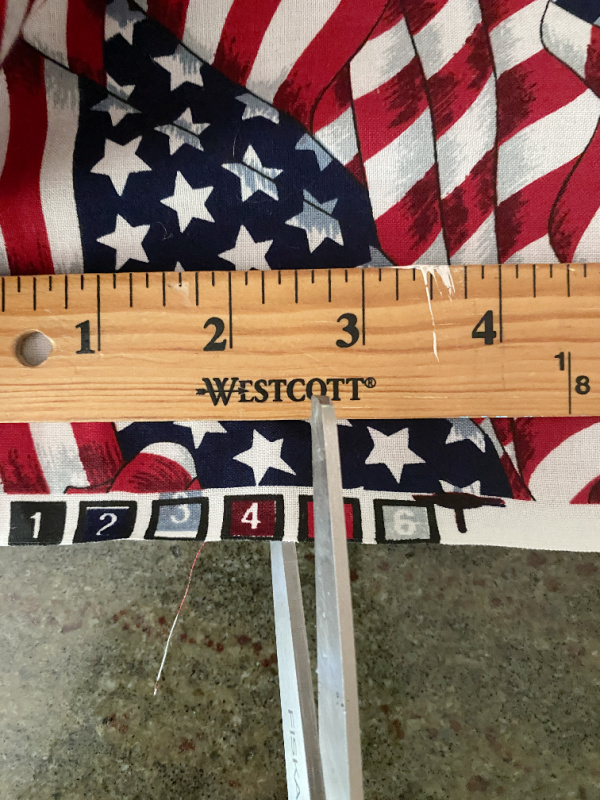
Since the fabric is 42″ wide, I cut 15 notches at 2 1/2 ” wide. Tearing the strips along the width of the fabric and see how satisfying and easy it is! I end up with 15 2 1/2″ x 42″ strips.
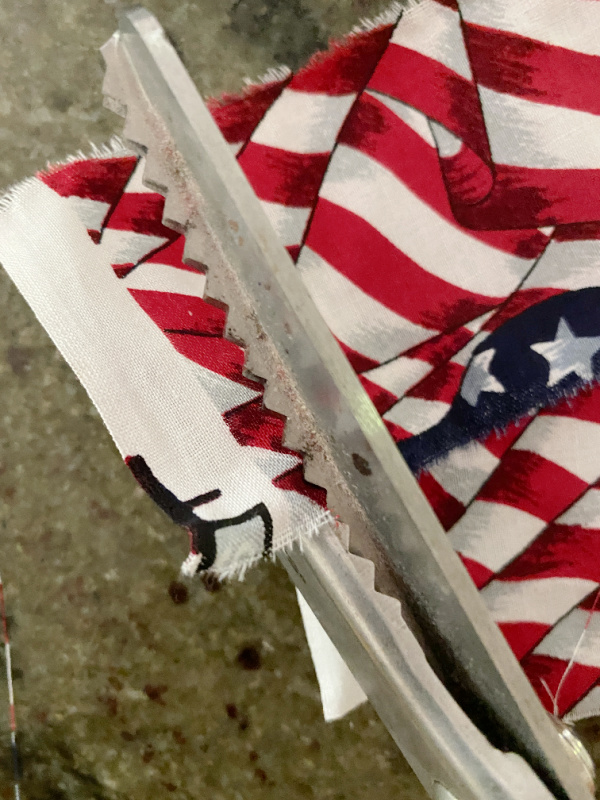
I fold the strips in half and cut and tidy up the edges by cutting off the selvage using pinking shears for a pretty edge. Now I have 30 strips of fabric which I tie onto a length of twine.
Assemble the Garland
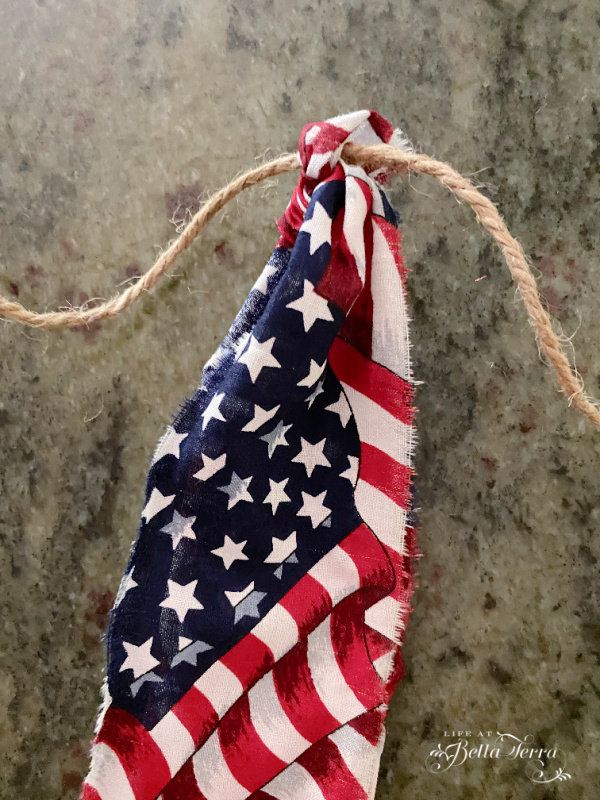
Here you can put the fabric strips as close together or as far apart as you’d like. As you are tying on the strips, make sure the lengths match.
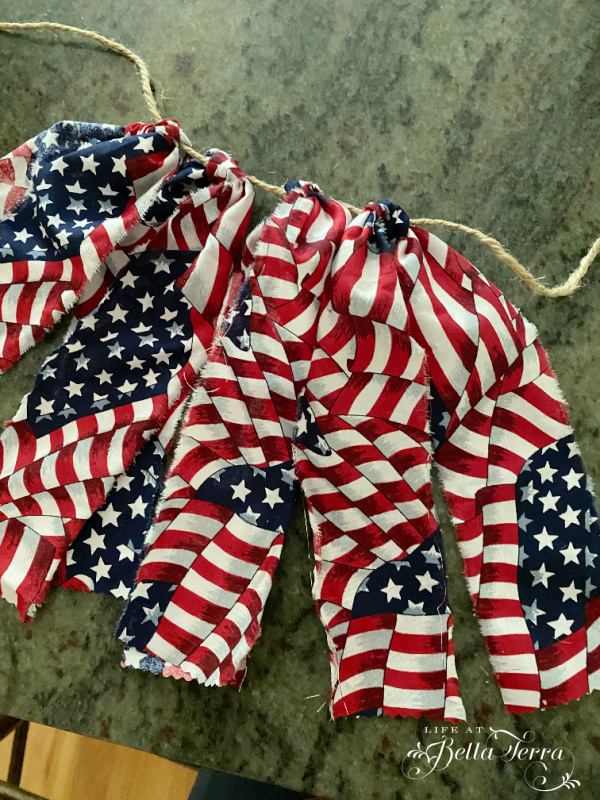
Once all the strips are on the twine, your garland is complete! The most time consuming part of this is tying on all the strips of fabric, which is mindless work and also relaxing.
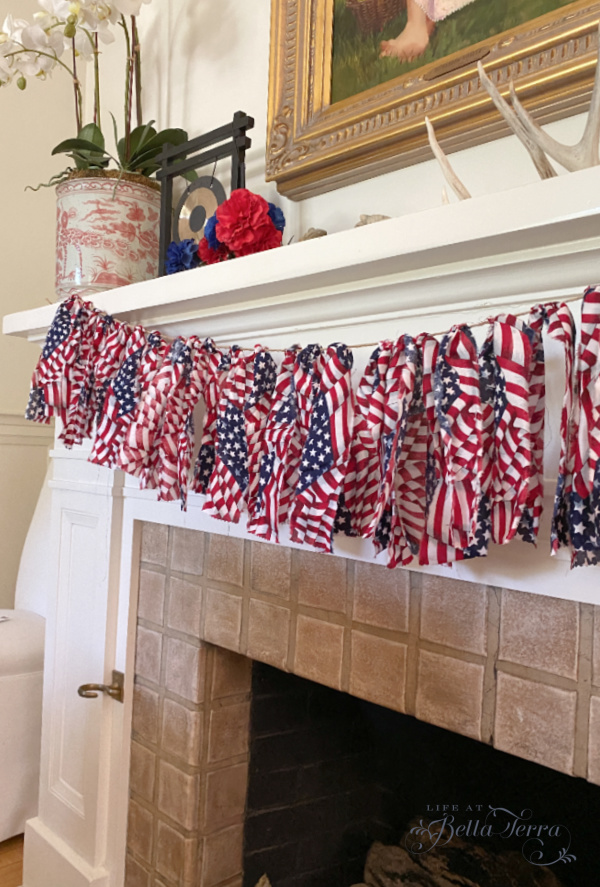
If you want a full look, make sure to push all the fabric strips together.
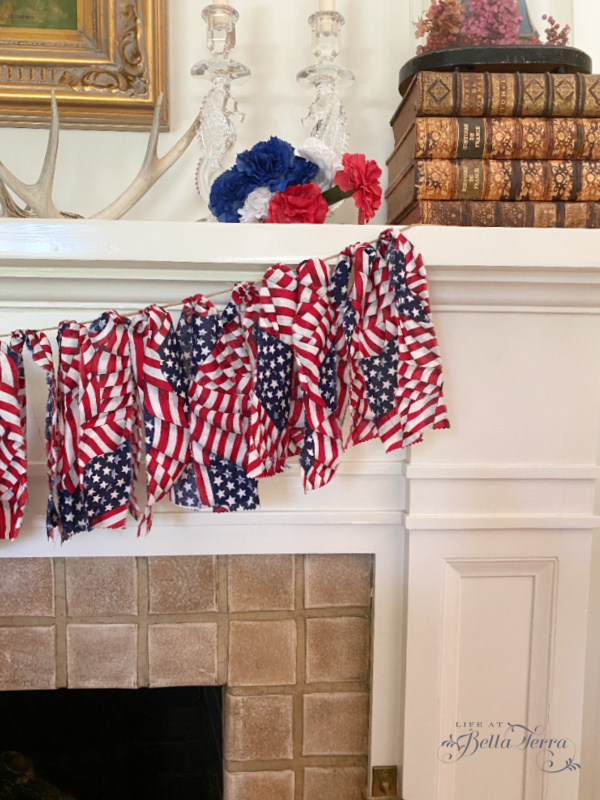

This rag garland can be made with any fabric or individual strips of red, white and blue material. Cute gingham would work too. This is so easy and would be a fun project with children. All it takes is ripping and tying and doing it yourself!
Fun Ways to Use Garland
You can make garland in any seasonal pattern or theme. It is an easy way to get a nostalgic or whimsical look without a great deal of cost or time. Check out how I use an autumn-theme garland as decoration for a car bar here.
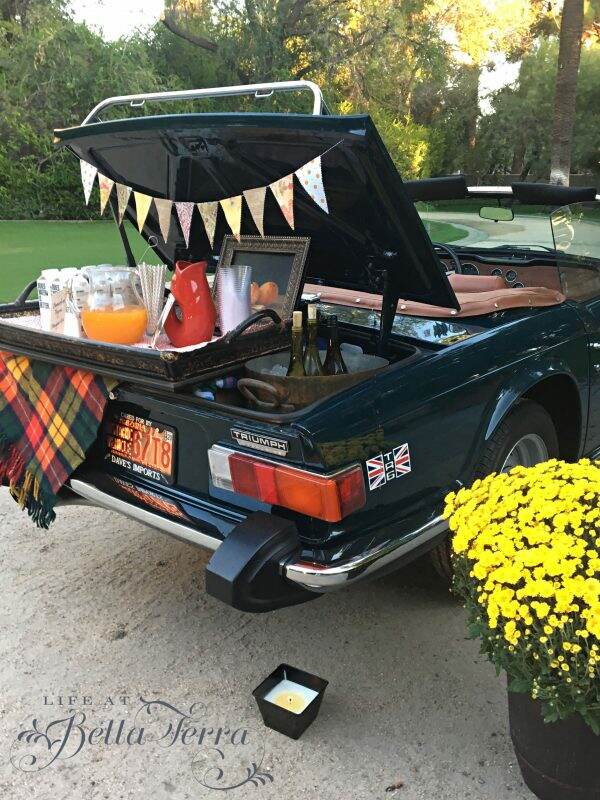
I hope this post will inspire you to create a DIY patriotic garland. You don’t need a mantel or fireplace. This garland would look fun on a door or window frame, over a table or strung between trees. Be creative! Share your projects with me, as I love seeing what you design.

If you enjoy this post, please feel free to share on Pinterest.
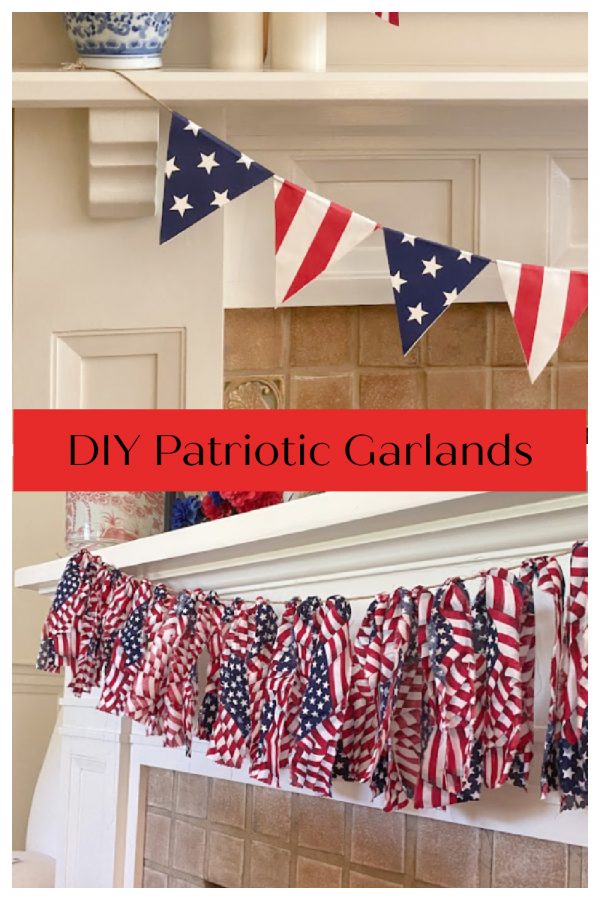
This post shared with Between Naps on the Porch Metamorphosis Monday #647
Just a reminder that any words that are italicized bring you to the source. If it is a product on Amazon, please note that I am an Amazon Affiliate. If you purchase something through my website, I receive a small (very small!) stipend, which doesn’t affect the price you pay at all. My goal is to make sourcing the items easy for you. Thank you for your continued support.

I love your patriotic garlands Mary, especially the last one! They are so festive. I can’t wait to try to make one myself.
Thanks for all the cute ideas…
Ruth, thank you!
I love these darling banners. So Patriotic.
Wendy, and so easy to make. I’m not a strong DIY-er!
Mary, this is really a cute garland idea! Pinned 🙂
I love your garland Mary, especially the fabric one. I am always inspired by your creativity and great ideas.
Mary, those are so great! I love that garland across the back of the car. I also love the idea of using the placemats for the triangle pieces – perfect!
Oh Mary, these are so adorable! Your banners are both so much easier than the ornate fabric one that I made. I especially love the presentation in the back of the car. Oh boy, could you and I throw the best parties if we lived close to one another!!