Easy and Inexpensive DIY Paper Mache Gingerbread Houses
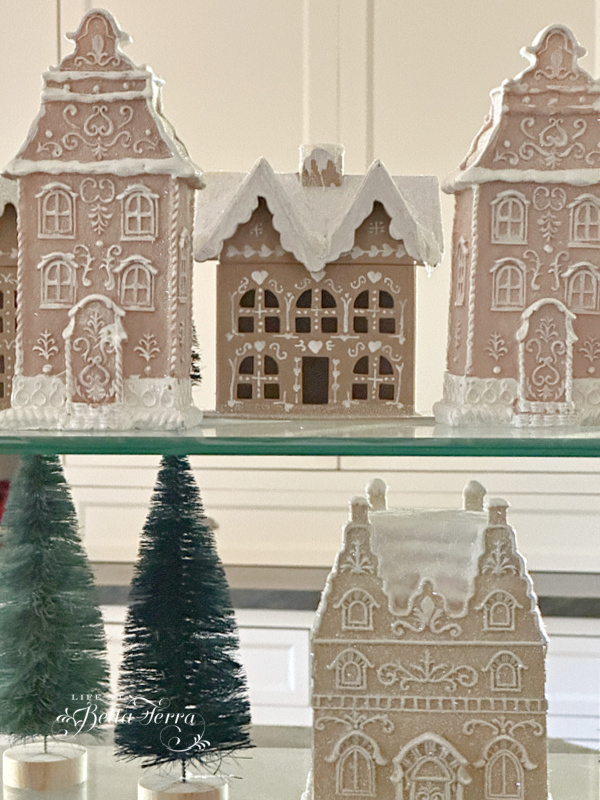
If you like to doodle, then you will love this project! Gingerbread everything is a big holiday theme this year, and yes, the gingerbread bug did bite me too! See how easy it is to decorate this very inexpensive cardboard houses into your own personal gingerbread village.
Supplies
You will need:
- Paper mache or similar paper/cardboard house
- White Paint pens with different nibs
- Glitter
- Glue or Modge Dodge
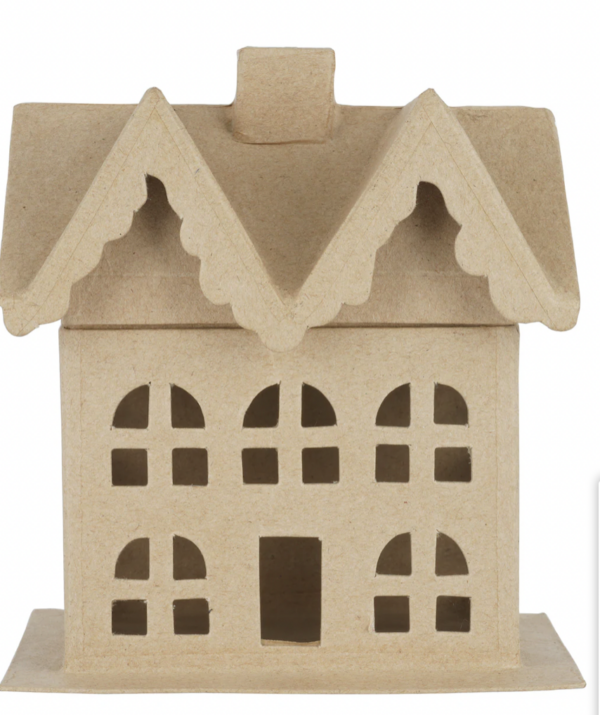
I find these 6″ paper mache houses at Michaels. I paid $5.99 each and now they are discounted to $3.99 each (darn). Our local store is out of stock, but you can find these in a set of 3 at Hobby Lobby, or from Factory Direct Crafts. Amazon has numerous styles available too here.
Any white paint pen will do but the key is to find a set with different nib sizes. From Michaels, I find Craftsmart oil-based premium paint pens in 3 nib sizes, but for the life of me I cannot seem to find it online. Plus one of the pens did leak and made a bit of a mess.
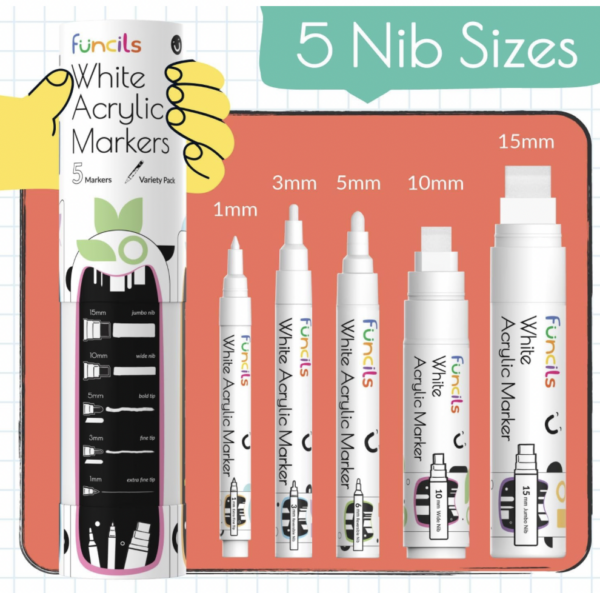
I find this set on Amazon and I think it will do the trick.
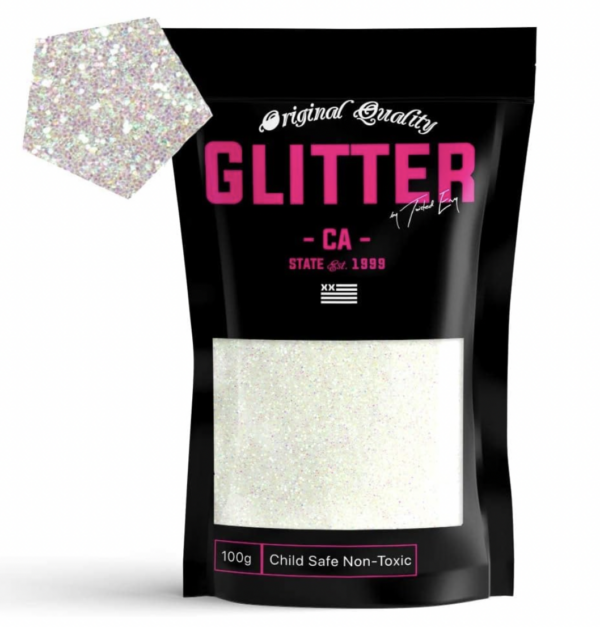
For years I have had the same big jar of glitter from craft days with the children and I LOVE it~so sparkly and festive. I find something similar on Amazon and I believe it is a close substitute.
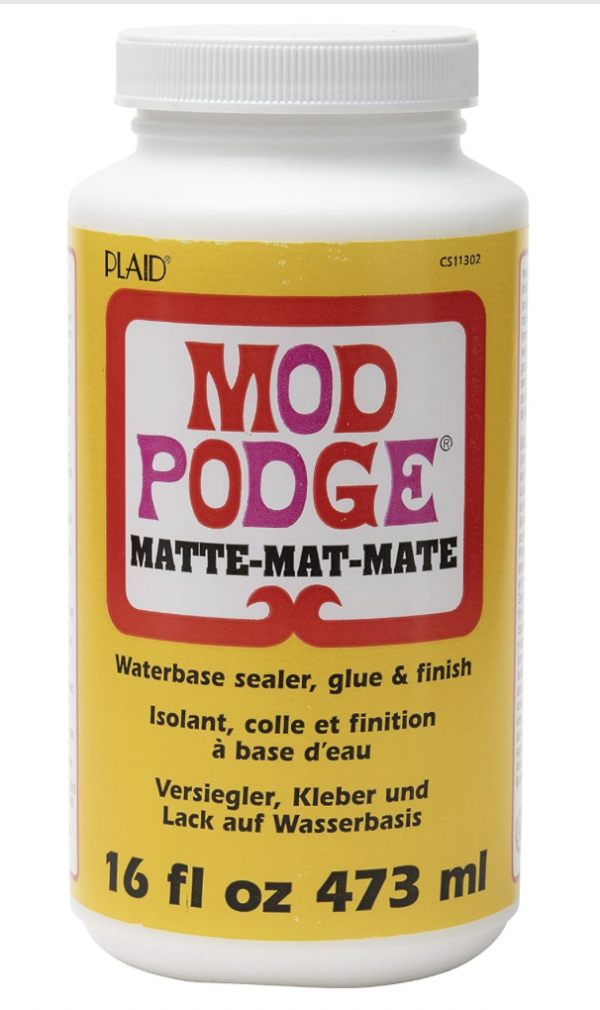
Modge Podge is perfect to use as a glue and base for your glitter. It comes in both matte and glossy finish. Either will work but I use matte for this project.
Drawing details on the House
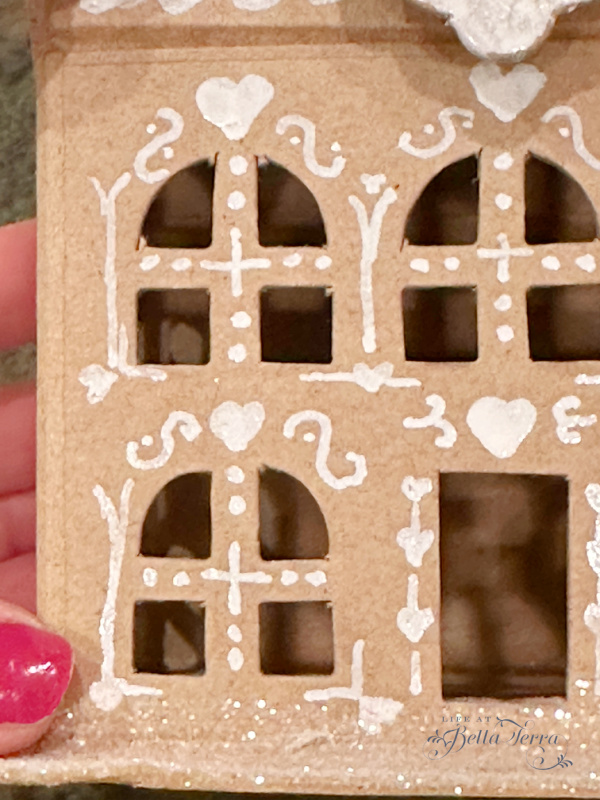
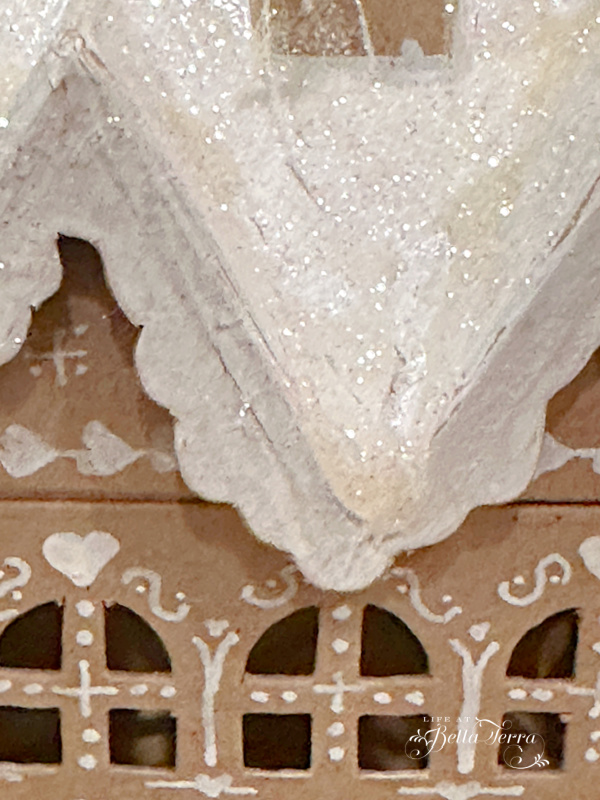
Use your imagination and draw curlicues, hearts or whatever design you want on your plain brown house.
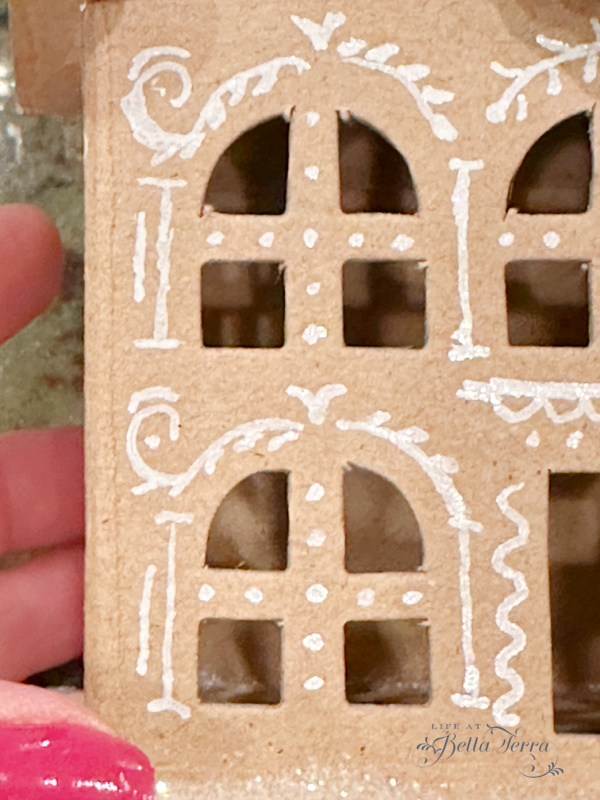
Notice that these two houses are similar yet different, but both have the decorative, ornate look of a gingerbread house.
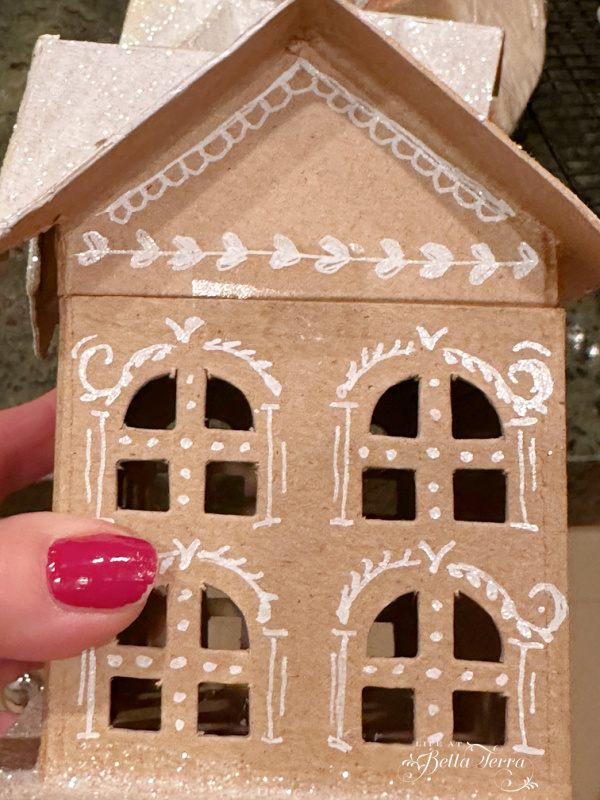
Add details at the roofline too.
I use the wide nib on the marker to color the roof and trim white, to appear snow-like. Around the chimney I replicate snow dripping. Then it is time to add the glitter.
Adding the Glitter
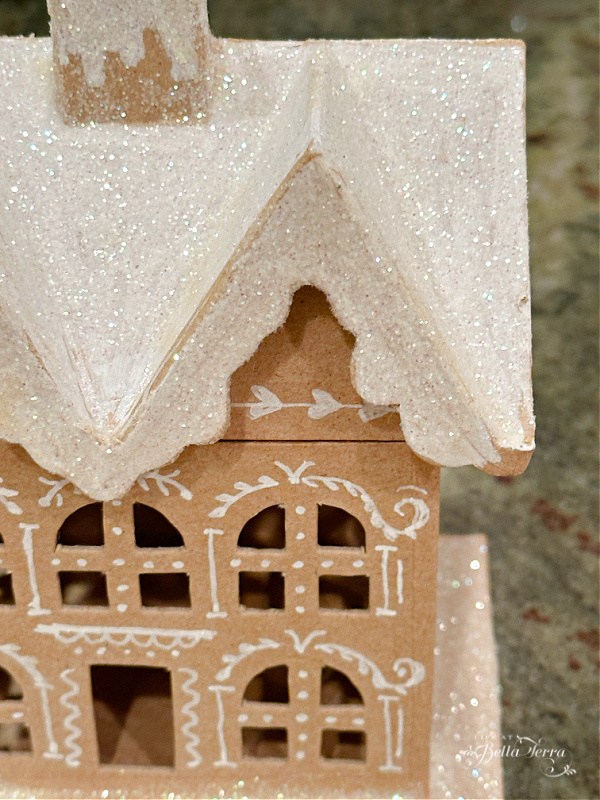
Though I do not have a photo, paint the roof and base Modge Podge and sprinkle the glitter over the wet surface. Put down paper or a pan first or you will have glitter everywhere. Since this is very fine glitter, you will more than likely be a bit sparkly yourself after!
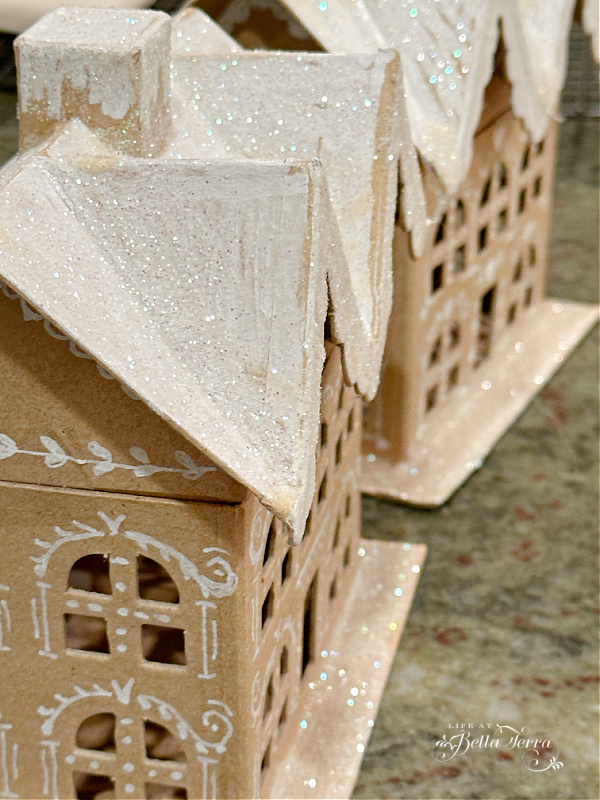
In an attempt to create “icicles” I use my glue gun and drip glue from the rafters. While warm, I cover them in glitter. Not sure it’s worth the effort but here is how it looks. Since it didn’t make a huge difference and the glue actually looks a tad yellow, I only made “icicles” on one of the houses. Effort vs. reward.
The Overall Gingerbread Village
In the center of my rather large kitchen island, I have a two tiered glass patisserie, which I decorate by season. Found at Ballard Design, the patisserie comes in either pewter or brass and is on sale (from $299 to $225). Not only does it break up the surface of my island, but it is perfect for entertaining and displaying desserts, appetizers, etc.
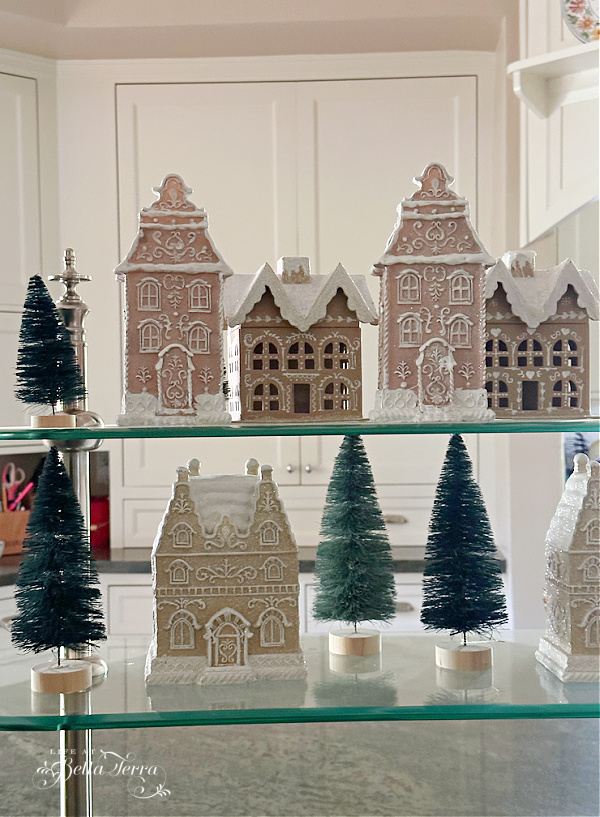
The ceramic gingerbread houses are a find at Michaels (I believe are now out of stock). I blend in my two inexpensive gingerbread houses and I like how it all goes together.
Adding 2 different shades of bottle brush trees provides a nice contrast to the neutral tone gingerbread houses.
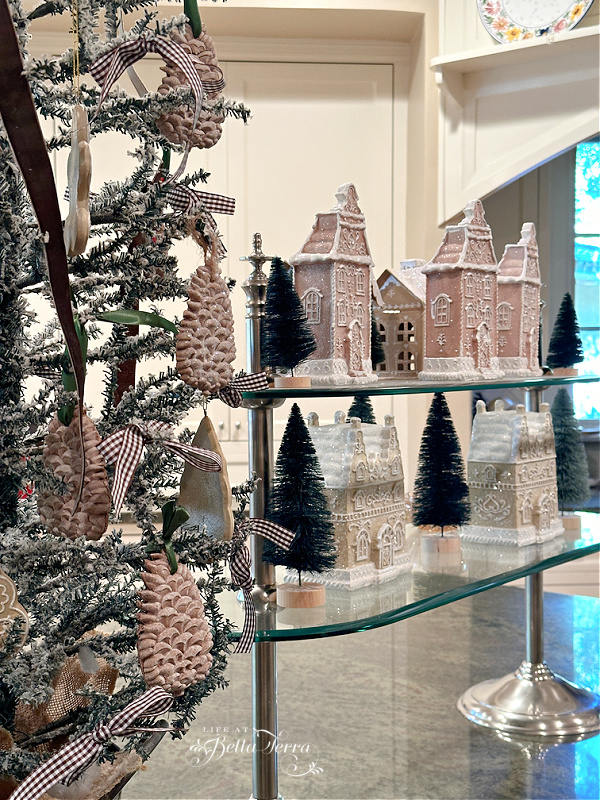
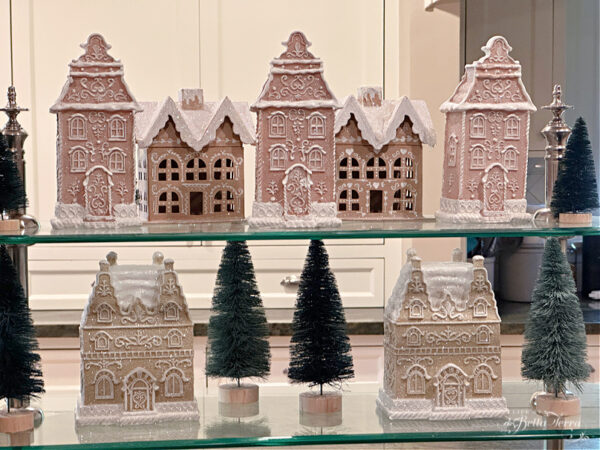
I think the DIY paper mache houses blend in rather nicely with the ceramic ones. Wouldn’t this be a fun project with children?
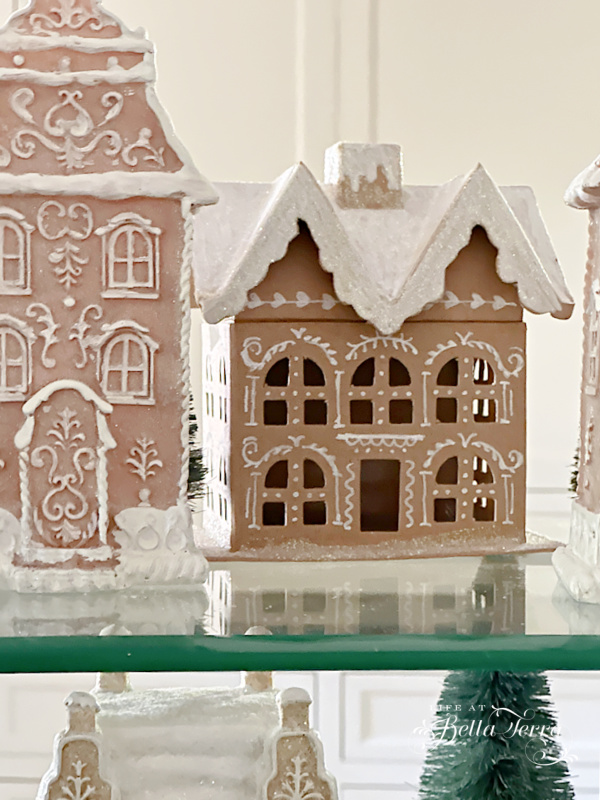
I am not sure whether I can squeeze a battery powered tea light in that front door but I’d like to find a way to light the house from within.
Holiday decorating continues!

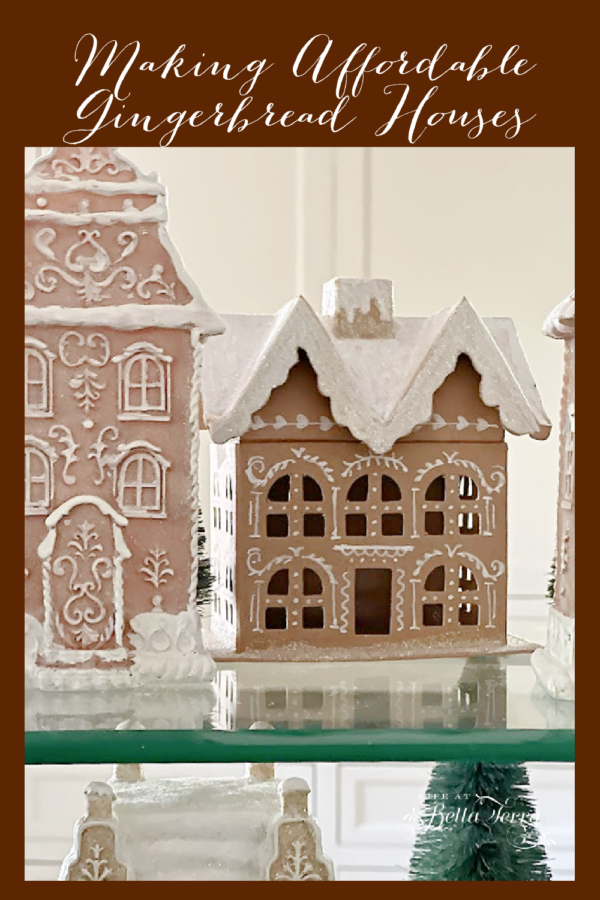
If you like this post, please share on Pinterest.
As an Amazon affiliate, I earn from qualifying purchases at no extra cost to you. My blog may contain other affiliate links but not all links have affiliations. I truly love to share products that I have personally tried and highly recommend.
Just a reminder that any words that are italicized bring you to the source. If it is a product on Amazon, please note that I am an Amazon Affiliate. If you purchase something through my website, I receive a small (very small!) stipend, which doesn’t affect the price you pay at all. My goal is to make sourcing the items easy for you. Thank you for your continued support.




So cute! I tried to save on Pinterest but there is no link
Jan, sorry about that. I am having trouble with linking to Pinterest. I have someone on it and hopefully it will be fixed soon.
Mary
These are adorable. Great job
Thank you!
Hi Mary, Love the houses. Just wish I had grands who lived close enough to try their hand at
this. I like the idea of a tea light also. Maybe cut a little area on back to slip one in. Your posts are always a treat to see.. Thank you so much.
Virginia, Great idea on the tea light. I will try that today.
So cute, Mary. My granddaughters would love to make these. Me, too! Great instructions.
Carol, I can honestly say I had a great deal of fun making these. No grandchildren yet for me, but I enjoyed it immensely!
Thank you for these latest posts, Mary❣
You truly contribute to making this
The most wonderful time of the year
I LOVE it all❣
Sue, your comment made my day! Thank you so much!