
How to Create Botanical Artwork with Supplies On-Hand
With so many of Mother Nature’s plants blooming now, it is the perfect time to collect those cherished flowers and blossoms, Spring green leaves of different sizes and shapes and give them eternal life. Here is a simple DIY showing you how to make your own art with your favorite items from nature.

Supplies You Will Need
- Wax paper
- Scissors
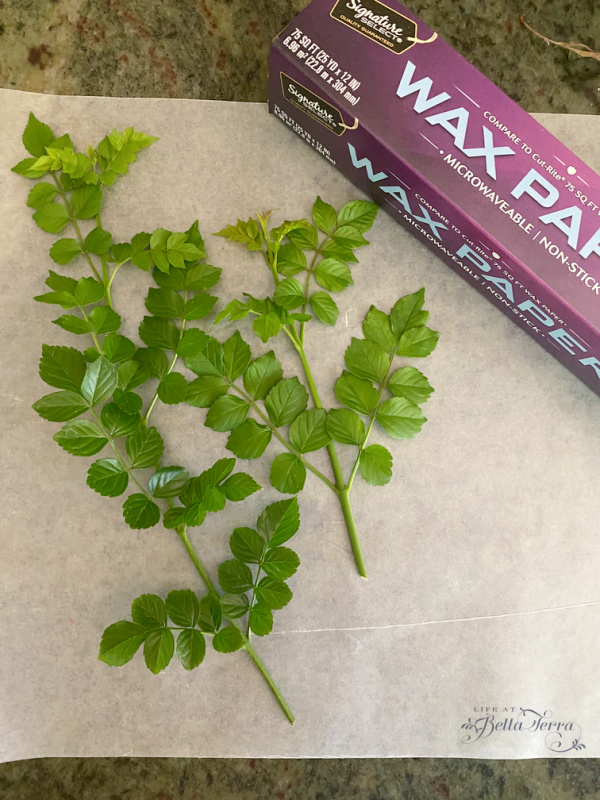
- Fresh Greens (I cut a variety of sizes and shapes from the yard)
- Stock Paper -this paper comes in a variety of colors and textures. I use white with a linen texture
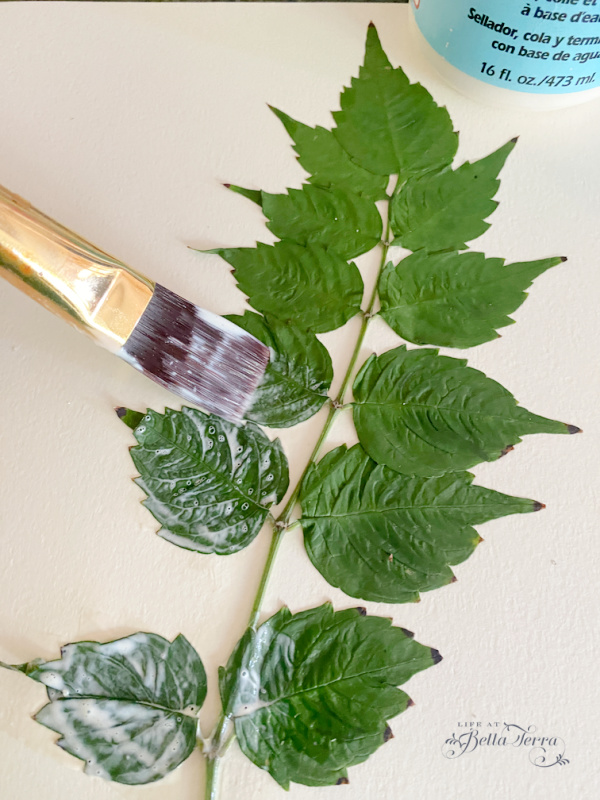
- Mod Podge– I use a Matte finish but it comes in Glossy too
- Paintbrush
- Books
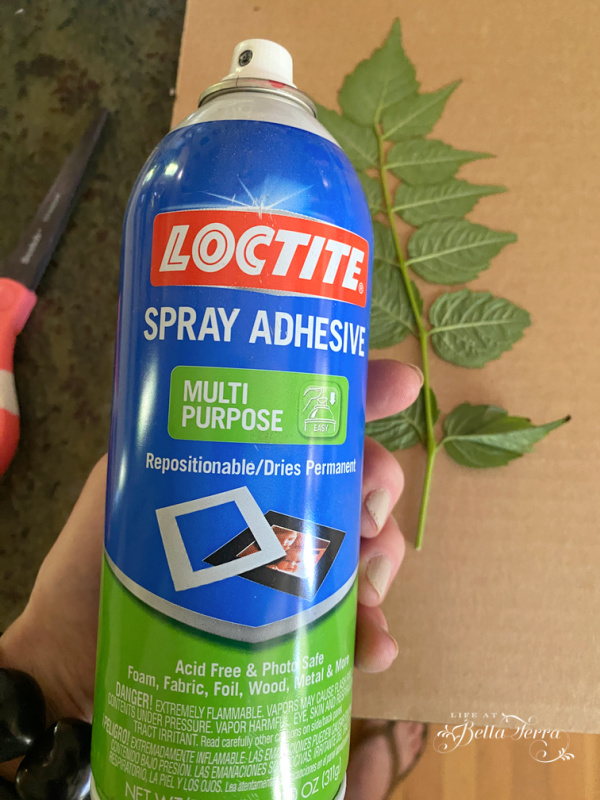
- Spray Adhesive
- Picture frames with glass
- Piece of cardboard to use for spraying adhesive

Prepare the Greens
Determine the size of the surface you will mount the greens~8 x10, 9 x 12, etc. Select the greens that fit best in the space. Place the greens between 2 sheets of wax paper or one sheet folded over.
Lay the greens/waxpaper in between pages of a heavy book. Make sure your leaves are flat and not curled. I use 4 different books depending on the size of the frame.
Large coffee table books or dictionaries work well for this.
Press the greens in the book(s) for a few hours. I left mine overnight in order to get a nice flat leaf.
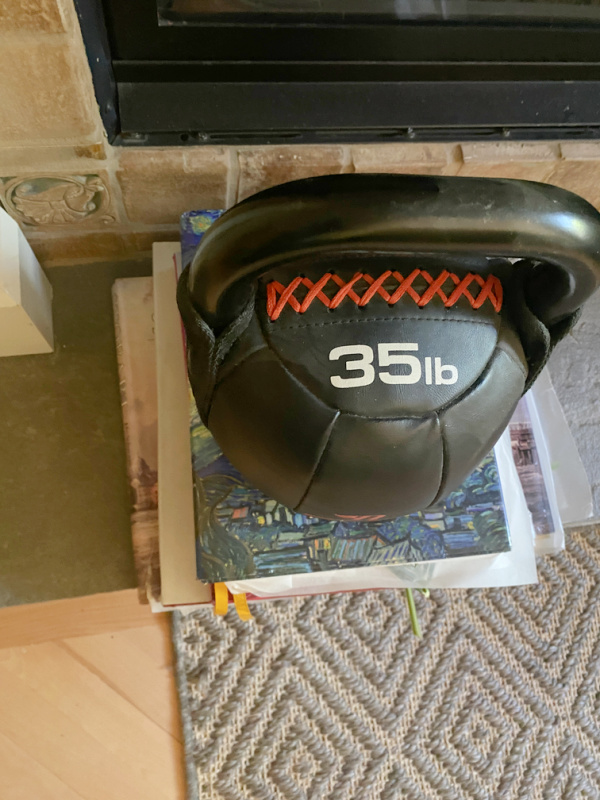
You can stack the books on top of each other and provide additional weight. I use a 35 lb. kettlebell.
Position the Greens
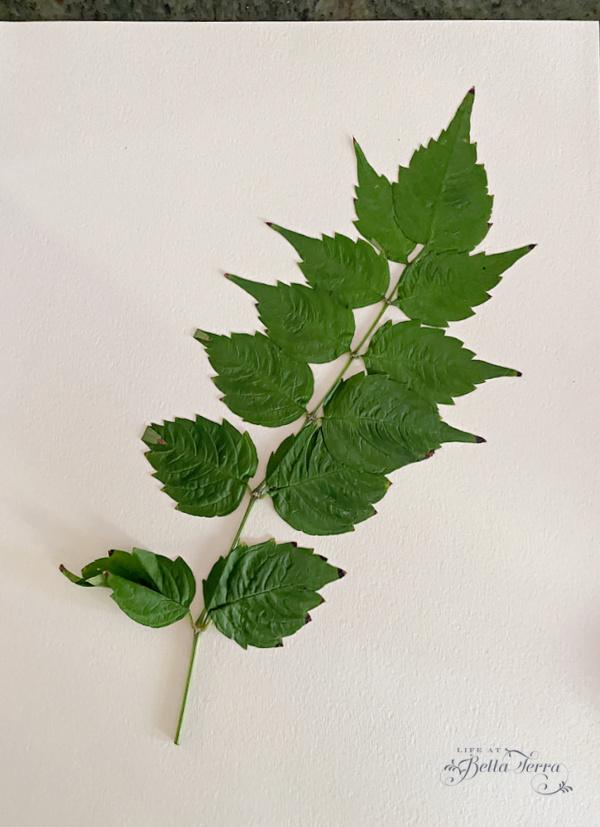
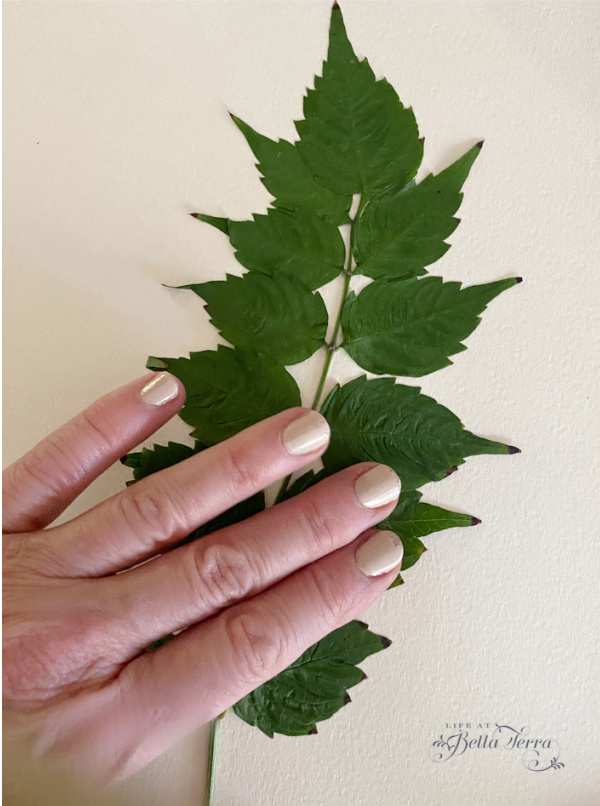
Once the leaves are flattened, I play with how I want them to be positioned on the stock paper. Notice how the leaf on the lower left is a bit wonky.
Lightly spray the back side of the green with adhesive. Make sure to do this in an area with good ventilation.
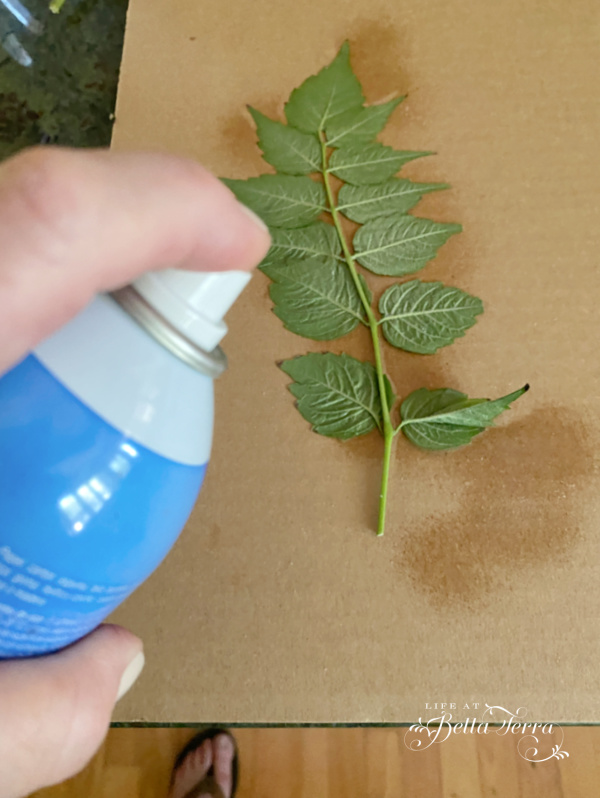
Note of caution: When using greens with delicate leaves, be extra careful when transferring them to the stock paper after applying the spray adhesive. I believe I had the ceiling fan on and the minute I lift the greens off the cardboard, the leaves stuck together. It is impossible to try and separate them once this happens.
Carefully place the leaf onto the stock paper. Gently tap it down to adhere. Use an adhesive that allows time to reposition if necessary. This one from Loctite is acid-free and photo safe. Here is where I fix the curled leaf and lay it flat using the adhesive.
Seal the Greens
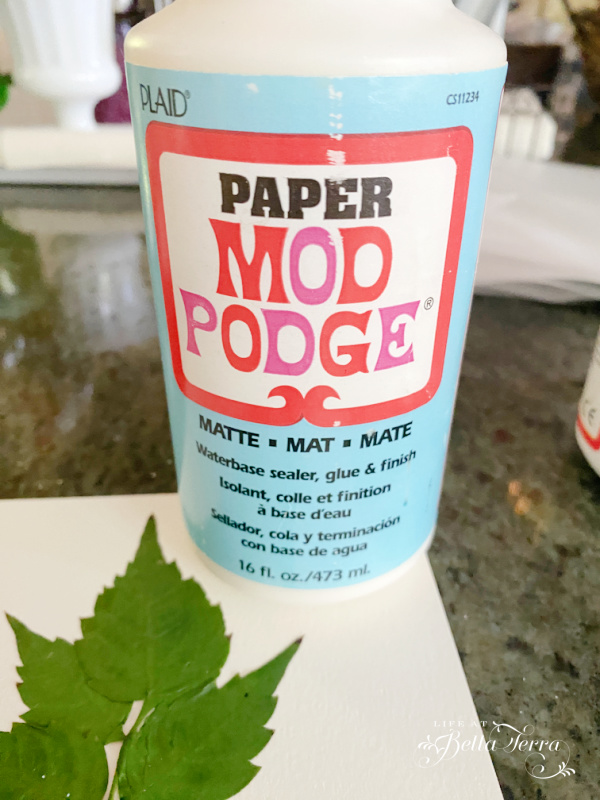
Once the greens are secure on the stock paper, paint the leaves with Mod Podge, a water base sealer, glue and finish. Since these will be under glass, I use a matte finish but it also comes in gloss too. Personal preference. Mod Podge goes on white but dries clear and rather quickly.
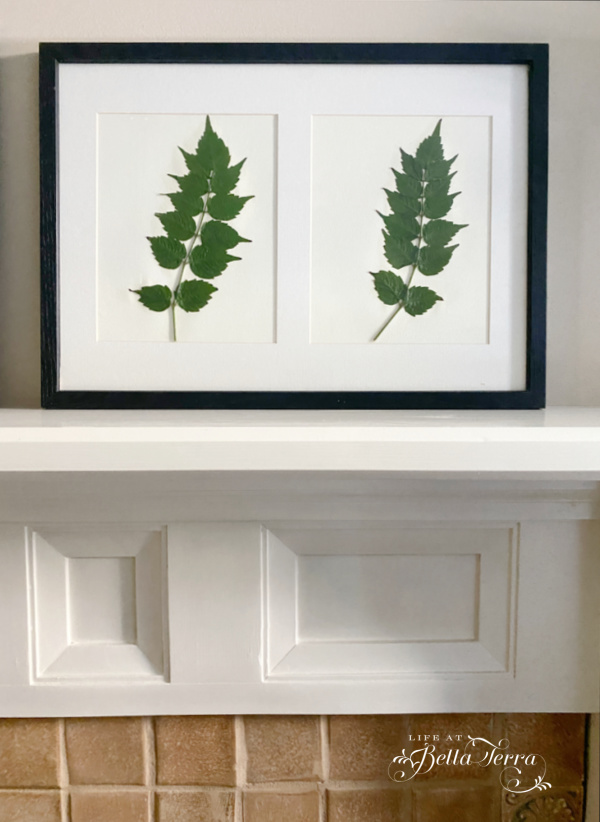
After the Mod Podge is dry, you can then insert the greens on stock paper into your frame. It would also be nice to calligraphy the name of the plant at the bottom of the picture.
Place in Frame
Once all your botanicals are dry, you can now place them in a frame. In retrospect, I will I signed each one and perhaps added the botanical name to the plant/flower.
I have 20 various sized black frames. But if you don’t have any and are looking for some, Amazon has a very nice selection here. You could get creative with the picture frame matte too with some decorative paper or wallpaper.
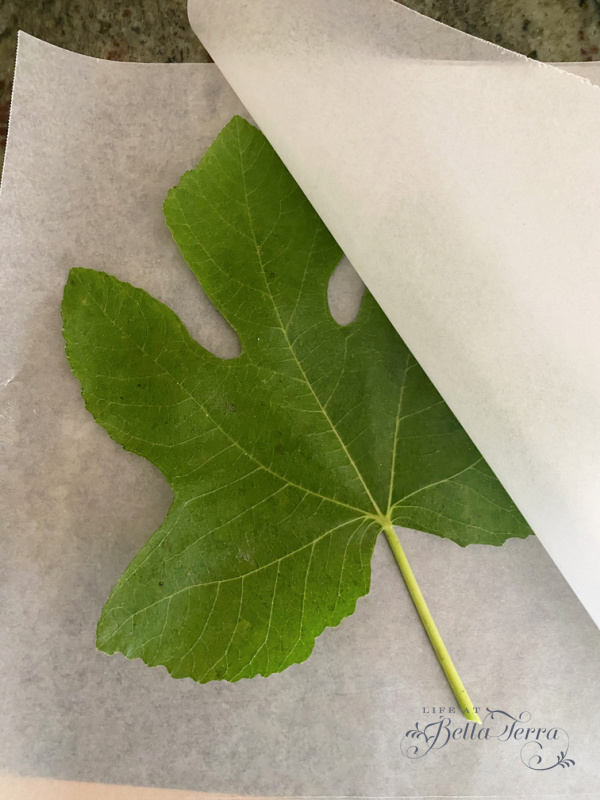
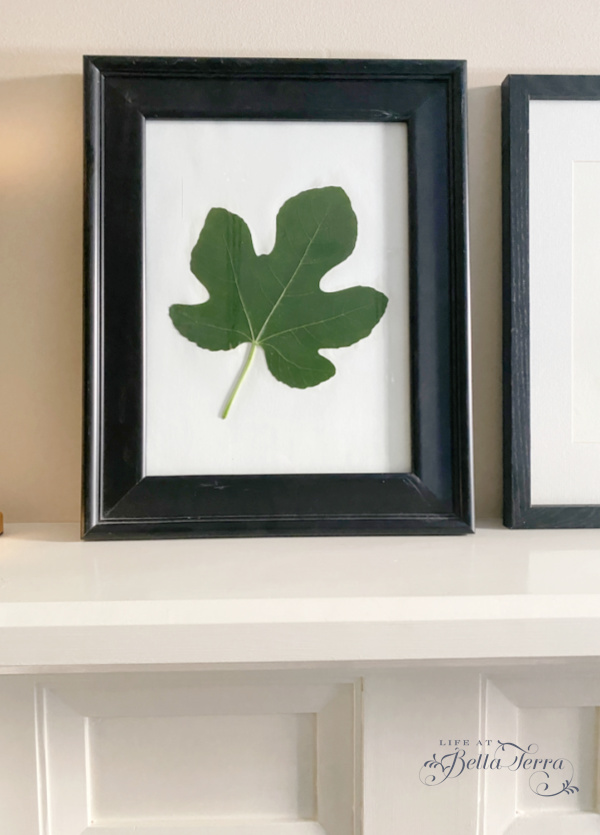
This fig leaf is large enough to stand on its own in the 9 x 12 frame.
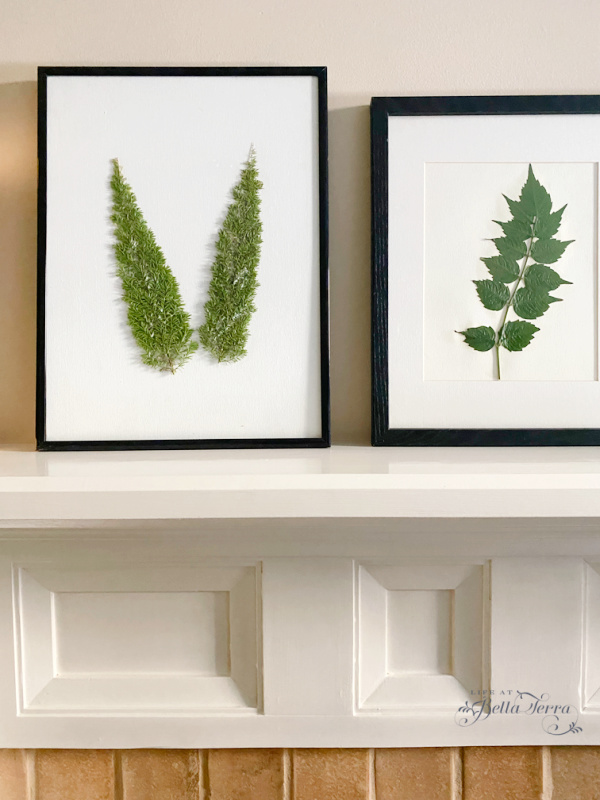
Not sure what these sweet fuzzy greens are but I love the color and the texture.
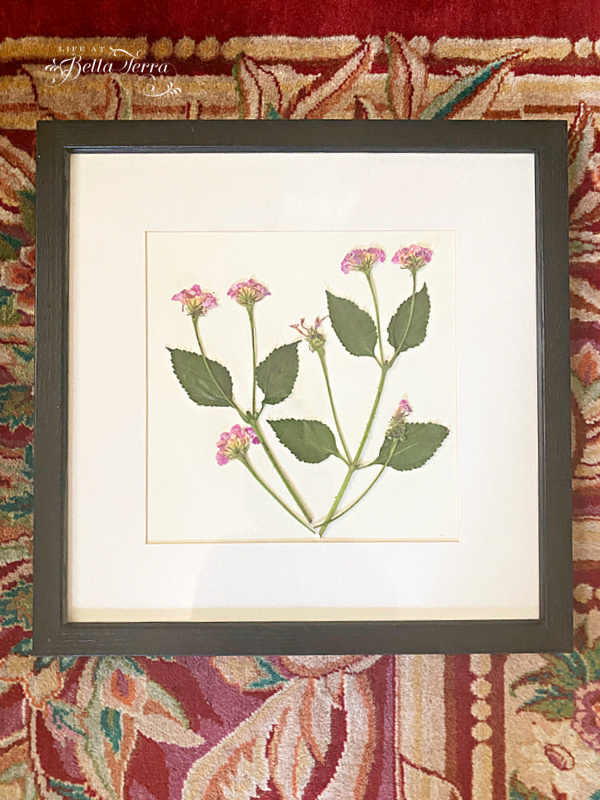
My youngest daughter just moved into a new house with 3 roommates and has a nature/boho/green color theme for her bedroom. I am hoping she loves these so I can fill up the other frames. Here are a few that I made for her roommate, whose room color theme is pink.
I love how easy these are to make, with their simplicity and nod to nature. Quite pleased on how this DIY turned out! What a fun project to do with students or your children or grandchildren.
Happy creating!

Just a reminder that any words that are italicized bring you to the source. If it is a product on Amazon, please note that I am an Amazon Affiliate. If you purchase something through my website, I receive a small (very small!) stipend, which doesn’t affect the price you pay at all. My goal is to make sourcing the items easy for you. Thank you for your continued support.


Lovely! They’re so fresh and inviting. What a clever idea!
Barbara, I am rather pleased on how they turned out and so easy to make (as I am not a good DIY-er!).
I can do that! They came out beautiful, Mary.
Rosemary, I think you will really enjoy making these! I certainly did!
Cool!!! franki
Franki, thank you!
Love this idea! They are beautiful. Looking forward to how the flowers turn out. Please do a purple poppy 🙂
Valerie, I currently do have some poppies in between wax paper now and in a big book. Hope to make that this weekend! The poppies are so fleeting…only showing their sweet faces for a few days.