How to Make a Tulip Wreath
If you recall, last year I added a new paint color to the front door. It is the perfect color for Spring and Summer. Surprisingly this shade of blue also works well for Autumn and Winter. Since tulips are currently blooming in the bulb garden, it seems appropriate to hang a tulip wreath on the front door. Join me today to make a tulip wreath.
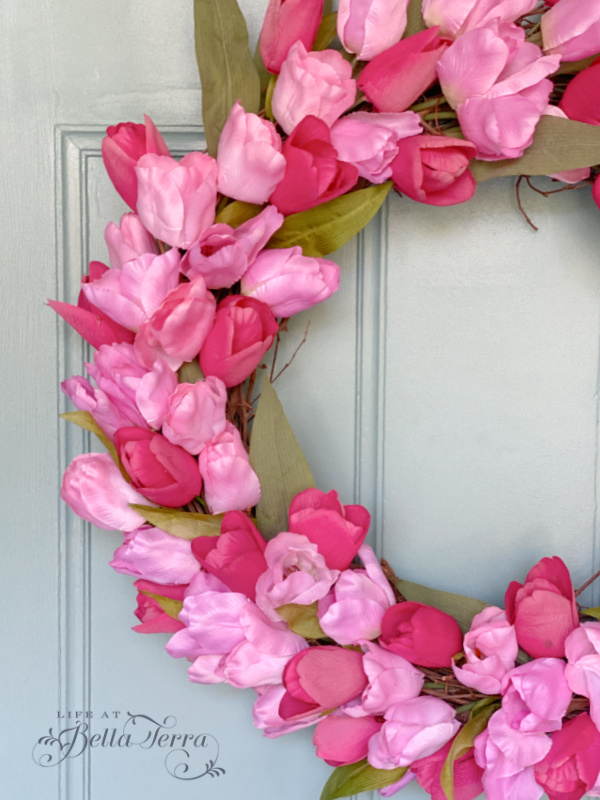
To see the front door color post for details, click here.
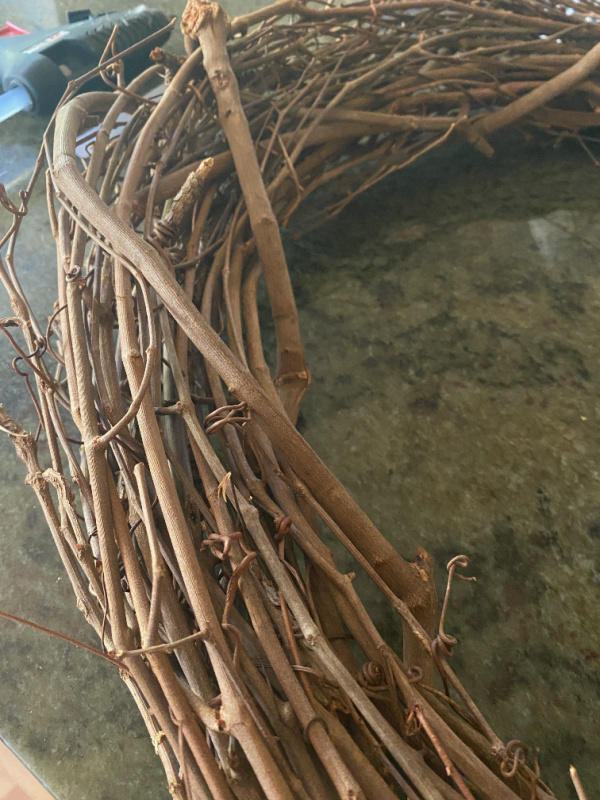
Michael’s is having a great sale on faux flowers and I scored 4 bunches of pink tulips for less than $20.00. See here or you can get them from Amazon here. Initially the goal is to make an all pale pink wreath.
The challenge with our front door is that it is 48″ wide. Standard-sized wreaths tend to look a little dinky. So when I do create a wreath, abundance is the key. Naturally I did this DIY project out of order. It would make the most sense to start with your wreath frame and then determine the quantity of flowers you need. However, I didn’t want to buy another wreath frame and did some digging in the garage to find this 26″ grapevine one…..after I purchased the pale pink tulips.
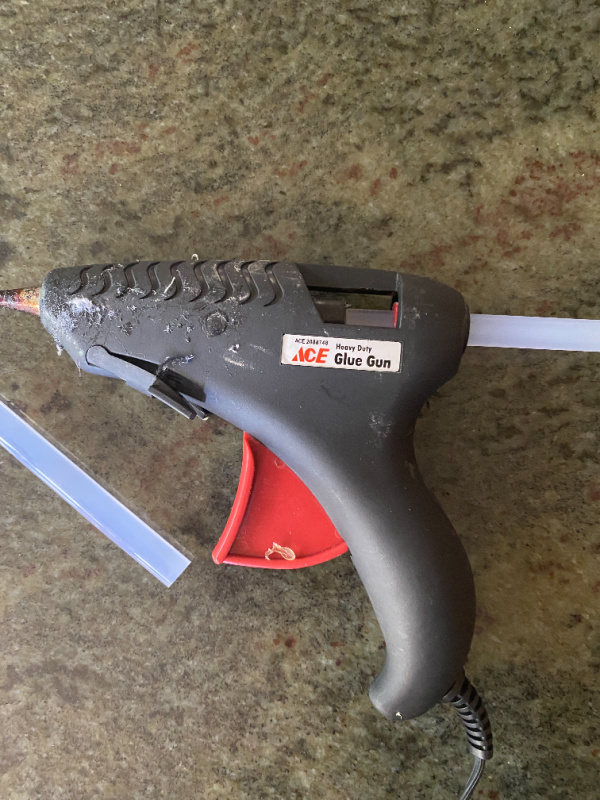
All you need are a few simple supplies.
- A Wreath Frame
- Faux Flowers
- Glue glue (if you don’t have one see here)
For a nice selection of grapevine wreaths of different widths, click here.
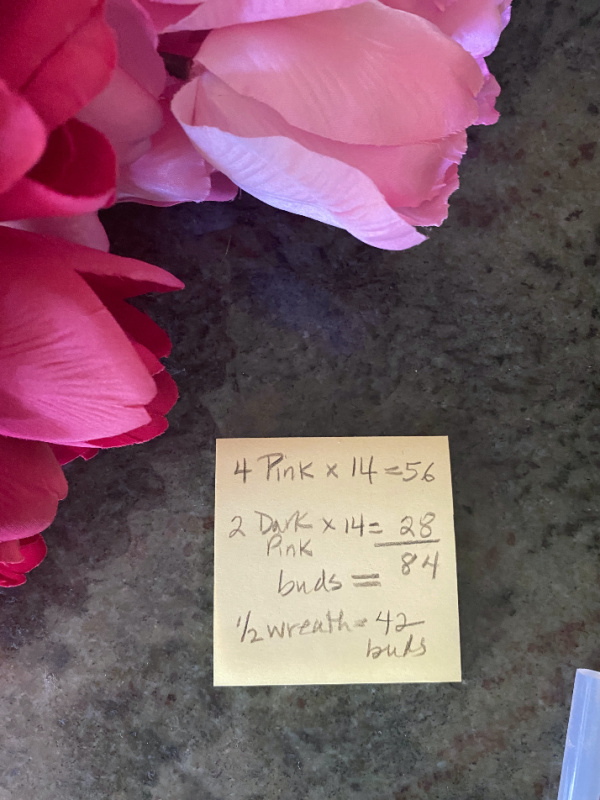
Realizing that I may not have enough pink tulips to fill the wreath frame, I find some darker pink tulips that I had on hand from another project. With 4 bunches of light pink (14 stems each) and 2 bunches of dark pink (also 14 stems each), I have a total of 84 tulips. Before I start a project I want to make sure I do not run out of materials. Been there. Done that.
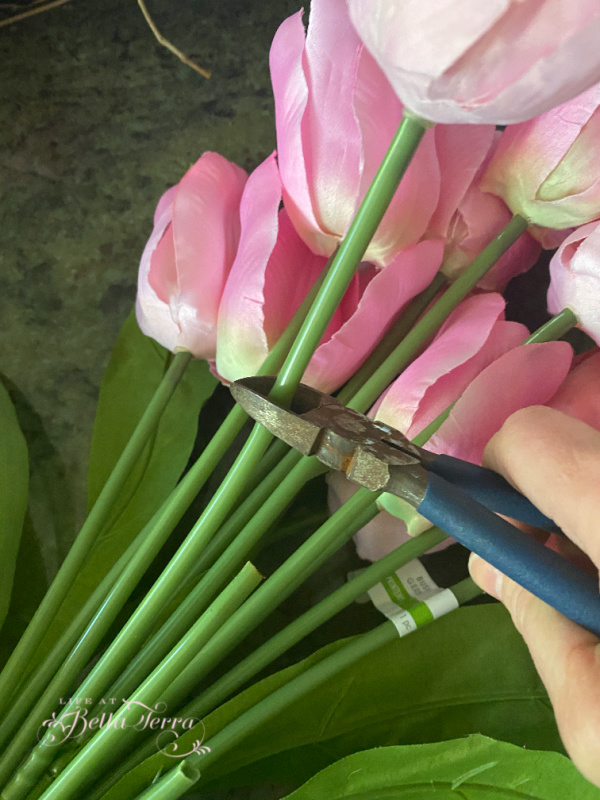
Having wire cutters makes this job a lot easier to get through the plastic covering and the wire underneath. These are super affordable and you can order them through Amazon here.
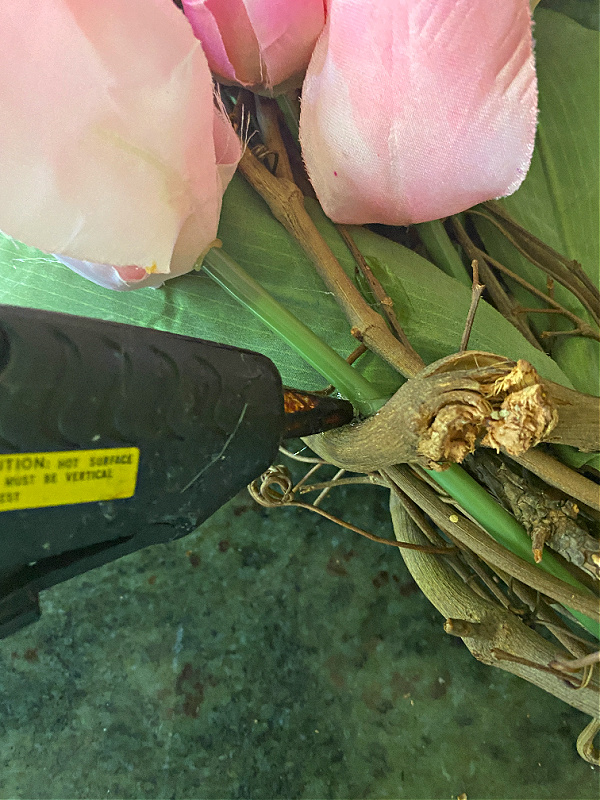
I start working on 1/4 of the wreath, knowing I can use 21 stems in that portion. This gives me a sense of what density of flowers will work. Most stems tuck easily and securely in between the grapevines.

Don’t discard the leaves as they can be added to the wreath for fullness or just another pop of color. I hot glue the leaves randomly. Personally, I really don’t like using a glue gun because I tend to burn myself far too much. On this wreath, I use minimal gluing.

As I am styling it, darker tulips are added for contrast. If you follow me on Instagram, I try to post a story daily and show these types of DIY projects in action.
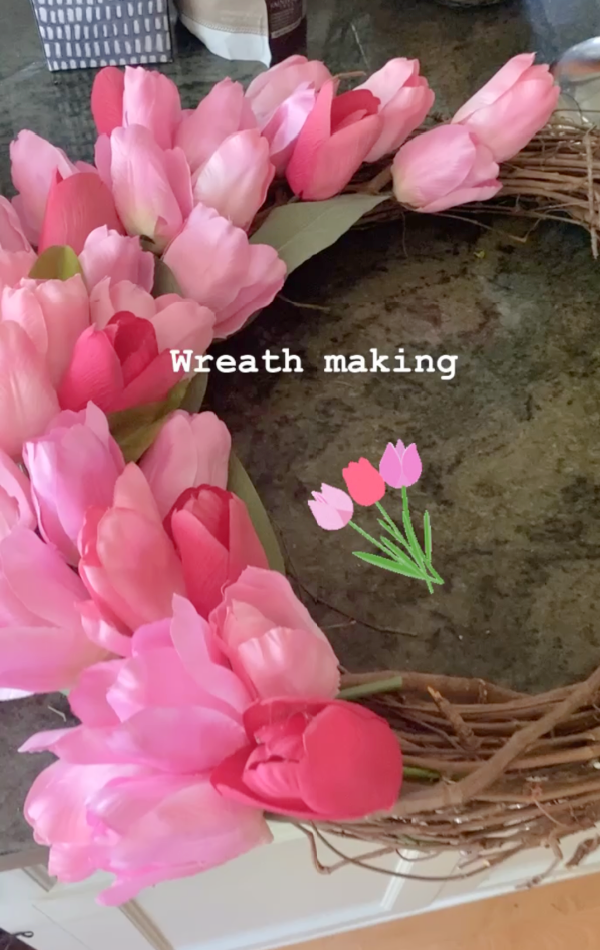
Continuing to add tulips around the entire wreath, I leave a space for a ribbon. Using the leftover bow from Valentine’s Day, I find that I don’t like it. The pink in the ribbon looks a little flat to me.

Instead, I remove the bow and continue adding more tulips to fill in the gap. Much better!
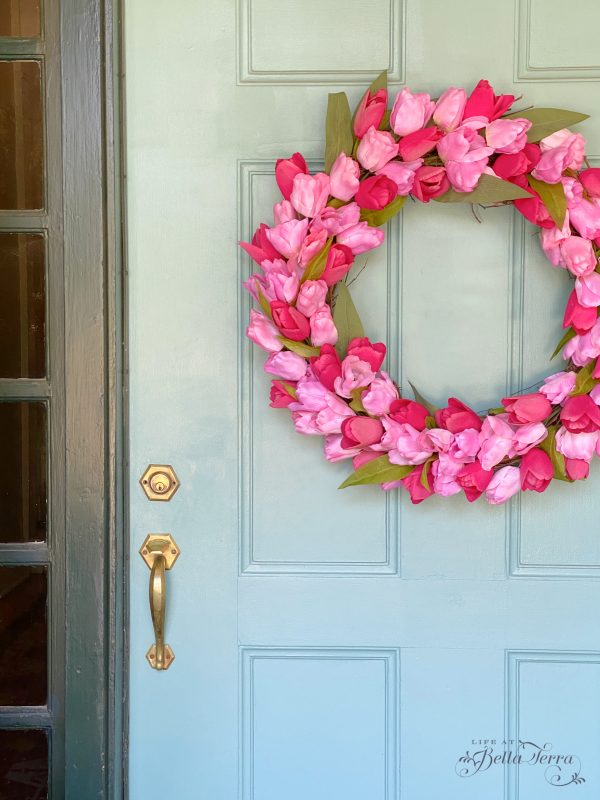
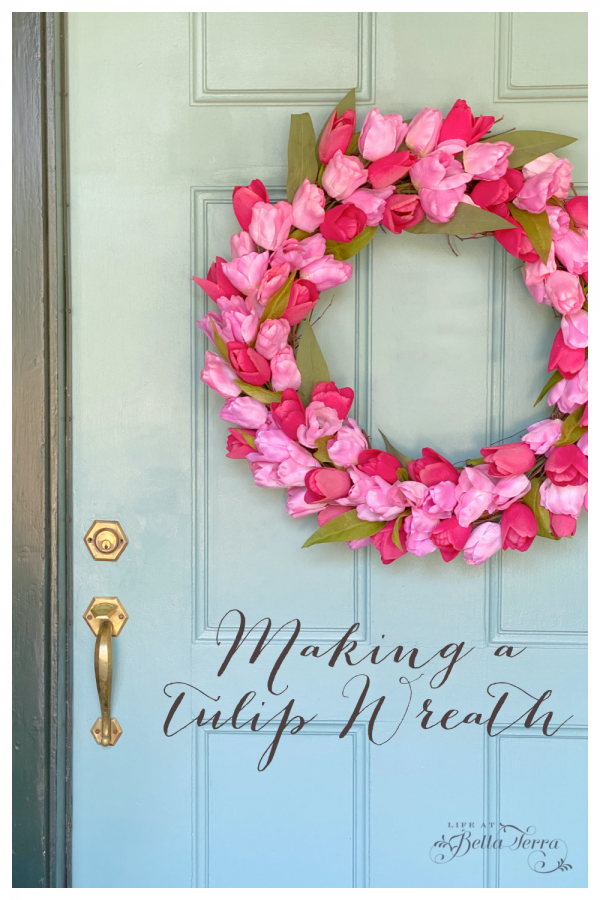
So here is the finished tulip wreath! I think it looks so cheerful on the front door. I believe you could use any faux flowers. Wouldn’t lavender and white hyacinths or yellow daffodils look terrific too?
Since the wreath looks so nice, and goes with the thriving pink geraniums from Valentine’s Day.
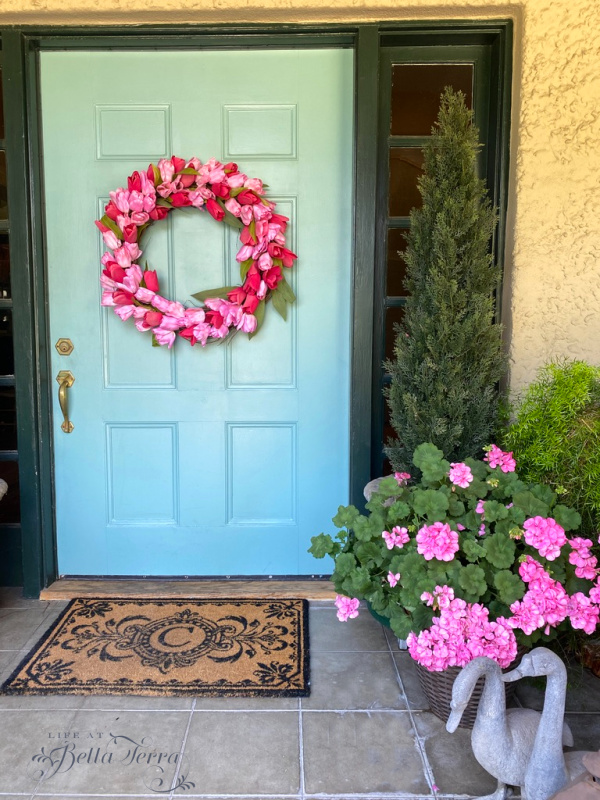
Happy Tuesday! Spring has sprung and hopefully, everyone’s weather is improving. We are, of course, in the midst of our beautiful season so every day seems better than the one before.

If you enjoy this post, please share on Pinterest.
Just a reminder that any words that are italicized bring you to the source. If it is a product on Amazon, please note that I am an Amazon Affiliate. If you purchase something through my website, I receive a small (very small!) stipend, which doesn’t affect the price you pay at all. My goal is to make sourcing the items easy for you. Thank you for your continued support.



that is sooooo pretty!!! i will try that some time!! ((<:
Jackie, thank you! It is a cheerful wreath!
I love it. It’s a beautiful wreath. Very nicely done.
Mary,
Your wreath is just stunning. I love how it works so well with your door.
That is so pretty, Mary! I need a spring wreath. And, thanks for the reminder that I need some wire cutters – I clicked through and bought some!
FABULOUS FLORAL DISPLAY!
La Contessa, can’t wait to see your garden and floral display!!!
Great tutorial friend, and I absolutely love how it turned out. I enjoy seasonal decor that I can leave up for 3 months rather than just a holiday 🙂
Chas, you are so right…I love having decor that spans a few seasons. Plants take such a beating over our hot summers, so the thought of doing more faux mixed in with real makes financial sense too. Happy Spring, my sweet friend!
Your tulip wreath is so beautiful!! The color of your door is great. I’m with you on the glue gun…I usually burn myself! Thanks for sharing your DIY wreath!
That glue gun is so nasty…once the liquid glue hits your skin it just seems to take forever to cool down. Maybe wearing gloves would help, but my dexterity is compromised with protective gloves. Thanks for the comment! Happy Spring!
You could use glue pot they usually have them at the craft stores melt your glue stick or pellets in them then either dip stems in our apply with a stick.
I worked in a dry and silk flower shop for years and this is how we do it much safer
Joyce, thanks for the tip. I’ve never used a glue pot…
That is EXCEPTIONAL! Just perfect!! KUDOS!! fraki
Franki, thank you! Such an easy DIY but I find it make me so happy every time I go through the front door!
It’s so cheerful, Mary! Love it!
Thank you! One of these days you will need to come over and see it! I miss all our friends and hopefully Spring will bring more socializing.
This is so pretty Mary! I absolutely love how it brightens up the front door, which is gorgeous by the way! Thank you for the inspiration!
I love your tulip wreath. It’s so pretty!
Happy Spring!
Renae, thank you so much. I’m behind on reading blog posts so hopefully will get to Peacock Ridge Farm’s posts soon.