Making an Dried Orange Garland
This is a very easy holiday DIY that you can make alone or with your family. All you need is oranges, string/twine, a knife and oven. I literally created the garland one morning in my jammies over coffee. Now that I know how easy it is to make, I want to string this cheerful dried orange garland everywhere.
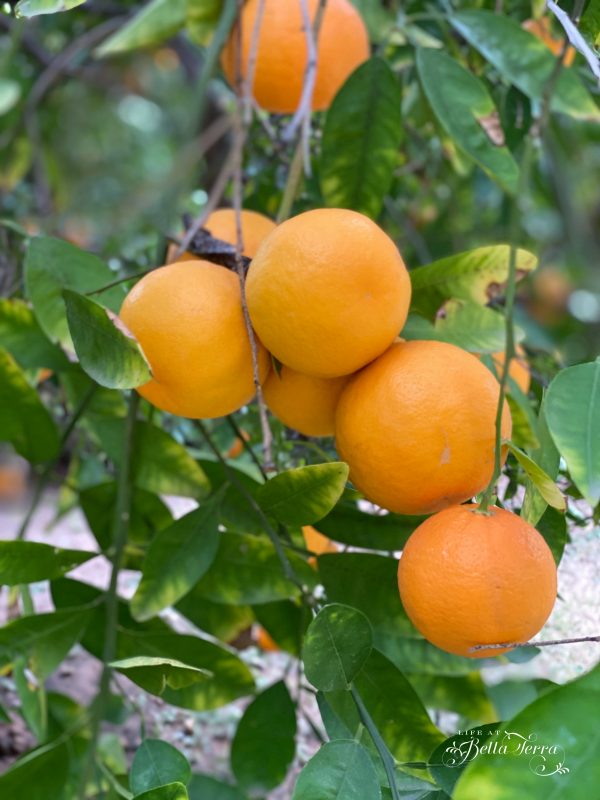
Pick Your Oranges
With an orchard filled with ripening citrus fruit, I select the oranges that look the most orange. Surprisingly, different varieties of orange have different degrees of color.
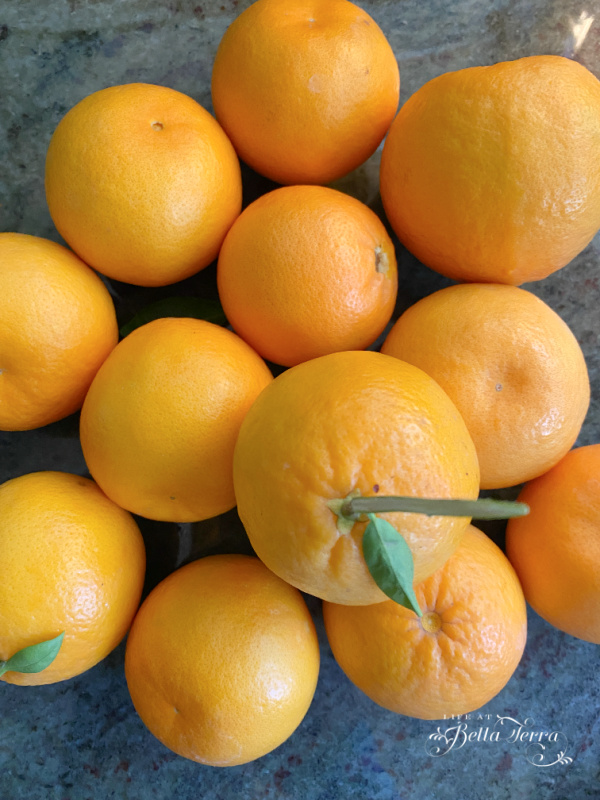
Using the oranges from our juice orange tree, I begin to slice them thinly. The problem with these juice oranges is that they are filled with seeds. You may want to choose an orange that is seedless, for easy of cutting and baking.
Preparation
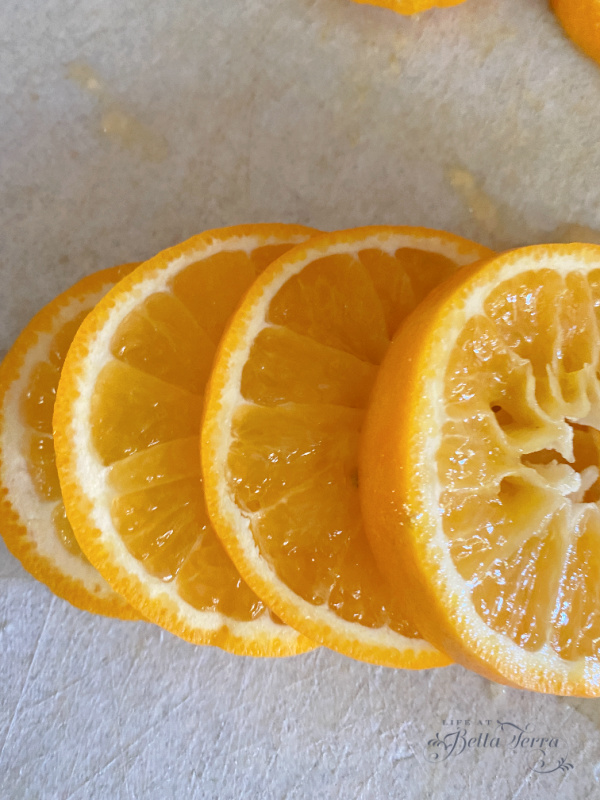
Using a sharp knife (a dull one won’t work), slice the oranges so the enter ends up in the middle of the slice. What is that? Crosswise? Anyway, don’t slice them the other way. Your slices should look like this and be approximately 1/8″ to 1/4″. Note: The thicker the orange slice the longer it will take to dry them.
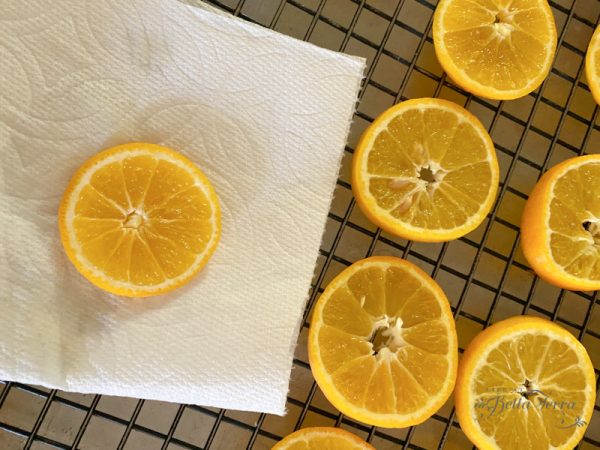
Blot orange slices with a paper towel to remove excess juice.
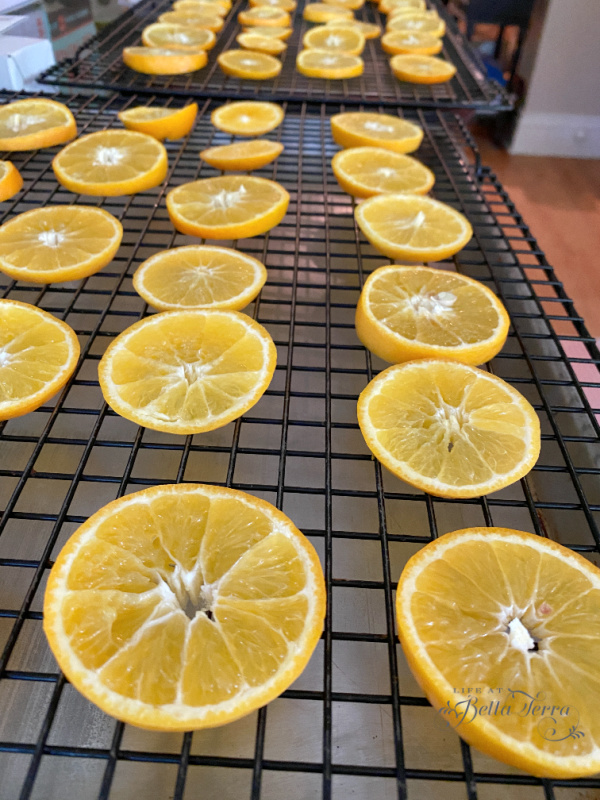
Using a cookie sheet and a wire rack, place the wire rack on top of the cookie sheet (this aids in circulation). Place orange slices on the rack. Here you can see I have two large cookie sheets with the oranges spaced apart.
Bake
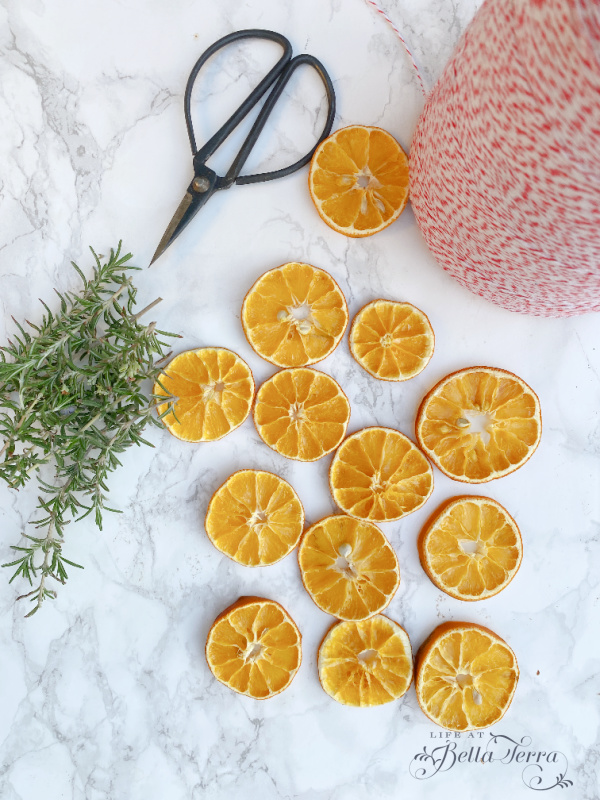
Bake the orange slices in an oven at 175 degrees. I used a standard oven, not a convection one. However, if I do this again, I think the convection method may dry them out faster. My oranges did take 5-6 hours to completely dry. Plus you get to enjoy a faint, warm orange smell while they are baking.
Assembly
You can use the dried oranges for a variety of holiday decorations. But stringing them is super easy and fast. Use any string you like~I used baker’s twine. Make sure you find a needle with a large enough eye to thread your string. Resource for baker’s twine is here.
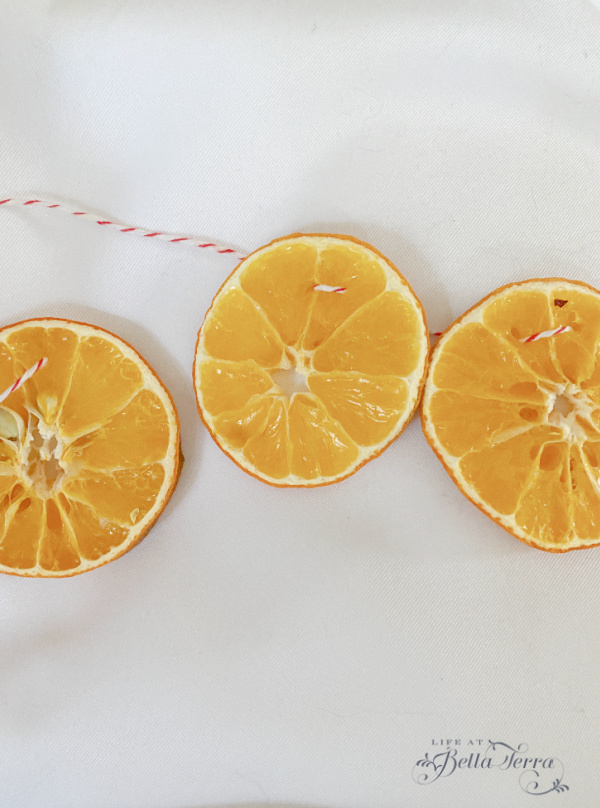
You can place your thread anywhere but I pierced the top part of my orange slice and made sure I straddled a segment wall for stability.
Surprisingly the baker’s twine is strong enough to make a garland that is 7 feet long. Adding a double half hitch at each end helps with hanging it.
Uses
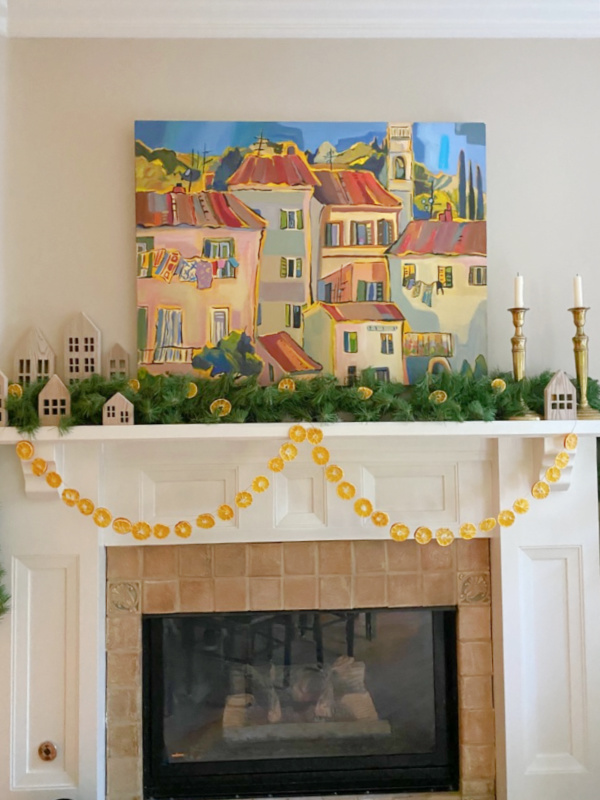
My garland is hanging on the breakfast room mantel. Using clear Command hooks on either end of the mantel and one in the middle, the baker’s twine hangs in two loops. With the remaining slices, I tuck them into the faux evergreen garland to add some cheerful color.
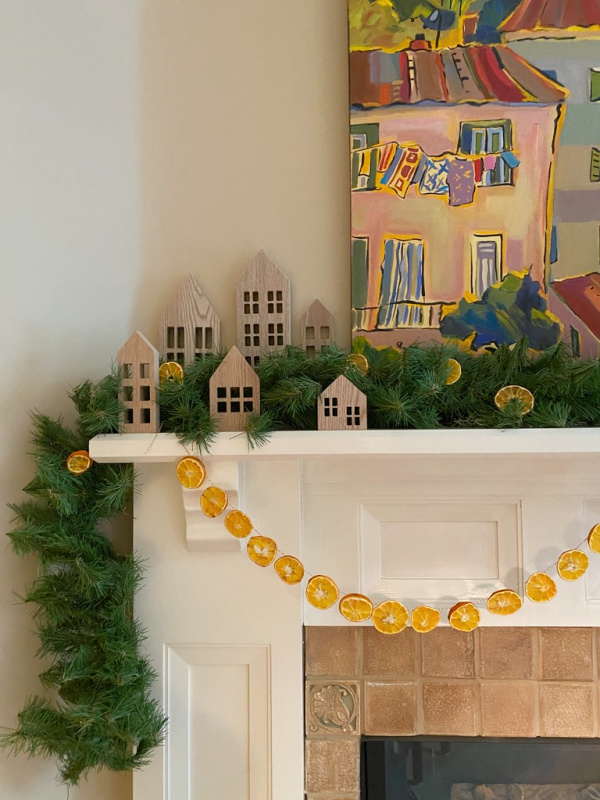
Think of all the possibilities with these dried oranges. You could also add other elements to your garland with the oranges~bay leaves, cranberries, or wooden beads. Picture the dried oranges in a wreath or centerpiece. They could garnish a holiday cocktail (maybe affixed with a tiny clothespin and fresh rosemary), be used on a charcuterie board, or smaller garlands could hang from your windows, foot board of a bed or over any doorway.
This is an affordable, fun and easy project~so much so you can involve your children or grandchildren. Plus, doesn’t it just make you happy? I smile every time I pass through the breakfast room. If you missed yesterday’s post about my Holiday Decorations to date, you can find it here.
Have a wonderful Wednesday!

Just a reminder that any words that are italicized bring you to the source. If it is a product on Amazon, please note that I am an Amazon Affiliate. If you purchase something through my website, I receive a small (very small!) stipend, which doesn’t affect the price you pay at all. My goal is to make sourcing the items easy for you. Thank you for your continued support.


There’s nothing better than dried oranges to use for holiday decor. Thanks for sharing Mary.
I absolutely love this! I have been wanting to make one of these for years now and haven’t gotten around to it. Of course we don’t all have an orange grove to step outside and pick our oranges from! Thanks for the details, I think when I try this I will try the convection method like you mentioned.
This looks so pretty with you Christmas houses and green garland. It looks like it was made for your painting. I will have to try this next year.
Thank you Mary! Looking forward to making this…and the aromas filling the house…
Now I know what to do with my sour orange tree oranges! Thanks Mary!
Oh I can just imagine the lovely orange fragrance as you do this! What a great project – thanks for the fun tutorial!
lovely and simple. I’ll try this for sure!