How to Make Your Own Pinecone Fire Starters
With cooler weather either here or on the horizon, we all dream of cozying up in front of a roaring fire. With a plethora of pinecones falling this year around our mountain cabin, I try my hand at making my own pinecone fire starters. These fire starters make wonderful holiday gifts too. Join me in learning how to make this easy DIY.
Gathering and Prepping Your Pinecones
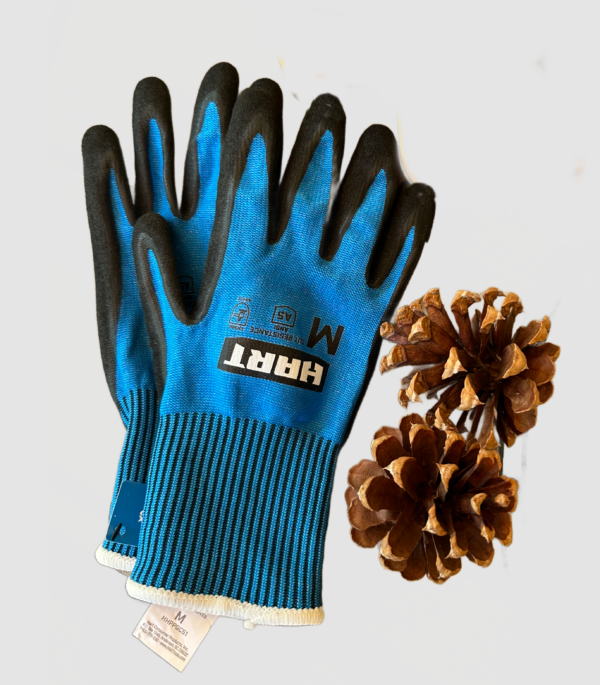
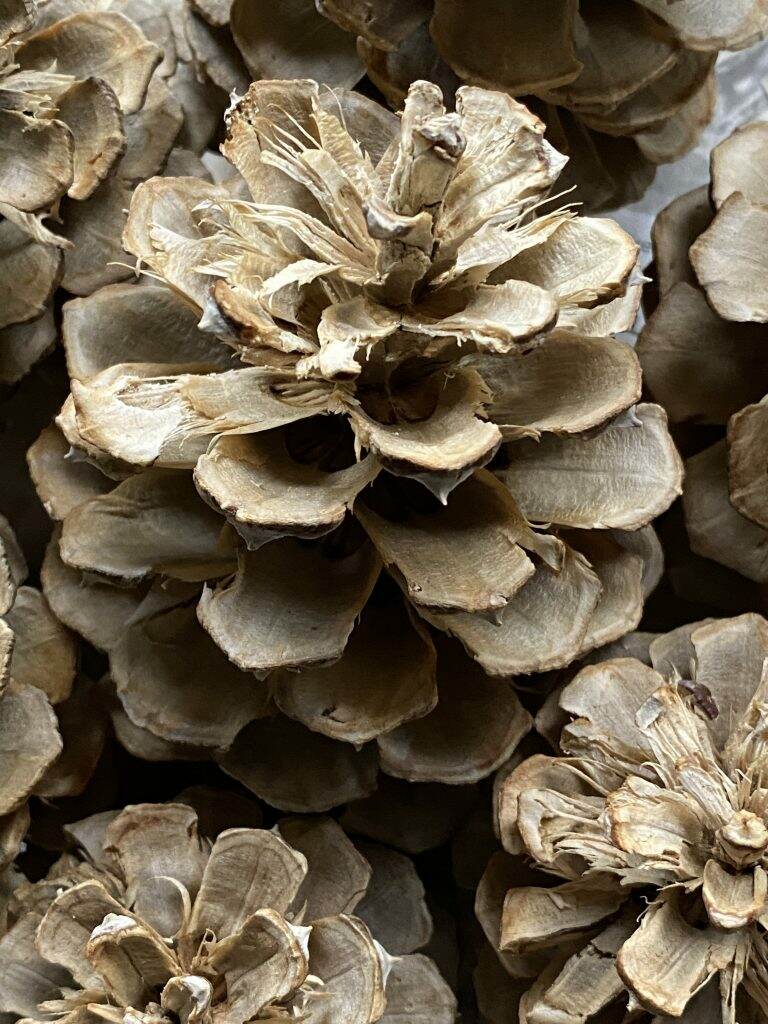
Our Ponderosa pinecones are very spiky and require work gloves to protect your hands. The sharp spines impede seed predators from getting to the seeds in the cone. Get your exercise in and gather several medium and large size pinecones for this project. Or you can order pinecones online here.
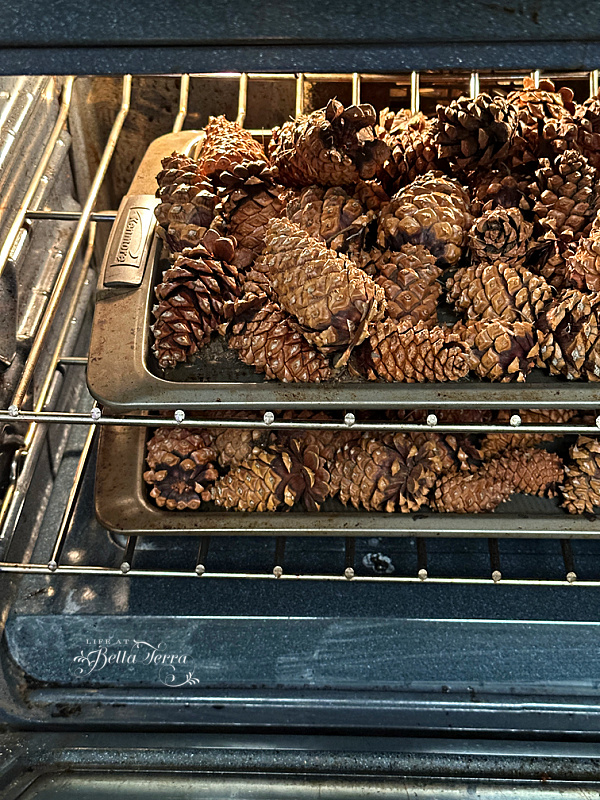
If your pinecones are wet, allow them to dry until they are fully open. Or you can put your pinecones in the oven at a low temperature (120 degrees) for an hour. Baking pinecones also helps eliminate any inhabitants if that is a concern.
Supplies
- Dry Pinecones
- Beeswax or similar wax
- Glass Containers or an old coffee can
- Stove pan
- Cotton String
- Scissors
- Parchment Paper or Waxed Paper
- Crayons for color
Making pinecone fire starters can be a messy job as you are working with melted wax. Choose a container that you can either dispose or use for other wax jobs (like candle making). Fortunately, my friend, Tevia has glass bowls on hand to use.
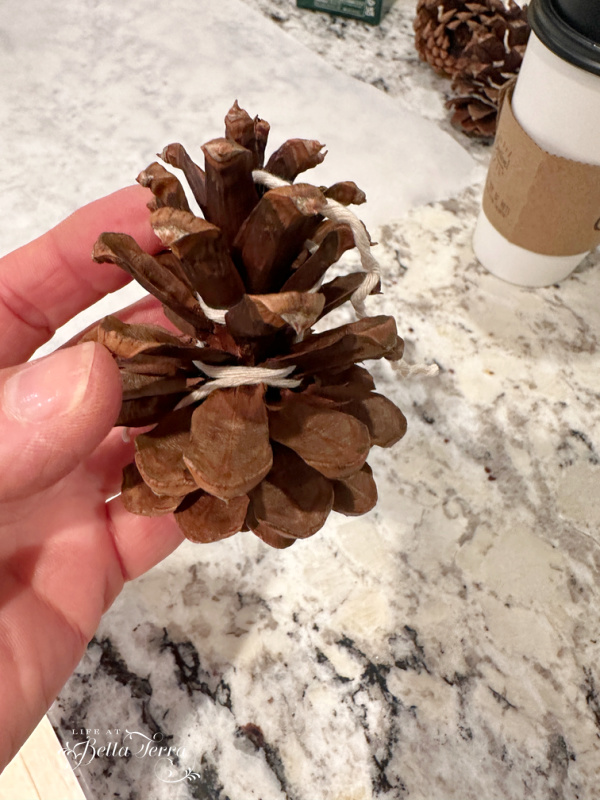
We place beeswax in the bowl and then place the heat safe bowl in boiling water, mimicking a double boiler. Keep the temperature of the burner on low. As the wax melts, and we tie and secure a cotton string around the pinecone, twisting it around the center and leave a long string tail.
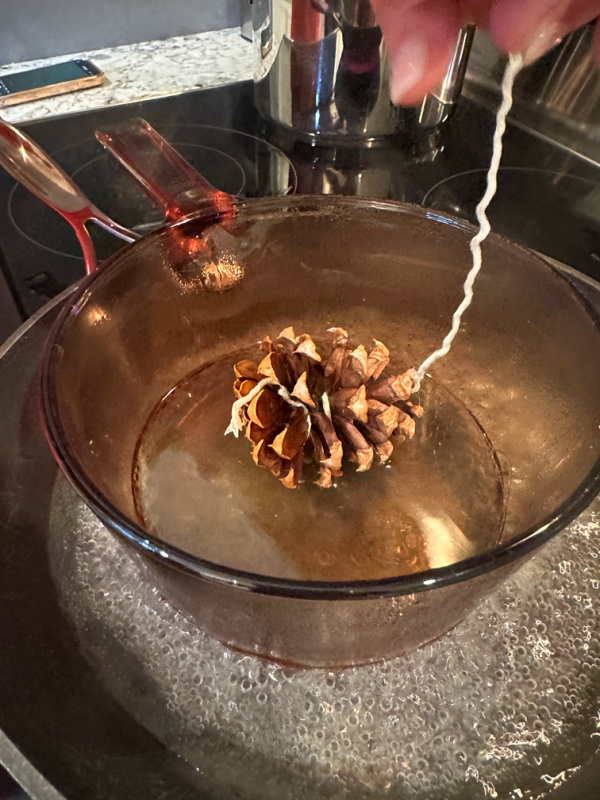
After coating the pinecone with a layer of wax, we move it to the parchment paper to dry. Adding multiple layers of wax makes the prettiest fire starters.
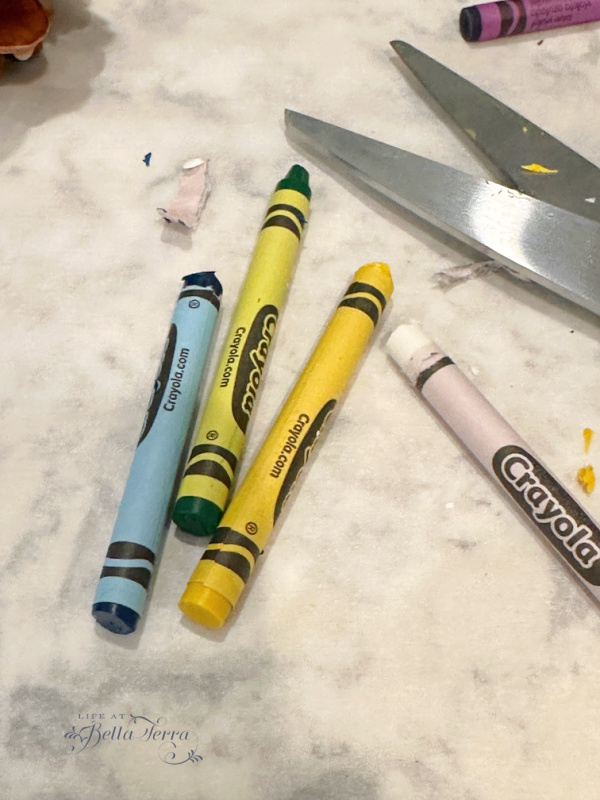
Adding crayons to the melted wax adds color. With scissors, I cut off pieces of the crayon until we get the color we like.
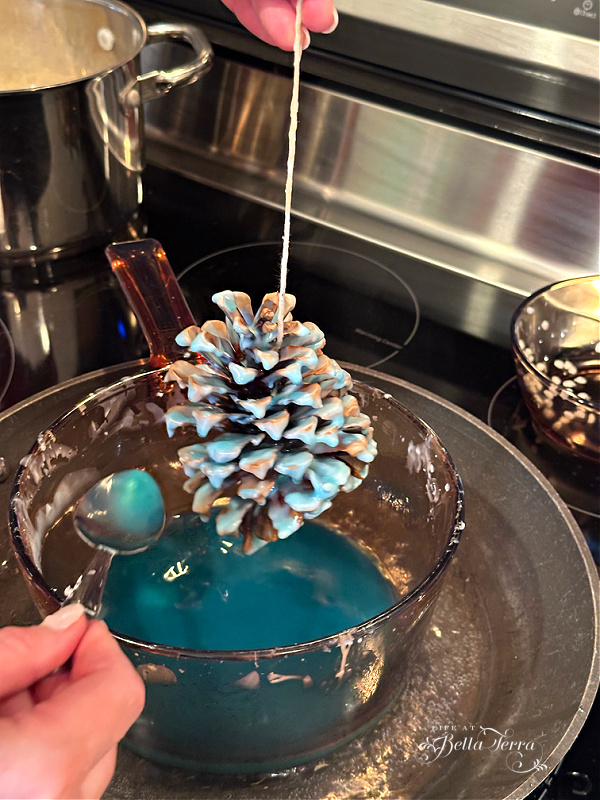
Remember to keep replenishing the water in the pan below. When the level of the wax starts to diminish, you can use a spoon to pour the wax on the pinecone and get places you may have missed.
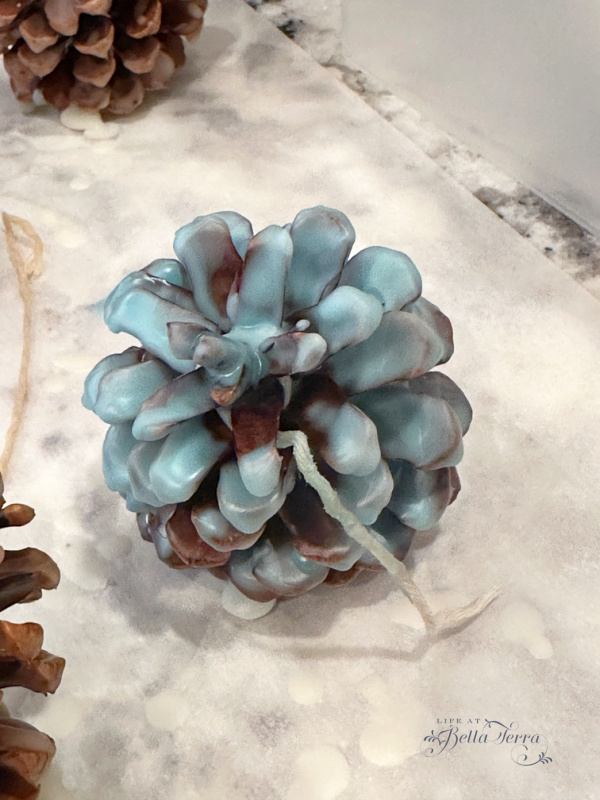
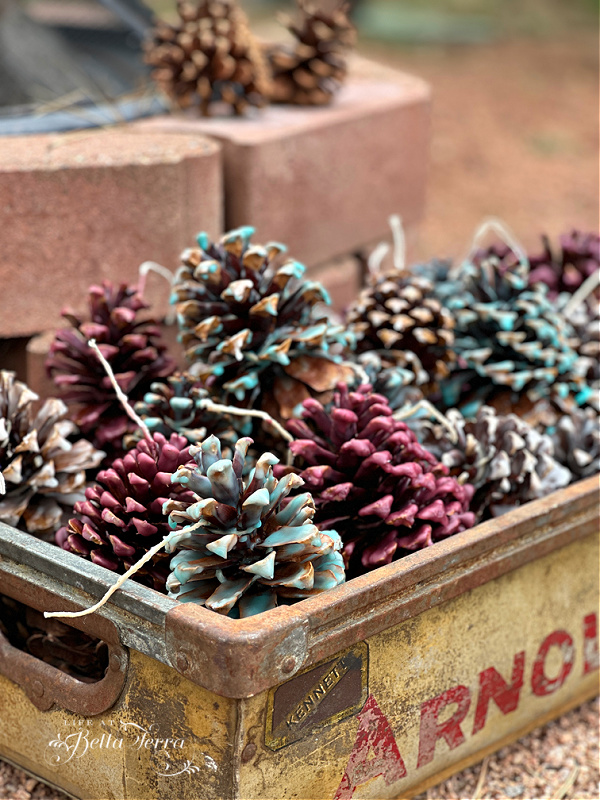
Using a couple of pans of melting wax, we are able to make a few different colors~white, blue and rose.
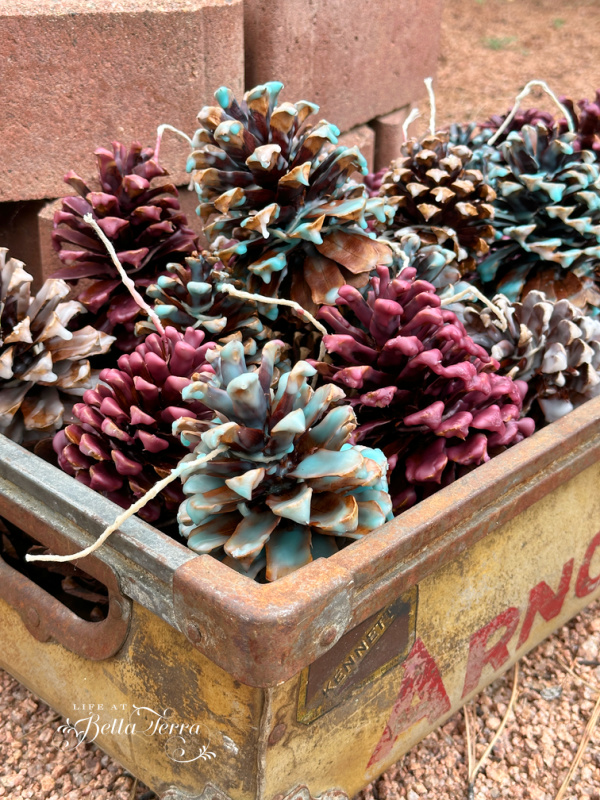
Placed in a vintage container by the outdoor fire pit, the fire starters are nearby to use. Wouldn’t this make a nice gift for someone?
Other Tips and Tricks
Though we did not do the following, here are some other recommendations for making your own pinecone fire starters:
- After the second dipping, coat the pinecone in salt. The type of salt you use will affect the color of the flame. According to Martha Stewart:
- Epsom salts: Creates white flames
- Table salt: Creates yellow flames
- Salt substitute: Creates violet flames
- About 1 pound of beeswax makes approximately 13-15 multi-sized fire starters.
- You can tie 3 to 5 pinecones together as a starter bundle.
Don’t Have Pinecones?
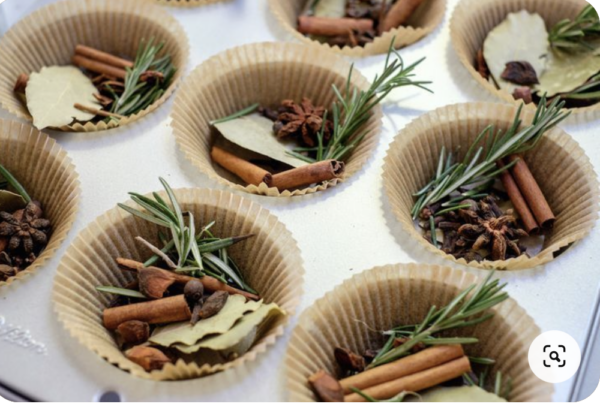
Jenni Kayne shares how to make fragrant Natural Wax Fire Starters using cinnamon, rosemary, bay leaves, herbs, essential oils in a muffin tin. You can see her recipe here. Not only do they get the fire started, but leave your home with a warm and cozy scent.
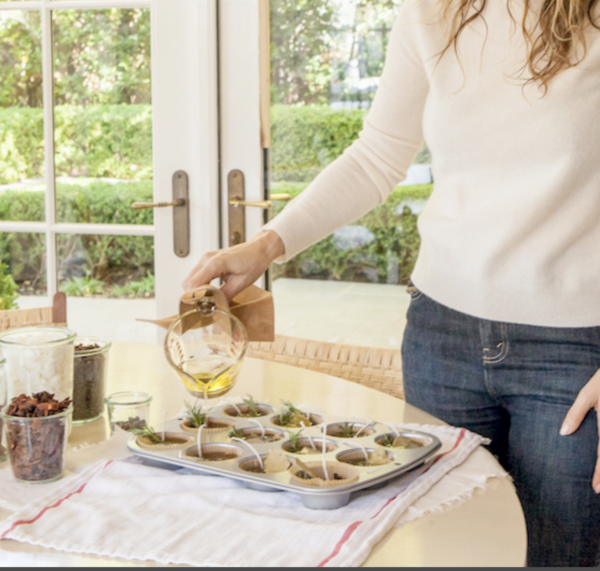
Don’t Have a Fireplace?
These homemade fire starters will work in fire pits or in camp fires. Make these for friends and family as a gift idea coupled with a pretty set of matches or a unique lighter and a small bundle of cut wood or kindling.
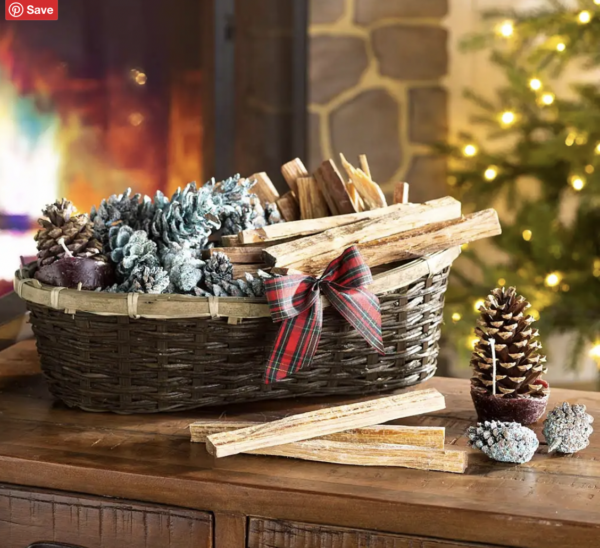
I love how pretty the pinecones look and the added bonus is that they are functional as well.

To see other pinecone DIY projects, see my posts on making pinecone wreaths here.
Just a reminder that any words that are italicized bring you to the source. If it is a product on Amazon, please note that I am an Amazon Affiliate. If you purchase something through my website, I receive a small (very small!) stipend, which doesn’t affect the price you pay at all. My goal is to make sourcing the items easy for you. Thank you for your continued support.

What a great idea! Can’t wait to make some. I ordered beeswax pellets from Amazon, and found an inexpensive box of 6 beeswax crayons at Ross that I’ll experiment with.
Nancy, how fun! Let me know how they turn out!
I have oodles and oodles of pinecones. I love this idea!! Thanks, Mary, for the unique and economical gift idea
Valerie, it’s an easy DIY and I think they are so pretty. Haven’t burned one yet as we are no longer at our cabin and it’s not cold enough here in Phoenix (will it ever be?). Let me know if you make them. Thanks for your sweet comment.