Restoration update!
So much has happened at the Willetta house restoration. To read the first post on this historical renovation click here. Perhaps the most noticeable change is to the front of the house. When I purchased it in August, the entire house was covered in aluminum siding. Here is the front of the house with the aluminum siding still on…well, some it anyway. Notice the big piece hanging down from the underside of the front terrace!!
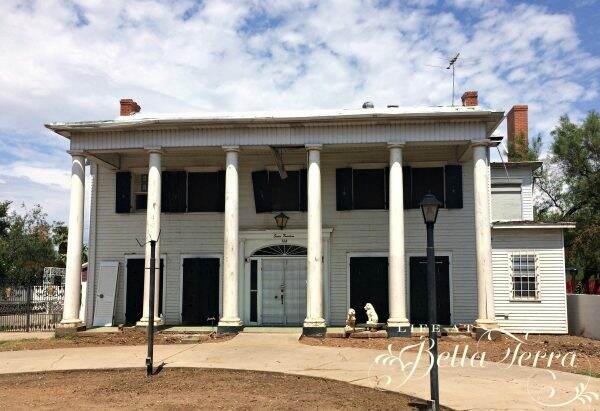
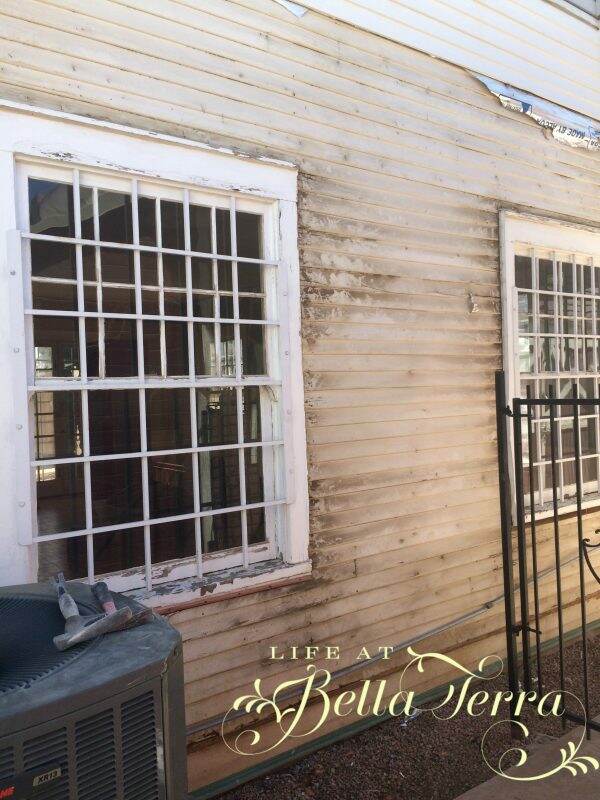
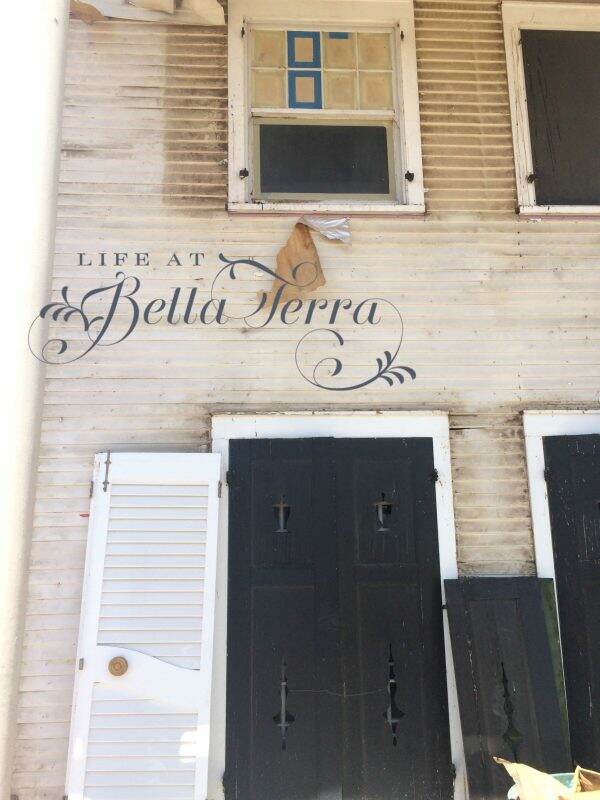
We tested a small part of the back of the house and took off a few strips of the aluminum. Underneath was the original 3″ clapboard siding. I held my breath as we tore off the aluminum siding. I had no idea if the clapboard was still under the entire house, nor did I know the condition of the clapboard, which I assume has been covered for decades. Albeit dirty, the clapboard siding is in relatively good shape.
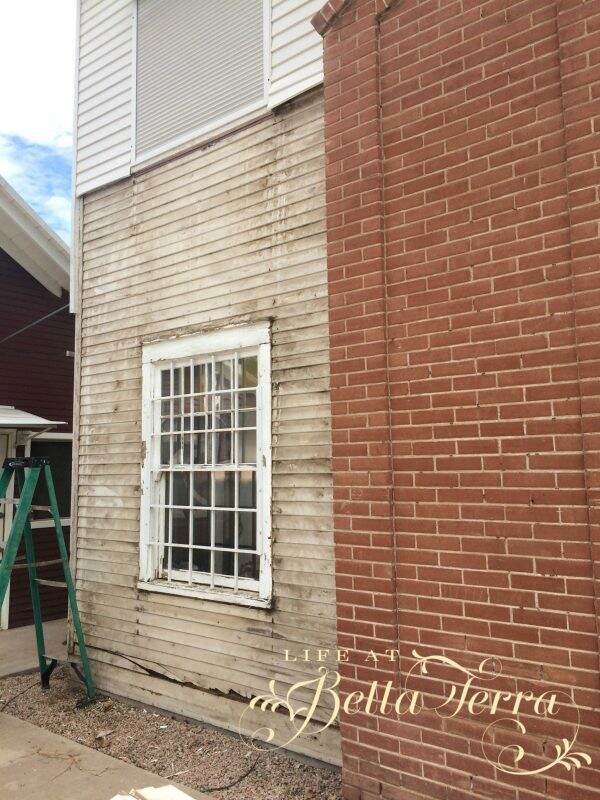
Yes, every window had security bars. We removed them and recycled all the aluminum siding and the metal bars.
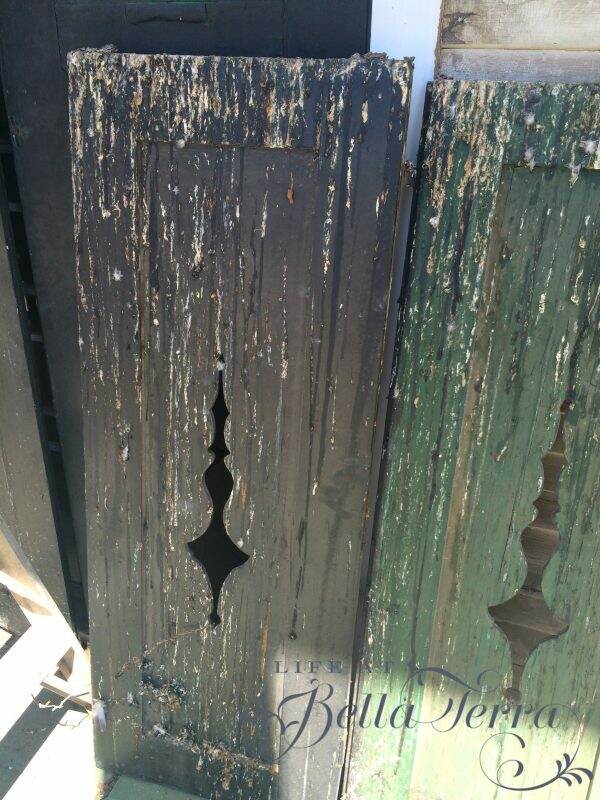
We also removed all the original shutters on the front of the house. I have never seen this particular cut-out design on any shutter to date – not sure of its origin.
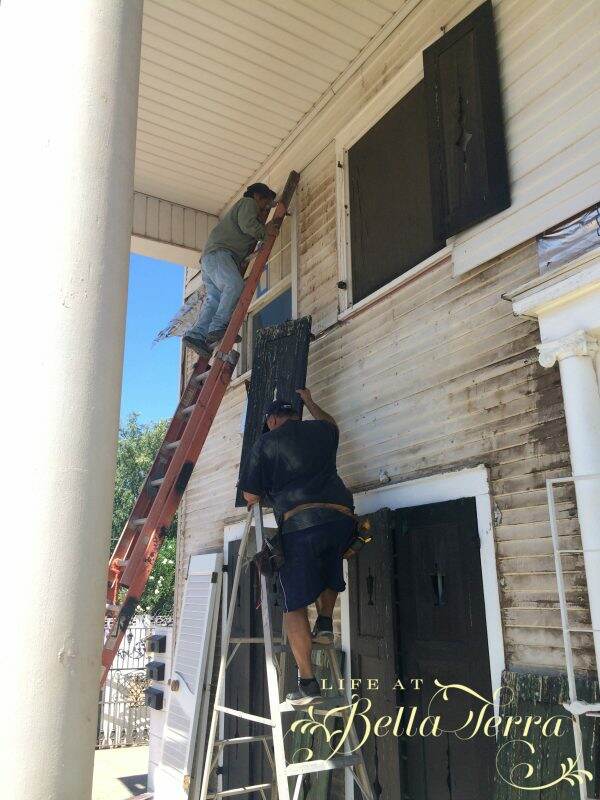
The pigeons over the last 20 years, have enjoyed roosting on the shutters. It will take a big effort to change that behavior! If anyone has any suggestions on how we can rid ourselves of these birds, please let me know. The shutters were painted black on one side and dark green on the other. An interesting way to change the look of your home!
The shutters on the first level cover the French doors that lead out to the terrace. Since the front of the house is south facing, the shutters are a brilliant way to keep the sun off the windows in the afternoon. The louvered door below was removed from inside and is resting on the exterior….and eventually ended up going home with one of the workers.
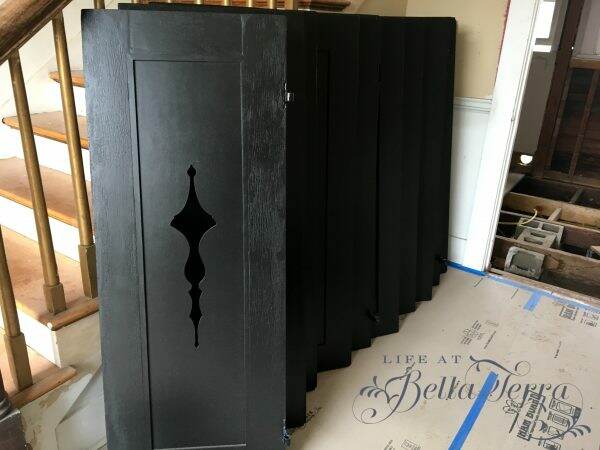
Most of the shutters were in relatively good condition and only a few needed to be completely replaced.
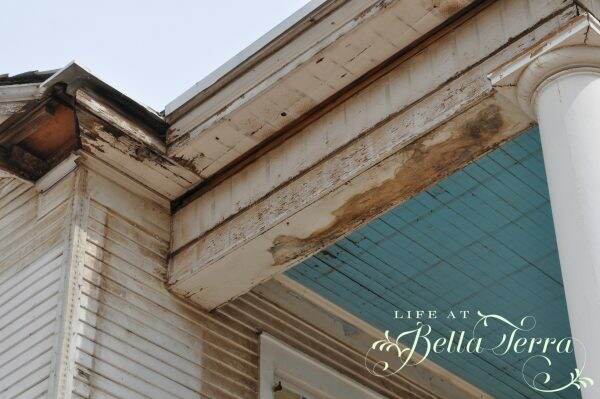
When we removed the aluminum siding from the underside of the porch ceiling, we found a great deal of water damage.
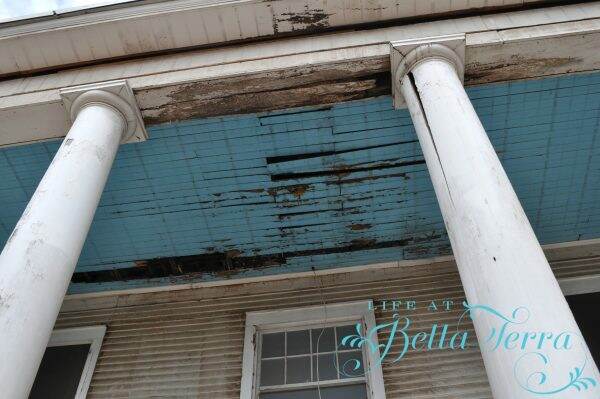
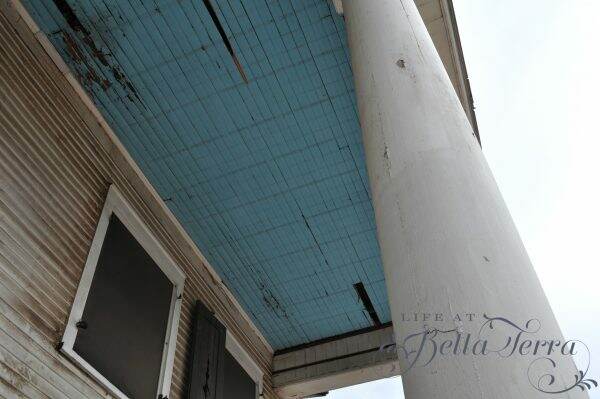
We needed to remove the blue ceiling and found even more damage to the structure underneath….cha-ching. After all that was removed and replaced, what a big improvement!
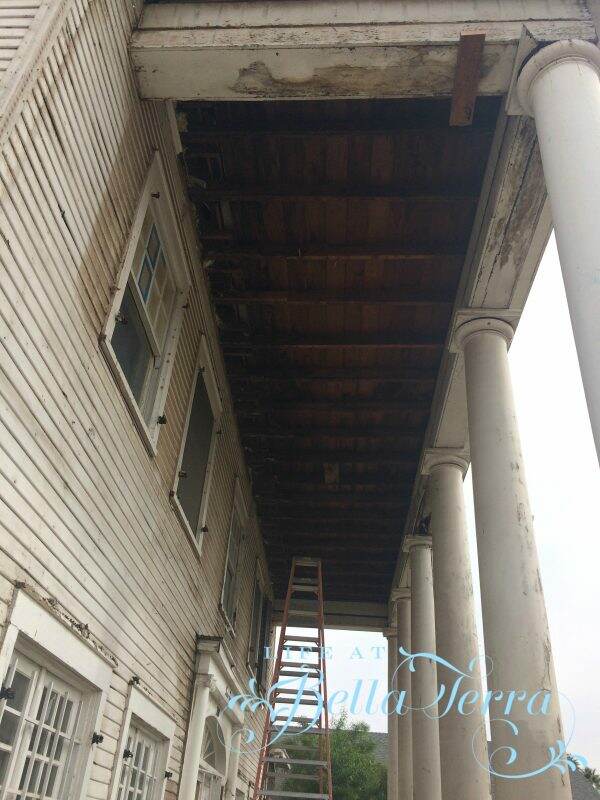
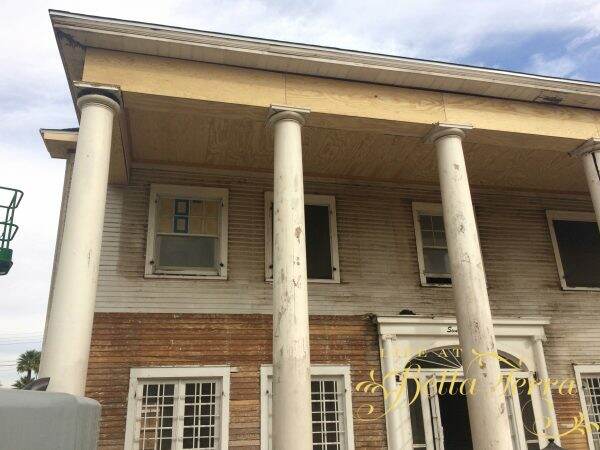
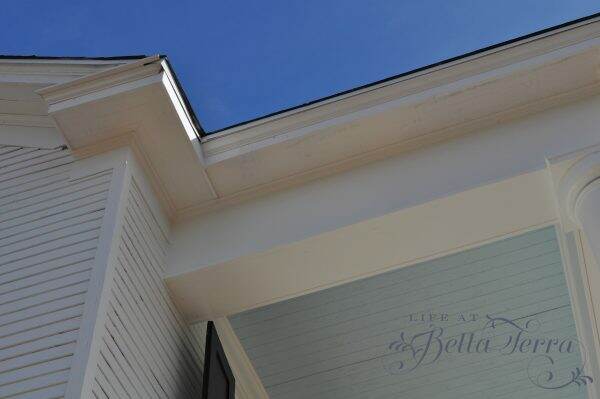
Here’s what it looks like today. I used a Sherwin Williams paint called Atmospheric for the blue and stayed with white for the house. Shutters have been painted black and re-hung. All 6 columns have been repaired.
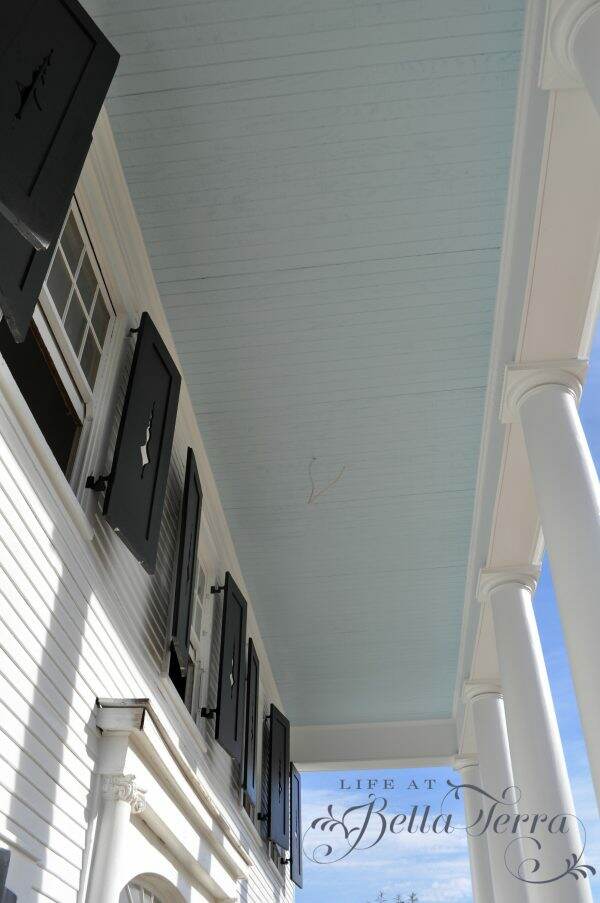
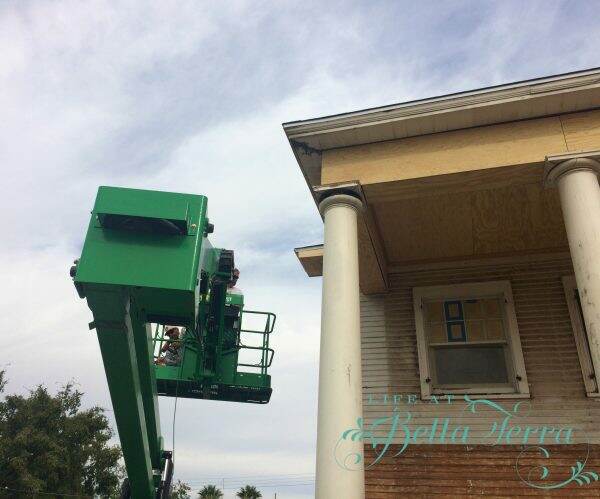
Notice the beautiful craftsmanship in the detail at the roof line that is hard to find today. There are two different sizes of crown molding-some of it missing, some of it rotted. Fixing it was challenging. This nearly 100 year old structure is no longer square plus we needed to rent a lift in order to have the carpenter work at this height.
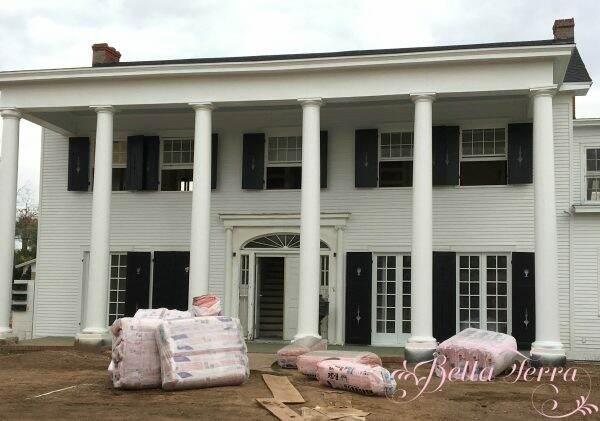
So as of today, here is the front of the house (with a new roof). We are waiting to paint the front doors/entrance when all the construction traffic dies down. As you can see by the piles of insulation, the rough-in of the plumbing, electrical, and HVAC are complete. Drywall starts at the end of the week. More to come!!!!

Just a reminder that any words that are italicized bring you to the source. If it is a product on Amazon, please note that I am an Amazon Affiliate. If you purchase something through my website, I receive a small (very small!) stipend, which doesn’t affect the price you pay at all. My goal is to make sourcing the items easy for you. Thank you for your continued support.


Wow! The renovation is really coming along. It’s so cool how a few changes can make a world of a difference. The shutters are super cute!! Thanks for showing the reno piece by piece!
Wow! Love watching the renovation. Like our very own “fixer upper” in Phoenix! Great work Mary!