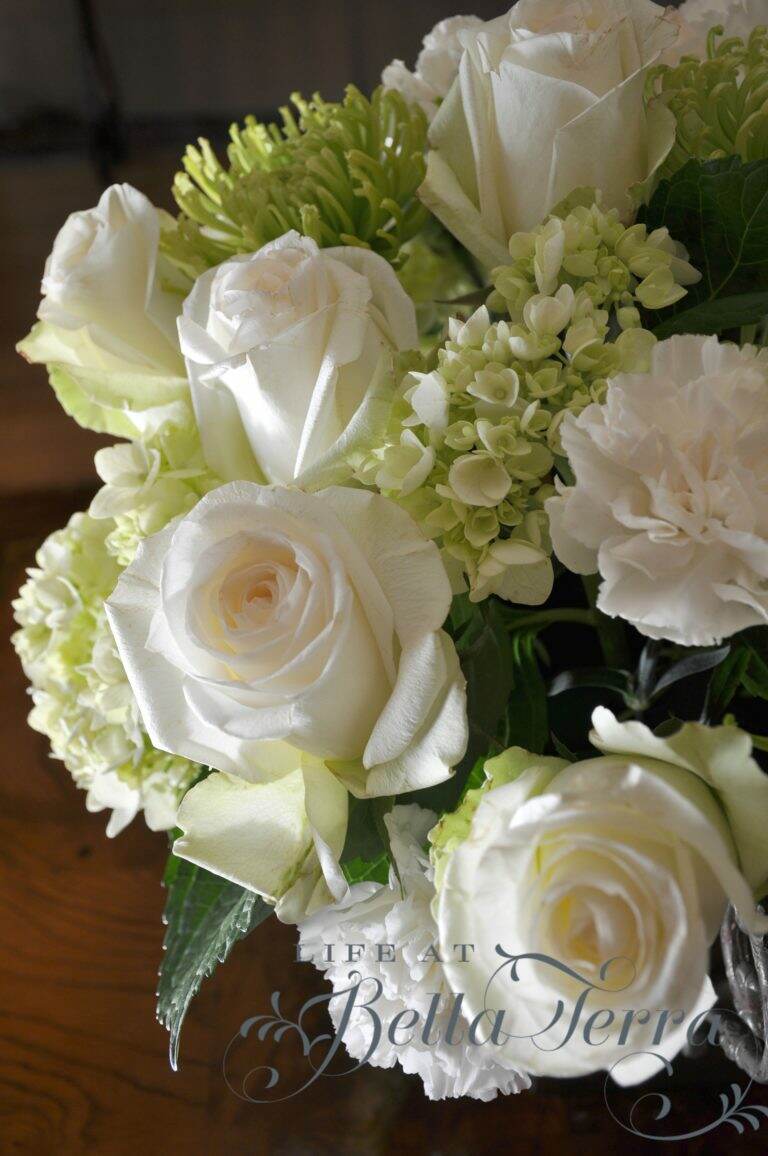
Arranging Flowers

When I was in 11th grade I worked over the Christmas holidays at our local florist, Johnson Flowers and Gifts in Norwich, Connecticut.  In hindsight, I wish I had paid more attention to the ins and outs of flower arranging, but being 17, I’m sure I was more interested in boys vs. blossoms.

Over the last few years I have been asked to create centerpieces for various charitable events.  In 2012, I offered to make 120 centerpieces for my son’s high school fashion show.  I was promised a committee to help, but funny how those things don’t always work out.  To have a professional do it would have been cost prohibitive so I thought, how hard can this be?  I should know by now that when I hear that question in my head, warning signals should go off.

The centerpiece had to include a keepsake item (etched wine bucket) and be in the school colors (red and white). The good news was the event was a success, the centerpieces were perfect and it only took a few weeks for my back to stop aching.

Leading up to the event, I practiced making various flower arrangements of different sizes, flowers, and containers. Since it has been a while since I made a centerpiece that didn’t consist of putting cut flowers in a vase, I was inspired to do so this weekend.

I went to our local Safeway and purchased a dozen white roses, mini hydrangea, white carnations and green spider mums.

The container is actually one I had purchased online as a sample for the above mentioned event–it has an elegant look but was very affordable. The bowl is 9″ in diameter and 5″ high.

It’s important to use Wet Foam vs. dry foam (I made that mistake once~~dry foam works with artificial flowers).  I purchased a FloraCraft 4 brick pack at Michael’s for $6.99.  The foam is very easy to cut to fit the container you are using.

Soak the foam in a container with clean water for 1-2 minutes, until the water is fully absorbed into the brick.

Since my foam is packed into my bowl, I did not need to secure it with waterproof anchor tape.

Determine what size and shape you want your arrangement.  Using floral shears or garden clippers, cut the stems at a 45 degree angle before inserting them into the foam.  This angle allows for easier insertion and insures maximum water uptake. I started with my roses and created a “dome” to outline the approximate size of the arrangement.

I then used the hydrangeas, spider mums, and carnations to fill in the gaps.  Remember to count your stems and spread them out accordingly.  Make sure stems do not come out on the other side of the foam.

Carnations are such a great filler and can be spread apart to give them more volume .

The spider mums and the carnations were the most difficult to push into the foam. I broke a few in the process. Also, as much as I LOVE hydrangeas, I haven’t had good luck with them once they are cut.  They don’t seem to last as long as other flowers in an arrangement. But I keep trying!

When the arrangement is complete, add water to the bowl and check the water level every day.

Here is the finished product which I placed on the table in the front entry!

Someday when I have lots of time, I would love to have an abundant flower garden where I could experiment with more dramatic arrangements.

Thank you to my two daughters for being hand models~~it’s a bit of a challenge to do the tasks and take photos!


All Things Valentine

February is the month of romance. I do some limited decorating for this fun holiday-who doesn’t love the colors of red or pink! As with most holidays, I am interested in its origins, its traditions and why we celebrate.  Here are a few fun facts about Valentine’s Day.

1. The most popular theory about the Valentine’s Day origin is that Emperor Claudius II didn’t want Roman men to marry during wartime.  Bishop Valentine went against his wishes and performed secret weddings.  For this, Valentine was jailed and executed.  While in prison, he wrote a note to the jailor’s daughter signing it “from your Valentine.”

2. The red rose was the favorite flower of Venus, the Roman goddess of love.

3.  In 1537, England’s King Henry VII officially declared February 14th the holiday of St. Valentine.

4. In the Middle Ages, young men and women drew names from a bowl to see who would be their Valentine.  They would wear this name pinned onto their sleeves for one week for everyone to see.  This was the origin of the expression “to wear your heart on your sleeve.”

5. Every Valentine’s Day, the Italian city of Verona, where Shakespeare’s lovers Romeo and Juliet lived, receives about 1,000 letters addressed to Juliet.

6.Based on retail statistics, about 3 per cent of pet owners will give Valentine’s Day gifts to their pets.

7. Arizona became the 48th State on February 14, 1912.

8. In addition to the United States, Valentine’s Day is celebrated in Canada, Mexico, the United Kingdom, France, Australia, Denmark, Italy and Japan.

9.  141 million Valentine’s Day cards are exchanged annually, making Valentine’s Day the second most-popular greeting card-giving occasion.

10. Physicians of the 1800s commonly advised their patients to eat chocolate to calm their pining for lost love. (Now that’s a good excuse!)

For your information:

The colorful painting was done by me last year in my attempt to do a new one for each holiday.

The pets featured above are:  Cooper,  an Akbash (from the Anatolian Shepherd family); Sox, our pocket Beagle; Tippy and Donovan- stray cats our girls found/rescued/captured in the yard.

The heart-shaped ravioli was made last Valentine’s Day from a recipe I found online.  If you have a heart- shaped cookie cutter, it was a relatively easy recipe to follow.

And if you love the wheat-etched spooner holding the tulips, you can purchase it through my online store!

Wishing you a happy and loving Valentine’s Day!