Making DIY Easter Nests
In setting the table for Easter Sunday dinner, I needed something to make it feel more spring-like. I love birds’ nests and have a few, but don’t think it is very sanitary to actually place them at the dinner table. How difficult would it be to make some faux nests?
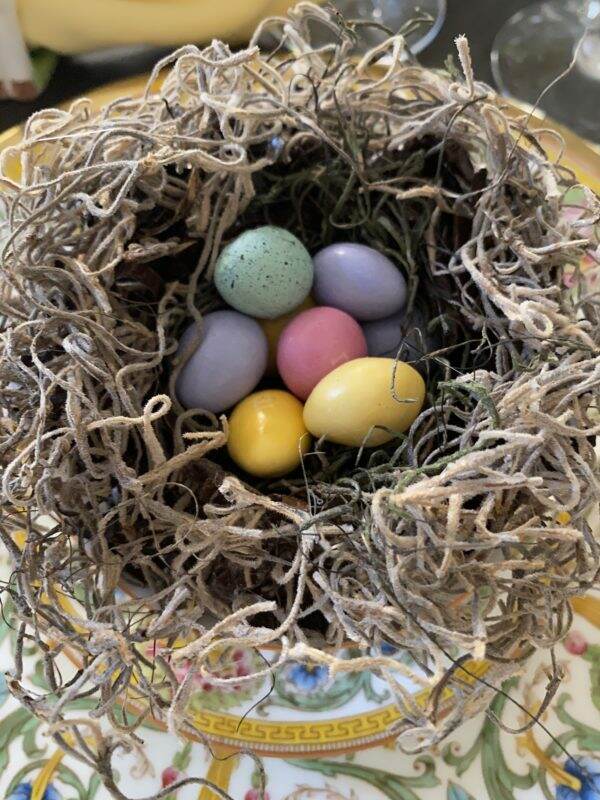
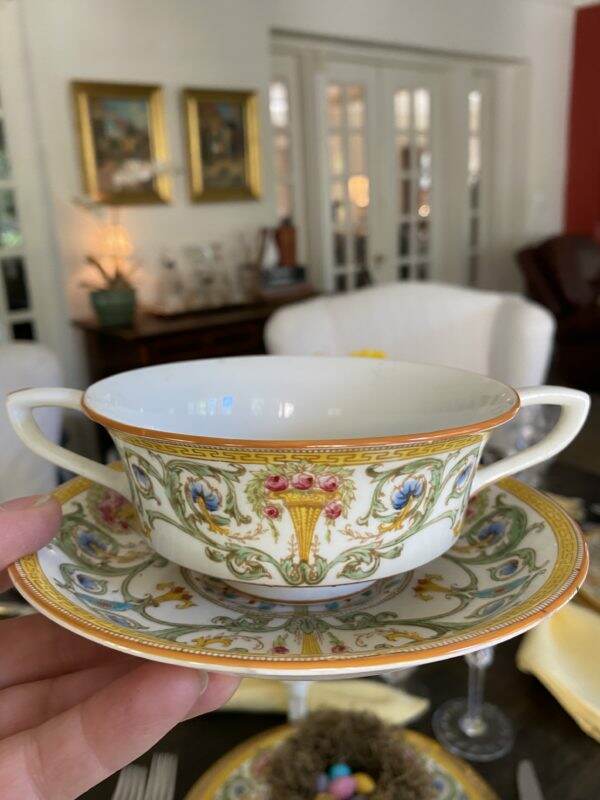
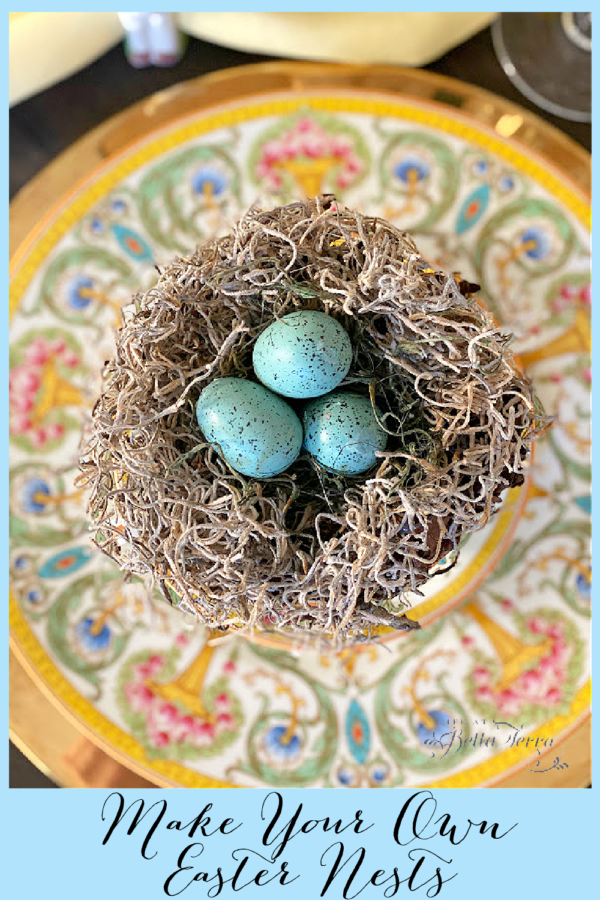
The Royal Worcester dishes I am using for the place settings have a lovely small 4″ creamed soup bowl with plate that I want to place on the dinner platter. Now the challenge is making a nest that will sit inside the bowl. I’ve got this!
Getting Started
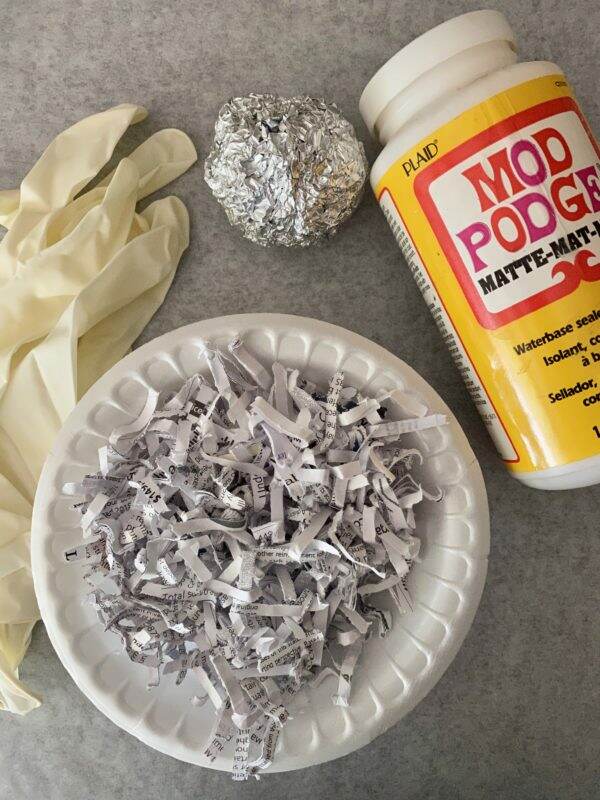
After some pondering, and not wanting to go to the hobby store, I searched the house for materials. Leftover bottles of Mod Podge and shredded paper from the shredder sparked me into action.
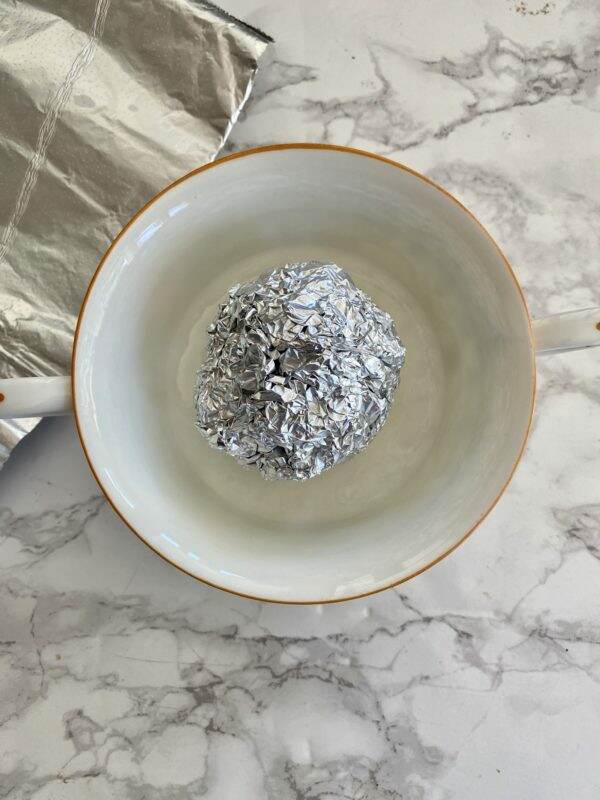
In order to form the depression in the middle of the nest, I made a ball out of aluminum foil and covered it with plastic wrap. I have not used Mod Podge in years and I can’t recall if it will adhere to foil, hence the protective plastic wrap.
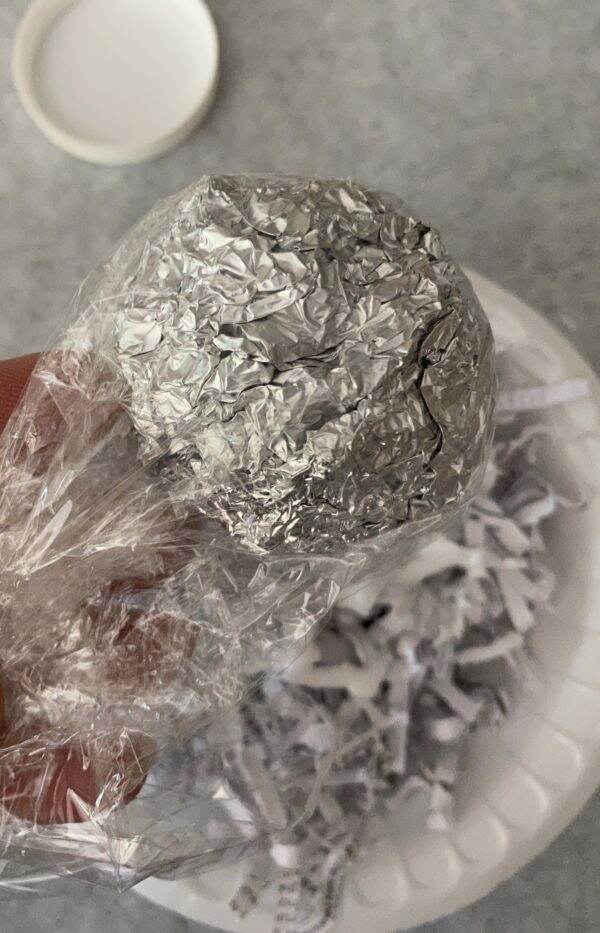
Knowing this would be a bit messy, I put down a piece of parchment paper, gathered my supplies of latex gloves, shredded paper, 4-5″ styrofoam bowls, plastic wrap and glue. If you don’t have Mod Podge I would imagine any glue diluted with a bit of water would work.
The Process
Line one bowl with plastic wrap. In another bowl, mix the shredded paper and Mod Podge. Use enough so the paper follows your hand around the bowl. If you use more, the drying time will increase.
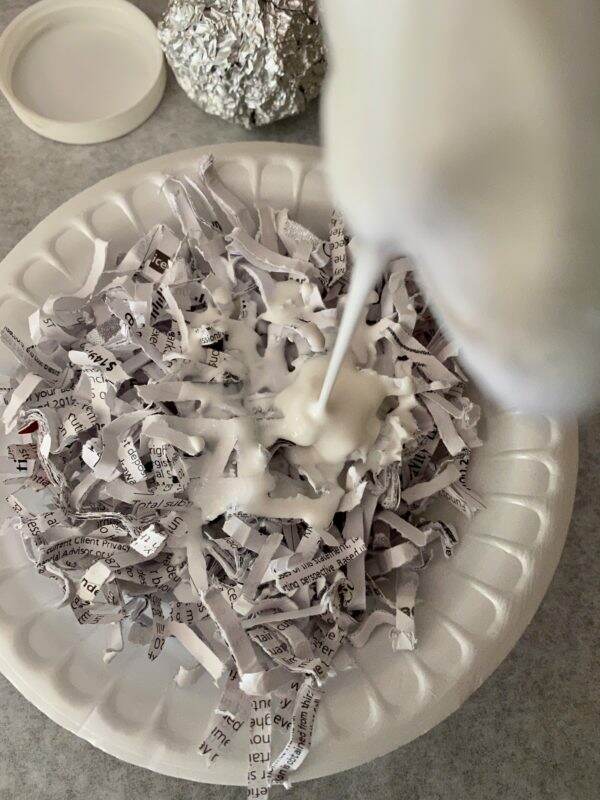
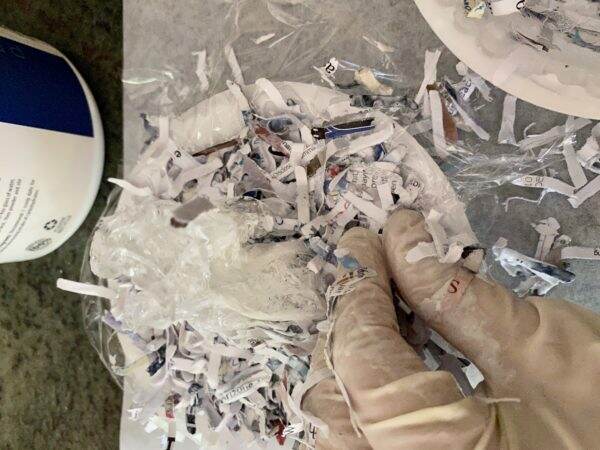
Pat the glue/paper mixture around your center ball until you get the size nest you want. Do not cover the ball.
Let dry. I put mine in the sun since it was late afternoon. I removed my ball to make sure my depression was deep enough and clearly defined.
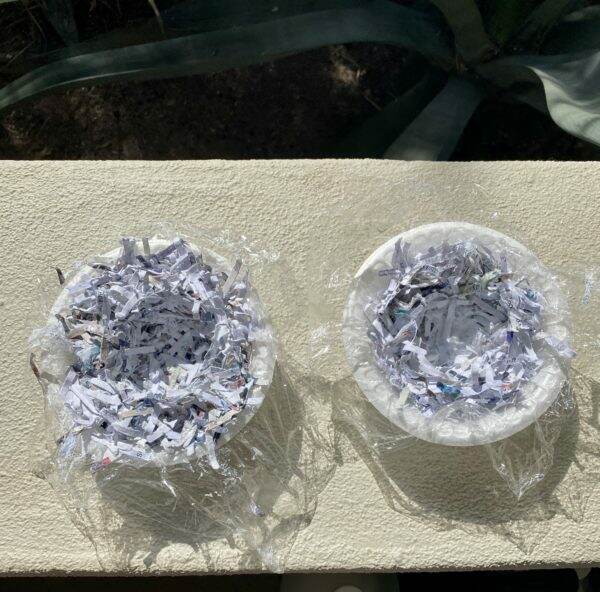
After approximately 1 hour, the nest is consolidated enough but not completely dry. I re-shaped the nests to have more of a rounded base vs. the shape of the plastic bowl.
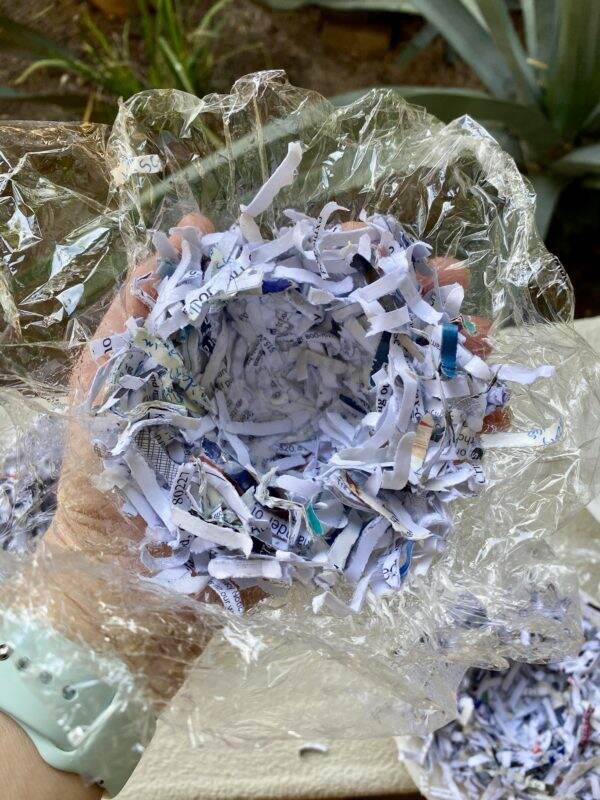
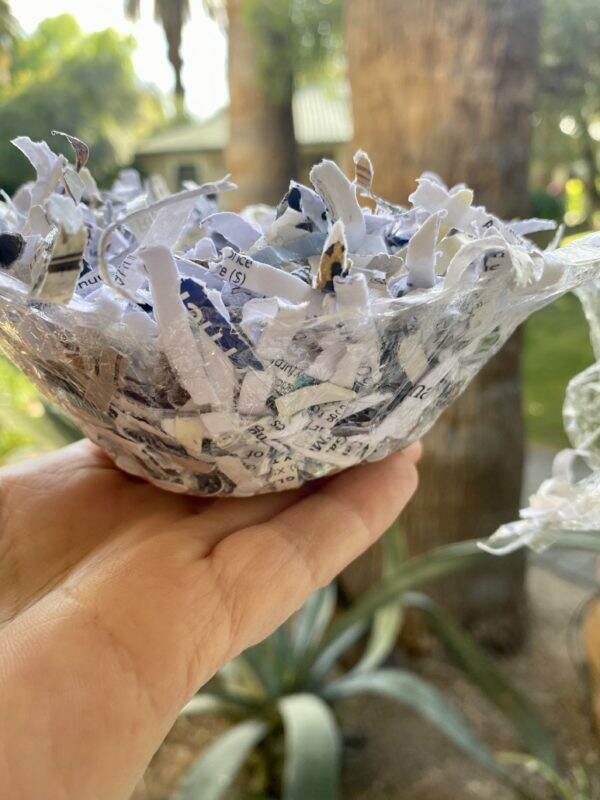
Like most projects, the more you practice the better you get. The first nest I made, had more glue than the others. However, it did require a bit more drying time. The Mod Podge is very sticky and the shredded paper stayed together.
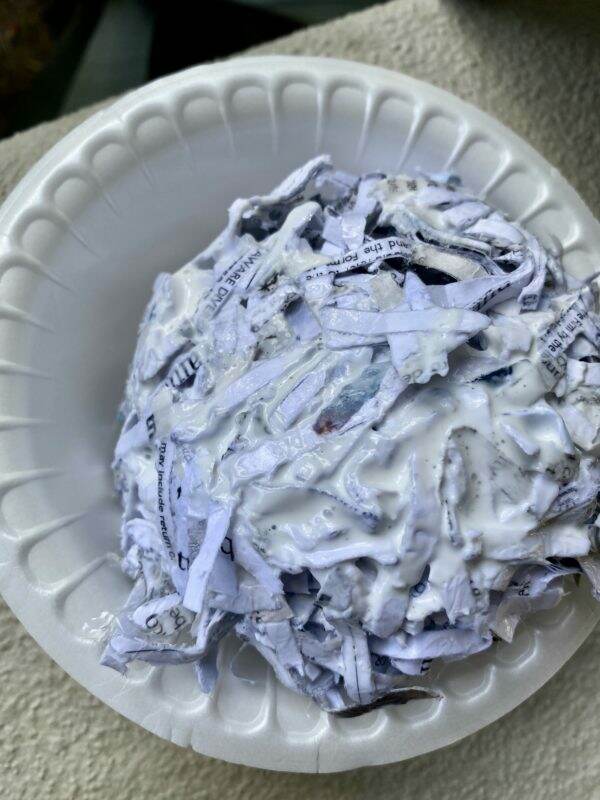
The Finishing Touches
While the nests are drying, choose your paint colors. Using old cans of spray paint, I selected 3 colors that would resemble a real nest.
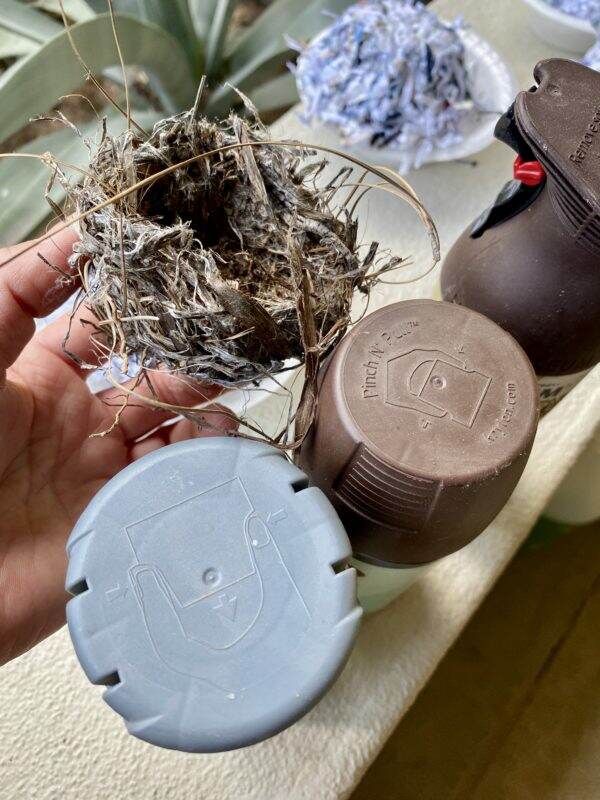
For protection, lay down a drop cloth or plastic, and spray your nests to the color of your choice. Think of all the possibilities! I even used a bit of gold on top.
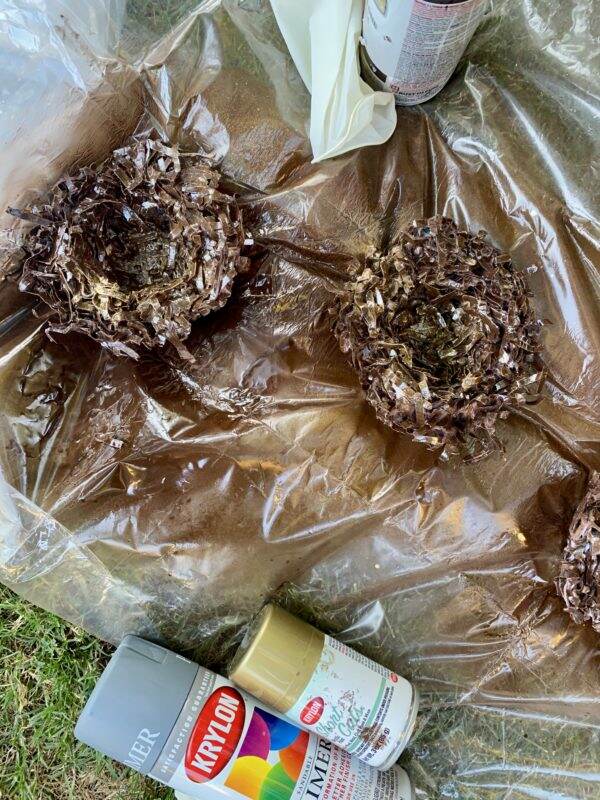
I let the nests dry overnight. They are nice and sturdy.
The next morning, I added bits of different color moss for additional texture. You can add twigs, feathers or really any yard debris for a more natural look.
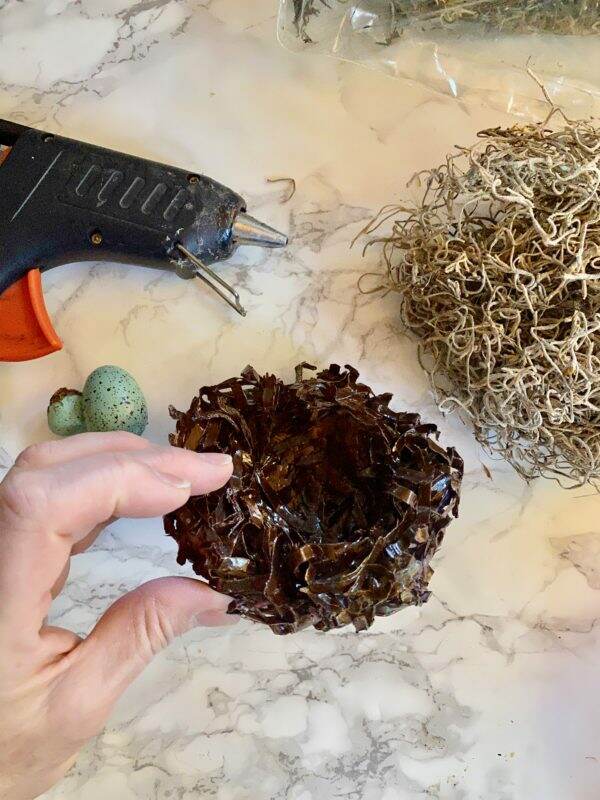
Using a glue gun, drip the glue over the nest. Push the moss onto the glue. I placed darker moss on the inside and a lighter one on the top.
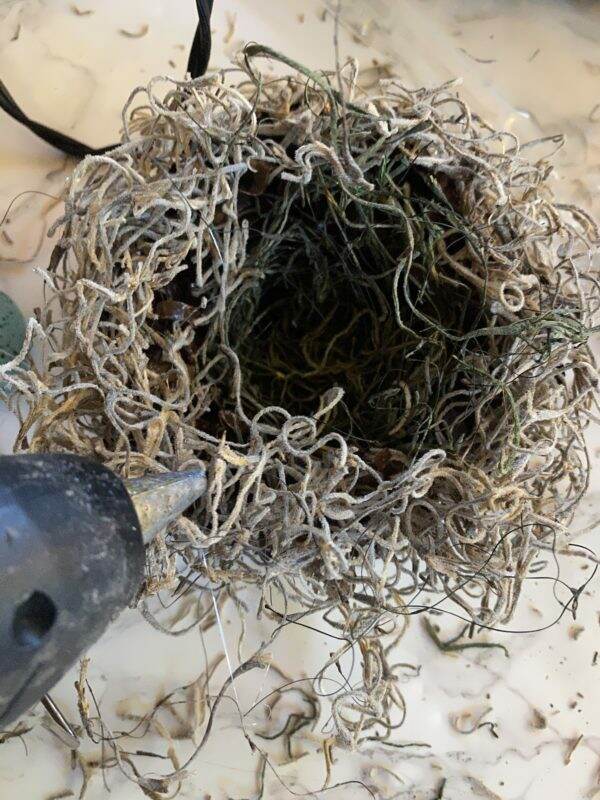
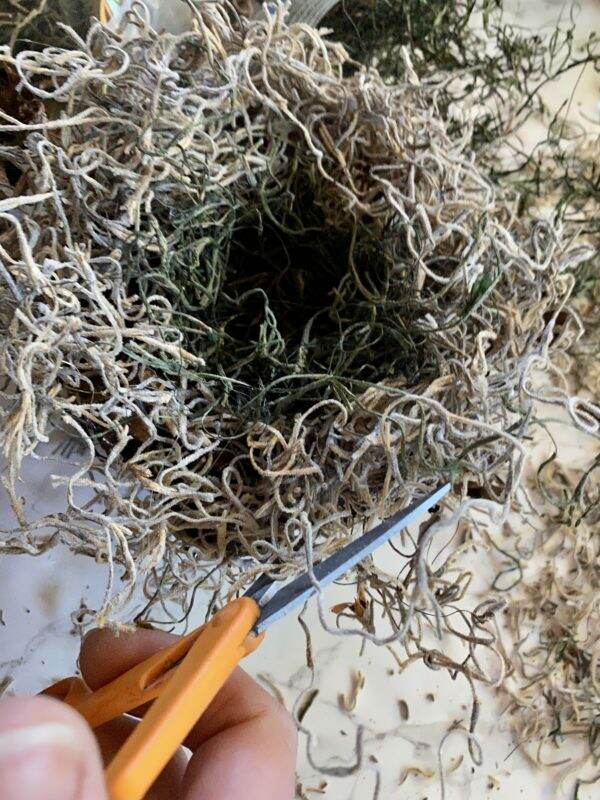
Trim any excess if necessary.
Fill the nests with faux eggs or candied eggs ones for color. The nests fit perfectly into the soup bowls.
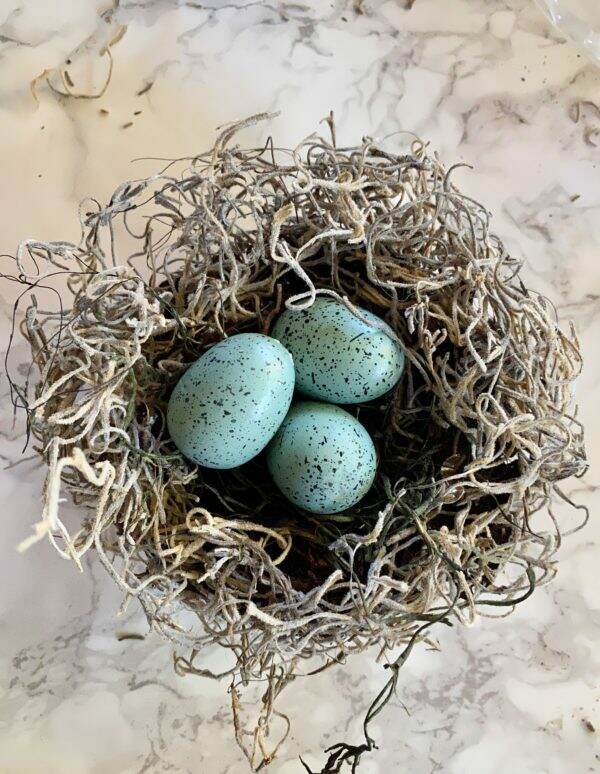
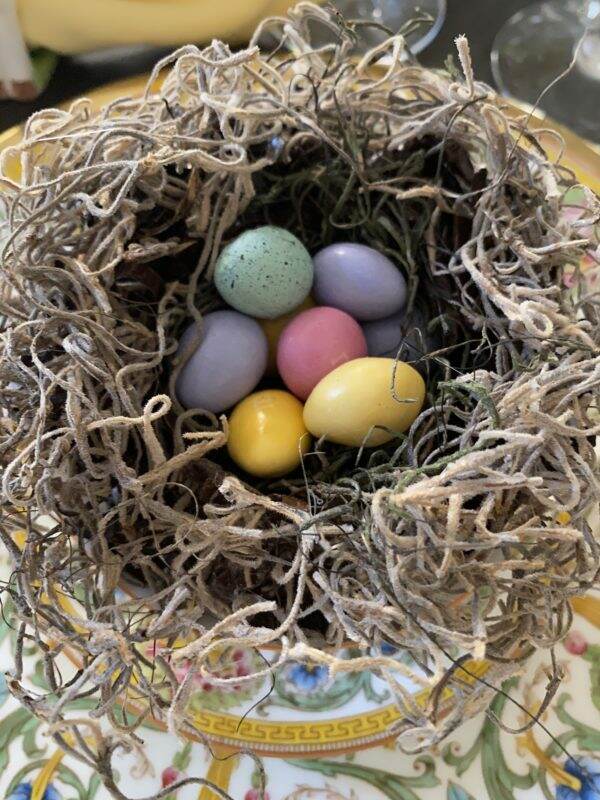
This project was completely unexpected! It was fun for me to search the house for supplies to make it. Now I am thinking of all the things I can make out of glue and shredded paper. My own version of paper mâché!
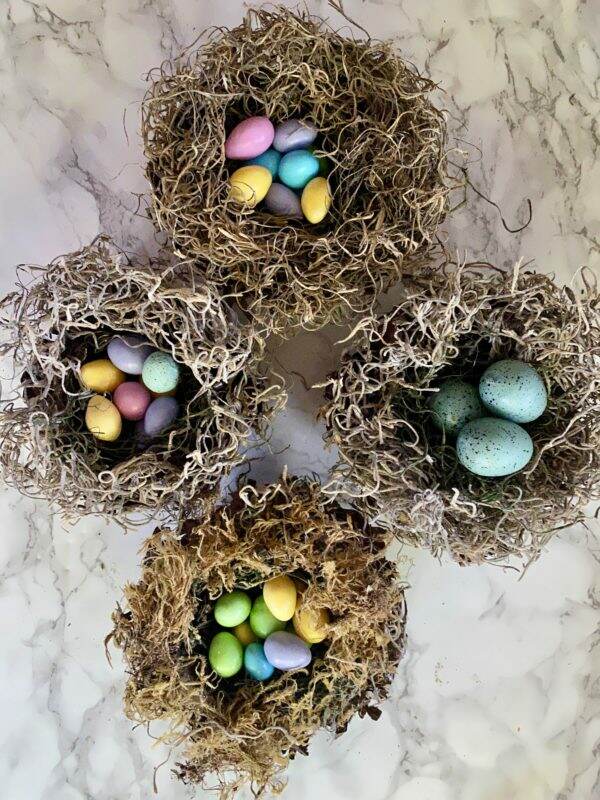
This project took approximately 2 hours. If I used less glue, they would have dried faster. You may need to let them completely set overnight. Today, I will leave them in the sun to get rid of the spray paint smell. I like the fact that I can use these year to year too!
I can’t wait to show you how adorable these look on my Easter table ~~that will be Saturday’s blog post!
Happy Wednesday! What are you up to day?

If you enjoy this post, please share on Pinterest.
Just a reminder that any words that are italicized bring you to the source. If it is a product on Amazon, please note that I am an Amazon Affiliate. If you purchase something through my website, I receive a small (very small!) stipend, which doesn’t affect the price you pay at all. My goal is to make sourcing the items easy for you. Thank you for your continued support.


Such a fun and clever idea.
Well those are just darling! 🙂 What a wonderful idea! I can’t wait to see your table – your Royal Worcester china is so lovely! ❤️ Take care till then!
You are an honest-to-goodness genius!!!
You are too funny! But, quite honestly, I am thinking of all the things I can do with my shredded paper now!
Wow… what a creative way to have a little Easter fun..
What a creative person you are! I would NEVER have figured that out!
Kudos!
Think of all the things we could make! I have 3 paper shredders here. The ideas are endless!
You are so darn clever!
Actually, I was pretty proud of myself. I’m not a crafter~~at least I haven’t done much since all those school projects years ago. I am very happy with how they came out. Now I’m thinking of making a really big one. Ha!