Update on my Painting Journey

As you know, I took up painting for the first time in my life 2 years ago. Mind you, I am a newbie at art.  I started taking acrylic classes when my daughter went off to college.  There are days when I put a lot of paint on a canvas and it is disastrous.  Other days  I paint, step back and think, it’s okay.  Rarely do I love it.

My art teacher and dear friend, Joann Augur just wrapped up a 4 week session on using different application techniques.  One class we took very watery acrylic paint and a paper towel and dabbed color all over the canvas.  Then we painted in a vase and added flower details.  It was such a fun class!  I loved the randomness of it because  I had no idea where the paints would take me.  Using the same technique with different colors, I produced two totally different images.

It is so helpful to take photos of the paintings….with the one below I need to work on the vase.  I didn’t notice the distortion until I posted this picture.

For our 2016 Christmas card, I painted this snow scene.  I donated the original for a charitable event.  My husband was disappointed that I had given it away, so I painted another one (a larger version) just for him.

This colorful landscape STILL NEEDS WORK~the mountains are wrong (no life, flat). It is a rather large painting and IF I can get it just right, I will frame and hang it.

My friend Janie, who is an accomplished artist recently convinced me to sign up for a few oil painting classes at Scottsdale Artists School.  Painting with oils is completely different.  Acrylic paints dry very quickly and are water soluble.  Oils take days to dry.  It sounded so intimidating.  But nothing ventured, nothing gained, right?

The first oil class I took focused on painting blue and white vases.  The teacher, Nancy Chaboun, is extremely talented.  She creates live settings for you to paint.

Dah-DA…..my very first oil painting!

My second class (which is the first in a series of 3) is focused on painting still life.  Here is the setting Nancy created.

Below is my painting. I took some creative license with it. Painting flowers is hard work. The few times I have painted roses then end up looking like peonies.

Yesterday, was the second still life class. We learned about painting glass and metal…silver, bronze, brass. Our setting included rich tones, a brass pot and colorful sunflowers and oranges.

And here is my painting.  I am not sure if I am done with it yet….

I feel much more comfortable with acrylic, but I am learning (slowly) the nuances of oil paints.  The good news is I am L.E.A.R.N.I.N.G and meeting some incredibly talented people along the way.

I hope you enjoyed my show & tell…..Practice makes perfect so I am wishing for a summer filled with paints and canvases!

Are you learning something new?

Happy Friday!


Cakes, Quality Time and Cookbook Giveaway

Last summer, I was drawn to a magazine article about a London Fog cake, made with Earl Grey tea by Tessa Huff.  I’ve always wanted to make beautiful cakes but have never really spent much time learning how to do so.  I’ve tried my hand at the occasional home made birthday cake or our yearly Easter lamb cake but nothing that requires me to really stretch my cake baking knowledge.

The London Fog cake article led me to purchase Tessa’s beautiful cake cookbook, Layered.  I have written about Tessa before, but what started as “let’s make this cool cake” has turned into spending quality time with my son and his friends.

When the book arrived, we quickly purchased real cake baking paraphenalia Tessa recommended~~the correct pans, parchment liners and  frosting implements.

This notion of baking cakes took on a life of its own.  My foodie son and his friends (all who are extreme athletes and very tall) started showing up in the kitchen to take on the challenge of cake baking.  Who would have thought?

The very first cake we made was the Banoffee Tiramisu Cake~~a boozy banana espresso cake.  The vanilla espresso chiffon cake is brushed with a rum-soaked espresso, then filled with mascarpone buttercream topped with salted caramel and chocolate curls.

Here are my two cake baking buddies.  My son Benjamin is 6’1″ and his friend, Max is 6’5″.  Both are entering their final semester in college and have been friends for years.

Tessa’s book is filled with so much information on everything from what to stock in your pantry to how to frost a cake. The recipes are in sections-Classic, Chocolate, Casual, Whimsical, Adventurous, and Holiday cakes.

Sweet Tea Cake was our next selection, which was inspired by the food of the South.  A lemon butter cake is layered with Sweet Tea Buttercream with a Vanilla Bean Buttercream frosting.  It was the first time we have made candied lemons as a garnish.

Piping the frosting was the most difficult part….hard to have a steady hand with a vertical motion.

The next cake was difficult to make and doesn’t really look fabulous in my photos, but it is SO delicious!  We’ve made it twice so far.  The Brooklyn Blackout Cake is a decadent chocolate cake from Ebinger’s Bakery in Brooklyn.  Named after World War II blackout drills, this was a staple in Brooklyn until the bakery closed in 1972.

It’s a devil’s food cake with chocolate custard with a dark chocolate ganache frosting.  It’s very messy to make because you then cover the entire cake with cake crumbs.

Thanksgiving 2016, we made the Caramel Apple Cake.

Christmas 2016 was the Chocolate Pomegranate Cake.

New Years 2016 was the Golden Champagne Celebration Cake.

Since Benjamin spent the summer in Washington, D.C. we didn’t make many cakes but we managed to make this Strawberry Shortcake without him.  A perfect summer dessert when the berries are at their best.

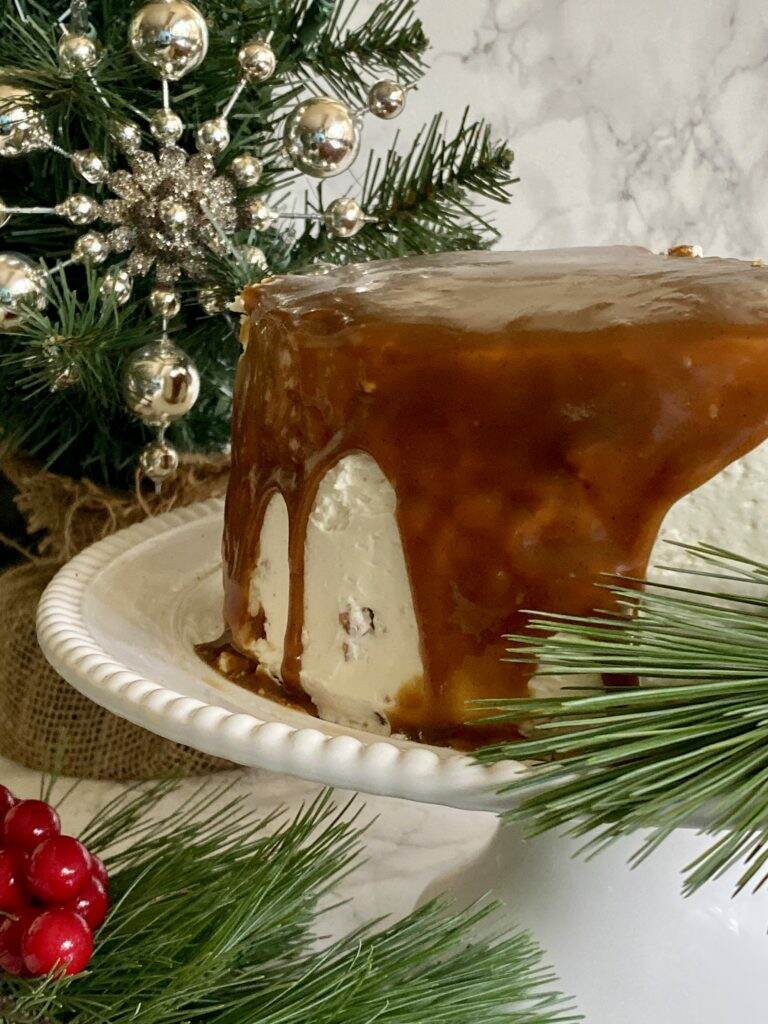
Thanksgiving, this year,  was the Butterscotch Bourbon Cake.

And our most recent, was the Christmas Cake~~Red Currant Chocolate Cake, a spectacular combination of chocolate, raspberry, red currant and creme de cassis.

As a result of this cookbook,  I have enjoyed hours of quality time with our son and his friends in the kitchen, making memories over gorgeous and sometimes challenging recipes.

It is now time for the amazing giveaway! I will be giving one new (not sticky and dog-eared) Layered cookbook to the lucky winner, in hopes they too, will create happy cake memories.

How to enter- please do at least one of the following:

  1.  Leave a comment below and tell me about your favorite cake(s).
  2.  Follow me on Instagram (@lifeatbellaterra), like me and tag a friend.

The contest will end at midnight on December 31st, 2017.  The winner’s name will be randomly selected from all the entries.

Have a very happy and safe New Year’s holiday!


Christmas Recap

I am enjoying the lull after Christmas, finding it a bit hard to get back into the swing and routine of everyday life.  But bills need to be paid and laundry keeps coming, so today is my “get all the little piddly stuff out of the way” day.

But before I “get” to do the nuisance things, here’s a recap of our holiday.

The cookies were eaten.  Santa left his annual letter, responding to the hilarious ones the children still write for him. His large footprint was in ashes on the living room fireplace hearth.

My son was all decked out in his holiday suit for opening presents.

Baby Jesus was in the cradle, surrounded by Mary and Joseph.

There were presents under the tree and the stockings were filled.

We probably say this every holiday, but the tree this year was so beautiful.  It is still very fresh and fills the room with the smell of pine.

As you know, I am such a novice painter, but I tried my hand at my second holiday painting.

Some presents for the children included a painting of my daughter’s dog, Sox. Elisabeth absolutely LOVES this dog, who has been part of our family since 2007. I’ve discovered that animals are hard to paint!

Each child receives a snow globe (until age 21), so here is Julianna’s last one for her collection.

It was an ambitious project but I made two Christmas quilts for the girls, which I will write about later.  During the sewing process, I had lots of help.

After opening presents, we put the ham in the oven.  Instead of a formal sit down dinner, we elected to have a buffet of ham sandwiches on croissants, a salad, and leftovers from the charcuterie and vegetable platters. Very casual and very appreciated…

My son and I baked a cake together.  This recipe did not disappoint.  It is from Tessa Huff’s Layered cookbook, the Red Currant Chocolate Cake. The buttercream was flavored with a raspberry/currant curd and creme de cassis.

We are still enjoying all the lights and decorations and will do so until the Epiphany on January 6th.

I love this time between Christmas and New Year’s where the world seems to slow down a bit.  Enjoy each and every minute.  There’s a New Year right around the corner….


Entertaining Shortcuts

Every year we host our neighborhood board for a holiday celebration.  We have the most wonderful group of neighbors who spend countless volunteer hours maintaining the integrity and character of our North Central neighborhood.  I always feel so lucky to welcome them into our home to celebrate them and the holidays.

Typically, I would love to think I have the time and energy to make everything from scratch, but realistically that’s not always the case. What did we do before Costco or Sam’s Club? This year, I capitalized on all the wonderful things available at Costco for the hors d’oerves, flowers and desserts.  With a little imagination you can take ordinary items and turn them into something special with these entertaining shortcuts.

As you know, I think the carnation is the underdog of flower choices, but they are affordable, hold up well and provide a burst of color.

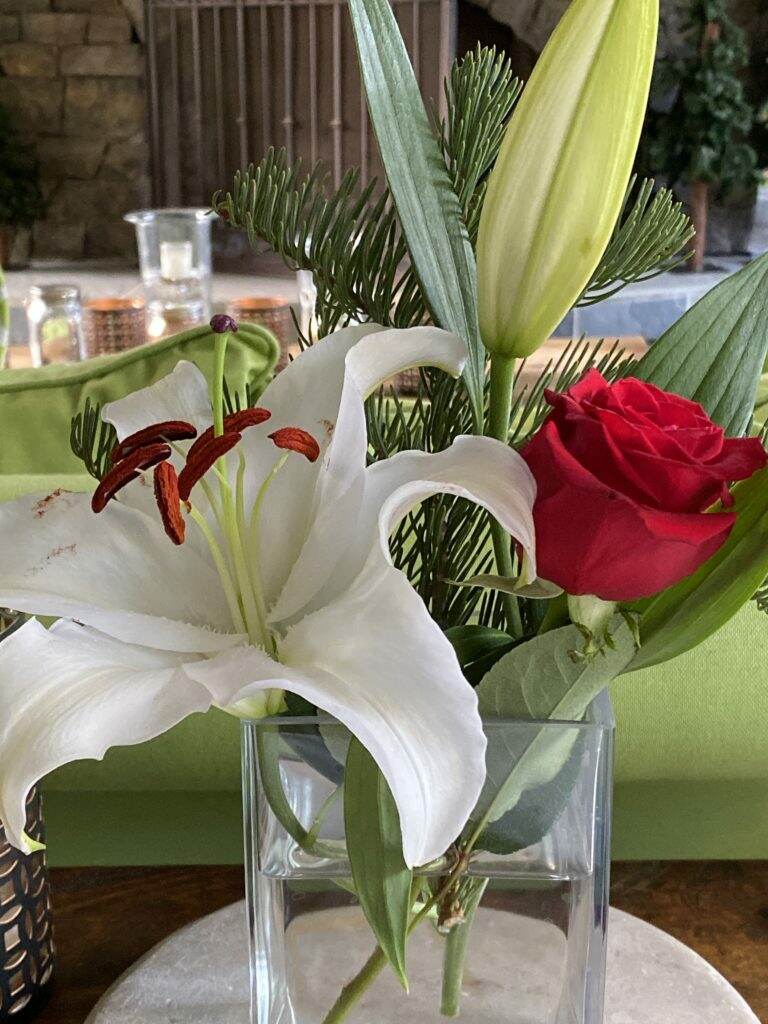
With some evergreens from our Christmas tree (or greens from your yard), you can make them look like this.

Costco has a gourmet food section with an extensive assortment of salami, proscuitto, and cheeses. The French brie, Isigny Ste. Mere is from Normandy and is so delicious.  The Cambozola blue cheese was only $8.00 for 2 wedges! Their Cranberry Cinnamon goat cheese is so festive.

With a very large tray and some effort (I had my son’s assistance), it can look like this! We added olives, nuts and fruit for a beautiful display.

Pre-packed vegetables trays are available in most grocery stores.

With a few added tomatoes and sprigs of herbs (I used thyme, but rosemary or parsley would also work), the vegetable tray can have a holiday theme.

I love making Christmas cookies, but I’ve had no time this year.  Costco has a very good selection and I especially like their Holiday Stollen Bites.

Though the picture isn’t great because I took it after our guests started arriving, you can see how I arranged the desserts.

In addition to beer and wine, my son made a Christmas sangria.  Our non-alc0holic options were water and hot mulled cider, which was a perfect choice on a chilly December night.

The cider is from Trader Joe’s.  Simmered with mulled spices, the presentation was made pretty by adding mini Rome apples and whole cloves.

By using a skewer to pre-poke the holes, the cloves are easier to insert.

A crockpot full of Trader Joe’s party size mini meatballs and their Bold & Smoky Kansas City Style BBQ sauce rounded out the appetizers.

The back porch is the perfect location for larger gatherings.  With the fireplace roaring and the ceiling heaters on, it was a lovely evening with neighbors.

What I didn’t know before writing this post, is that Costco delivers!  It appears they can do so in a few hours or a few days~~that opens up so many new possibilities!

Taking some entertaining shortcuts during this holiday season is a way to lower the stress and still provide a warm and welcoming environment for your guests.

Happy Entertaining!


And the Stockings were hung….

I am not sure why we hang stockings by the chimney with care, but it appears to be a long standing custom.  Since 1823 when Clement Clarke Moore wrote “A Visit from St. Nicholas”, Christmas stockings have been an essential part of Christmas traditions.

We have 5 handmade stockings for our family and multiple ones for each of the pets.  Our family stockings are made from a Bucilla felt stocking kit, which can be easily purchased online or at a craft store. Click here to see Bucilla stocking ideas on Pinterest.

The kit provides everything you need~~stamped felts, embroidery floss, ribbons, sequins, beads, needles and lengthy instructions.   I made the very first one 23 years ago when I was pregnant with our first child and subsequently made one for each child since. Be aware~~they are very time consuming.

For Benjamin’s stocking, each toy in Santa’s bag was individually made and then stitched in place.

Since my husband loves to golf, it was very easy to select the theme for his stocking.

My daughter’s stocking is a little different but still required a great deal of time and skill to make.  French knots and delicate needle work was required.

Each stocking is lined with a different fabric.  I recycled my daughter’s favorite blue velvet holiday dress as the lining of her stocking.  The dress had little white pom poms on the neckline and I used those too.

This year I FINALLY completed my stocking kit which my husband bought for me.

The living room mantle is nice and wide, allowing for an abundant garland of greens, berries and hydrangeas (from The Enchanted Home).

Brass hangers are tucked in the garland.  In retrospect, I would have been more careful in adding the tabs on the handmade stockings, because it affects how they hang.

Now for the fun part~~tucking a clementine in the toe and filling them with goodies for Christmas Day!  Do you have a favorite stocking?