Christmas | decorating and design | DIY | Entertaining | Family | flowers | historical homes | holiday decorating | Informational | traditions | Uncategorized
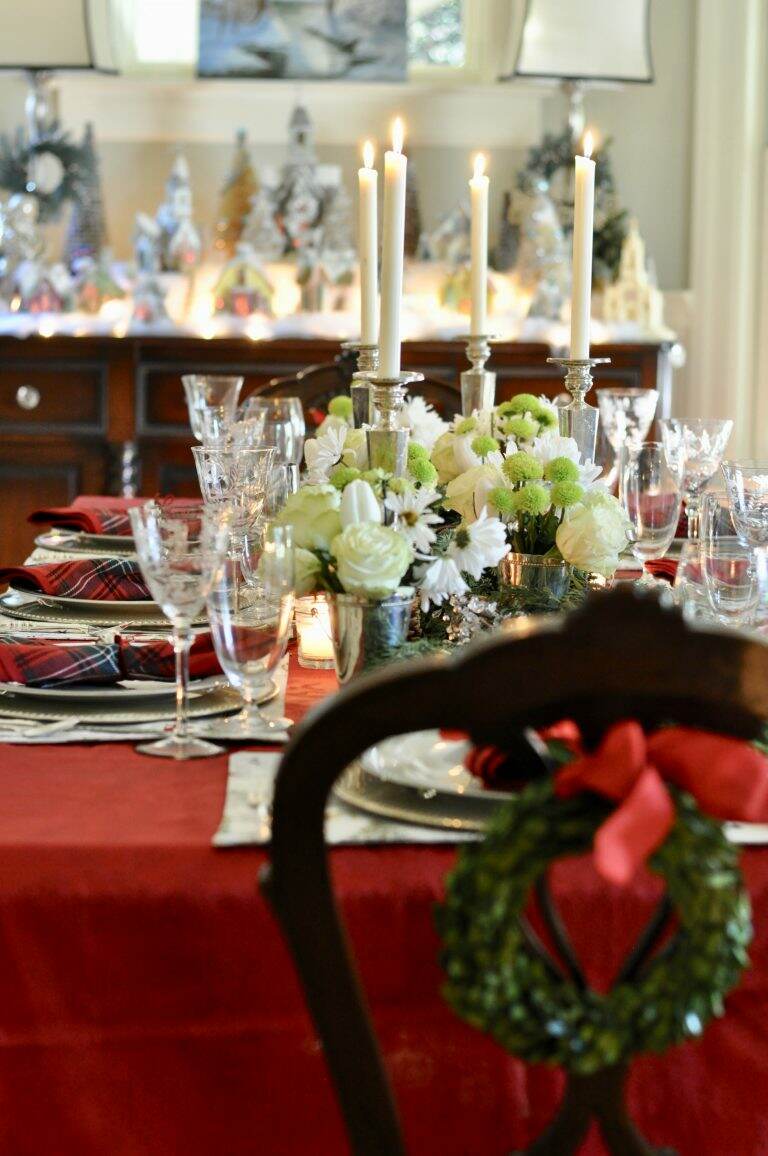
My Holiday Dining Room
I am so excited to share the holiday changes to our dining room this year. Every year, literally, every year, I have done the same thing when it comes to holiday decorating. When your holiday decorating is repetitive, it’s difficult to imagine the space differently. I was a bit stumped on what to do but…