desserts | DIY | Family | Recipes | Summer | summer entertaining | Uncategorized
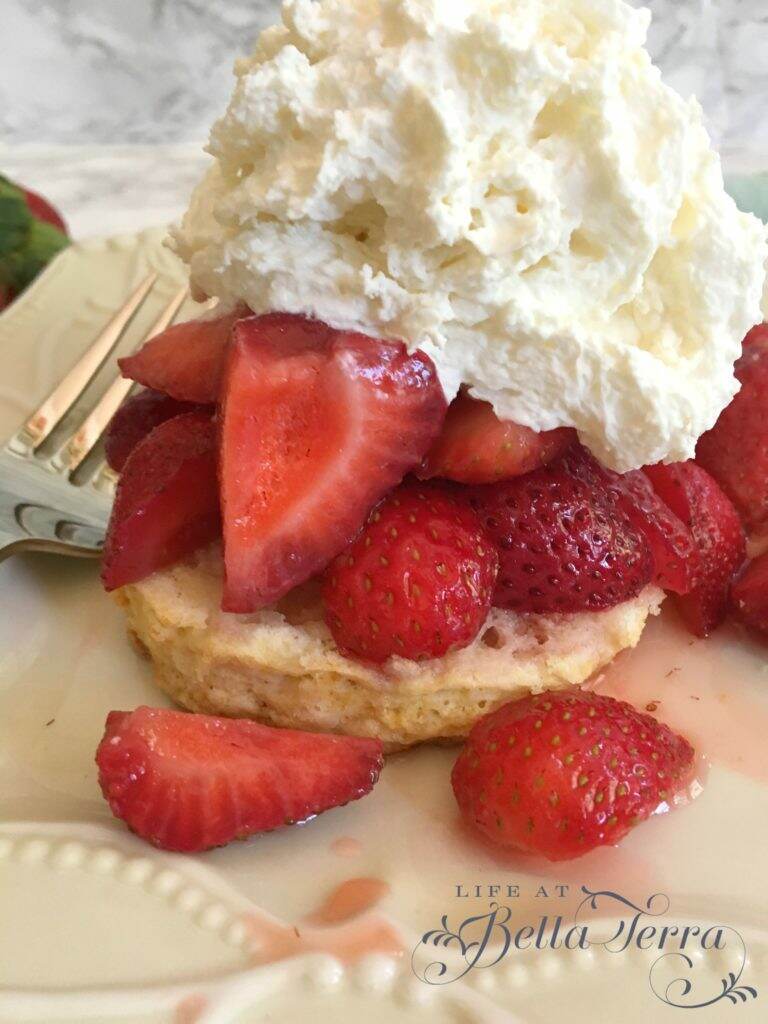
Strawberry Shortcake
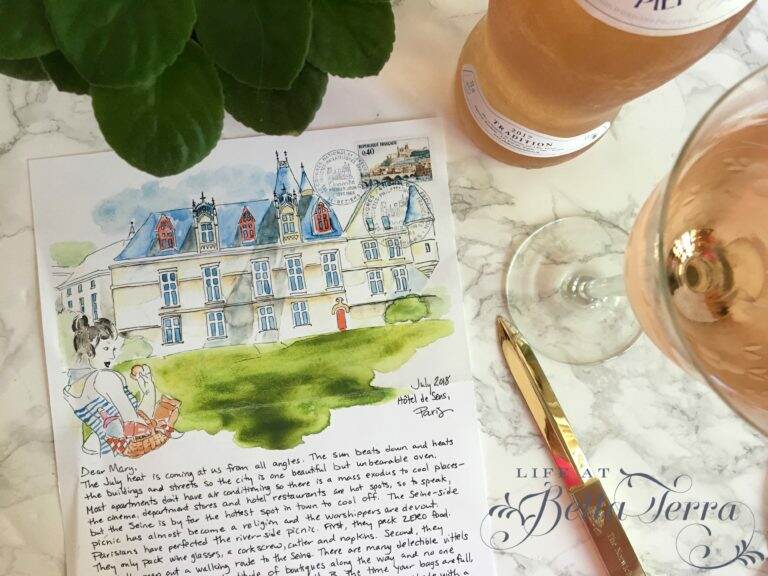
Summer = Strawberry Shortcake. I have fond childhood memories of picking strawberries at Malerba’s Farm in Norwich, Connecticut. Unfortunately, this time of year, there are NO places to pick strawberries in Phoenix. It is too hot. However, the local grocery stores have California-grown berries that actually taste like strawberries. I researched a good recipe on…