autumn | DIY | fall | flowers | Gardening | historical homes | house restoration | planting | renovation | Uncategorized
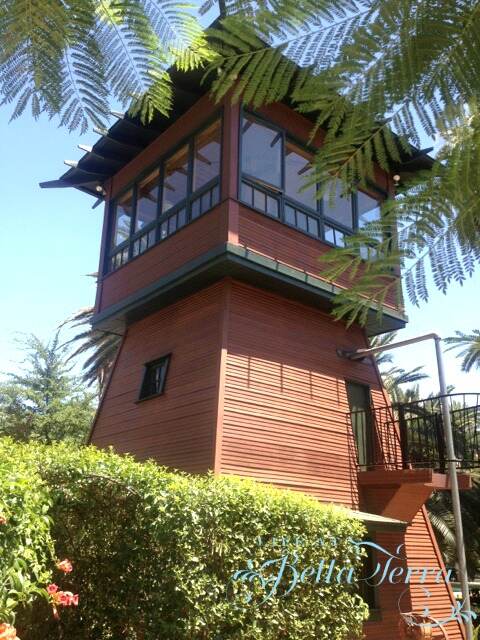
The Well Tower and Fall planting
The well tower is a unique fixture on our property. Originally designed to pump and house the equipment for the well, it was in a deteriorated state when we purchased our property back in 1999. But over time we did restore it and it serves multiple purposes now in 2021. It becomes a topic of…