autumn | centerpieces | decorating and design | fall | flowers | furniture | historical homes | house restoration | Outdoor living | porches | renovation | Uncategorized | Upholstery
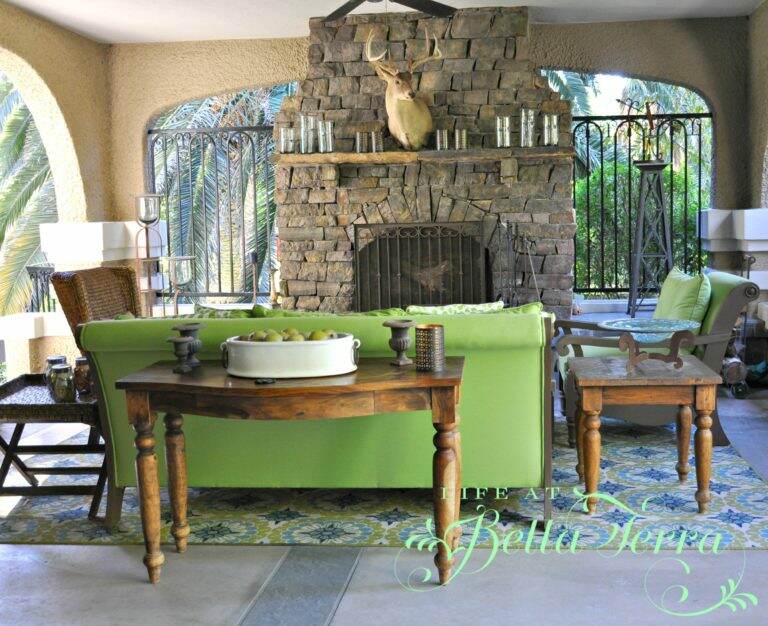
Fall Equals More Outdoor Living
I understand some of the country is having extremely cold weather. But here in Phoenix, we are experiencing ideal fall temperatures. The air conditioners are officially off and windows are open. It’s time to remove the outdoor furniture covers and spend time outside for the next several months. One of the entertaining spaces at Bella…