DIY: How to Make a Paper Print Look Like a Faux Painting
During a recent trip to The Vintage Old Brick Market in Mesa, AZ, I find this large vintage picture with autumn tones. It was hanging high on a wall in the store and the fall vibes called out to me. When they took it down for me to examine it, I was disappointed that it was a paper print, not a real painting. However, the price is reasonable and the picture has lovely colors. Entitled Autumn Sunset, the artist is Robert Wood (1889-1979) known for his landscapes. So what can I do to give this picture more depth and character? Here is how I make this print on cardboard mimic a real painting.
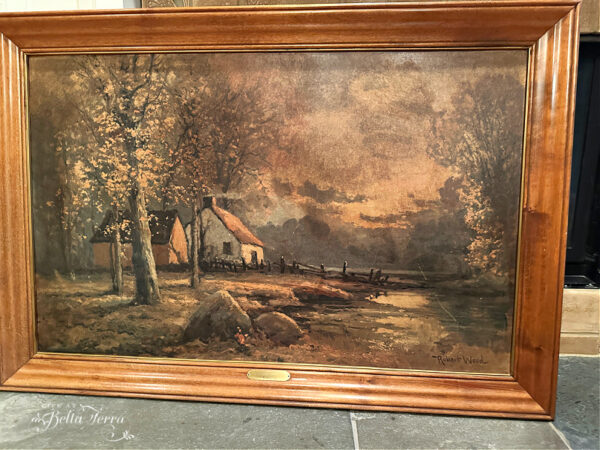
In researching Robert Wood’s work, he painted up until his death at 90 years old. You can find vintage lithographs and prints for resale on sources like eBay. Originals with the artist’s signature can still be found but at a hefty price.
Research your Artwork
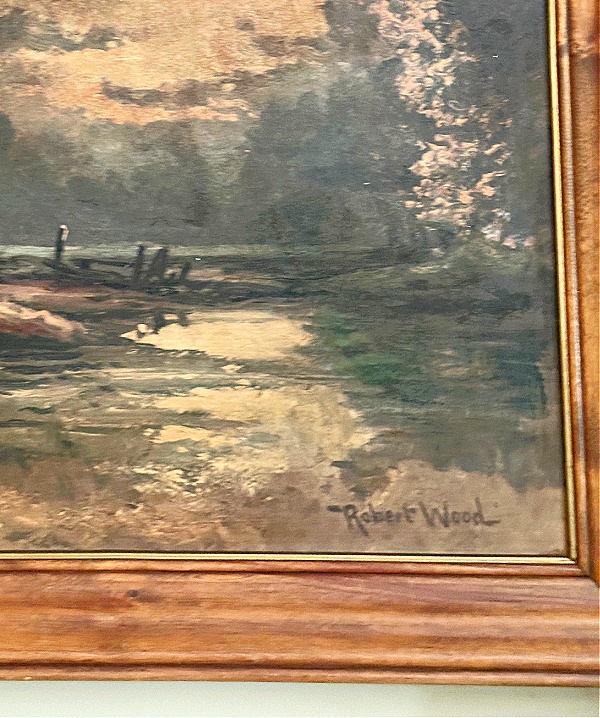
You never know what you may stumble upon when purchasing artwork from a thrift store or market. We all have heard of stories like the $4.00 painting someone found in the back of a junk shop that sold for $200,000. Naturally, you don’t want to paint over something that may be extremely valuable.
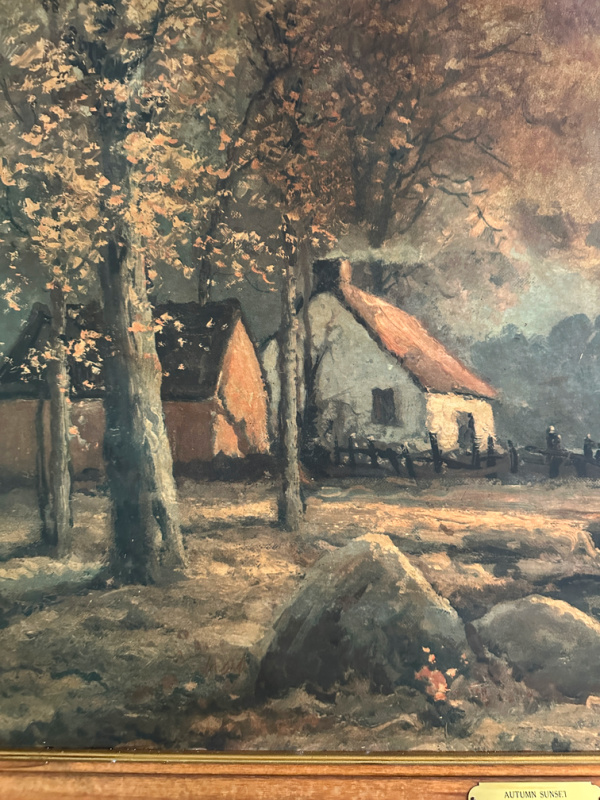
This is a large framed print with a substantial wood frame and brass inscription. That, in itself, is well worth the $80.00 price, which helps me justify the purchase. There is a small scratch on the print too but I don’t really notice that until I get home.
Supplies You Will Need
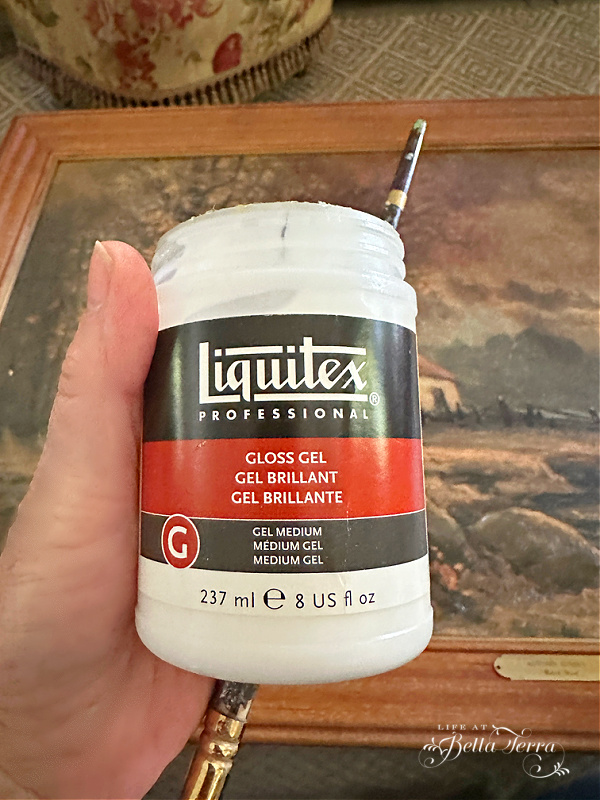
If you already have matte Mod Podge you can also use that to create your brushstrokes. I, however, use Liquitex Gloss Medium gel, mostly because I have used this before and still have some on hand. It’s on sale at Amazon for 56% off at $8.99.
What I like about the Liquitex is that you can build your layers if you want thicker strokes. Even though it says gloss gel, it dries in a satin finish. You could also add acrylic paint to it if you want more color.
Use whatever paint brush size necessary to provide the brush strokes you want. Clean the brush(es) with soap and water.
Adding Brush Strokes
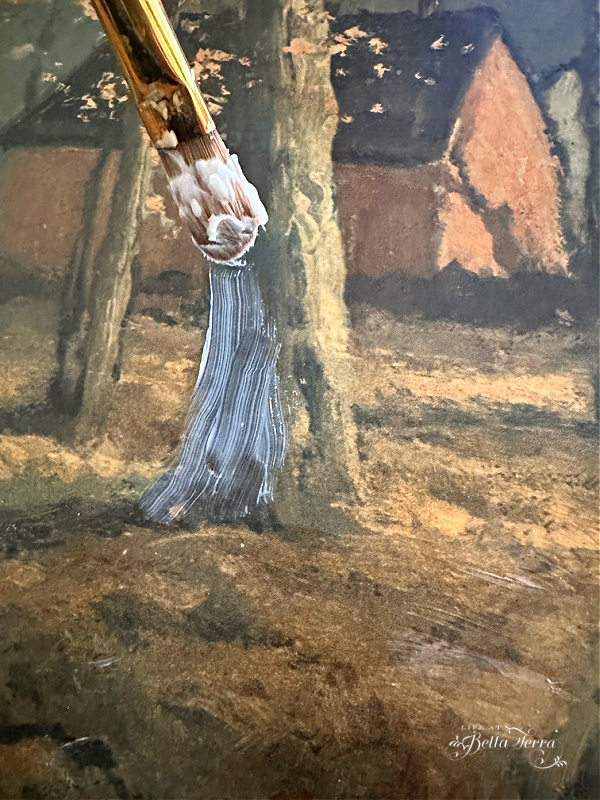
This is the fun part. You get to be a painter and apply as many brush strokes as you want/need. Personally, I don’t think you can make any mistakes, but if so, wipe off the gel while it is wet and begin again.
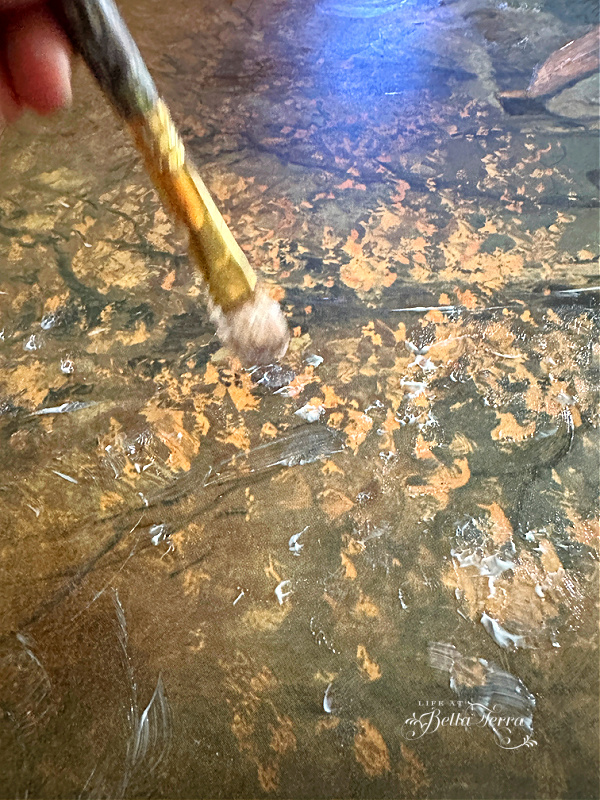
I use a quick, dotting method for the leaves on the trees. After the gel dries you can certainly go back and add more for depth or cover the areas you may have missed.
Making Repairs
Here is the scratch on the print I mention earlier. At first I didn’t notice it and then it became glaringly annoying. With a bit of acrylic paint, I touch it up. Perhaps, a magic marker would also do the trick.
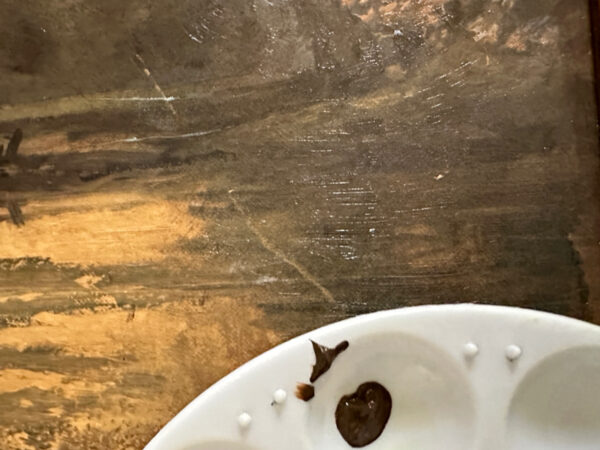
Acrylic paint dries quickly as does the medium gloss gel. Here is the print/painting after completion. When the light hits the picture, you can see the brushstrokes.
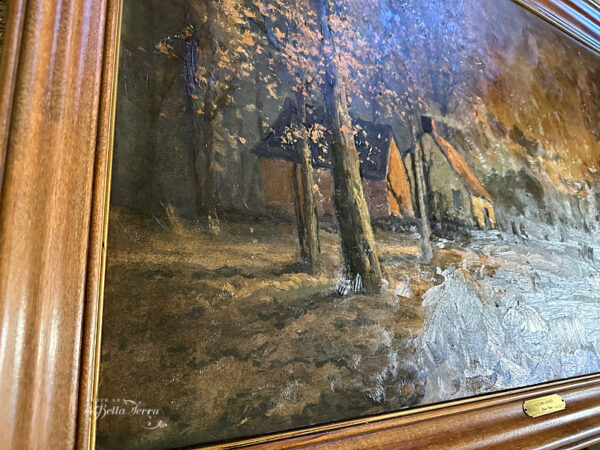
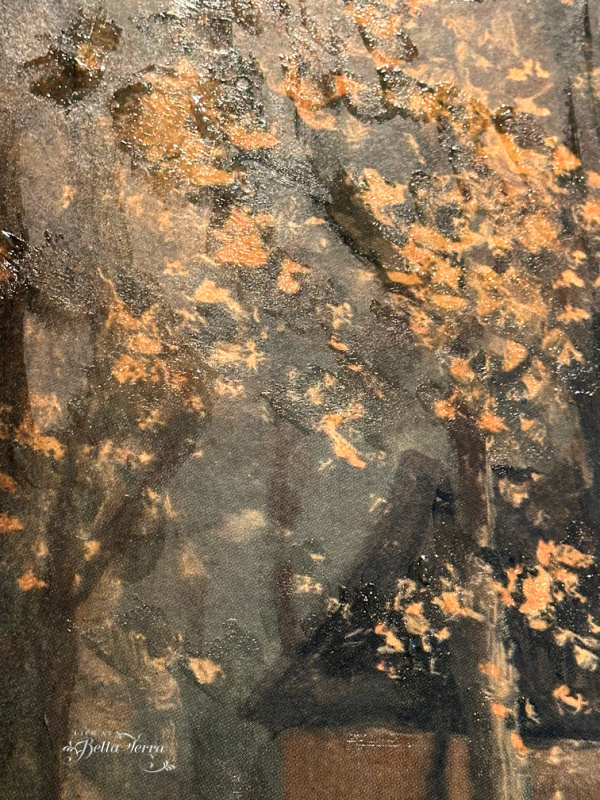
The scratch is gone and the print now has more depth and definition, like a painting.
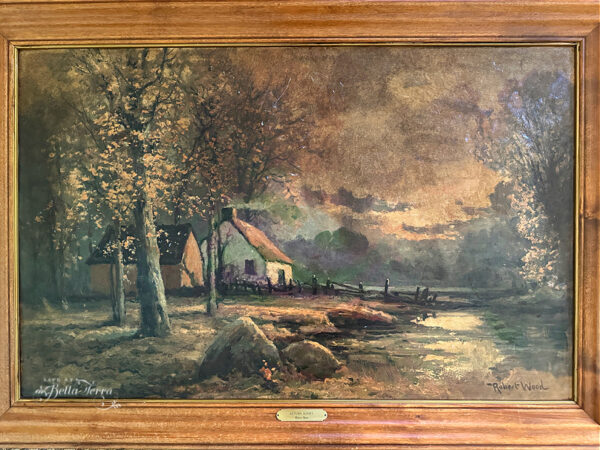
I am very pleased on how this looks and I may add another layer of brushstrokes after I live with it for a while.
Previous Projects like this
Years ago, I purchased Christmas prints online. Once I framed them in relatively inexpensive frames, I apply the same brushstroke treatment. Now every year, I bring out these paintings and put them up for the holidays.
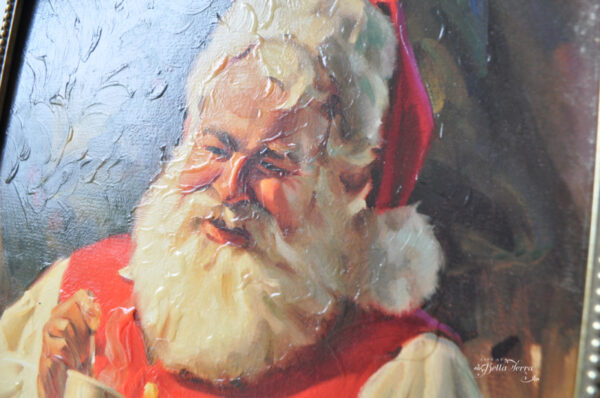
This would be a fun project to do with children too as you really can’t go wrong.
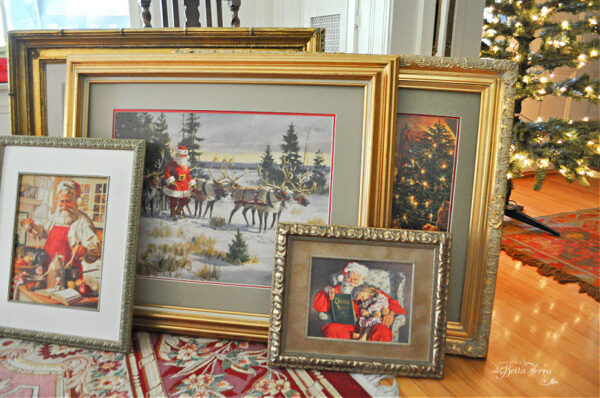
There are so many prints available online and multiple ways you can make them look like actual paintings.
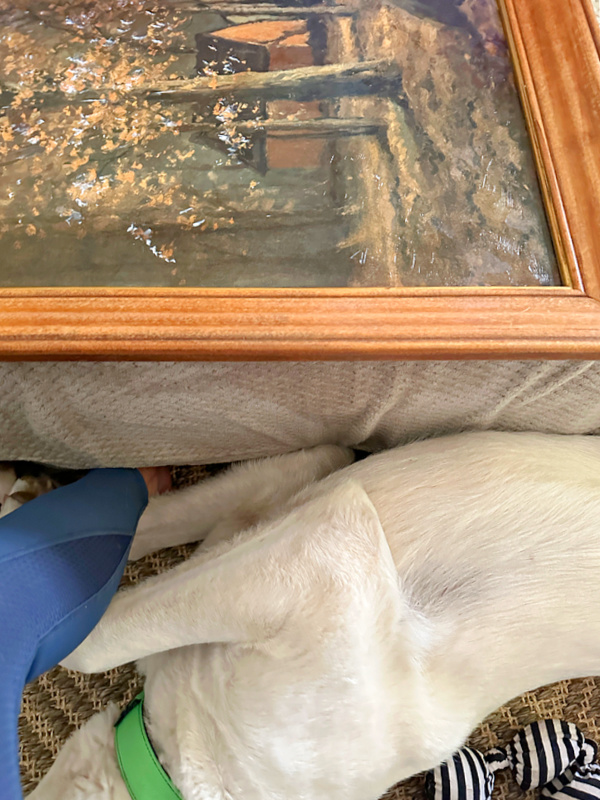
Please let me know if you try this method. It is an easy and affordable way to upgrade your prints. Plus Finn enjoyed sleeping at my feet while I dabbled on this.
Once I hang this and stage a fall mantel, I will post additional pictures.

Just a reminder that any words that are italicized bring you to the source. If it is a product on Amazon, please note that I am an Amazon Affiliate. If you purchase something through my website, I receive a small (very small!) stipend, which doesn’t affect the price you pay at all. My goal is to make sourcing the items easy for you. Thank you for your continued support.


Great DIY idea! The way you added textured brush strokes to make the print look like actual art was really creative and inspiring.
Art and Success is the ultimate choice for those looking to Master Color and Composition for Abstract Artists. This program offers expert guidance, proven techniques, and tailored lessons to help artists understand the interplay of colors and the balance of composition. Designed specifically for abstract artists, it provides practical tools to create visually captivating and emotionally engaging artwork.
Brilliant!! You come up with the greatest ideas!! I love your Christmas prints too – what fun to greet your old holiday friends every year. Thanks for the tutorial and tips!
Barbara, my daughter who was with me when I bought this piece of art, came by the other day and she didn’t recognize it as the same piece. She thought it looked so much better! So I guess the “faux” brush strokes have made a difference.
I’ve never heard of this! Very cool
Susie, it was fun to do. I think it looks much richer in tone too.
What a clever idea- these look amazing!
Debbie, how nice to hear from you! Hope all is well with you and your family! Thank you.
Oh, wow…since you are an artist your brush strokes must appear TOTALLY authentic!! ❤️ franki
Franki, it is very generous of you to call me an artist! Ha! But the brush strokes do look good.
It looks great, Mary!!! You are too clever!
Janie, the process is fun, but nothing like one of your original paintings!