
Making Fabric Pumpkins
I love fabric pumpkins for home decorations in the fall. They come in a variety of sizes and fabric and you can coordinate them with every room in your home. Year to year, I store our fabric pumpkins in plastic tubs in our garage. If you are marginally handy, you too can make your own fabric pumpkins.
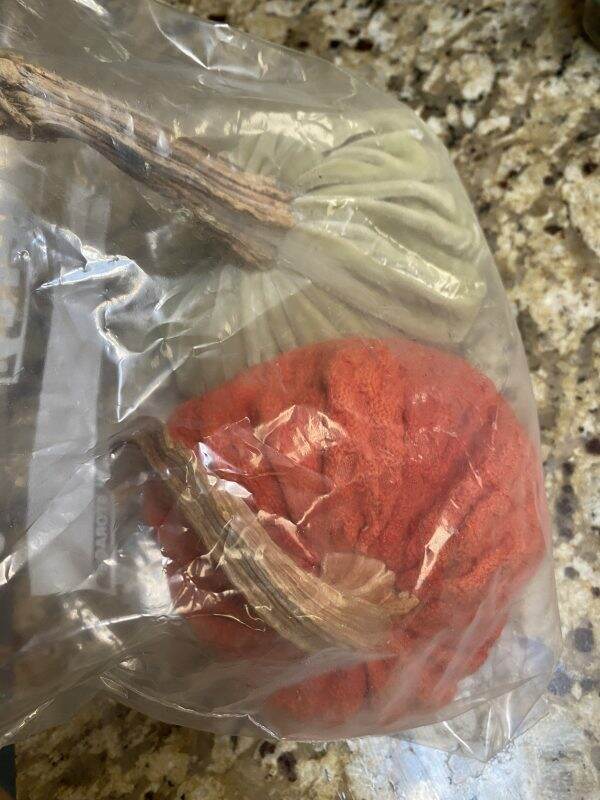
This is not a DIY project I was looking forward to but was forced to try. Years ago, I purchased several beautiful fabric pumpkins at a school fundraiser. Every year when I unpack them they look fabulous. Not this year. For some reason, weevils (?) infiltrated the fabric pumpkins and had a year to reproduce. It was so gross!
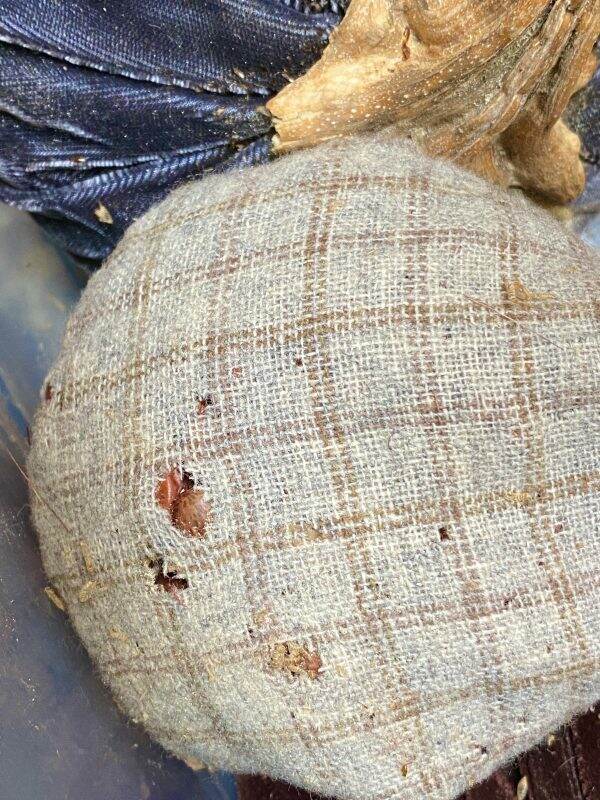
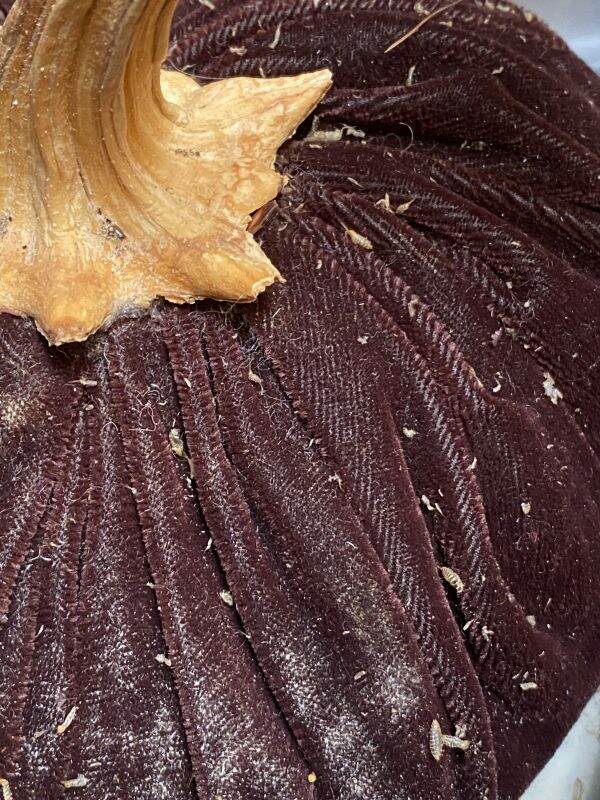
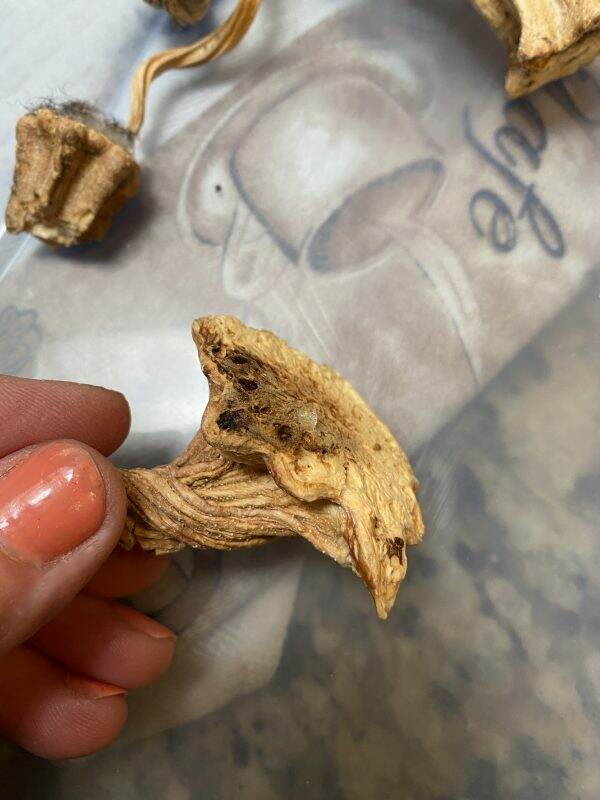
So I discard the pumpkins that were badly damaged. In saving the pumpkin stems, I wasn’t sure if the weevils are taking up residence in there. Placing the stems in ziplock bags, I put them in the freezer just in case.
Since I have leftover fabric at the cabin, next on the shopping list is filler for the pumpkins. The infested ones had both dried kidney beans and rice. Unfortunately, Safeway is completely out of dried kidney beans (go figure). So I am forced to use rice. Next thing to buy is bay leaves.
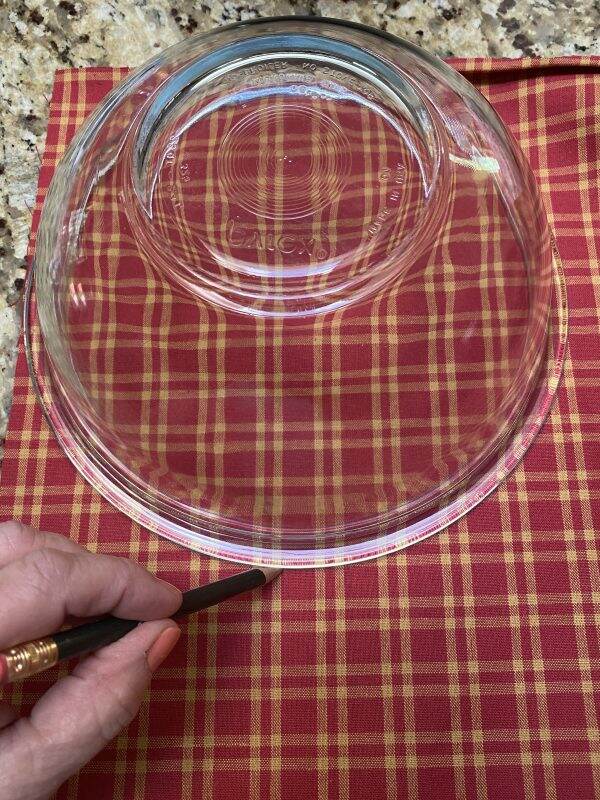
Since most of the residual pumpkin stems are on the smaller side, I measure the fabric for a 10″ circle using a Pyrex bowl.
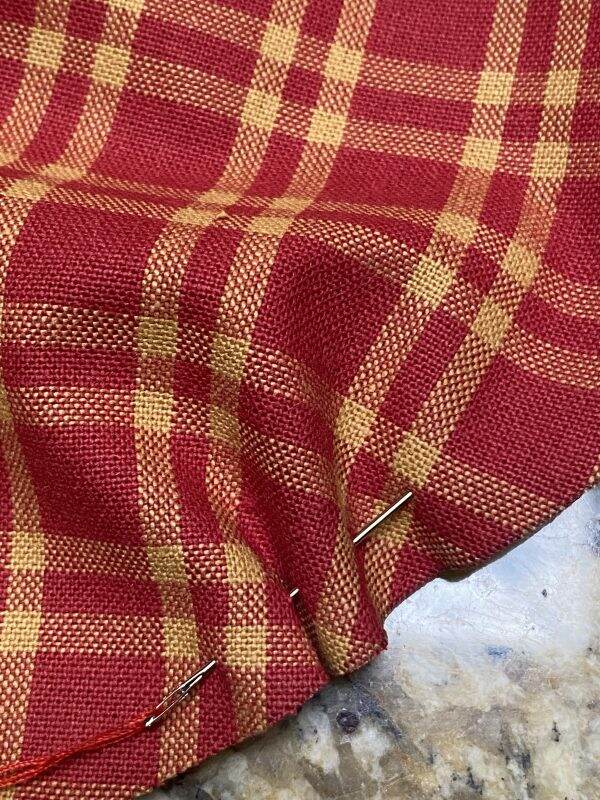
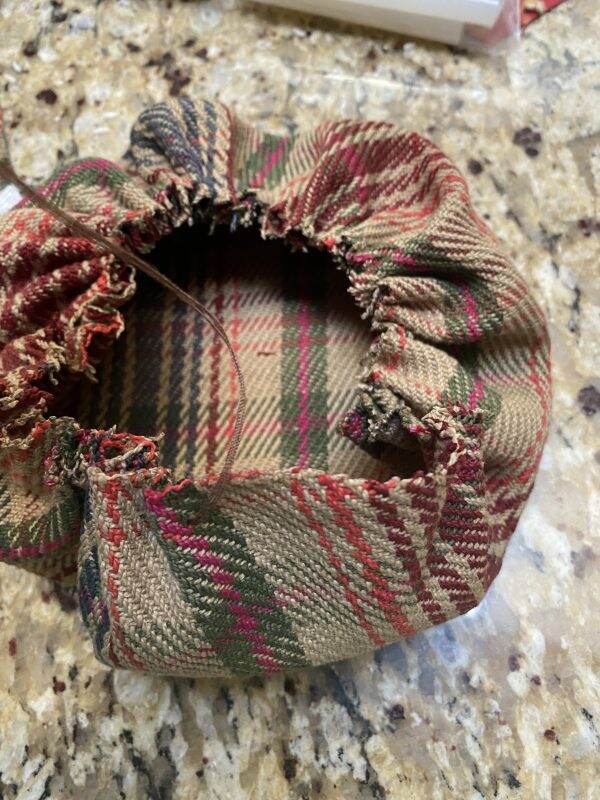
The only thread I could find up here is from the Dollar Store and doesn’t look like the best quality. So I use four strands on my larger needle. Using the basting stitch, I go around the entire circle of fabric.
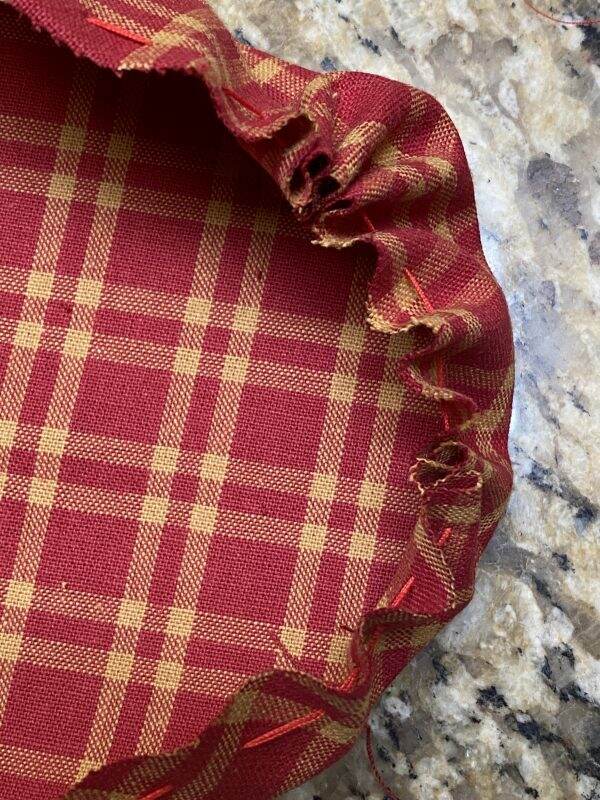
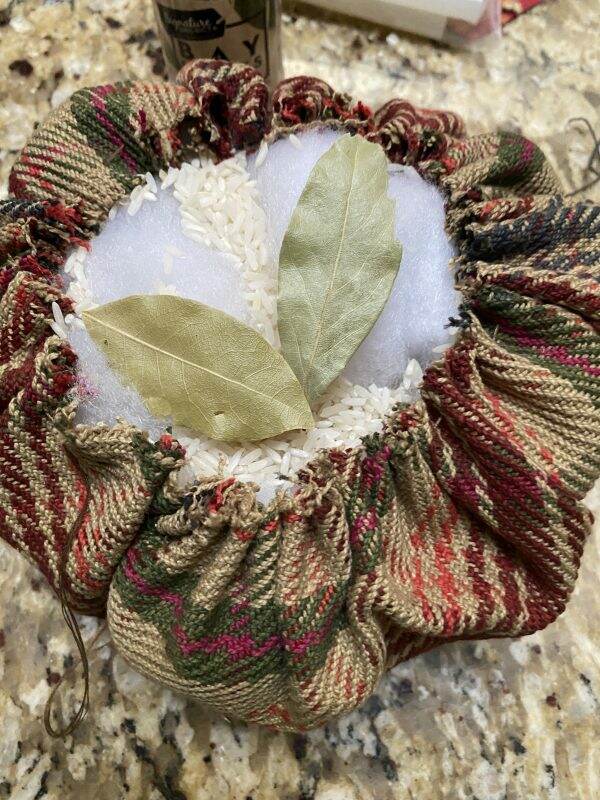
By tightening up the thread, you create a pouch which is ready for the filling.
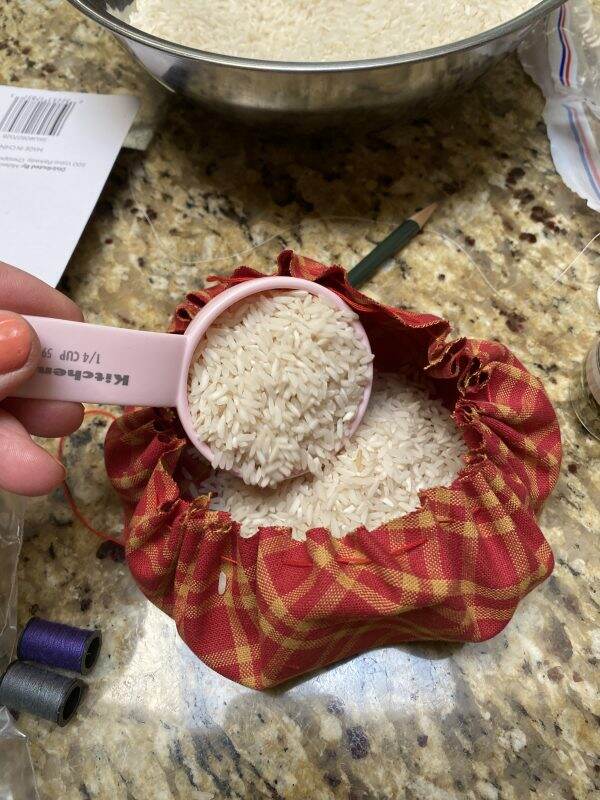
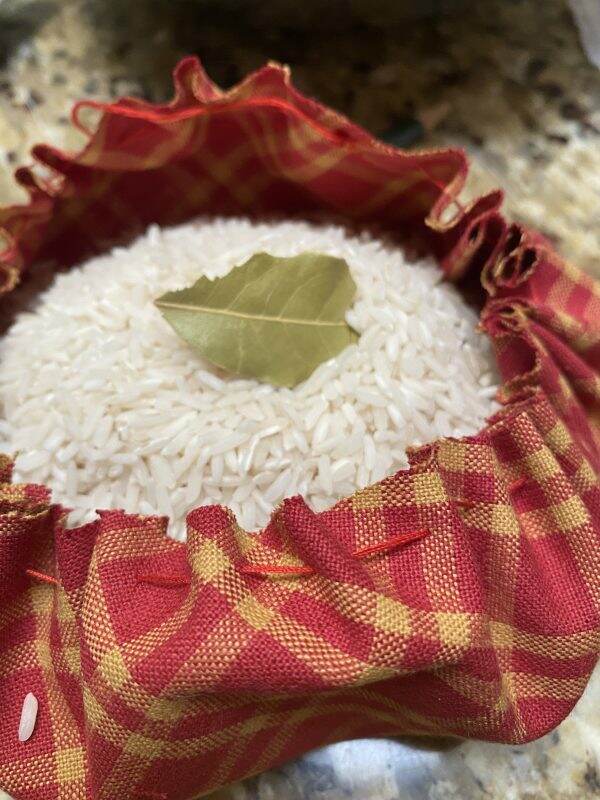
On this first pumpkin, I use only rice. In retrospect, I may have overfilled it as the pumpkin is a bit hard and not a pliable. In order to prevent future weevils, I add bay leaves too.
You will need strong thread (or 4 strands like mine) because in order to close the pumpkin, you must pull it together to minimize the opening.
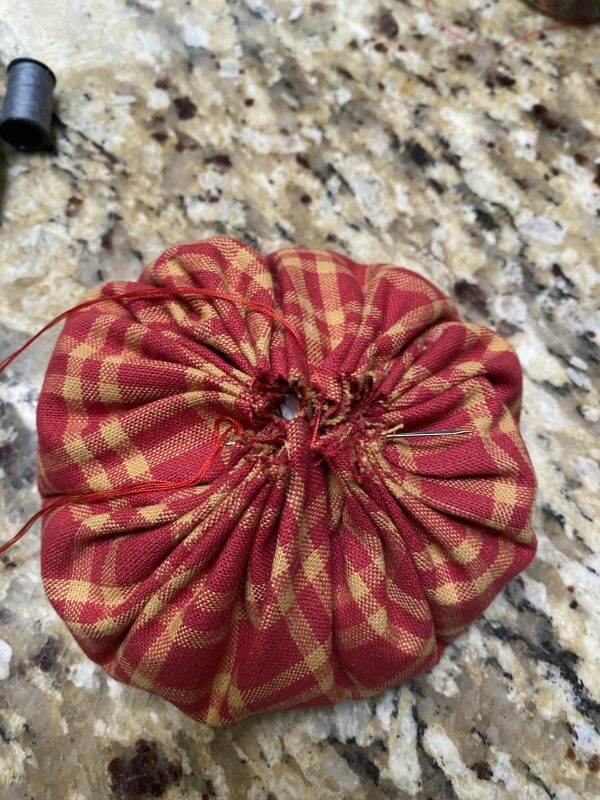
Taking the needle, I sew back and forth, and side to side to securely close the top.
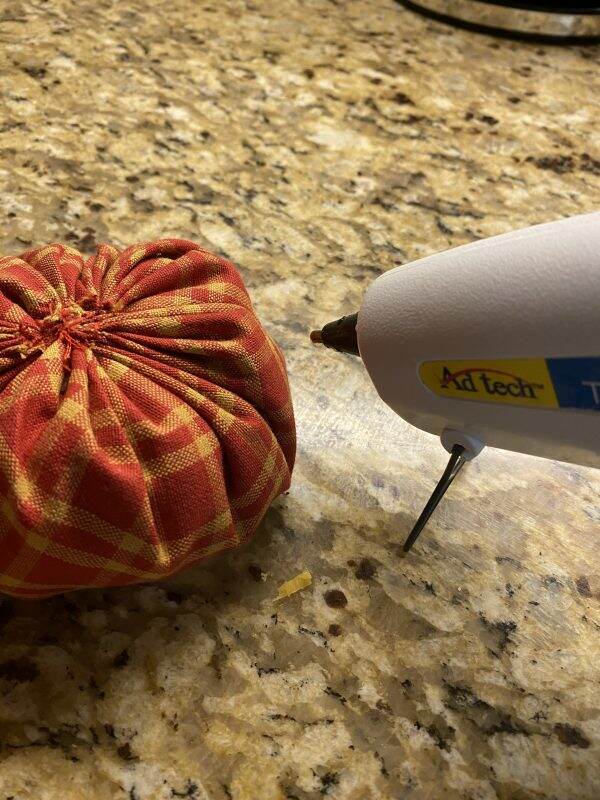
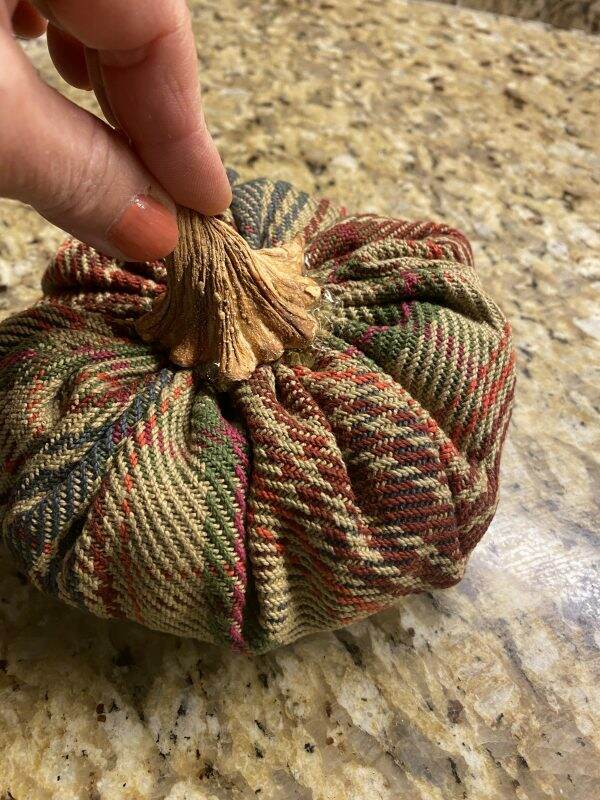
Using a glue gun, I affix the stems to the top of the pumpkin. (Thank you to my friend and neighbor, Kathy for letting borrow this!). If you don’t have real pumpkin stems or yours are damaged, you can find faux stems here.
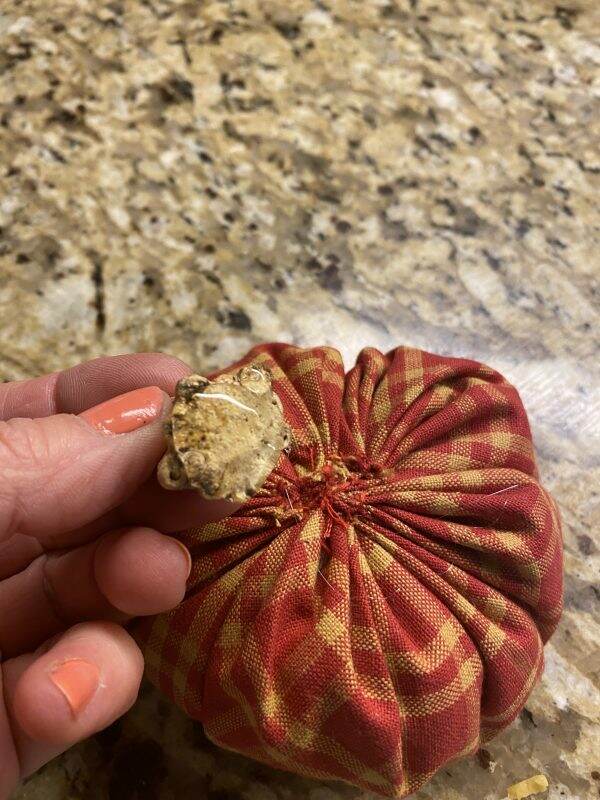
Holding the stem in place for several seconds, guarantees a secure fit. If you don’t have actual pumpkin stems, you can use a stick or cork and apply it the same way.
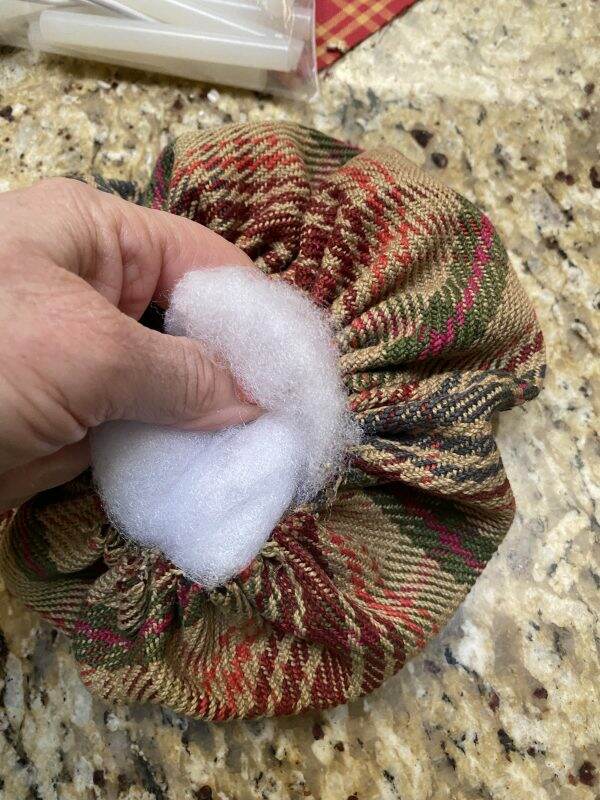
For the next pumpkin, I use a bigger bowl to measure for a medium size one (the bowl is 13-14″ in diameter). I repeat the same process but instead of using just rice, I put about 1/2 cup of rice in the bottom and use polyester fiber fill. The combination of the two makes a more pliable pumpkin.
This one is a little more difficult to stitch due to the thickness of the fabric.
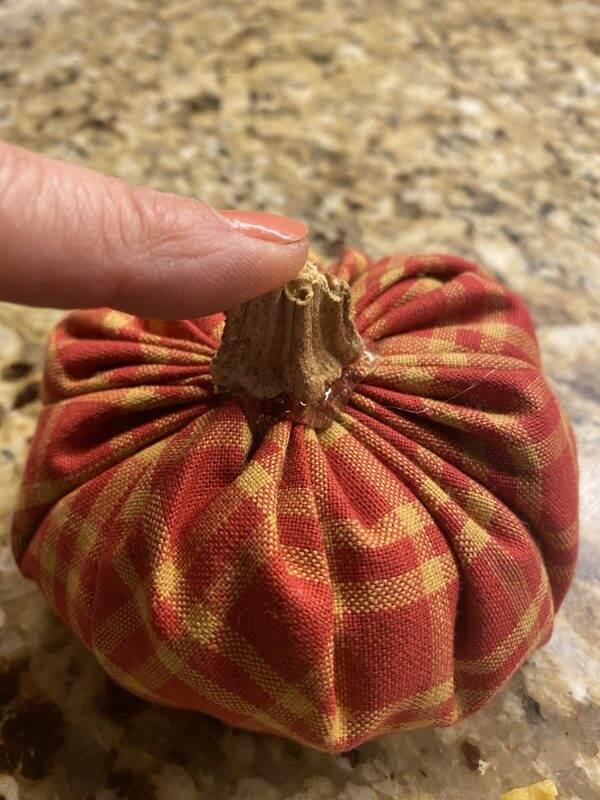
Again, secure the stem to the pumpkin with the glue gun.
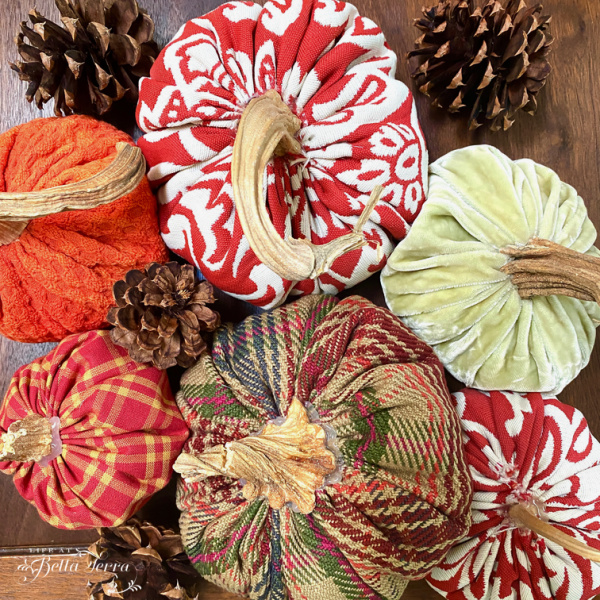
Here are the results of this DIY project. It is interesting that the fabric plays a role in how the pumpkin performs. The stiffer the fabric, the less squishy the pumpkin.
In addition to adding bay leaves to the filler, I am also placing several bay leaves inside the plastic storage box. Let’s hope these little critters are dead and gone.

To see how I use these fabric pumpkins for fall decorating in previous years, click here.
Thanks for joining me today! Think of the endless possibilities in fabric pumpkin making!

If you enjoy this post, please share on Pinterest!

This post shared with Thursday Favorite Things
Just a reminder that any words that are italicized bring you to the source. If it is a product on Amazon, please note that I am an Amazon Affiliate. If you purchase something through my website, I receive a small (very small!) stipend, which doesn’t affect the price you pay at all. My goal is to make sourcing the items easy for you. Thank you for your continued support.


LOVED❤ your idea. The instructions are clear, concise and easy to reproduce
Since I live in Florida I’ll be trying sand to weigh them down and the fiber fill from old pillows I was going to give away.
I intend on adding cinnamon sticks and/or cloves to help keep any critters away as well as for fragrance… I hopeit works
Caterina, I never thought of sand but that is a brilliant filler! And adding cinnamon or cloves would make them smell terrific. I think I have a plastic bottle full of sand from my last beach trip…I need to try that. Thank you so much for commenting.
These pumpkins are so cute! :-)!! Thank you for sharing!
I think they would be fun around your new place!!Maybe even some purple ones!
Mary,
Another filler, believe it or not, is cat litter! Unused of course! Love your pumpkins!
Karleen
Mary, you did a nice job and your instructions were spot on. You made it look simple, and cant wait to try them myself.
BTW, did you use coat threat when you closed the top of the pumpkin? Also, where can the atoms be found.
GRANNY J
Jeanna, first of all the only thread I could find was at a Dollar Store. Cheap and in a travel sewing container. So it wasn’t good thread which is why I made it into 4 strands through the needle. They are pretty simple to make and using a bowl for the pattern is easy. I’m not sure I understand the last question, “where can the atoms be found”? I’m guessing you meant stems? I used the old stems from the infested pumpkins. I would suggest going to a pumpkin farm or stand and seeing if they have any leftover stems. I plan to keep the ones from my fresh pumpkins this year for next year’s project. Thank you for your comments.
Amazingly creative you are !!
Thank you, sweetie!
I love your pumpkins, and, in fact, made them several years ago. My question is:
Where did you get the stems? I used twigs before but much prefer the stems
So for these pumpkins (these are the first I have ever made), I salvaged the stems from the bug infested pumpkins. I put the stems in the freeze since I wanted to make sure they didn’t have bugs too. When you go to a pumpkin farm or pumpkin source this year, see if they have extra stems for you. I am going to keep my stems and use them next year for more fabric pumpkins. Unfortunately, pumpkins in the grocery store have trimmed stems. Good luck in finding them.
Rice and/or beans are your culprit. I would more susceptible of the rice. They have weevil eggs in it just can’t see them. Ugh! I would use pebbles. Anyway, I love the fabric pumpkins. I’ve made pumpkins out of a sweater and Hypertufa. Fall is my favorite time of year. Actually every new season is!♥️
Pebbles! What a great idea! and I have a pebble driveway here at the cabin! I will have to try that….and making them out of sweaters.. Such great ideas! Thanks for sharing.
I love all things pumpkin and I really love these Mary. So sorry to hear about your past pumpkins and you did a great job with these!