Painting and Reupholstering Wicker Chairs
As you recall, we recently remodeled our pool house with new flooring, paint, lights, furniture, rugs and a new kitchenette. The last two items that need attention are the wicker/wood framed chairs that sit in the front entryway. Since it has been many years since I covered these cushions, I don’t even recall the look of the original chairs. Instead of selling these two rather comfortable chairs, I decide to paint them and update the fabric on the cushions and lumbar pillows.
The Before
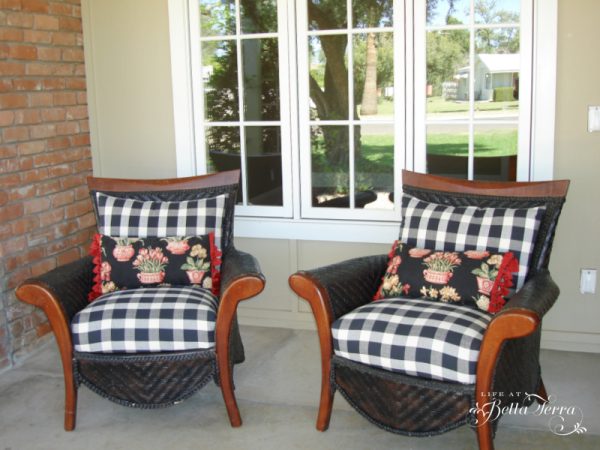
These chairs are rather old. In the above picture they are sitting outside of a home I staged and remodeled (and sold) back in 2009. I don’t recall where I bought them and I’ve never seen this particular style of a chair since.
I did use spray paint to change the brown wicker to black, as a way to show some continuity with the black buffalo check fabric. These chairs have been sitting in the pool house for many years, though the colors haven’t really meshed with anything else.
Choosing fabric and paint
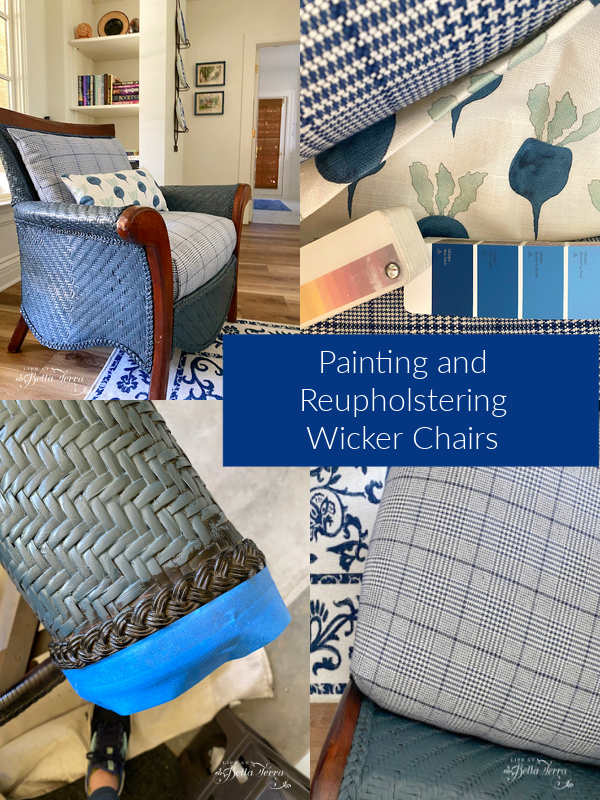
The inspiration for this chair re-do comes from a favorite fabric leftover from another project. Blue Radish Belgian linen is just a favorite of mine from Radish Moon in NYC. Typically, I am a rather conservation spender when it comes to fabric, but I instantly fell in love with Blue Radish when I saw it. Since this is an expensive linen, I naturally want to use up all the scraps and fortunately, there is enough for two lumbar pillows.
If you would like to see where else I used this fabric, see this post.
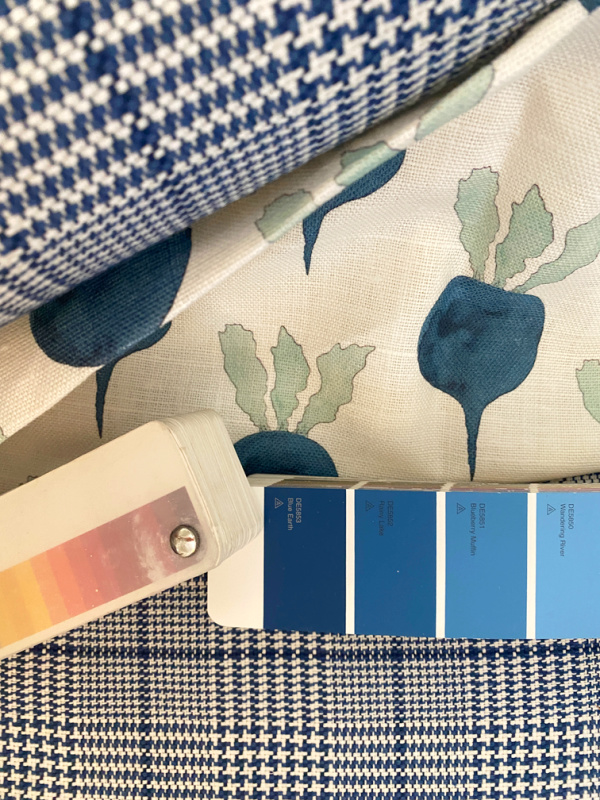
A quick trip to Boca Bargoons fabric store in Scottsdale produces another pretty Glenn plaid (thank you Tanya for the name!) fabric that was on sale.
I want the paint to be close to a navy blue so it will contrast from the kitchenette cabinets yet compliment the new rug from Ruggable. So I decide on Dunn Edwards Nightfall DE5804 in a low sheen interior paint (as the chairs will not be outside).
Removing the Cushions

The back cushion is not secured so it is easy to remove. However, the seat cushion is affixed to the frame by 4 large screws. Once these are removed, the bottom cushion lifts out.
Cleaning the Frame
Since these chairs sat outside on the patio for a few months during the pool house re-do, it is no surprise that the underside has its share of spiders and cobwebs. With a brush, I remove the webs while on the lookout for any nasty spiders, like black widows.
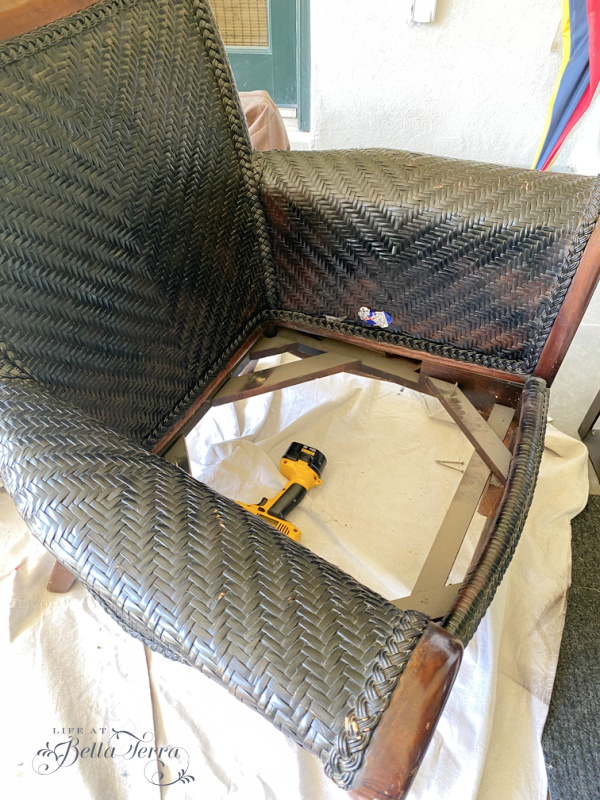
Also it is pretty gross to find an old piece of Halloween candy stuck between the seat cushion and the frame. Geez.
Getting ready for paint
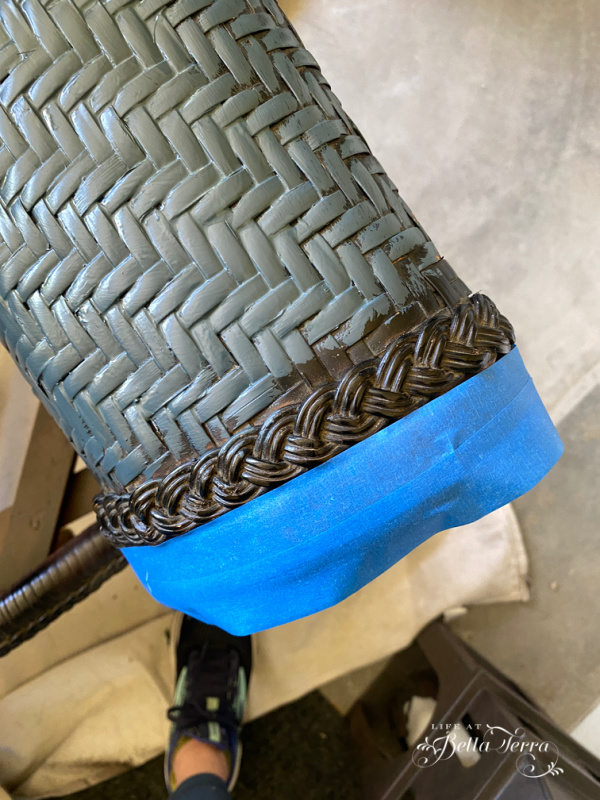
Since I am a sloppy painter, a drop cloth is a must to protect the area around me. I am leaving the wooden part of the chair unpainted, so I use blue painters tape to prevent splashes. Tape the arms, back and legs~any place where the wicker meets the wood.
Painting the Chair
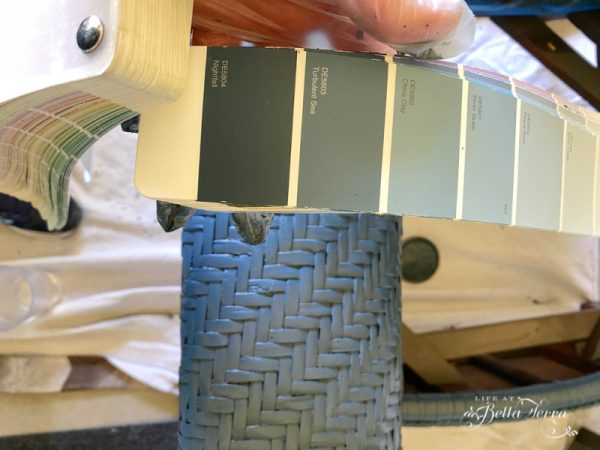
The minute I open the can, the paint does not look like navy blue. So I paint the arm, hoping it will darken as it dries. Should I continue or stop and go back to the paint store? I pull out the paint fan and check again. It’s not even close. The paint color I want is the darkest on this strip. I check the can and the label states Nightfall and the correct #. Sigh. I proceed forward just hoping this color will work.
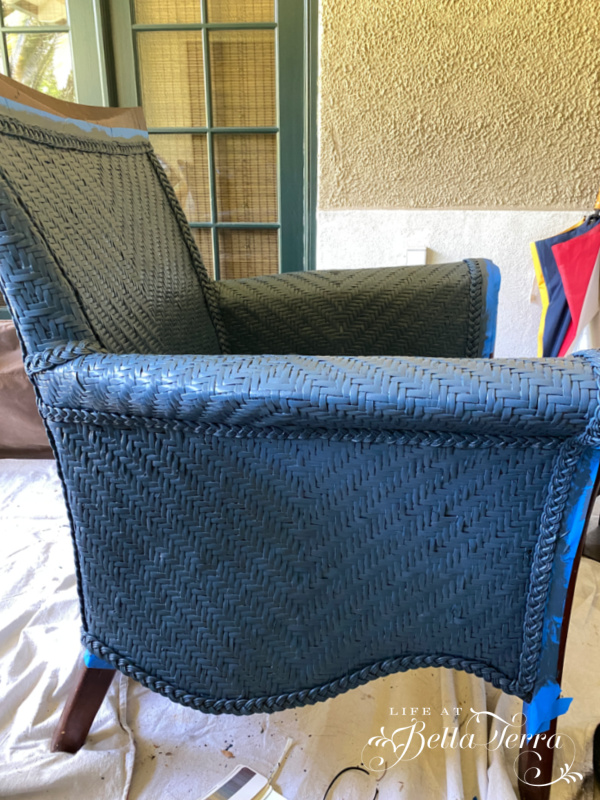
Painting the wicker proves challenging because you need to move the brush in all directions to cover all the nooks and crannies.
Finally both chairs are painted and drying outside….it took me a good 2 hours.
Reupholstering
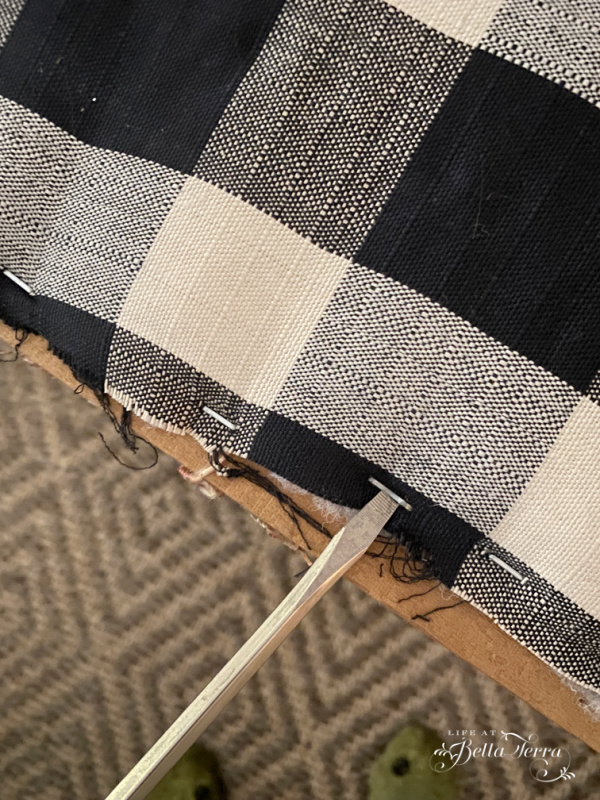
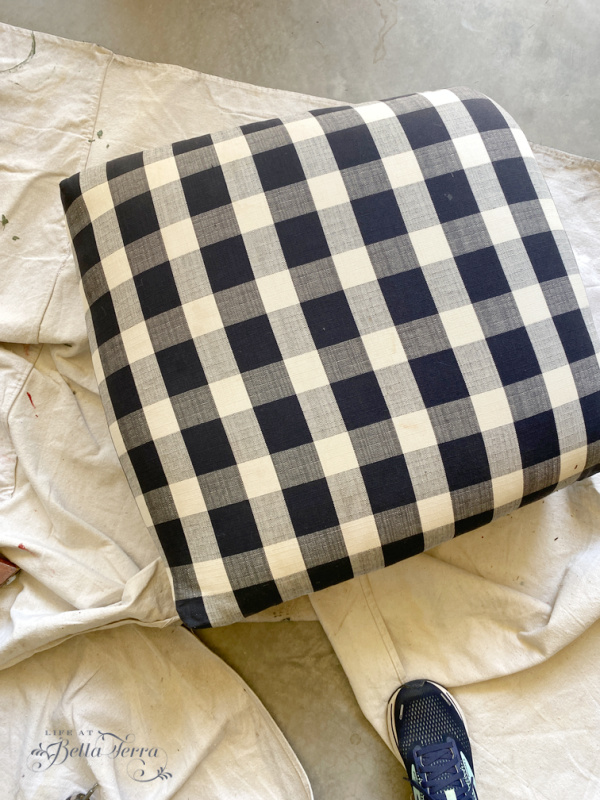
The seat cushion is easy to recover. First I remove all the old staples. I strip the buffalo plaid fabric off and use it as a pattern. Remember to cut the new fabric slightly larger just in case your fabric drapes differently. The new fabric is stapled to the wood cushion frame, taking some care on centering the pattern and keeping the lines straight.
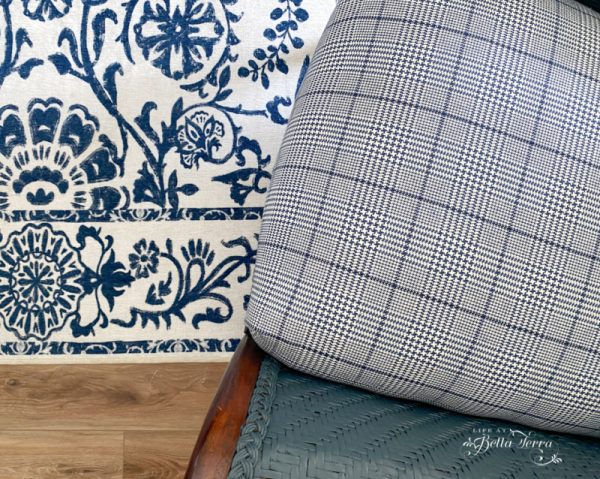
If you don’t have a heavy duty stapler, please make sure you get a good one. I couldn’t find where my husband stores them in the garage (and he was out of town), so I found one that was woefully inadequate. At the end of stapling the first seat cushion, which took far too long, my hands were significantly hurting from squeezing the handle.
The next day, after he returned home, he did find an electric heavy duty stapler which made doing the second cushion a breeze. Trust me, use an electric staple gun that only requires you to pull the trigger. Here is a good one.

The buffalo plaid fabric removed from the back cushions is again used as a template. Leaving at least 1/2″ for a seam on all sides, stitching is done on my sewing machine.
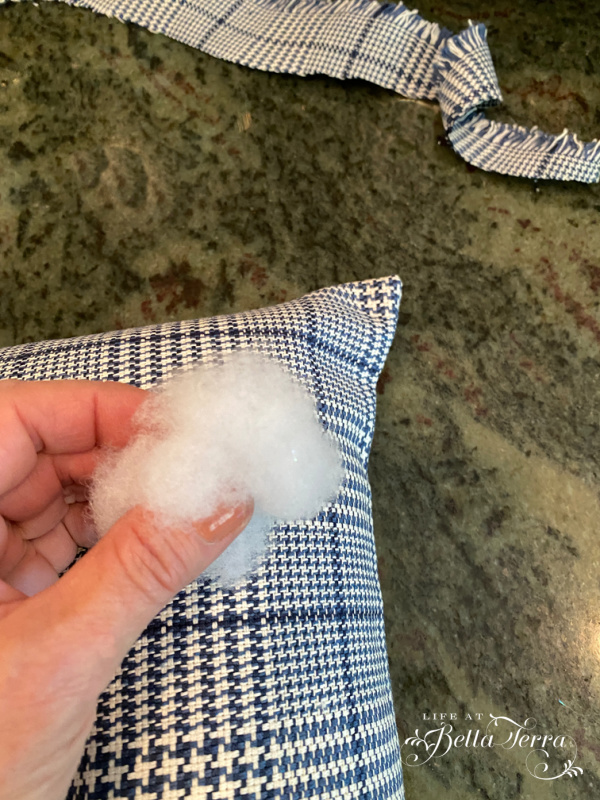
After stuffing in the pillow insert, you can add additional fiber fill or fabric scraps to plump up the corners.
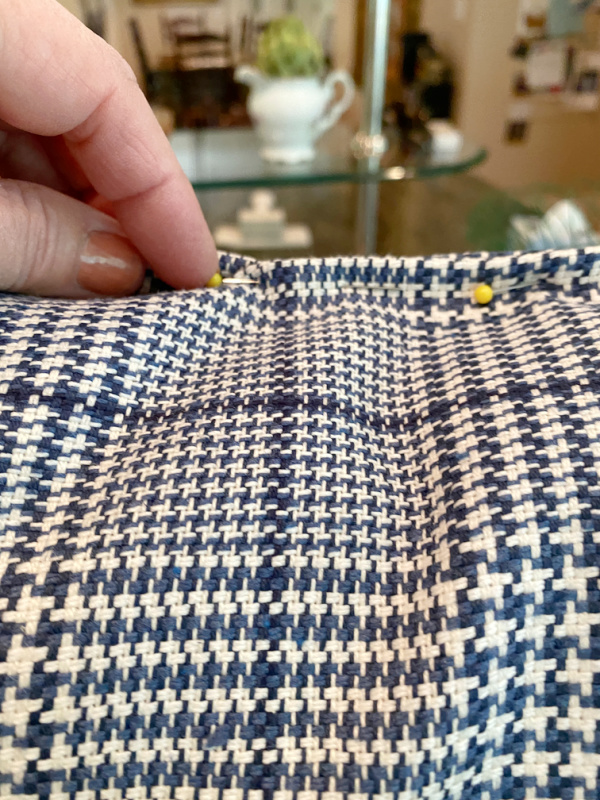
At the bottom of the pillow you have the option to add a zipper or just sew it closed. Since these chairs are not frequently used, the chances of me having to remove the cover to launder it are nil. I elect to just sew the bottom closed.
Recovering the lumbar pillow is very similar. Since I do not have enough of the expensive Blue Radish fabric to do both sides, I add the Glenn plaid to the back.
The After
After debating whether the color of the paint is correct, I ask my friend, Christine for her opinion. She loves the color (yay!) so I don’t feel a need to repaint the chairs a darker shade.
There are so many shades of blue in this pool house but for some reason it all works!
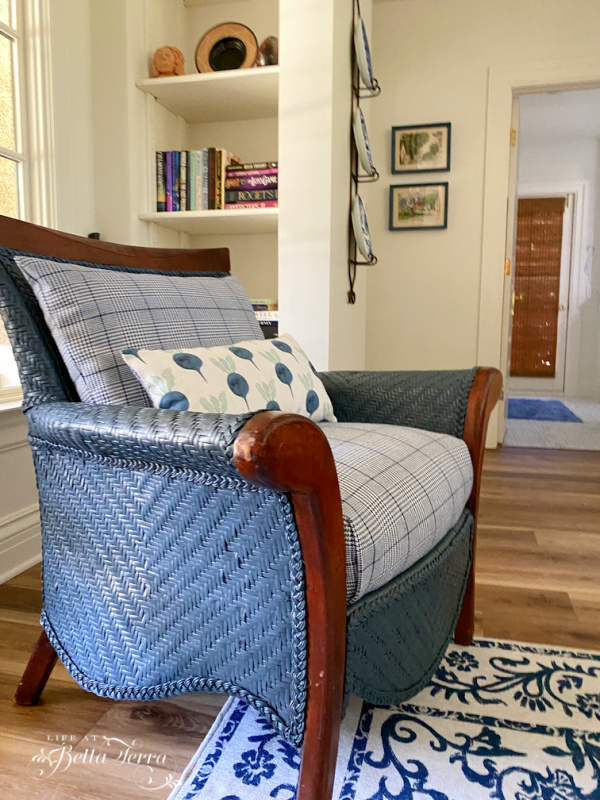
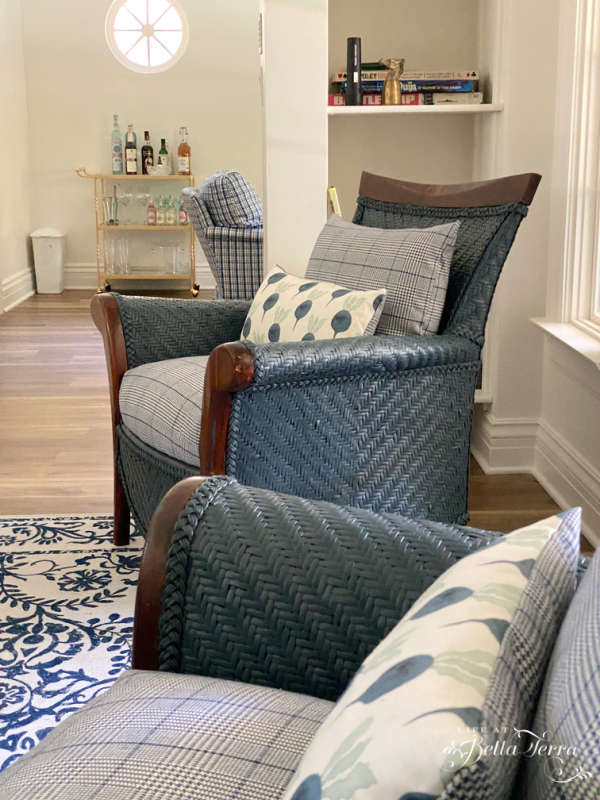
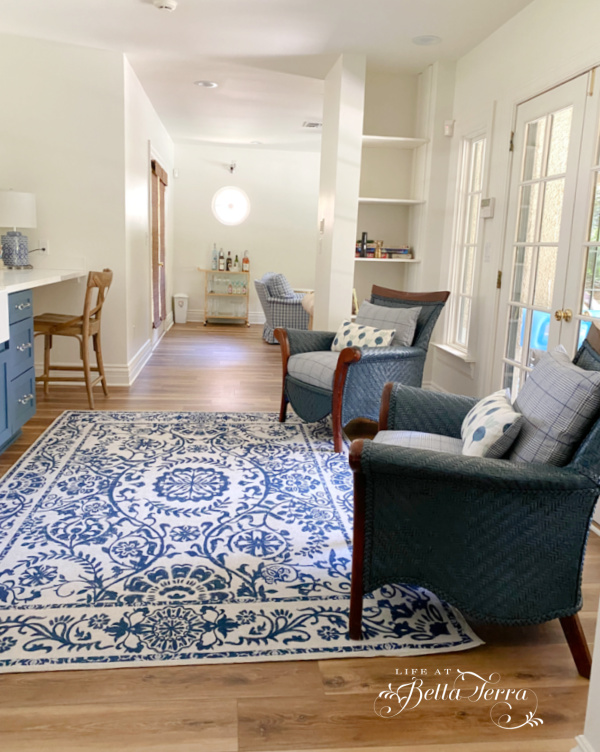
To see the complete pool house renovation and all of my resources, click here. Other than adding a few more things to the shelves, I think this project is F.I.N.I.S.H.E.D! Yippee!
Thank you for joining me today to see the Before and After of the two pool house chairs! Have a fabulous Tuesday.

If you enjoy this post, please feel free to share on Pinterest.
The post shared with Fabulous Friday Link party 5.27.22; Between Naps on the Porch Metamorphosis Monday #703
Just a reminder that any words that are italicized bring you to the source. If it is a product on Amazon, please note that I am an Amazon Affiliate. If you purchase something through my website, I receive a small (very small!) stipend, which doesn’t affect the price you pay at all. My goal is to make sourcing the items easy for you. Thank you for your continued support.



Where did you purchase the seat cushions?
I re-covered the existing cushions. They came with the chairs and are affixed to the frame.
What gorgeous chairs you had to work with in the first place no matter what color you chose. This project turned out wonderfully. Congratulations on a job well done!
Mick, Thank you so much for your sweet comment!
These wicker chairs came out great! I love the blue and fabrics you selected. Great job!
Meagan, Thank you!
Your wicker chair project turned out fabulous. Love your fabric choices! I’ve been converting to the blues in my home and love reading about any project involving blue.
Judy, thank you so much. How fun that you are using more blues in your home. It’s such a lovely color.
Mary, I love the color of the chair. I love fabric, too and mixing the two fabrics on the accent pillow is so smart. It’s a greedy way to use one fabulous fabric with a less expensive one. The chairs are beautiful and give your space a lovely feel.
Carol, thank you so much for your sweet comment!
I love the unexpected blue. Inside wicker has never worked here because of it’s allure to indoor cats, haha. Gorgeous coordinating fabrics!
Debra, ah yes, cats do love a good scratching post. We have only one cat but our late cat, Tippy unfortunately loved my linen sofa in the living room. An expensive upholstery job only to get a bit torn up by her….
Fabulous job Mary! These are beautiful and so perfect for your space! I always love seeing how you do these things – thanks for sharing the process and making it easy! 🙂 Happy Weekend my friend!
Barbara, thank you for your comment!
Hi Mary –
Thanks for sharing this post with the Fabulous Friday Link Party. We are featuring it on our 6.3.22 party! Congrats –
Hi Mary! I popped over to your page from the Fabulous Friday Link party, and oh goodness, I’m glad I did. Your chairs turned out beautifully. I am in love with that gorgeous blue color. I’m going to share a link with my readers to your project in my week rewind post tomorrow. Happy weekend!
Jen, thank you for your sweet comments. I love Renae’s Fabulous Friday link party, and today was the first time I’ve shared a link. I am so happy you saw it and thank you so much for sharing with your readers! I really appreciate it!
They look so good Mary!
Classy as always! Such great style!
They look fantastic!!!!!
Beautiful Mary!!
The chairs turned out so nice. They are so unique, the room is so lovely, so calming. I’m so glad you shared the how to with us, thank you.
I love the way they turned out. They look amazing, even though it wasn’t the blue you were going for it looks so nice. Did it really only take 2 hours to paint? Really like the fabric too.
Very nice!
Thank you!
Thank you for this post, it answered all my questions earlier.
You are quite a talent. I love your taste and the fact that you do these things and explain them so
fully.
Thank you.