Propagating Roses
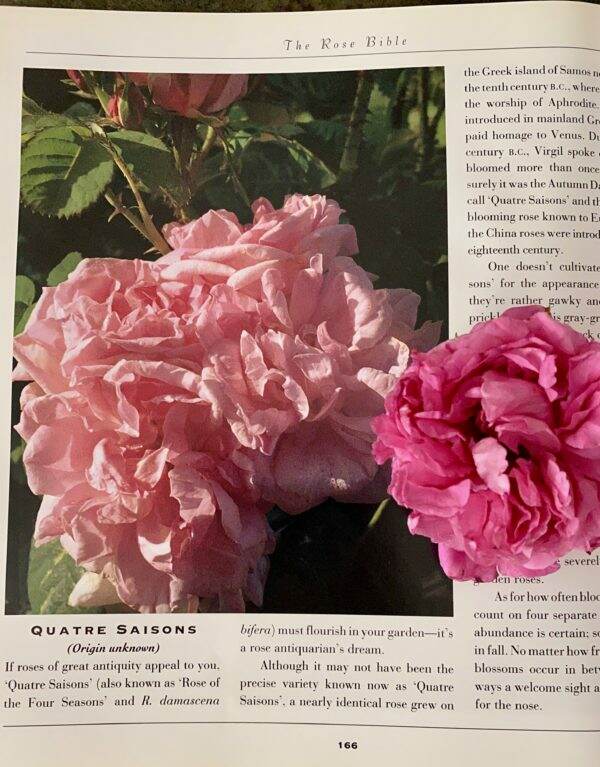
I have always wanted to learn how to propagate roses, especially the antique ones we have at Bella Terra. With a clean potting shed (see yesterday’s post here) and sheltering in place time on my hands, I thought I would try this.
Meet Quatre Saisons (Rose of the Four Seasons), R. damascene bifera). We have three of the original antique rose bushes that survived the property renovation. This is the oldest European rose to reliably flower more than once during the year. It is one of the most important historic roses, probably going back to the Romans or earlier.
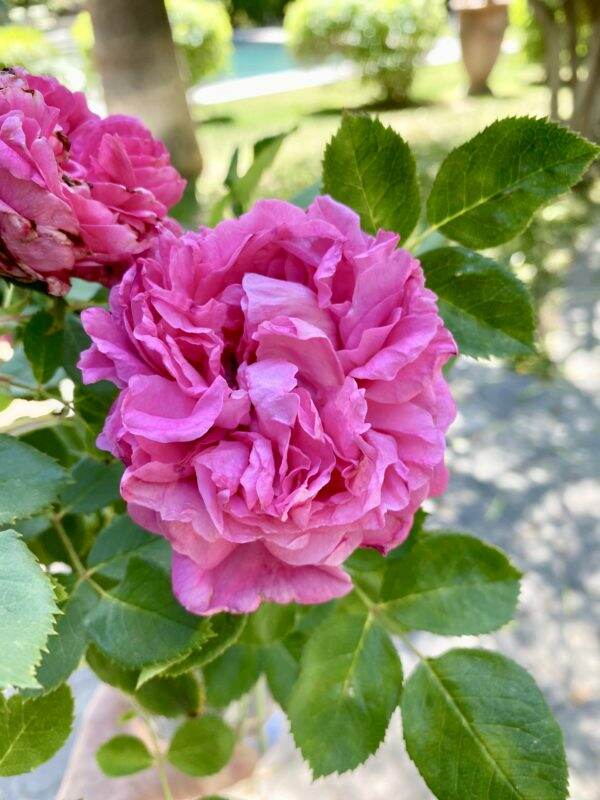
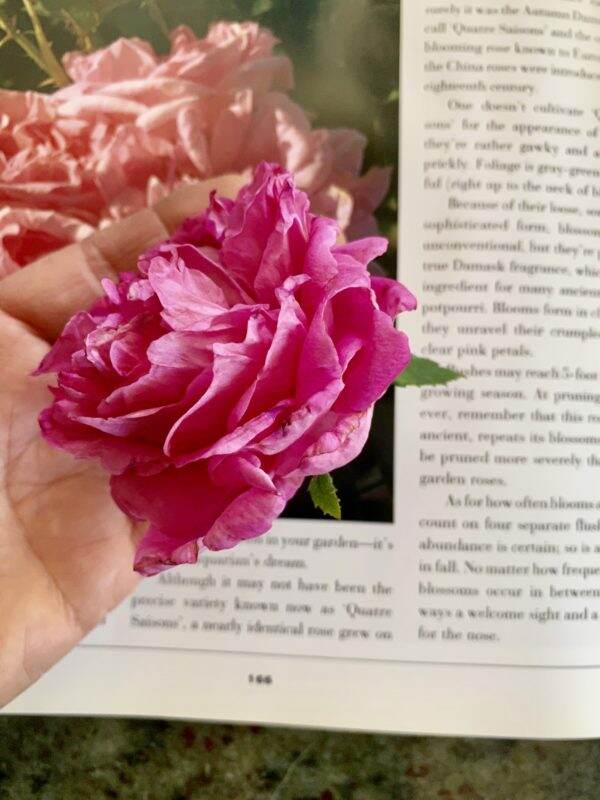
This rose is not cultivated for the appearance of its shrubs as they are rather gawky and VERY prickly. Foliage is plentiful and leaves have a serrated edge. The blossoms are a bit unconventional and messy-looking but the scent is a mighty treat for the nose.
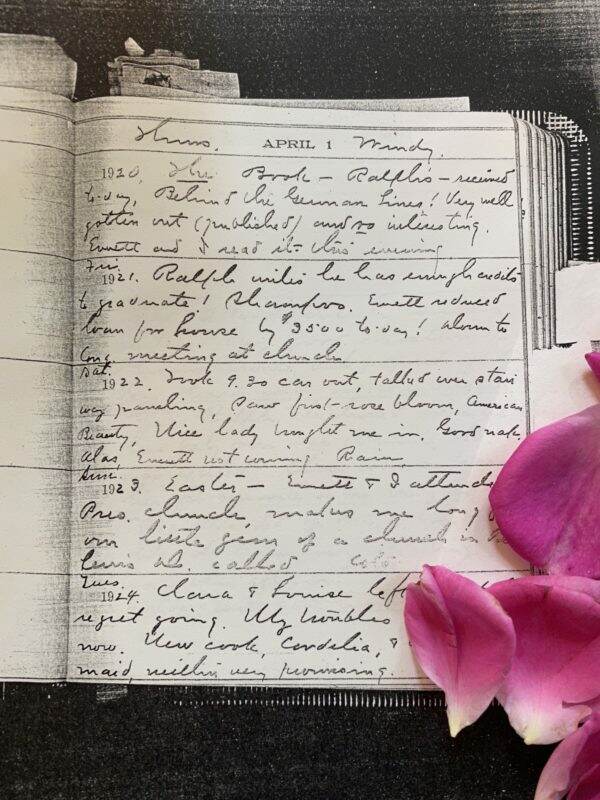
The reason I am so intrigued by having roses at Bella Terra is a reference made in a previous owner’s diary on April 1, 1922, when she wrote “saw first rose bloom”. When we were researching the house, we found these diaries at the Arizona Historical Museum. Apparently the roses are referenced many times as an important part of the landscaping. To know I am enjoying roses here just the same way someone did 100 years ago gives me great joy.
In Preparation
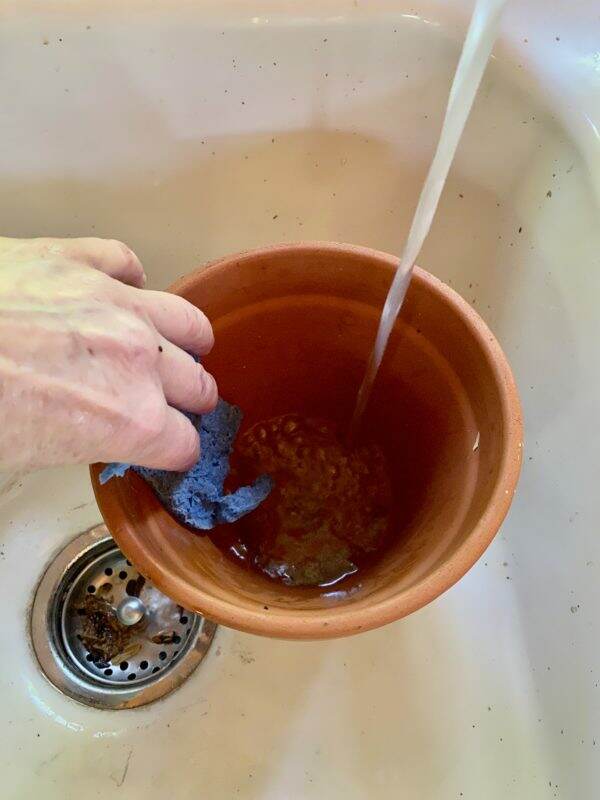
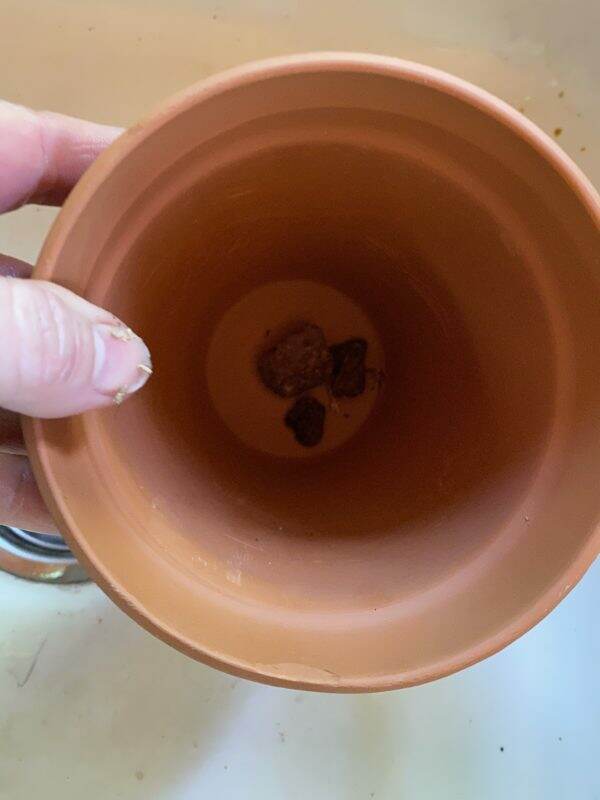
In preparation for the propagating process, I scrubbed and cleaned the clay pots I wanted to use. Since the success rate of propagating roses is about 50 50 to 75 percent (according the Dr. William C. Welch), cleaning the pots will help minimize any contamination. I then covered the hole at the bottom with a small rock.
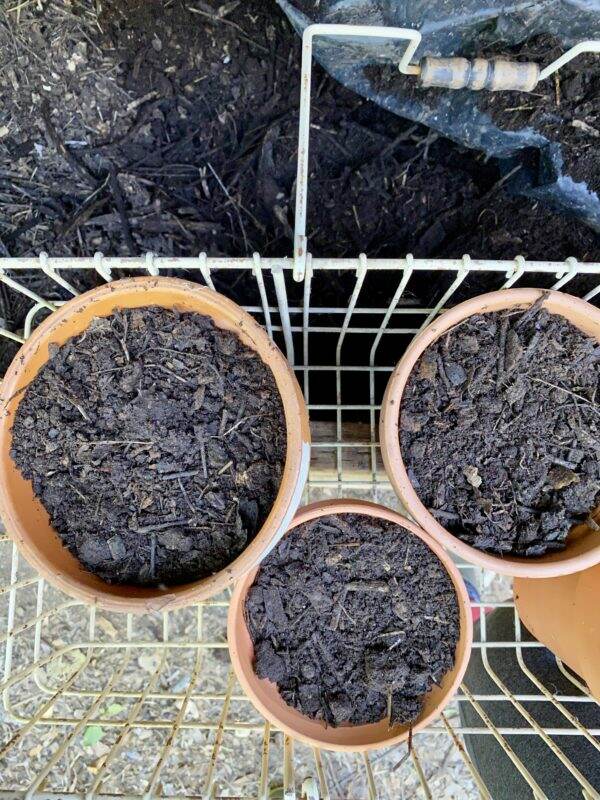
Next I loaded up my clean pots and headed out to the compost pile. There are several sites on Google that recommend the type of medium to use for rose propagation. Our compost soil has always done wonders in the past and so I’m counting on it now.
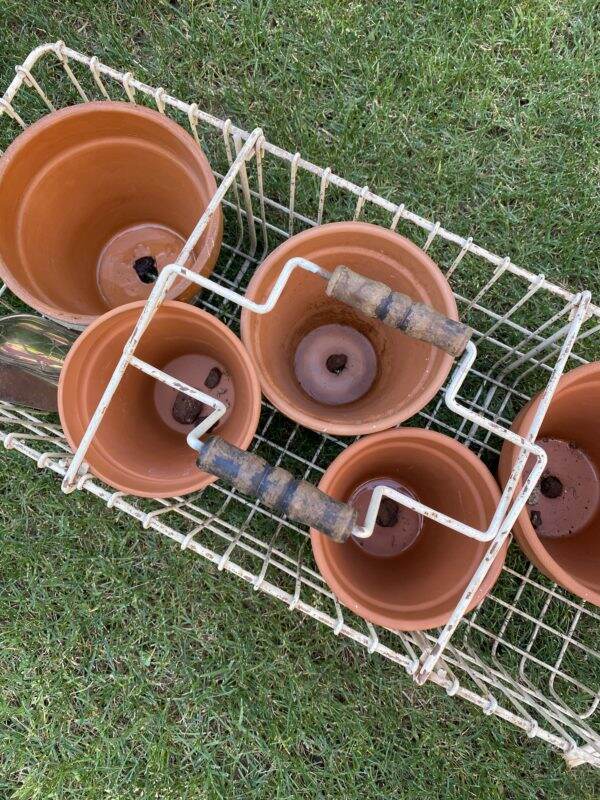
If you missed my composting post, click here. With the pots filled with soil, it is now time to select roses.
How to Take the Cutting
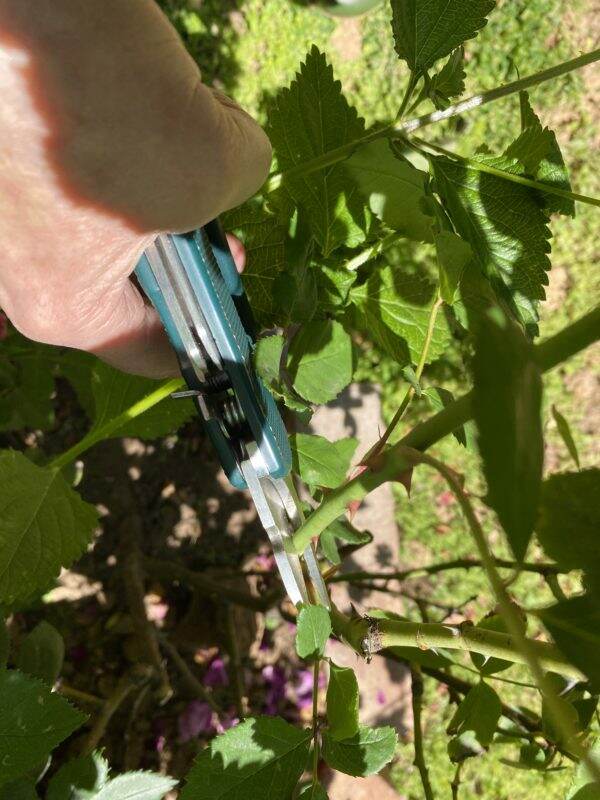
Take a 12-inch segment of the stem, cutting at a 45-degree angle. The best cuttings usually come from the sides of the bush vs. the center. I made sure I used my sharpest and cleanest clippers, in order to avoid contamination or crushing the stem. I immediately put the cuttings in water while I continued cutting the others.
Cuttings taken from new growth vs. old, hardened wood are more likely to be successful. Spring or early summer is the best time to take these softwood cuttings. Select them in the early morning when the plant is most hydrated. Wish I wore gloves as these roses have such sharp thorns!
Remove Most of the Leaves
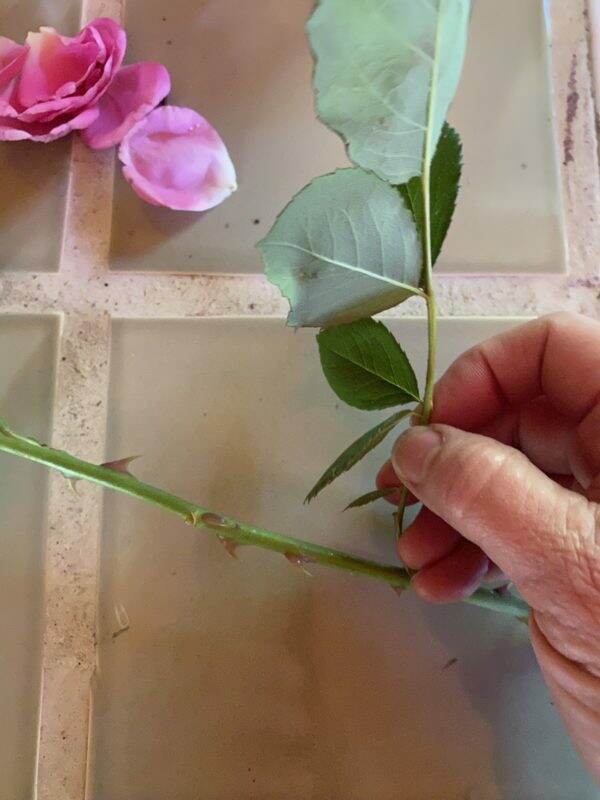
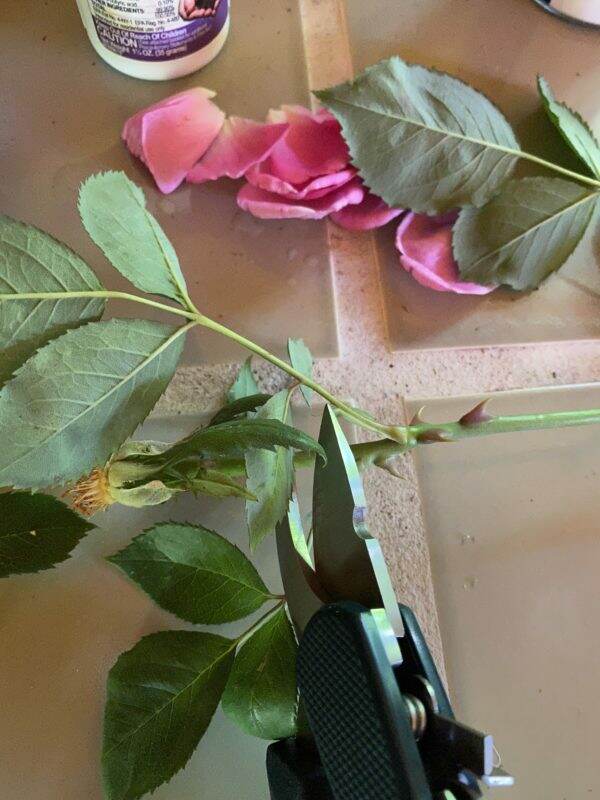
Remove all but the top two leaflets on the stem. Then, cut of the stem just above this top set of leaves. Removing the excess leaves helps to divert energy to root production. However, the stem still needs to continue with photosysthesis and feed itself until new roots are formed. Also remove any flowers. The flowers will consume energy, and you want to encourage the stem to refocus its energy on survival by sending out new roots.
Prepare the Stem for Rooting
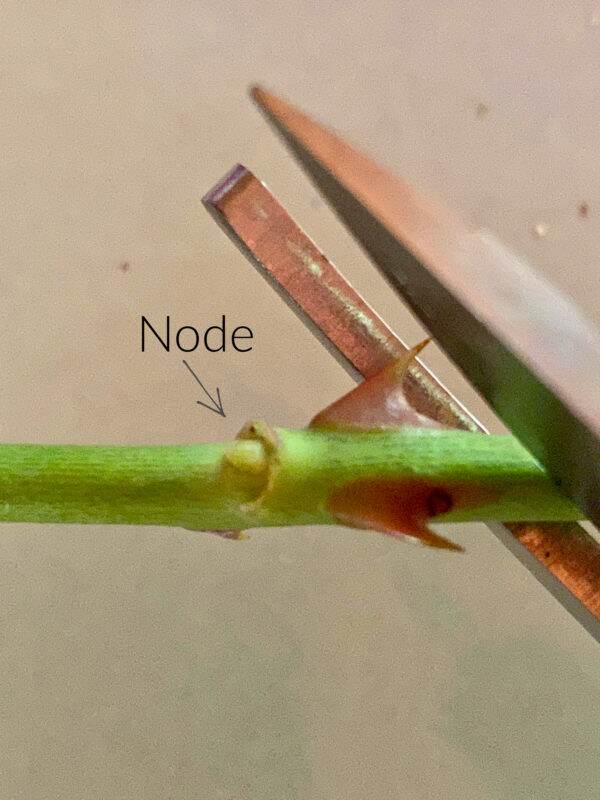
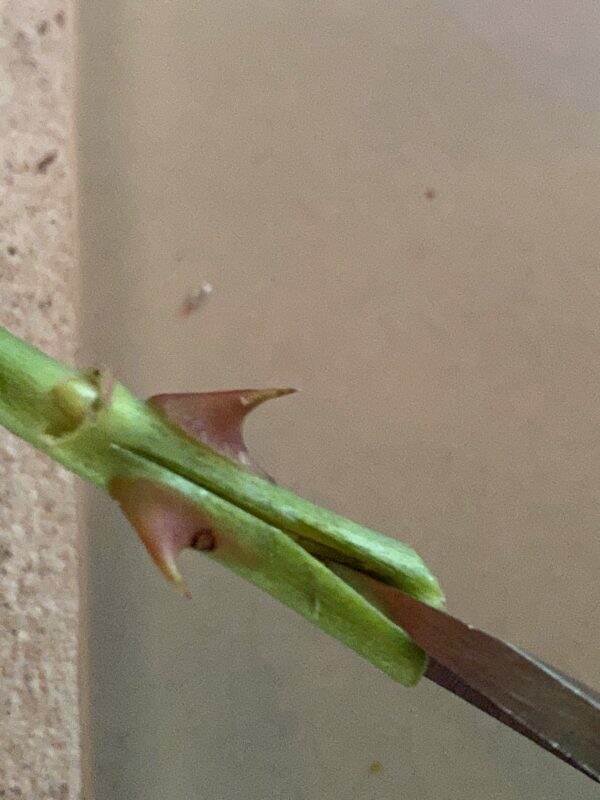
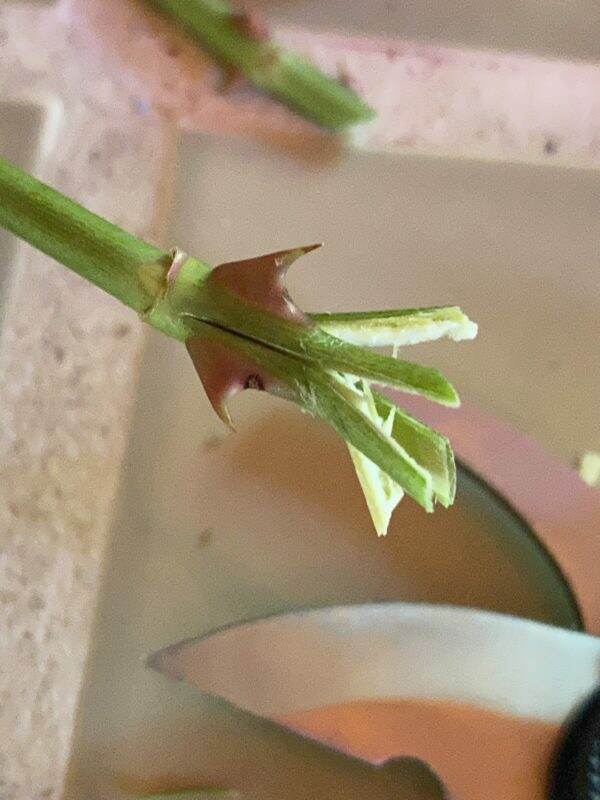
Using sharp pruners make a fresh cut on the bottom of the stem just below a stem node. I made the cut at a 45 degree angle. The stem node is where new growth typically forms. Then slice into the bottom stem about a quarter of an inch up, splitting the stem into open quarters.
Using a Rooting Hormone
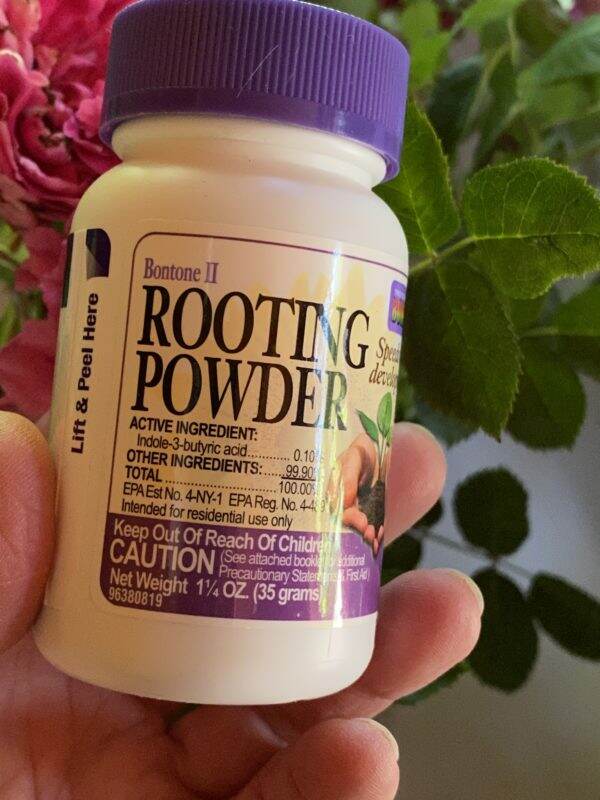
Though this step is optional, a rooting hormone can help spur the plant into developing new roots. I purchased this rooting powder from my favorite nursery, Whitfill Nursery for $5.99.
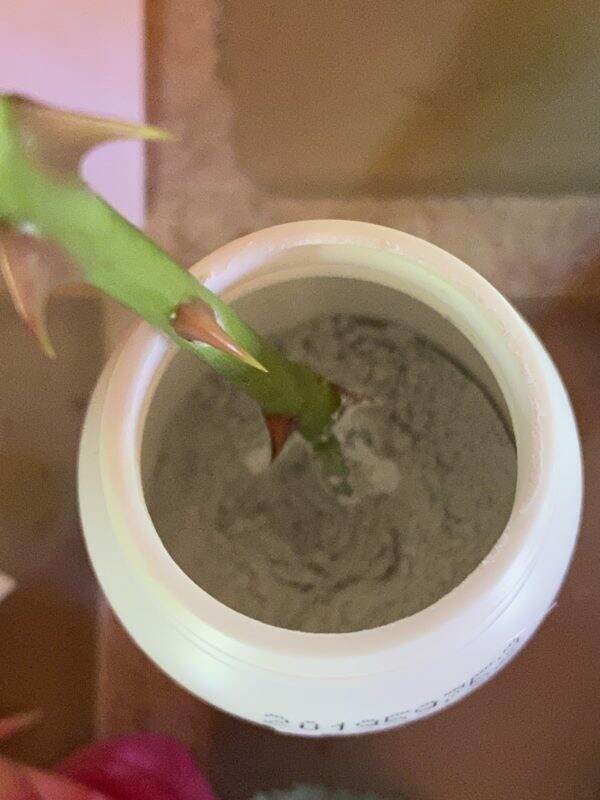
Slightly moisten the split end of the rose cutting and then dip it into the powdered rooting hormone. Shake off any excess powder.
Plant the Cutting
Plant the cutting in a container filled with at least 6 inch of planting medium. Some recommend a mixture of coarse sand and vermiculite or a potting mix designed for roses. Keeping my fingers crossed that my homemade compost is sufficient.
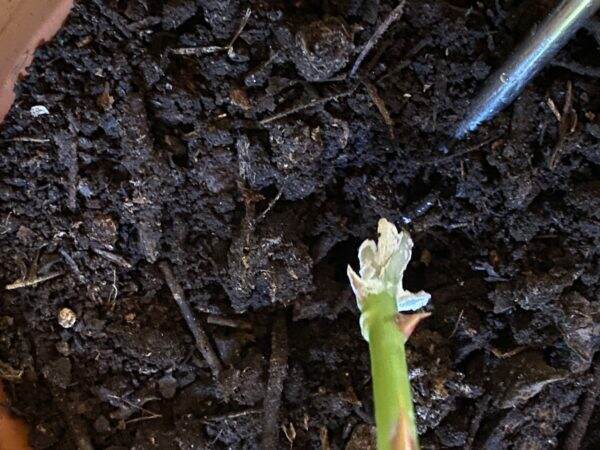
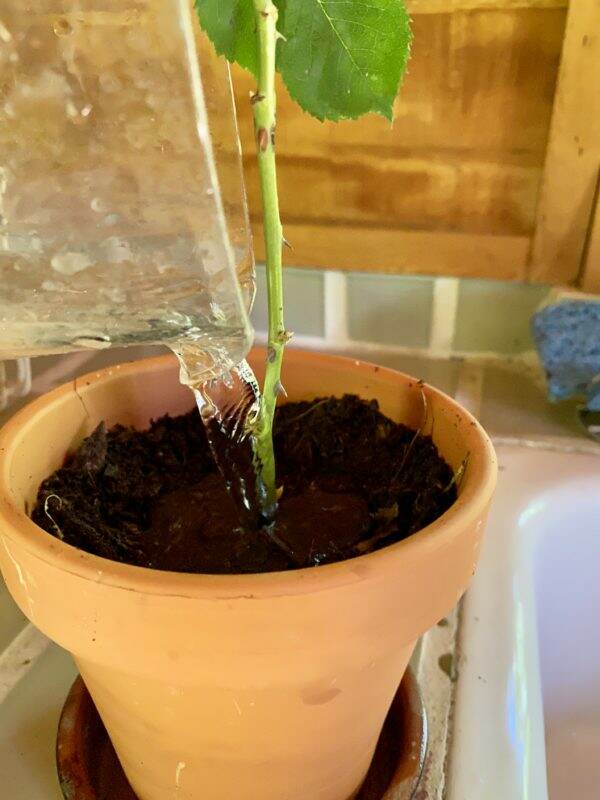
Poke a hole in the potting medium (I used a screwdriver) and then insert the stem. Be careful not to rub off the rooting powder. Gently firm the soil around the stem and water well.
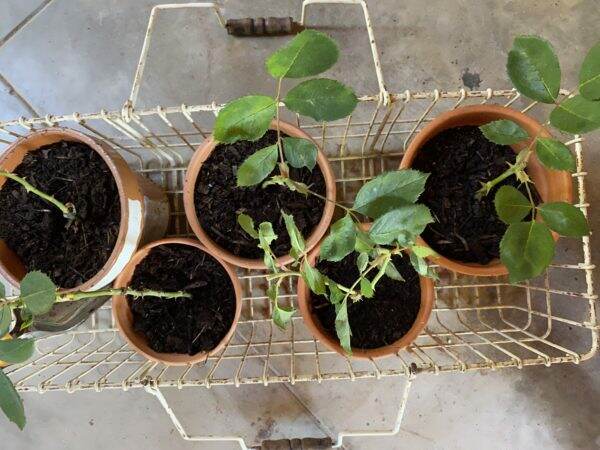
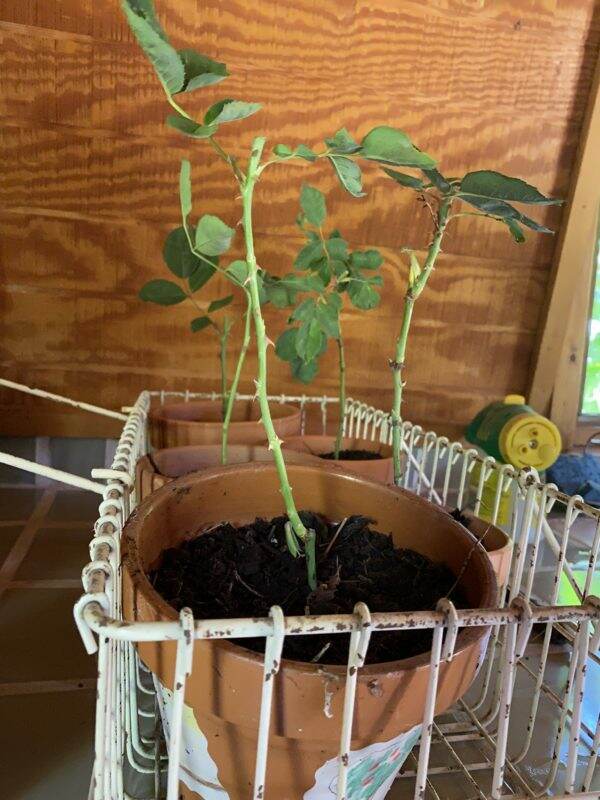
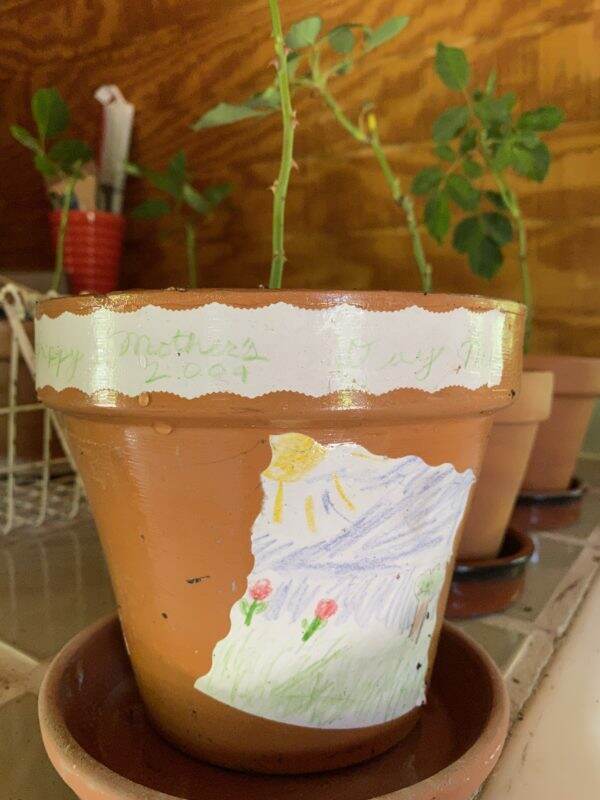
How cute is this pot~~a school Mother’s Day project made in 2004 by my son Benjamin!
Selecting the Location
Roses prefer a sunny location, but for rooting purposes it is best that they are shielded from the hot afternoon sun. It is important to keep the soil moist so the cutting does not dry out. Some people put a plastic bag over to create a humid environment.
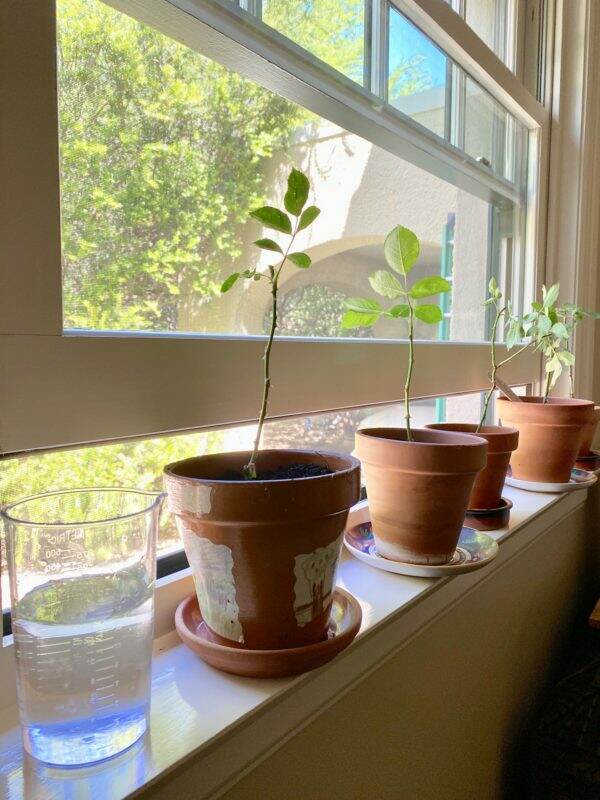
I have placed the 5 pots on the window sill directly across from my computer, so I can check on them every day. The northern exposure will provide bright light but no direct sun.
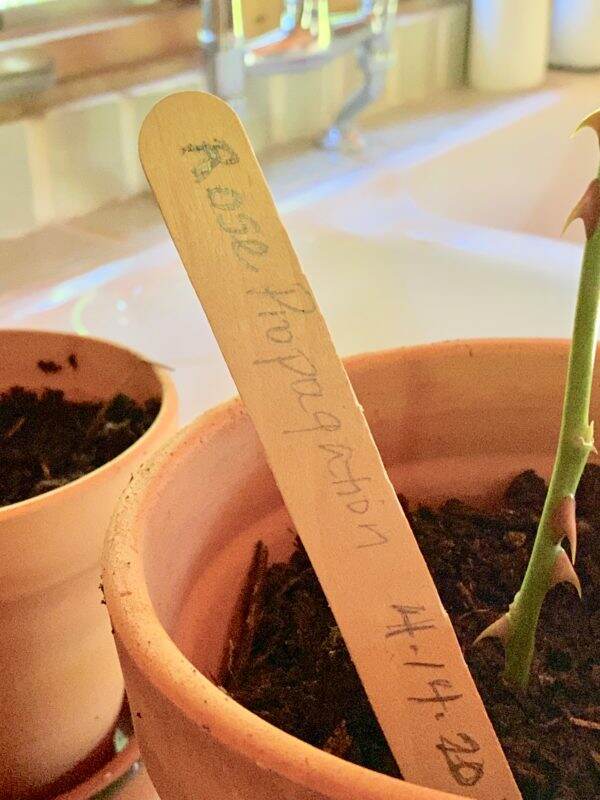
Of course, I discovered the following advice AFTER I cut the stems. However, I did remove the flowers and buds, so hopefully I will have success. Here is what I read: “Moreover, avoid taking cuttings when your plant is heavily blooming. The plant is putting most of its energy into flower production rather than root development, so a cutting won’t readily root. If you must propagate when the plant is blooming, make sure to remove the flowers and buds from the cutting.”
I am planning to let them grow over the summer in these pots and then plant them in the fall? Or transplant them into bigger pots with a January 2021 planting? Still trying to figure that part out. If there are any rosarians out there, I welcome your help!
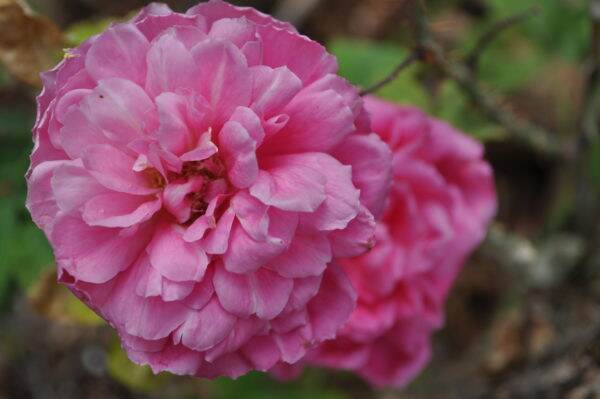
Here are some other photos that I’ve taken over time of these delightful roses. I wish you could scratch and sniff.

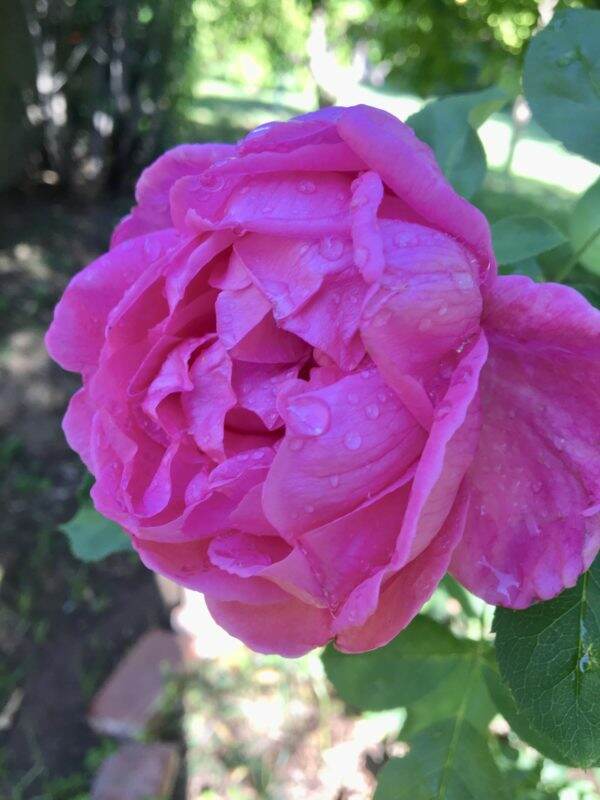
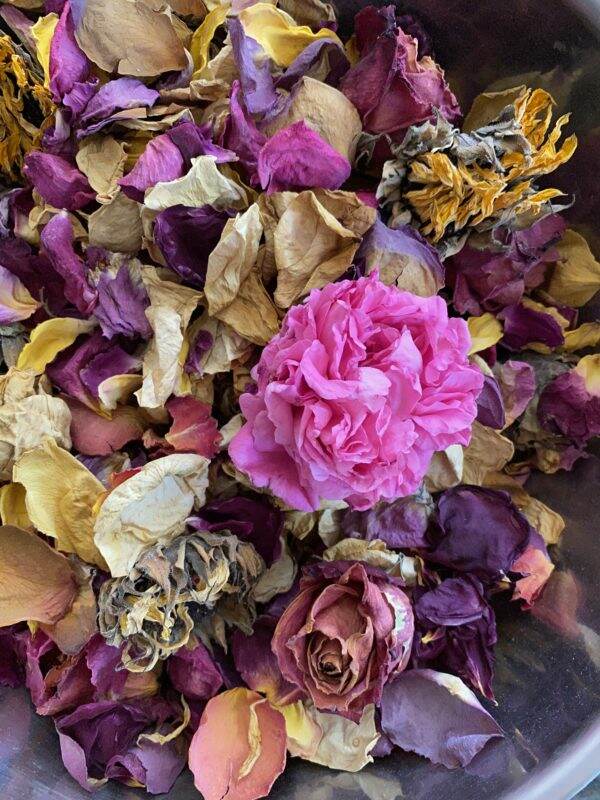
Lastly, it was difficult to decapitate the flowers off of the stems for this propagation. But not to fret! I am utilizing all the blossoms in a potpourri I am making for the hen house.
Have you ever propagated roses? What is your favorite species? Wish me luck and hopefully I will have 5 more Quatre Saisons soon!
Wishing you a delightful Wednesday! Today I am still washing windows (ugh!) and making face masks as my roll of elastic finally arrived!

References: The Rose Bible by Rayford Clayton Reddell
Just a reminder that any words that are italicized bring you to the source. If it is a product on Amazon, please note that I am an Amazon Affiliate. If you purchase something through my website, I receive a small (very small!) stipend, which doesn’t affect the price you pay at all. My goal is to make sourcing the items easy for you. Thank you for your continued support.




Hi Mary,
Just wanted to say thank you for all the effort you put into your blog. It’s well written, relevant to my time in life, and gives me a nudge to try different projects. I enjoy that you are Phoenix based so you are often working on projects that are well timed for me to undertake too.
Right now my roses are at their peak of beauty. Would love to send you a picture.
Shaun, Your feedback made my day! Thank you SO much. I really try to write content of interest and I love learning things along the way too. I would love to see a picture of your roses. Please send it to me at [email protected].
Good luck with the roses. I have gotten cuttings to take root in a potato when we lived in the Scottsdale house. Not sure what time it took for them to start but they did live and got planted in the rose bed out front!
Ken C.
I did read about using a potato to root roses. I may try that. I have decided to do more propagating, especially since the rate of success isn’t 100%. Will do some research on that! Thanks for sharing.
WOW – great timing Mary! My husband and I were just talking the other day about taking some cuttings from our old roses! Thanks for the great advice. We’ll definitely try it out! Your roses are just gorgeous btw! Plus loved the quick peek at that old diary – so fun to know what went on 100 years ago.
Can’t wait to follow along and see how your cuttings do. 🙂 Happy Wednesday!
Barbara, Please let me know how your cuttings do! I am going to try to do more to see what happens. Our roses are looking so gorgeous now. Isn’t the diary fun? After the restrictions are lifted I plan to spend some time at the AZ Historical Museum to see if I can find anything else about our home. Thank you for your comment, my friend!
Thank you. I knew there was more to it than putting in a glass of water.
I know, right? I have a geranium branch that broke off and it’s been sitting on my window sill in a glass of water for months. Finally seeing some roots! After writing this post, I am going to continue to propagate because I have more rooting powder and with a less than 100% success rate, I’d like to at least have 10 more rose bushes..The process is fairly easy once you have the basics. Thank you for commenting!
For what it is worth, I have had the best luck with geranium cuttings by just sticking them in the ground, no propagating techniques applied. I have even had that simplest method succeed under Eucalyptus!
Thank You, Mary for this wonderfully complete post. I hope to learn as well & you have inspired me.
Susan, We have HUGE geraniums that we transport out of the Phoenix summer heat up to the mountains every year. They are really getting too big to transport so I need to learn about rooting geraniums. Glad to hear you’ve had success with sticking them in the ground. I wonder if there is a good time of year to do this? One of the benefits to sheltering in place is having the time to really thinking about things~~and getting them done! Thank you for your comment!