
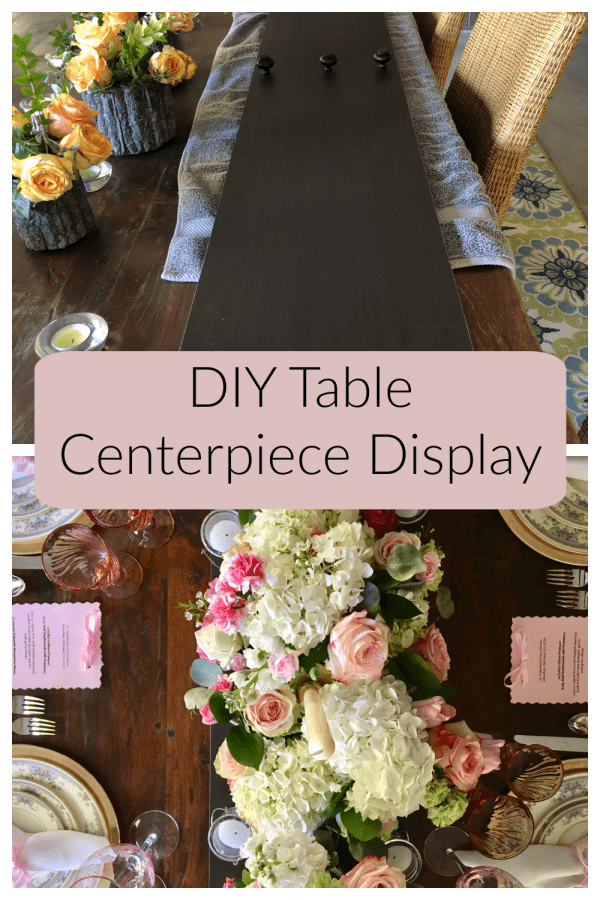
DIY Table Centerpiece Display
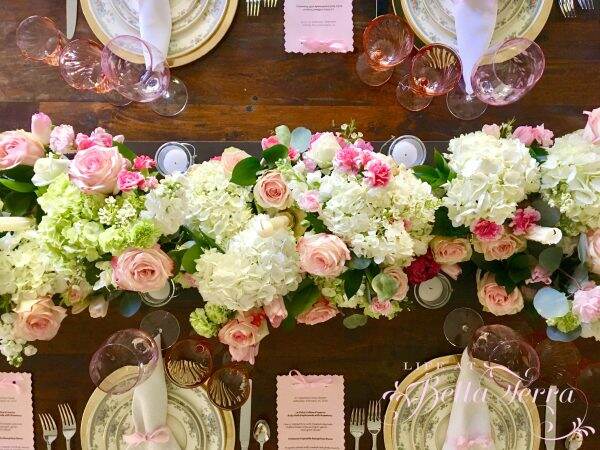
In my last post, Valentine Dinner Party, I indicated my husband made the wooden base for the centerpiece. I didn’t realize what a difference it made in the overall presentation, having the centerpiece just inches above the plane of the table.
So I decided he should be today’s featured DIY person. Take it away, Scott!
The Inspiration
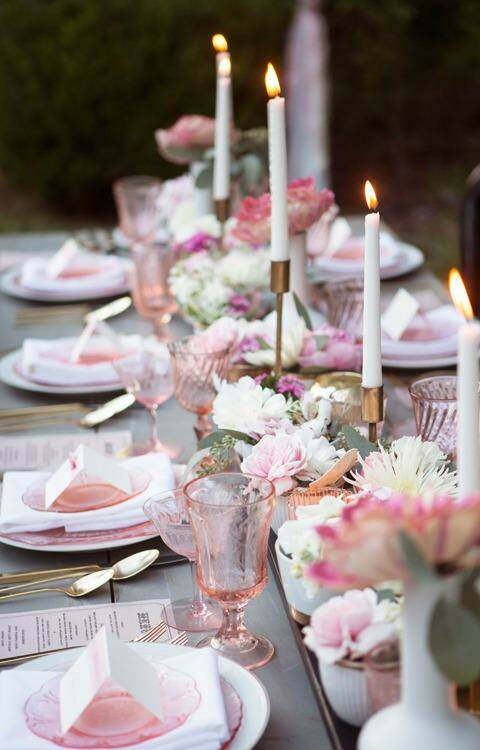
Mary had shown me an “inspiration” picture of a raised DIY centerpiece. This is where she turns to me and gives me the appreciative “eye”. Then she’s off to her art class leaving me about a 3-hour window. I’m trying to figure out how I’m going to do this. Off to my local Lowe’s where I start looking for a piece of wood.
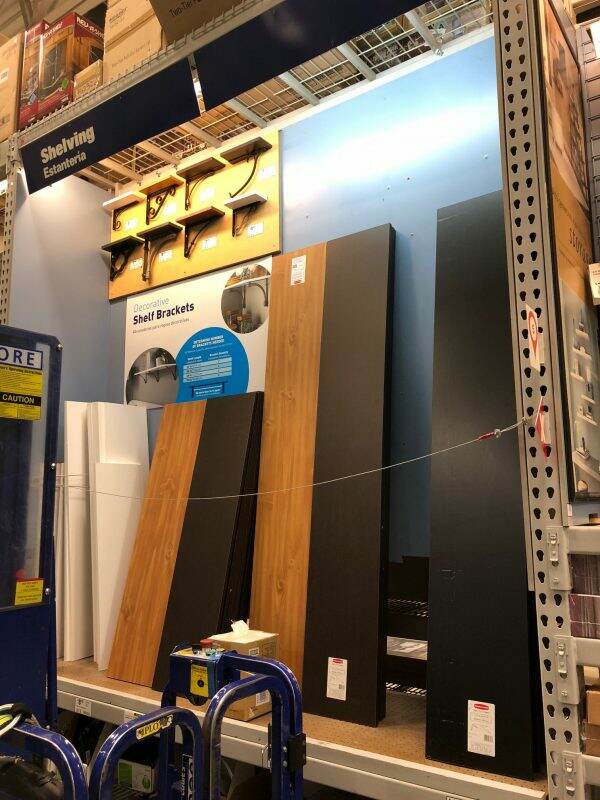
The Materials

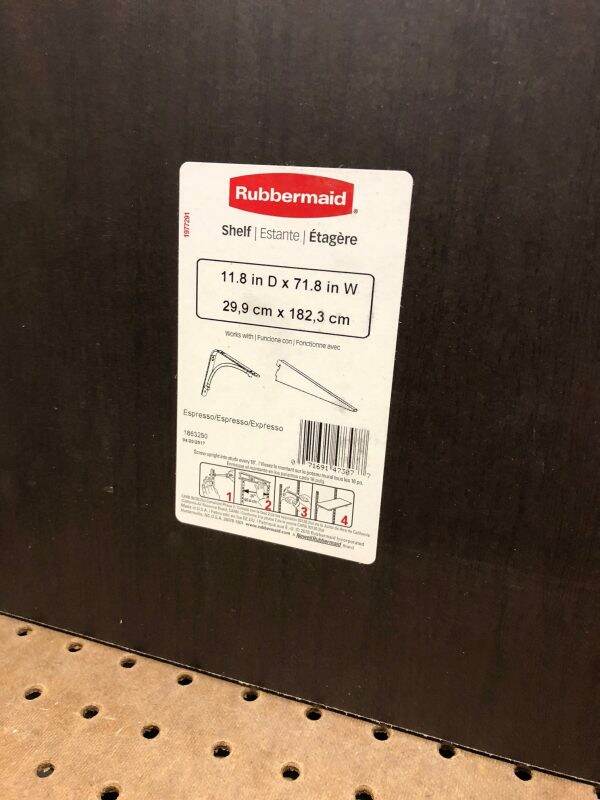
Not being one to over complicate, I decide to look at shelving material. There before me is the perfect finish, dimensions and non-warping piece of material.
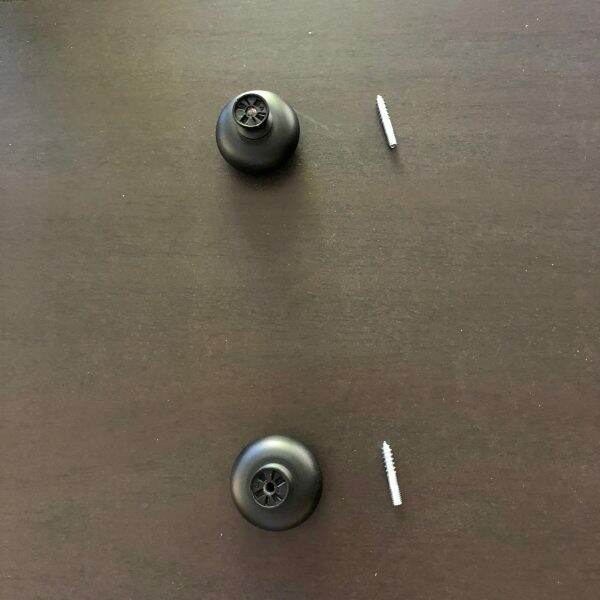
I try to determine how I will elevate it from the dining table AND give it some stability. This “something” has to have some variability in size and can be attached to what I am now calling “my” Table Centerpiece Display. I’m thinking cabinet pulls, slightly repurposed. The friendly Lowe’s staff takes me to their impressive selection where I grab 7 (more on that later).
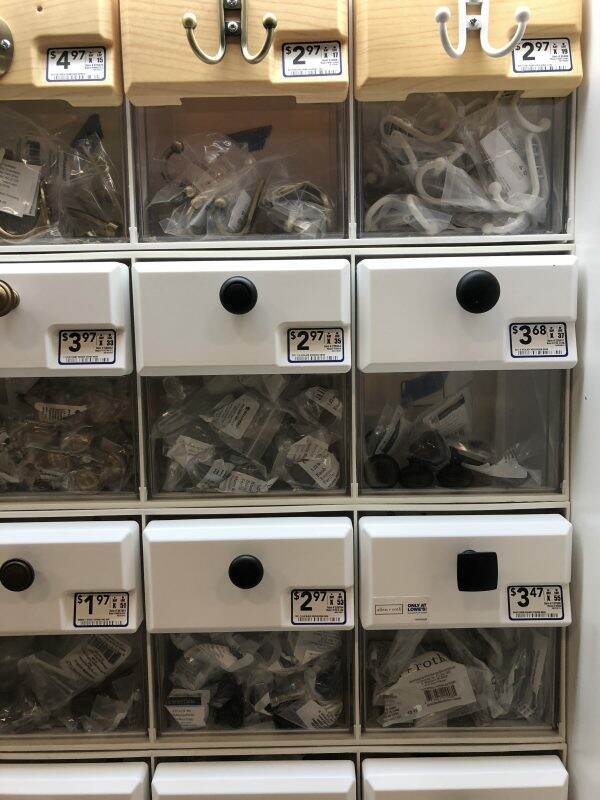
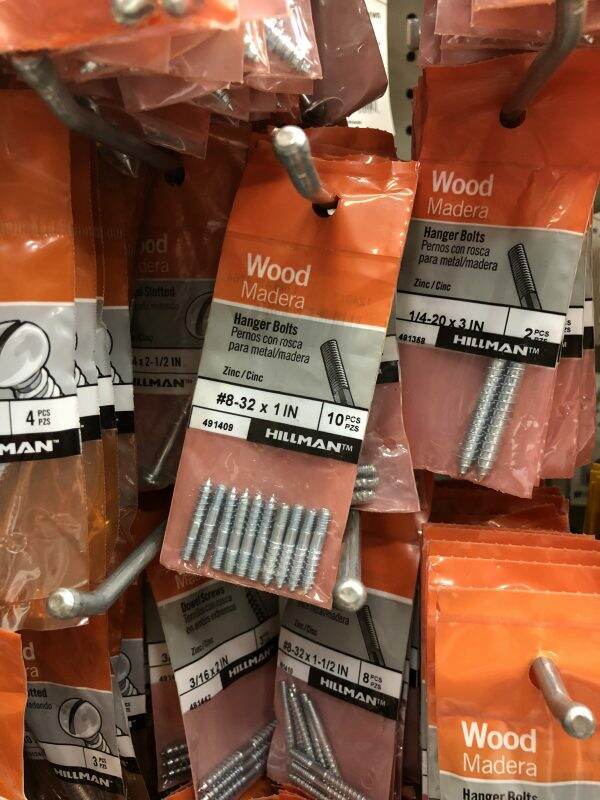
How do I attach them since I need a “bolt free” top? Lowe’s has the answer. One end screws into my pull and the other end has a short wood screw…called Hanger Bolts.
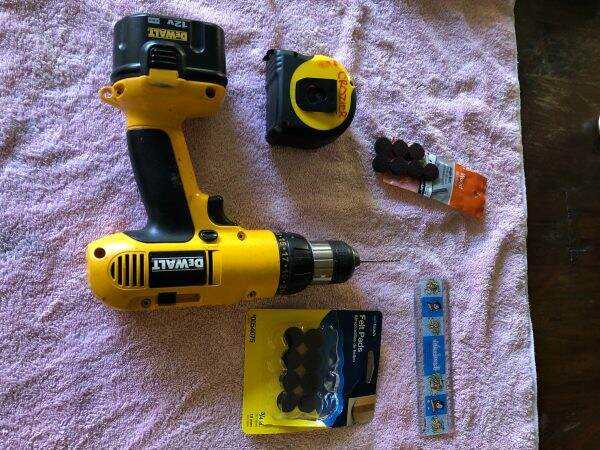
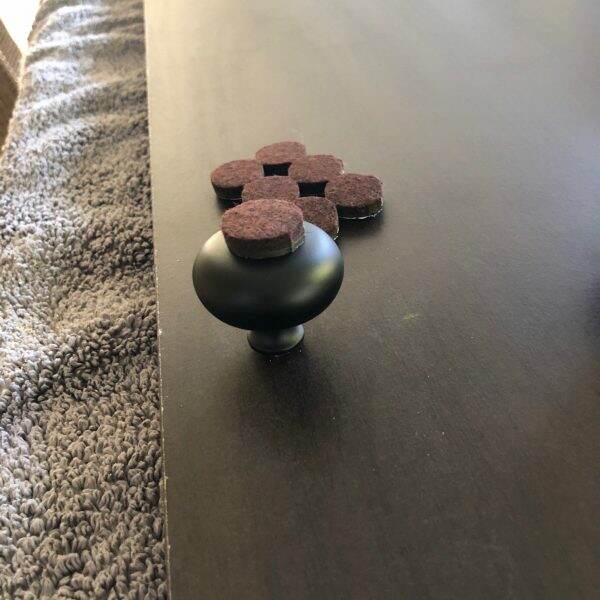
I purchase a few felt pads to help level and protect the table and then I’m headed home to create. I assemble my tools ~~ a drill, a drill bit, measuring tools and of course, a towel to protect the table…and I get busy.
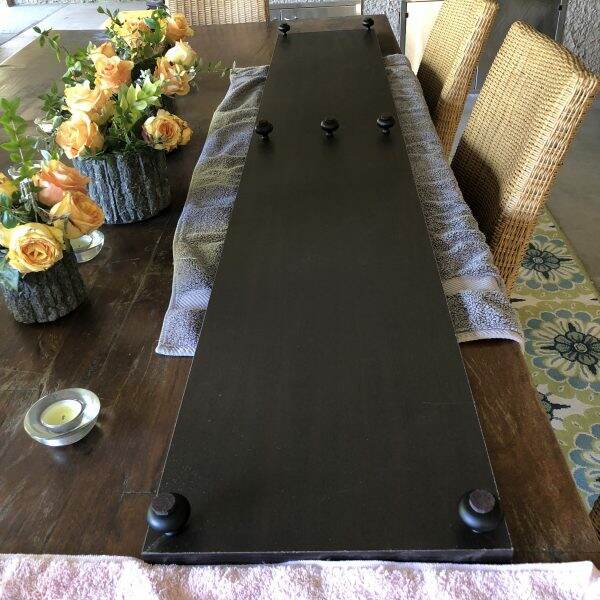
Placement of the “feet” is important for esthetics and strength and stability.
The Assembly
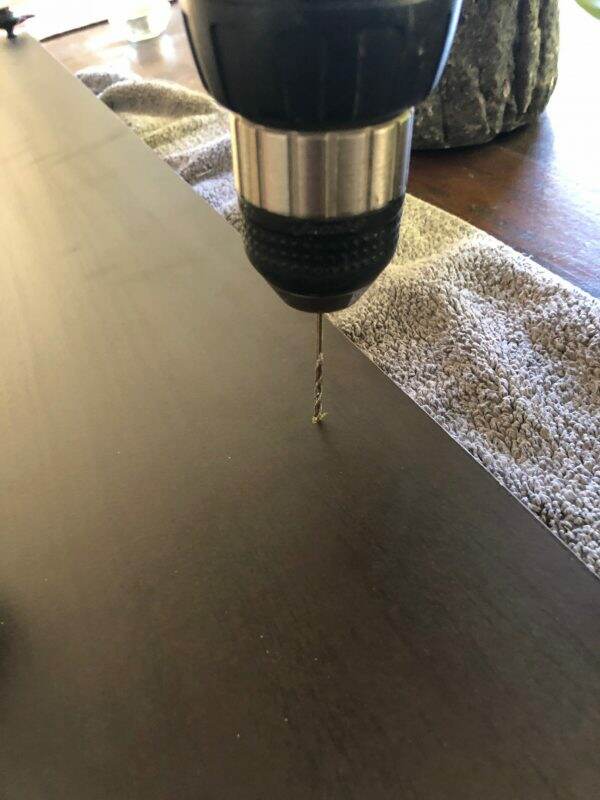
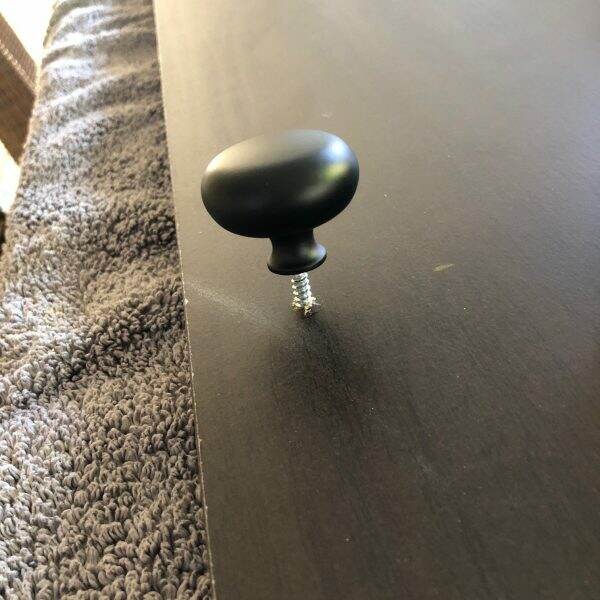
Hence, the seven pulls. Two on the ends and three in the middle. I screw the hanger bolts into the pulls and use the pulls to screw each one into my board.
Finally, I add the same color pads (so they disappear) and I’m done.
Now it’s time to put it on the table, clean up my tools and see if Mary notices when she gets home. Then I get to pretend it was MUCH harder to do that it really was. Mission accomplished!

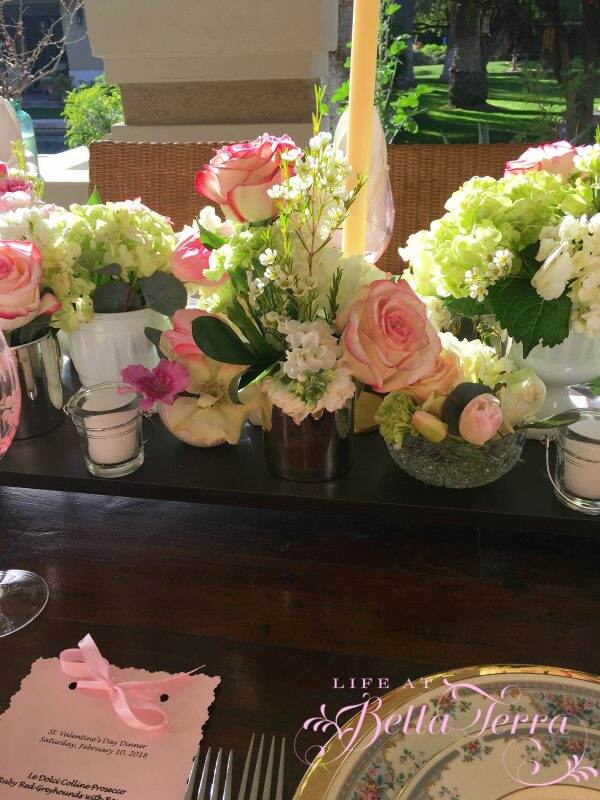
Just a reminder, this is how it looked for our dinner party.
Total cost of the project was under $50.00. Though my time is priceless, Mary considers it free:)
The helpful husband,
Scott
If you enjoy this post, please share on Pinterest.
This post shared with Between Naps on the Porch Tablescape Thursday #646
Just a reminder that any words that are italicized bring you to the source. If it is a product on Amazon, please note that I am an Amazon Affiliate. If you purchase something through my website, I receive a small (very small!) stipend, which doesn’t affect the price you pay at all. My goal is to make sourcing the items easy for you. Thank you for your continued support.
Oh you two – I’m breathless! You’ve outdone yourselves! The centerpiece stand is absolutely fabulous Scott – your time IS priceless! And Mary – your pink flower centerpiece makes my heart sing! What an amazing team you are! Thanks to both of you for all the different kinds of inspiration!
I love this, now I need my husband to do this for me!! We have lots of scrap wood laying around and I have a collection of vintage knobs to choose from. I found your blog from thistlewood farm. You have a beautiful blog sight. I’m thinking of doing a blog myself and getting help from Karianne as well. I’m nervous about getting started though.
Katie,
KariAnne was most helpful when I decided to take the leap and do a blog. I can honestly say I am nervous still every time I hit the SEND button….thinking that no one will be remotely interested in what I am writing about. However, taking the leap has been an adventure. I’m learning a great deal about myself and what I want the purpose of my blog to be. The world needs to be reminded of the beauty that surrounds us….Happy to discuss this with you at any time.
Now this is neat! Thanks Scott!! 🙂 I am so happy that Mary featured you on La Bella Terra to explain how this was made because I am soooooo going to make it this spring. It’s easy enough even for me to make, someone who doesn’t really work with power tools all that much.
I would paint mines white though…or find a white shelf… I am looking forward to this project!! Thank you so much!
Clever indeed! This is fabulous! I pictured him sanding and staining and all sorts of stuff. I’m forwarding this to my DH. Nicely done!!
So I’m thinking that Scott must have a well-equipped wood-working shop where he crafted, stained, and polished a raw piece of wood into this fabulous center piece display. We knew about Mary’s creative genius but Mr. Honey-Do….your cleverness is right up there as well! Big Kuddos!
Kate. You are quite right. However, my wife is probably like you, too smart to be fooled and hard to say no to. Thanks for your comment.
Measure twice. Cut once. In this case, no need to cut. Looks great.
However, Scott, you should never reveal the simplicity. This will only lead to more, “Honey, can you do this?”
Enjoy. Thanks for sharing.