
The BBQ Project is Complete!

Back in March we established the quarantine Honey Do list, which included deep cleaning the outdoor barbecue area. That led to the discussion, ” let’s tile the backsplash behind the grill”, which grew legs from there. To see more projects we are tackling, click here.

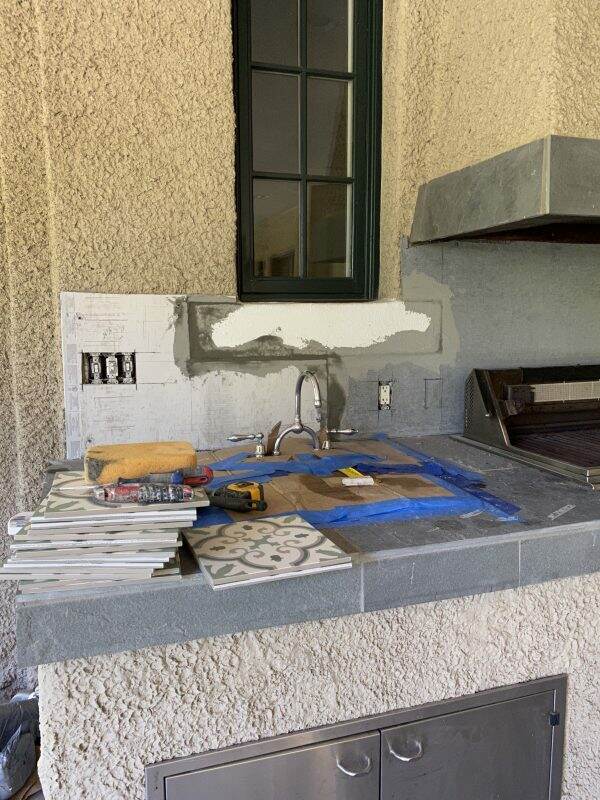
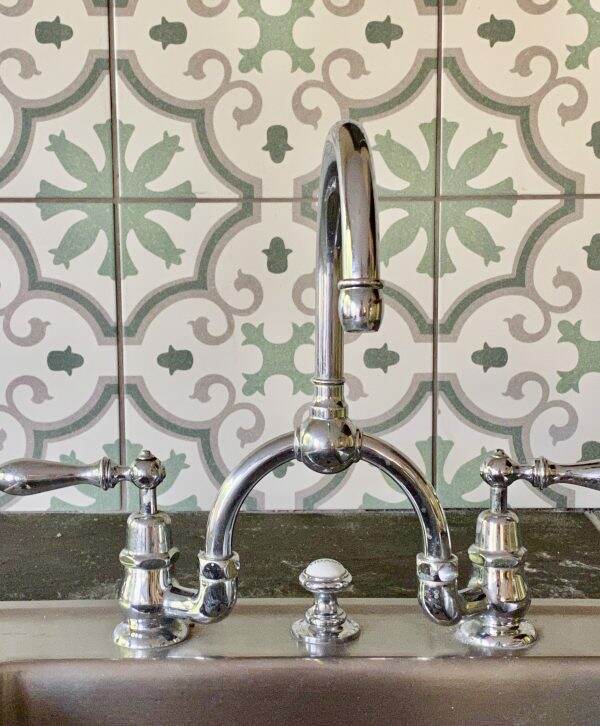
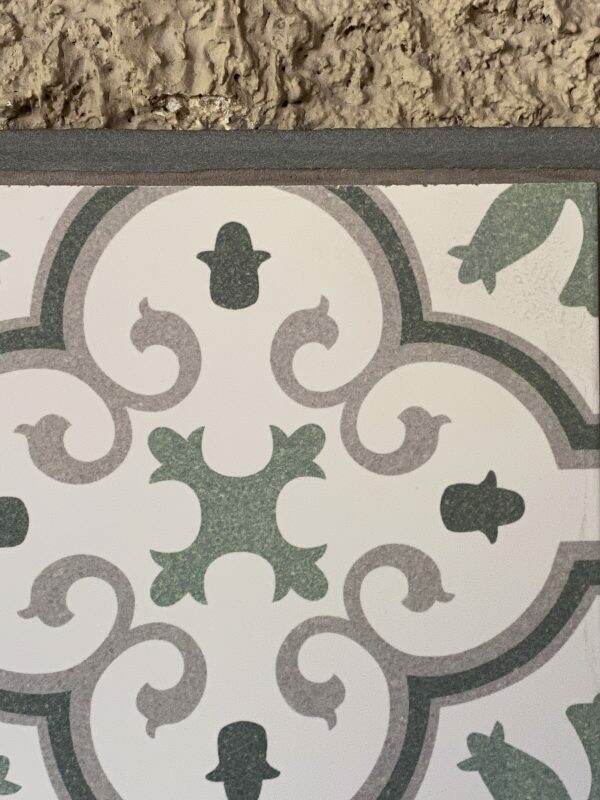
In search of tiles that aesthetically fit a 110 year old home, I discovered these Monteca Encaustic 9 3/4″ x 9 3/4″ tiles online at Home Depot. While waiting for the tiles to arrive and getting an appointment with my favorite tile man, we focused on the barbecue storage areas beneath the grill.

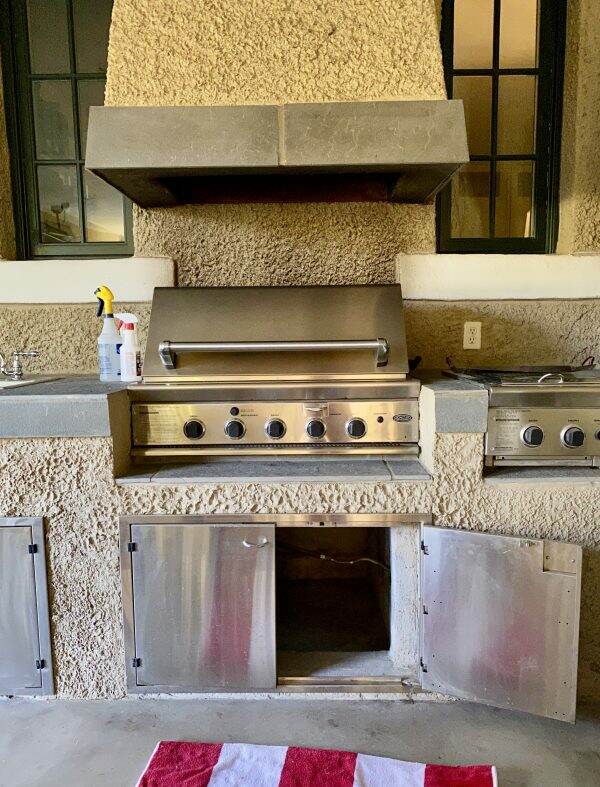
Using Rustoleum’s garage floor epoxy kit from Ace Hardware, my husband painted the floor of both storage areas. The two-part process involves spreading the epoxy on a clean, dust free surface and then sprinkling the decorative paint chips on top. This is a big improvement over the cobweb filled space and will protect the floor from any spills.
Here is the barbecue in March before we began working on it. Notice the bumpy plaster behind the grill and the plaster relief below the windows.
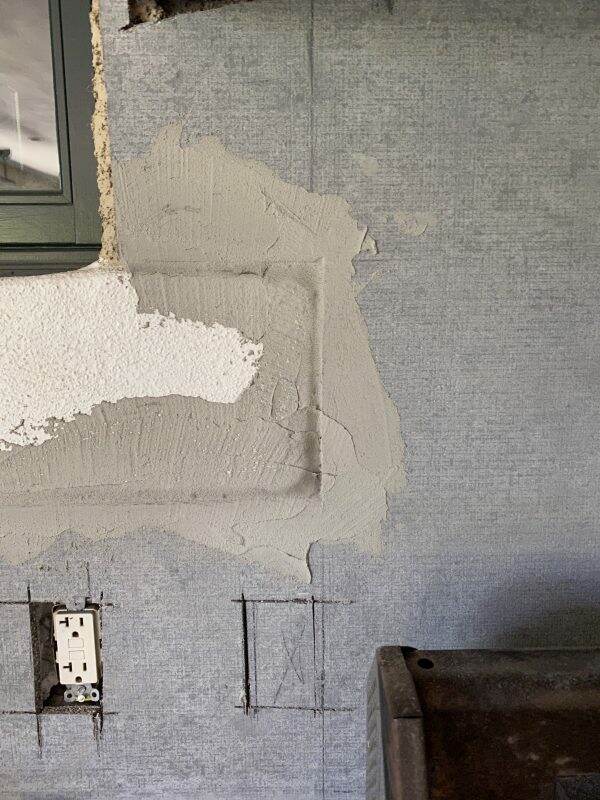
Rick, my tile man, determined it was best to cover the existing plaster with tile board.
We debated whether to keep the reliefs under the windows, but it would have been challenging to lay the tile in an orderly fashion over it.
Once the tiles were applied, I knew we had made the right decision.
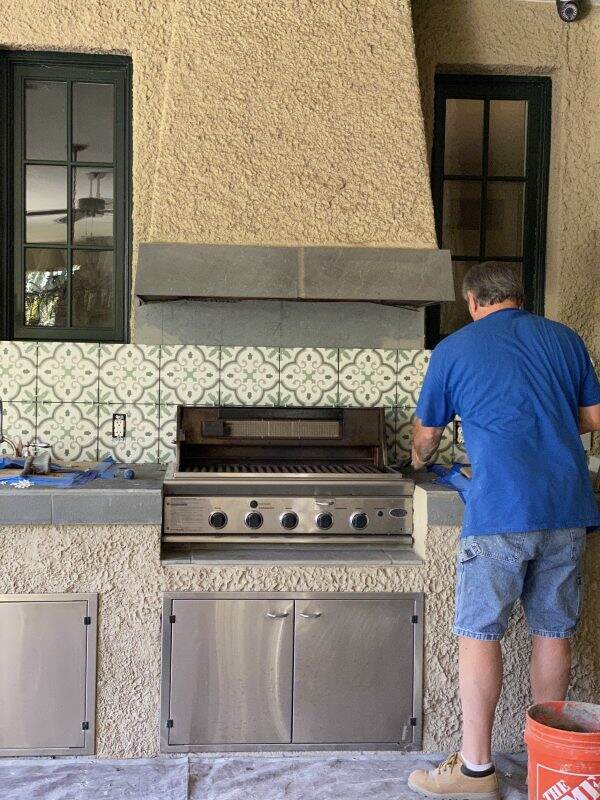
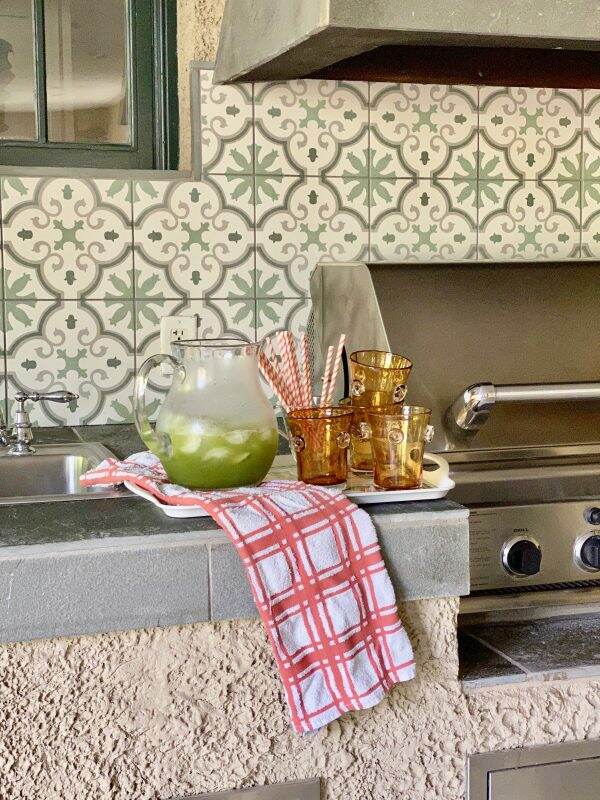
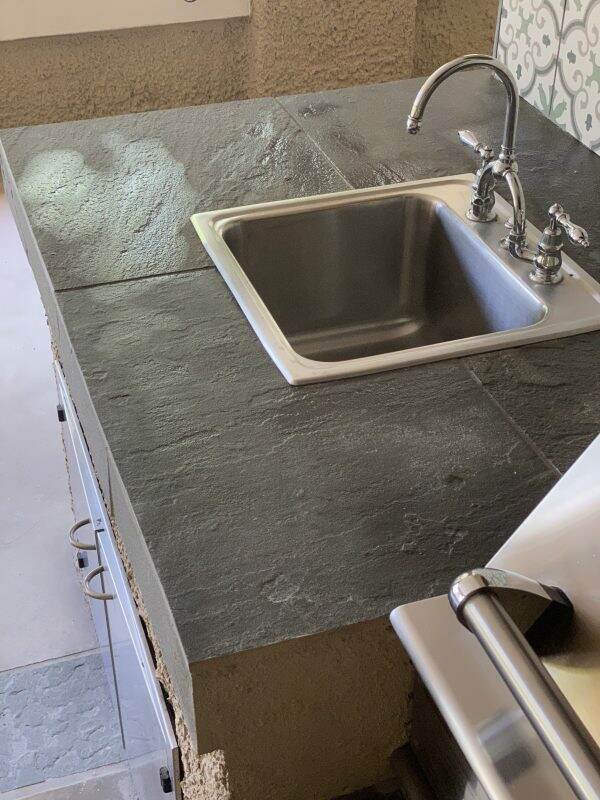
So here is the finished product! The area looks so much bigger and will certainly be easier to clean. The Sahara beige grout was the right choice. Rick used Raggia slate for the new window sills and trim to match the existing countertop. It took 2 cases of tile to cover this area (around $214.00 in material).
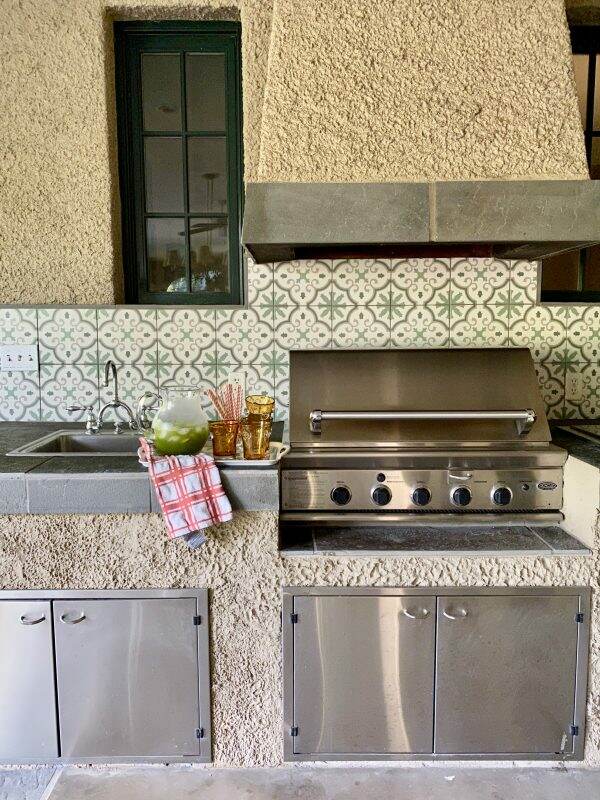
Yesterday, I cleaned the slate countertop and sealed the stone. The grill is sparkling clean after degreasing all its parts. It feels good to pay attention to an area we had taken for granted and upgrade its look and use.
Are you marking things off your To Do list? There are a few more projects to tackle on the back terrace before I consider everything done, but I am so happy with the new barbecue area.
Have a happy Saturday and a wonderful weekend. Today, we are taking our son to the airport to go back to Washington, DC. His two week visit was really spectacular and of course, we are sad to see him go. My Dad used to cry every time I would visit him and leave. Now I completely understand why.

Teaming up with Tarah from Grandma’s House DIY, Kristin from White Arrows Home, Andrea from Design Morsels, & Chas from Chas Crazy Creations in our DIY Blog Hop this month with projects for our decks! Make sure and check out all of the deck projects below!

This month Tarah is sharing a DIY inexpensive upgrade to her outdoor deck with cable rails.

Chas from ChasCrazyCreations is creating a solar chandelier.

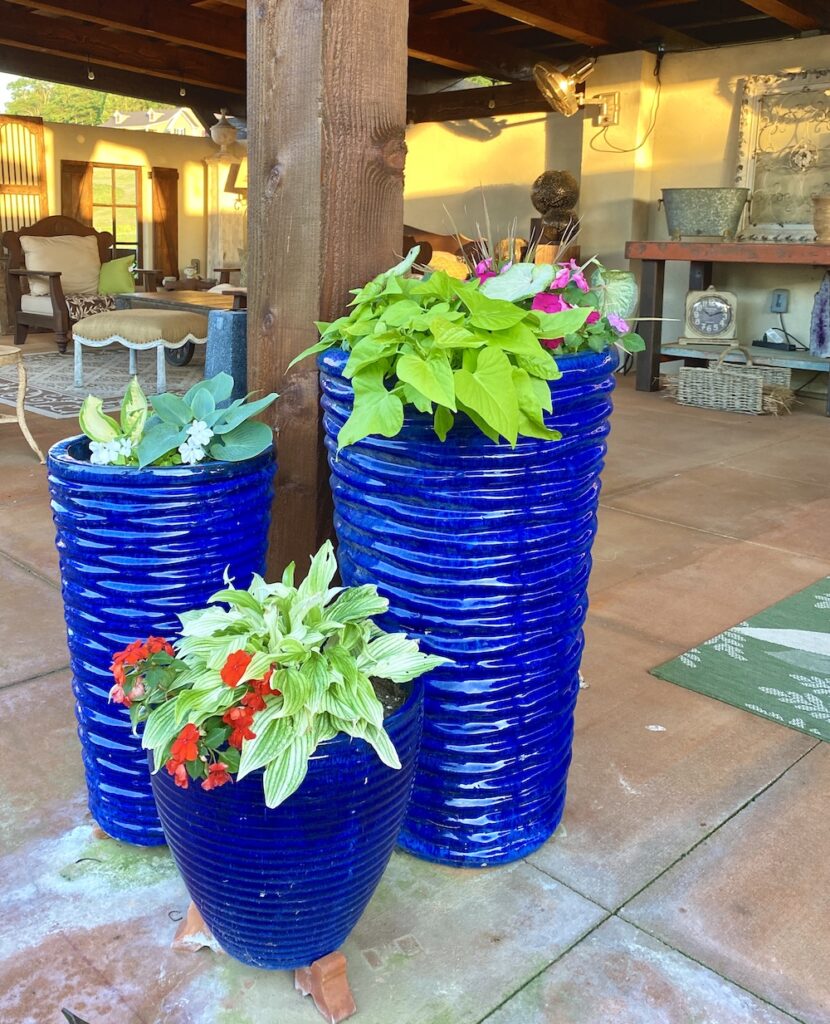
Andrea from Design Morsels has great tips for easy porch planters.
Kristin from White Arrows Home has an easy DIY for an Outdoor Shower Curtain.
This post is also shared with:
Charming Homes & Gardens #11-hosted by Shiplap & Shells

Just a reminder that any words that are italicized bring you to the source. If it is a product on Amazon, please note that I am an Amazon Affiliate. If you purchase something through my website, I receive a small (very small!) stipend, which doesn’t affect the price you pay at all. My goal is to make sourcing the items easy for you. Thank you for your continued support.


Wow you were right. It looks so much nicer with the tile and I loge the colors. What a great outdoor kitchen.
Looks fantastic Mary! Would love an outdoor space like this. Well done and thanks for sharing.
Stunning BBQ kitchen! I love it you are going to make some memories.
Have a great week,
Kippi
Kippi, Thank you so much!I completely changes the feel of the space. It feels like a destination now, instead of a cooking area.
I am so excited for you! I love your BBQ space, and that tile is perfect! I’m so excited that you are being featured tomorrow at Charming Homes and Gardens!
What an honor! So excited to recently join this group!
I love your new BBQ space. Congratulations! Look for your feature on Wednesday’s Charming Homes & Gardens Link Party.
Rachel
This is so beautiful! I love the tile you chose and love how it looks! I am featuring you this week at Charming Homes & Gardens!
Just love this area and your choice of tile is perfect with the green to compliment the outdoors
area. Enjoy!
Virginia,
Thank you for your comment! I was happy with the green in the tile and how it blends with the window trim! And it looks a bit vintage too.
Oh…I love it. You’ve made a silk purse out of a sow’s ear! (Not that it was unusable in it’s former state!) But now, I really want to spark the grill and get cooking!! At some point this summer, I will clean my tiny little grill & light it up. Just not sure when that “point” will arrive!! I haven’t used it all winter and I am a wee bit afraid to open it for the first time this season. A nearby neighbor regaled me with his spider in the grill story a few weeks back & now I am afraid to go within 10 feet of the grill!
Yes, nasty things can live in grills, but just start a fire and they will disappear! We are deep cleaning the rest of the terrace (power washing the floors and sealing them, cleaning the rugs, etc.) I just wish I could cover it up because we will more than likely get our awful dust storms this summer. Not the best timing to do this, but feels good to get it done!
You absolutely made the right choice – that looks BEAUTIFUL! You must just love having a perfect spot to BBQ! Wow – that two weeks went fast! It is sad to say goodbye, but I bet you all loved his visit. Thanks for sharing this great make over. I’m inspired! Take care my friend!
Barbara, I am so ready for all these projects to be completed! Yes, having my son home makes the family feel whole. So glad he was able to make the visit. Thanks for your comment!
Looks super
So glad you like it!
That turned out great. Love your choice of tile.
Thank you, my friend!
beautiful
Thank you!