
The “Not So Simple” Pillow Shams
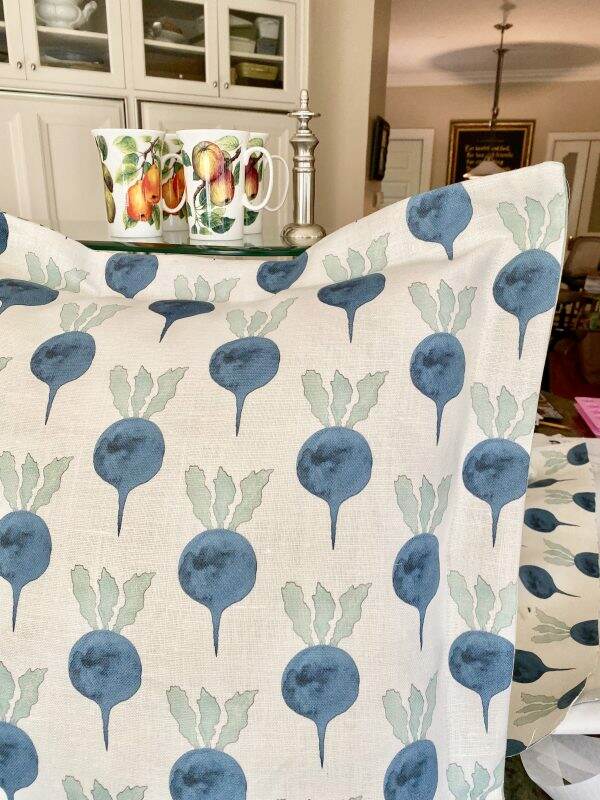
In a previous post, I discussed re-doing my son’s bedroom. I finally got the fabric and it didn’t disappoint. There was the typical anxiety in making my own pillow shams~~what if I cut the material wrong? What if they come out wonky? What if I ruin this expensive fabric? But nothing ventured, nothing gained, right?
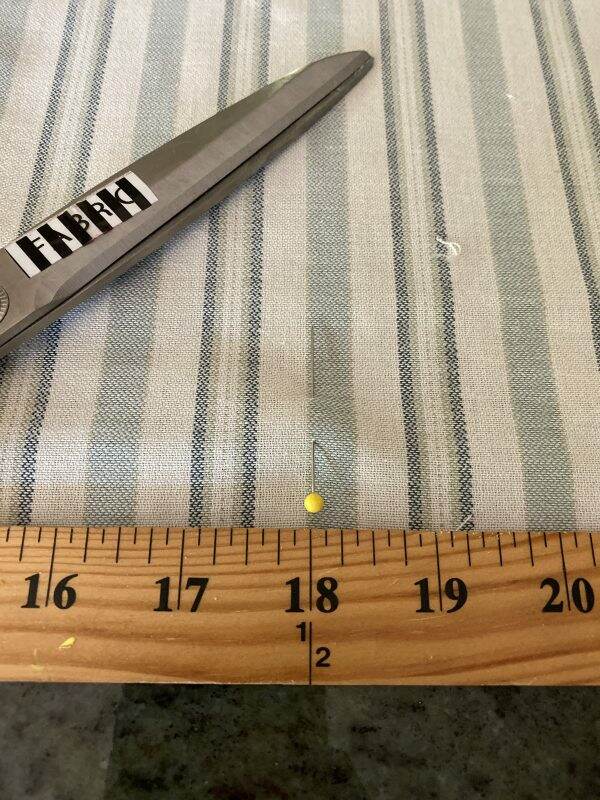
Like painting, the most important and most tedious steps are in the prep work. As my Dad always said, measure twice, cut once.
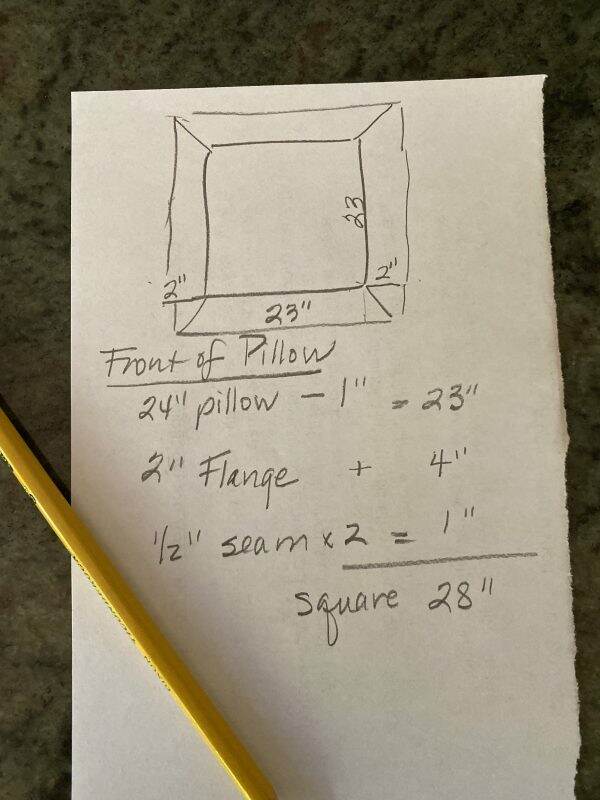
I sketched out the dimensions for a 24″ Euro square pillow. In order to get a fluffy look, the actual dimensions would be an 1″ less. I also added a 2″ flange and made allowances for 1/2″ seam.
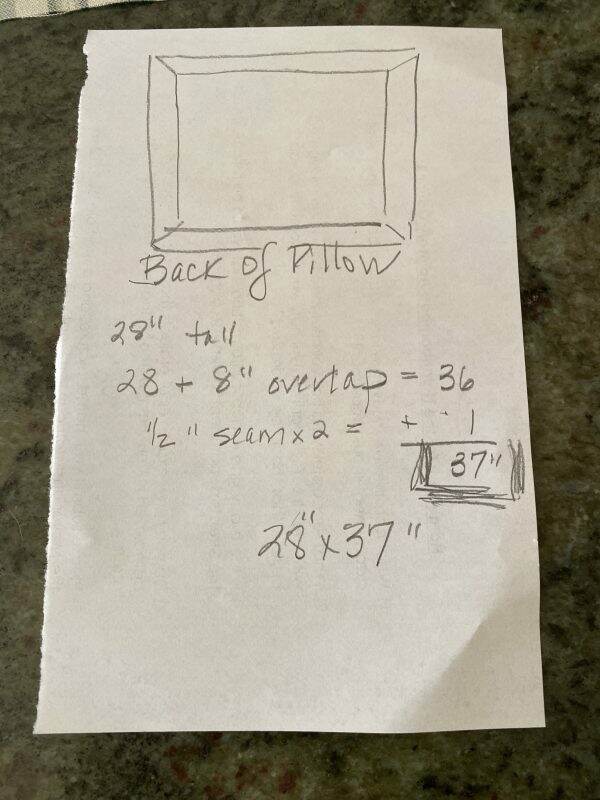
Now it was time to design the back, adding 8″ for the overlay pocket to insert the pillow. This is when I realized I didn’t have enough fabric to do the backs. Whaaaaat? I could have patch worked it together, but the thought of jury rigging this expensive fabric was discouraging. What to do?
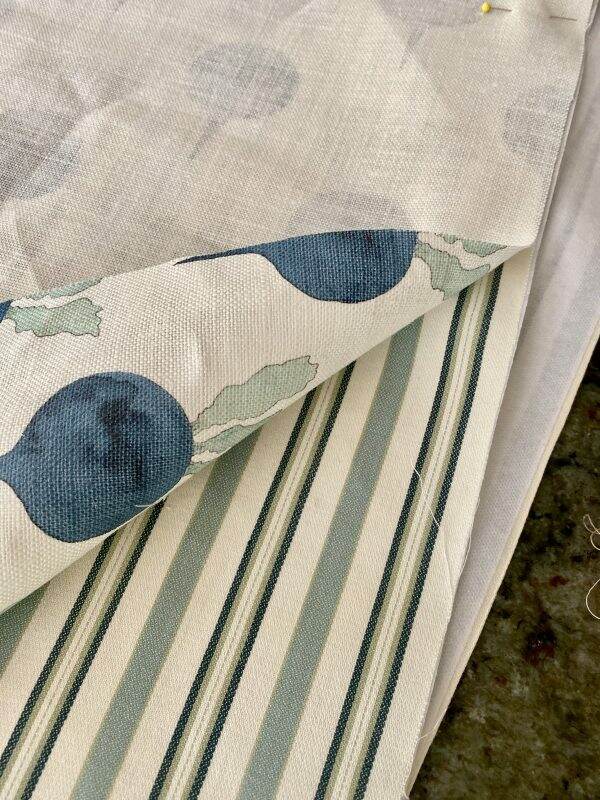
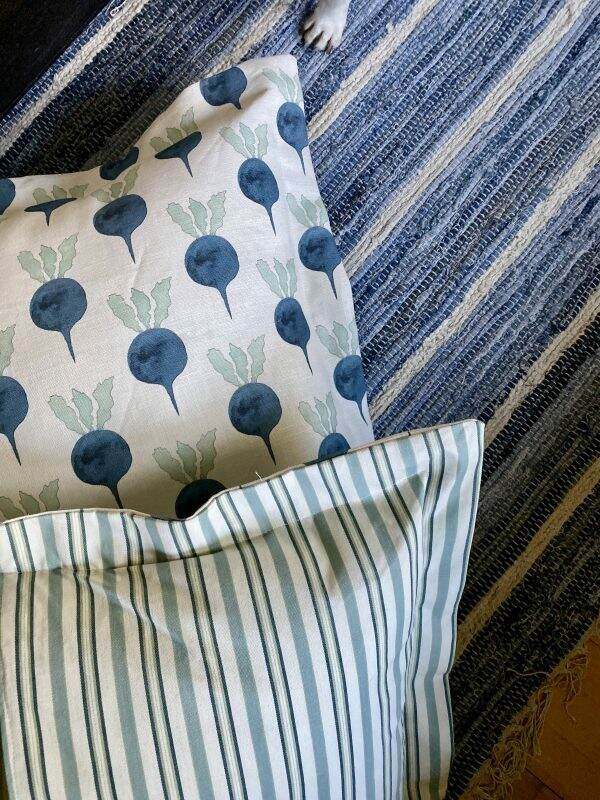
Fortunately I had some leftover blue striped fabric from another project. I dug it out of the basement and it was a relatively good color match. However, the fabric’s weight and thickness were completely different. Sigh.
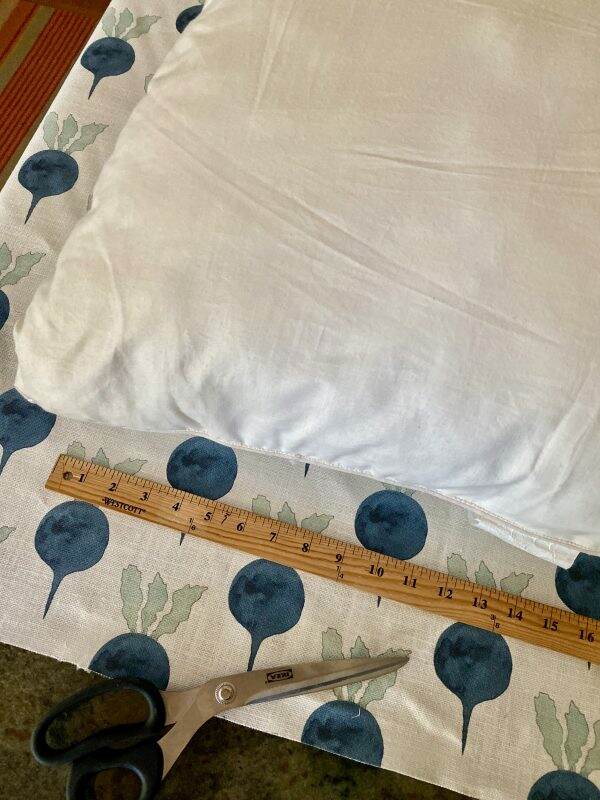
I measured the back fabric, adding a center cut for the pocket opening, still debating on whether this stretchier fabric would work against a heavier weight linen.
I decided the only thing I could do was to add interfacing. I ran to Walmart hoping they would have what I need. Once I ironed the fusible interfacing to the striped fabric I was pleased with the solution.

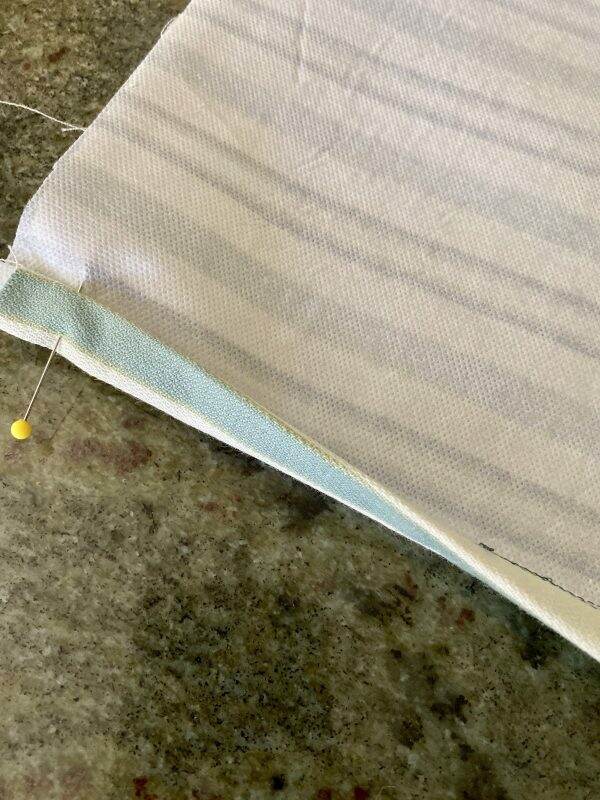
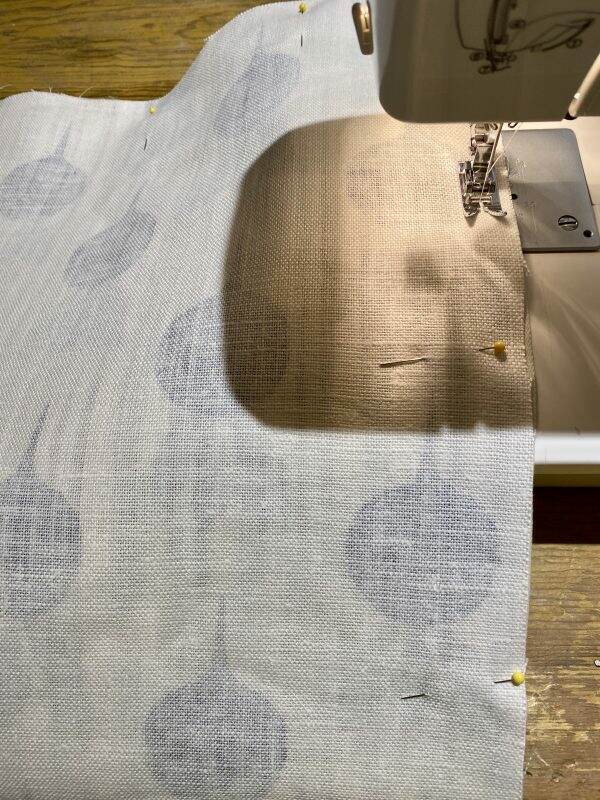
With all the pieces finally measured, cut and the striped sections interfaced, I was ready to sew. The first step was creating a clean edge for the pocket panels in the back.
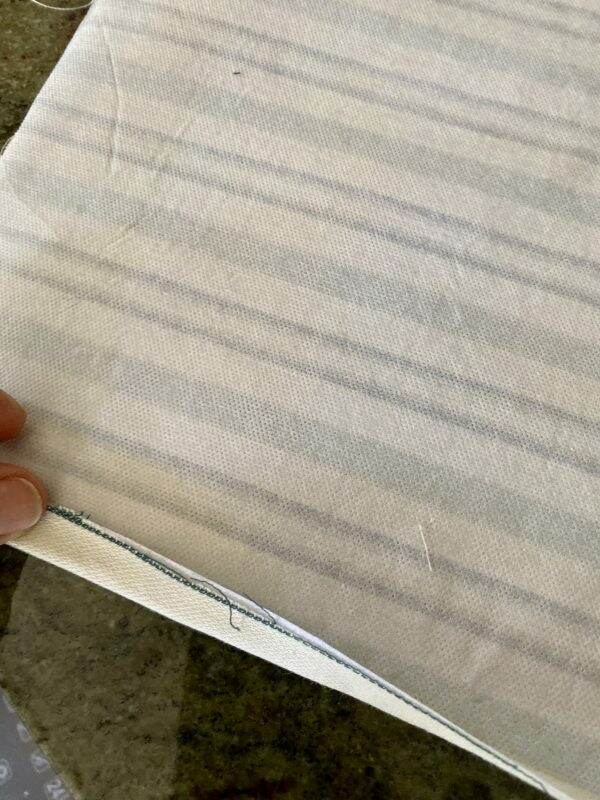
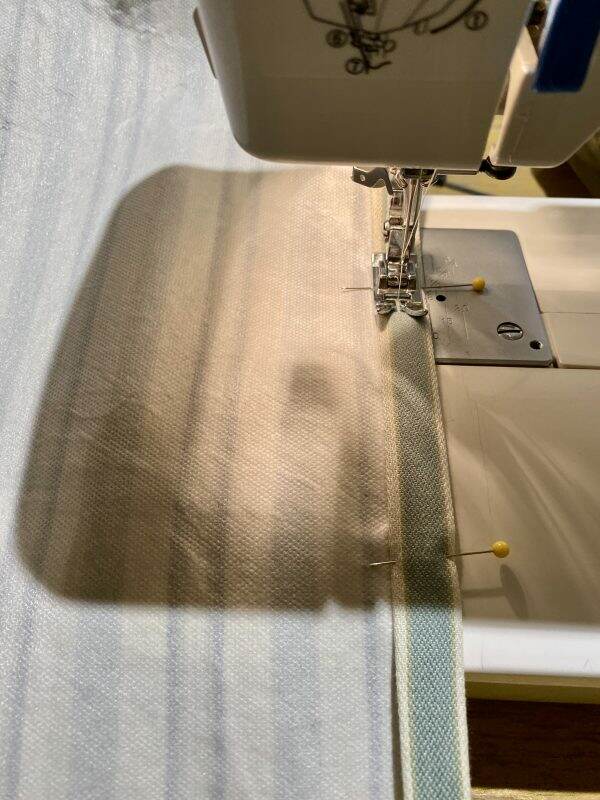
I rolled the edge once and then again and pinned it.
A quick and easy stitch on both back panels.
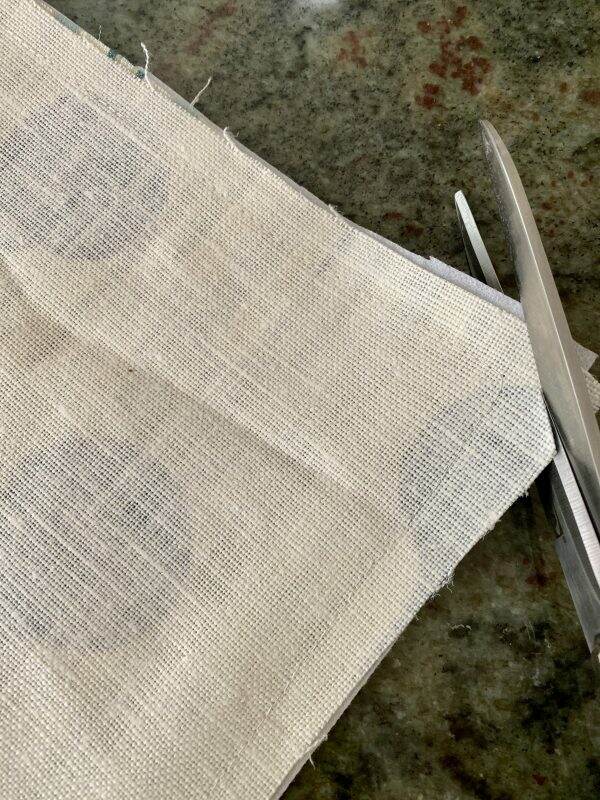
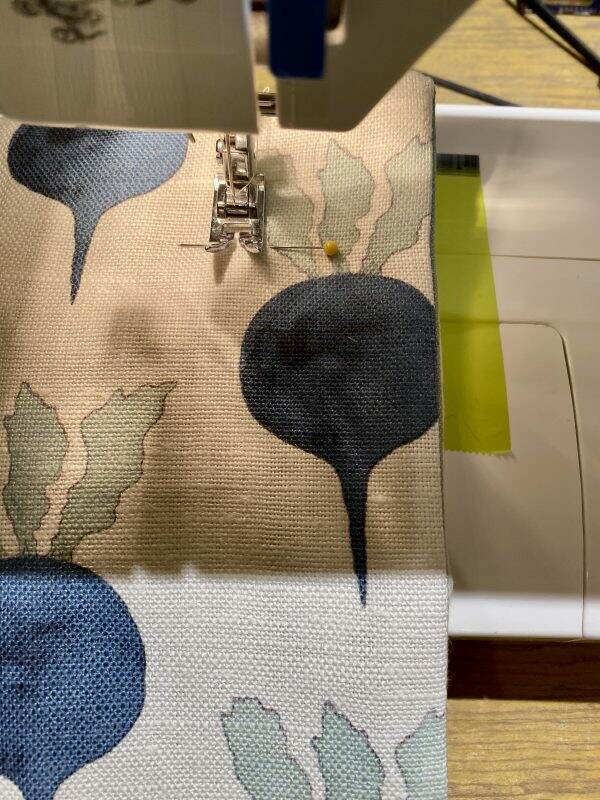
Laying the front sides of the fabric together, I stitched a 1/2″ seam on all 4 sides.
I clipped the corners to create square edges.
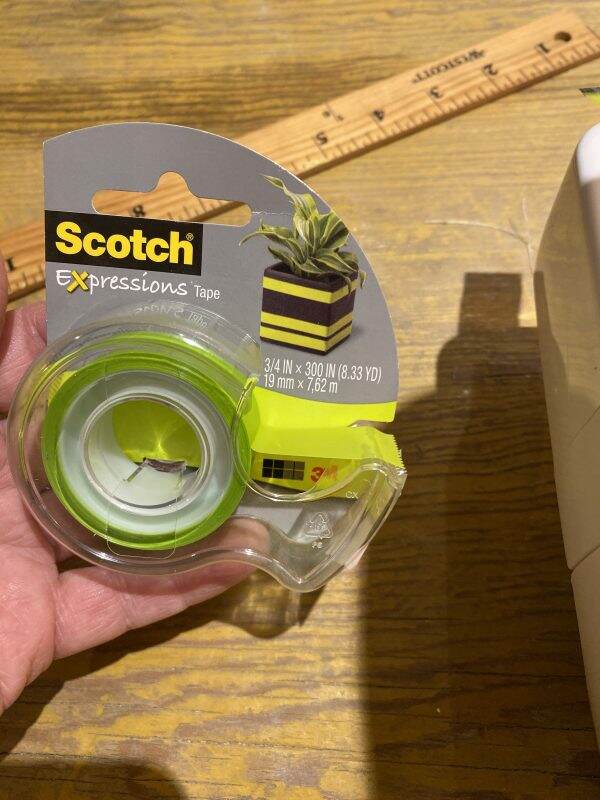
Next, I created a 2″ marker to be used as a guide to stitch the flange.
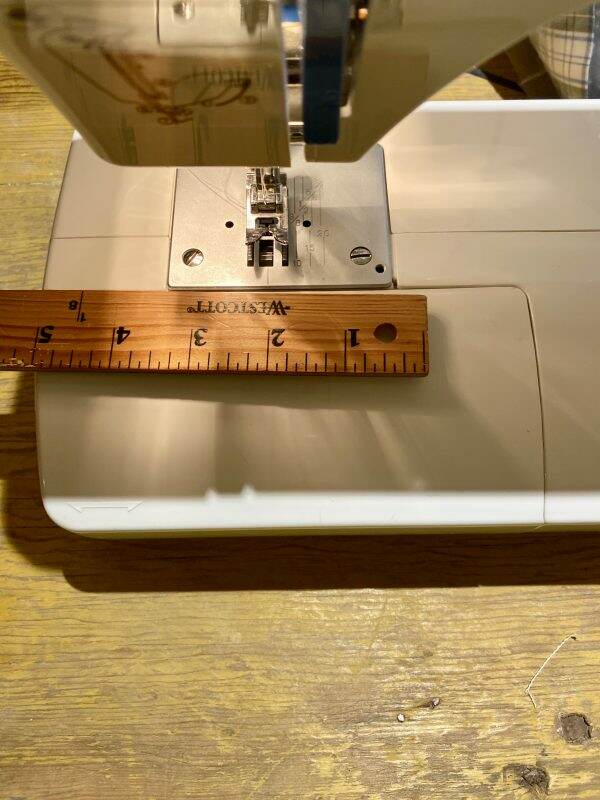
Scotch Expressions colorful tape worked perfectly as my edge to guide the fabric.
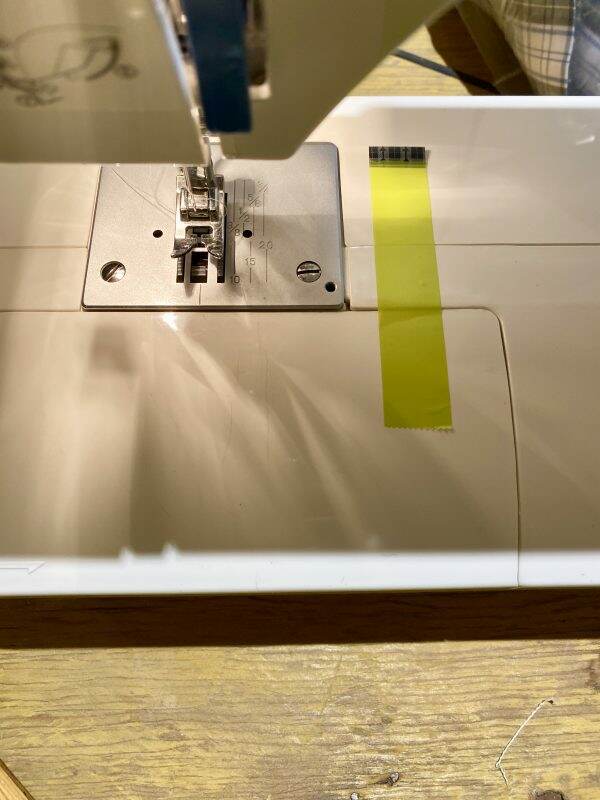
Starting and ending 2″ from each corner, I sewed all 4 sides.
Turned the fabric inside out and inserted the pillow. I was relieved when everything fit!
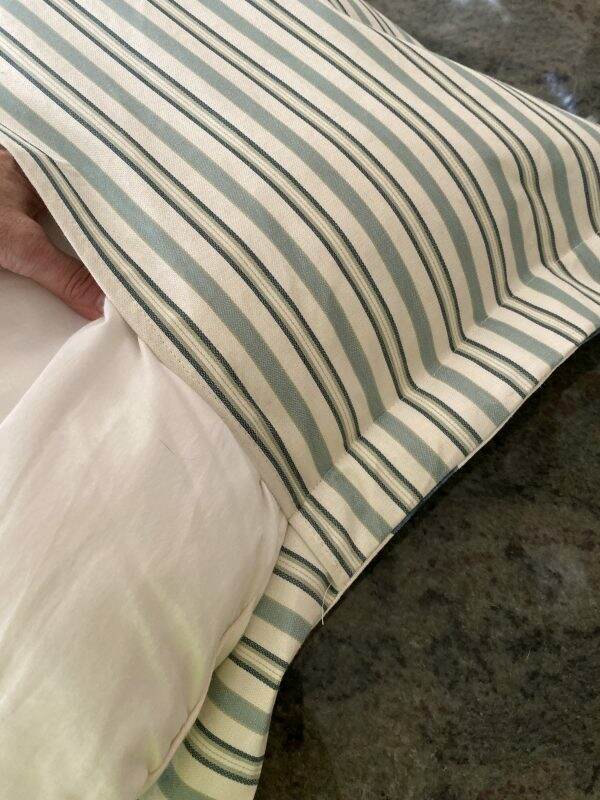
It has been ages since I have sewed anything and I am delighted with the end product.
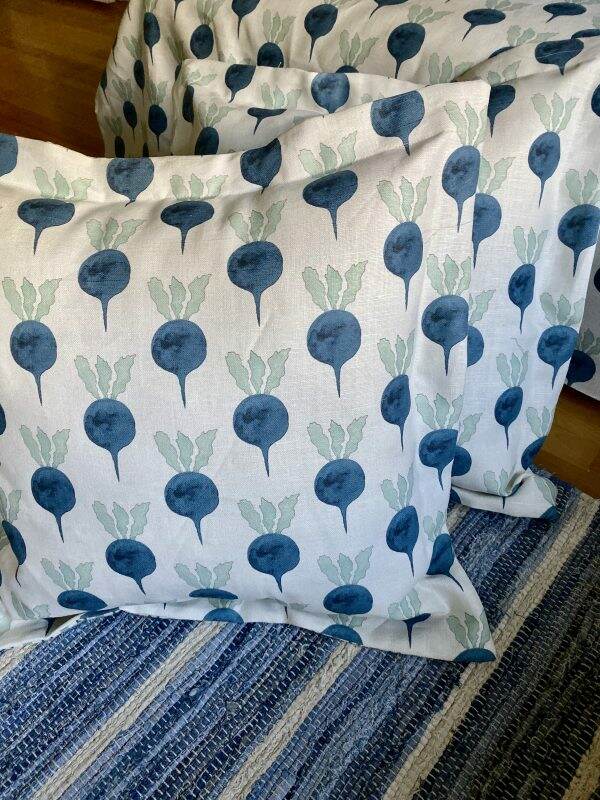
All in all, in spite of the obstacles, this was a simple DIY project. Just plan ahead, make sure you have enough fabric and you will be successful! Now onward with the rest of the room remodel!

Resources:
Blue Radish Fabric by: Radish Moon, 648 Broadway suite 600, NY NY 10012 917.279.5465 www.radishmoon.com
Blue Striped Fabric by Waverly
Pellon 950F ShirTailor Fusible Interfacing purchased at Walmart
Just a reminder that any words that are italicized bring you to the source. If it is a product on Amazon, please note that I am an Amazon Affiliate. If you purchase something through my website, I receive a small (very small!) stipend, which doesn’t affect the price you pay at all. My goal is to make sourcing the items easy for you. Thank you for your continued support.


First of all….love that fabric.
Second of all….great tutorial.
You are such an inspiration friend!
karianne
Nice job, sis!!!! Looks great
That means ALOT coming from the Sewing Queen!!!! Thanks.
It looks great!