Trying my Hand at DIY Salt Dough Ornaments
In a previous Saturday Meaderings, I share beautiful salt dough ornaments by both Miss Mustard Seed and Eleanor Rose Home. My recollection of salt dough ornaments are from childhood, where they are rather goofy and painted bright colors. But times have changed and wooden molds are certainly more sophisticated. I find a pretty mold and try my hand at making salt dough ornaments.
Wooden Molds
I order two wooden cookie molds. The pinecone one arrived very quickly, however, the other is still en route. If you order these, note where they are coming from….obviously the one that hasn’t arrived is somewhere out of the country. Of course, I didn’t realize that when I placed the order.
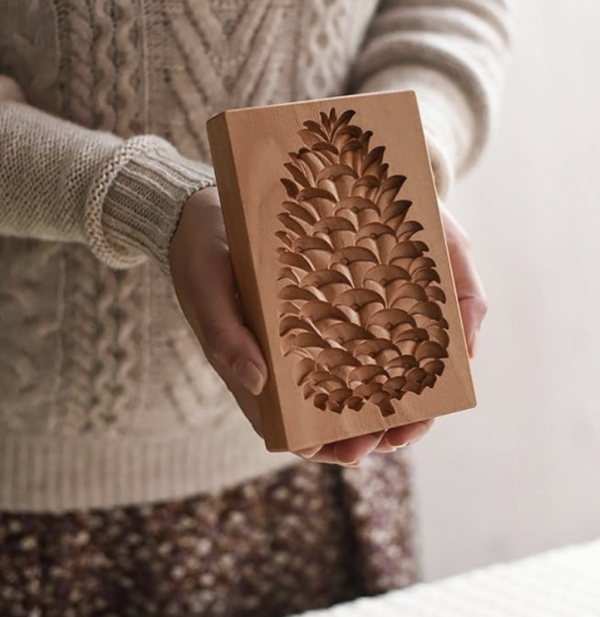
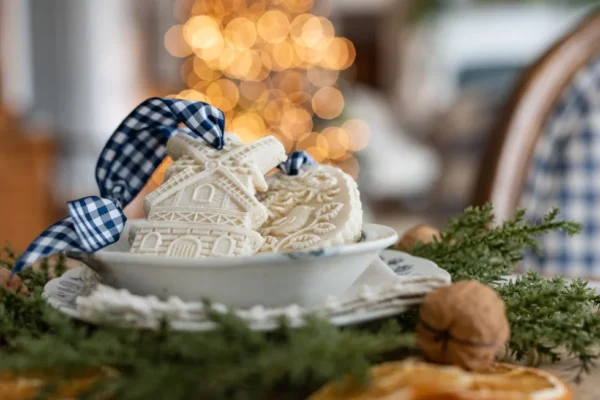
If you google wooden cookie molds there are various resources from Amazon to Etsy.
Making the Dough
There are two types of dough you can make. Simple salt dough or gingerbread salt dough. The difference is in the color of the dough~whereas one is more white and the other is tinted brown by adding cinnamon.
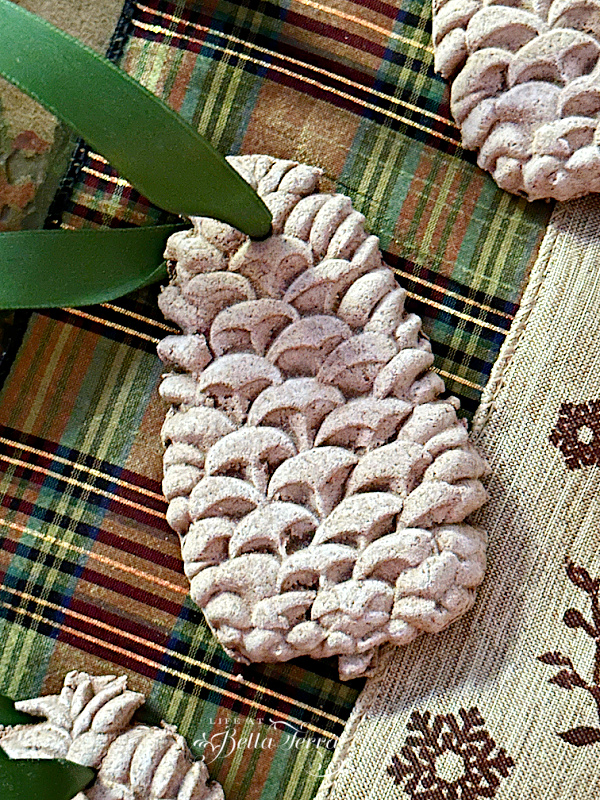
Since I am making pinecones, I mix up a batch of the gingerbread salt dough. However, I don’t have enough cinnamon so I do half cinnamon and half allspice. I must say, the kitchen certainly smells of Christmas while these are baking.

I make one batch of dough giving me 7 pinecone cookies. Depending on the size and detail of your mold, your quantity will vary. It is also easy to double or triple the dough recipe. The equipment you will need:
- Cookie molds
- Baking Sheets
- Parchment Paper
- Toothpick or skewer
- Ribbon or Twine
- Scissors
- Tapestry or large needle
The ingredients for the gingerbread salt dough are:
- 1 cup of flour
- 1/2 cup salt
- 3/4 cup cinnamon
- 3/4 cup of water
If you are making regular salt dough the ingredients measurements are slightly different:
- 2 cups of flour
- 1 cup salt
- 1 cup water

Mix the dry ingredients together in a mixing bowl. Add water and stir together with a spoon. Using the paddle attachment, mix the dough until it is brought together and all dry ingredients are absorbed. Dough will be crumbly but should hold together when squeezed.
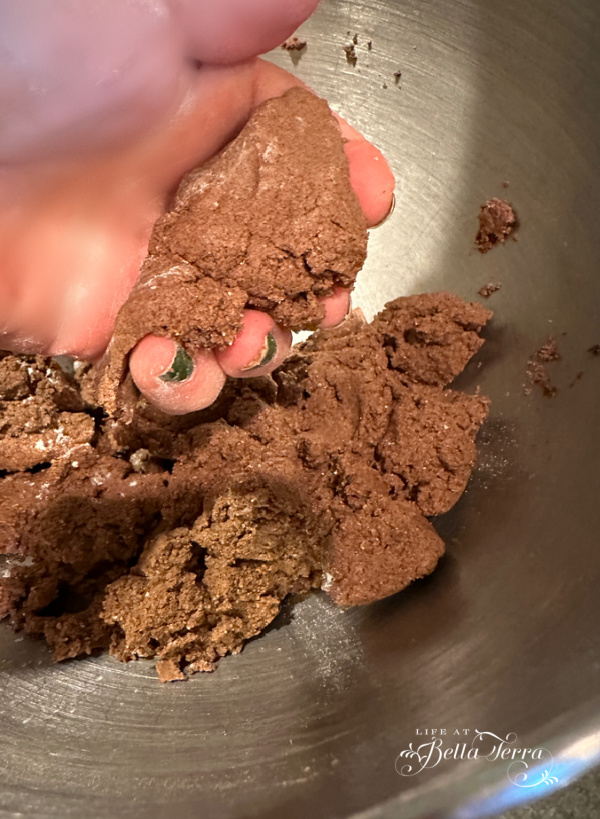
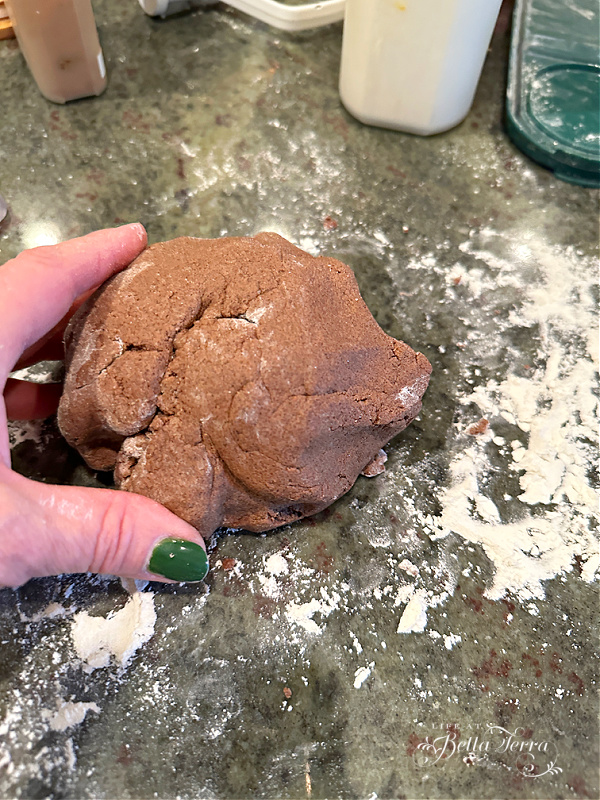
Turn out dough on a floured surface and knead for 30 seconds to bring dough together in a ball.
Using the Mold
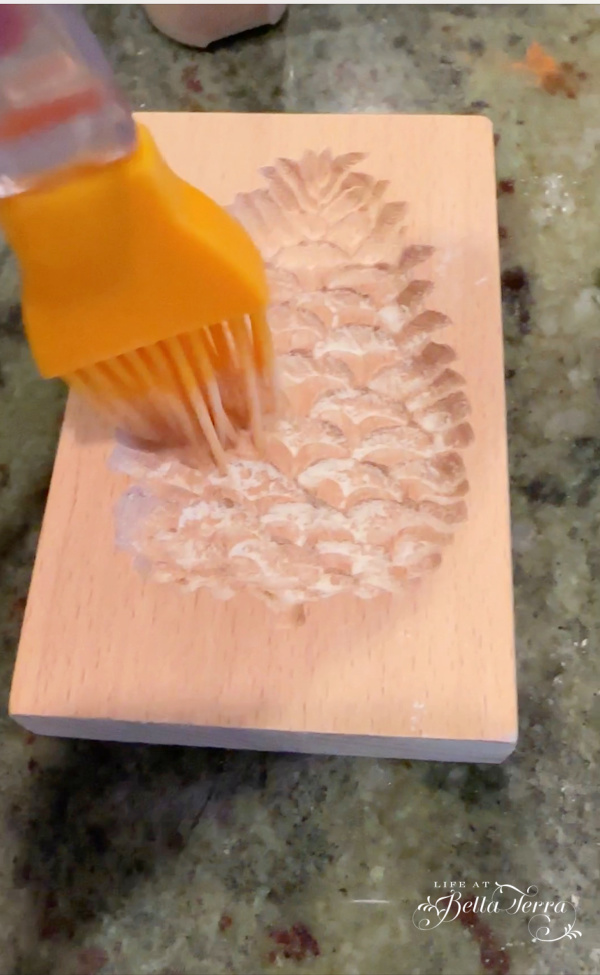
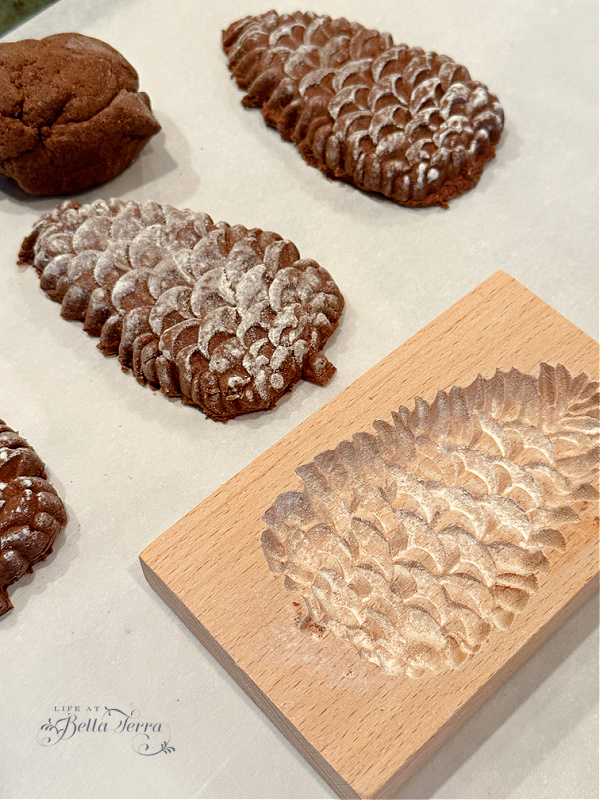
Lightly brush the mold with flour.
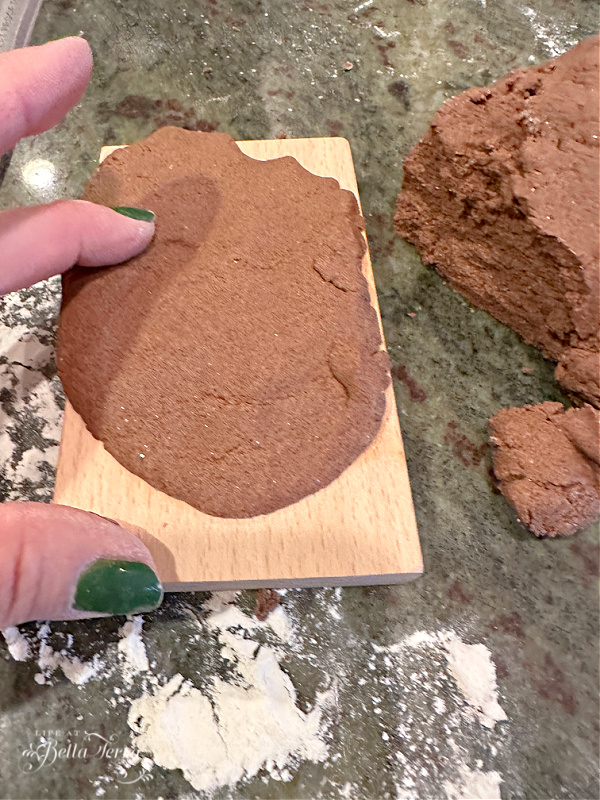
Press the dough into the mold.
I then press the dough down using a bench scraper to make sure the dough is in all the nooks and crannies. However, I leave the surface of the dough slightly higher than the plane of the mold. It seems easier to remove the cookie impression this way.
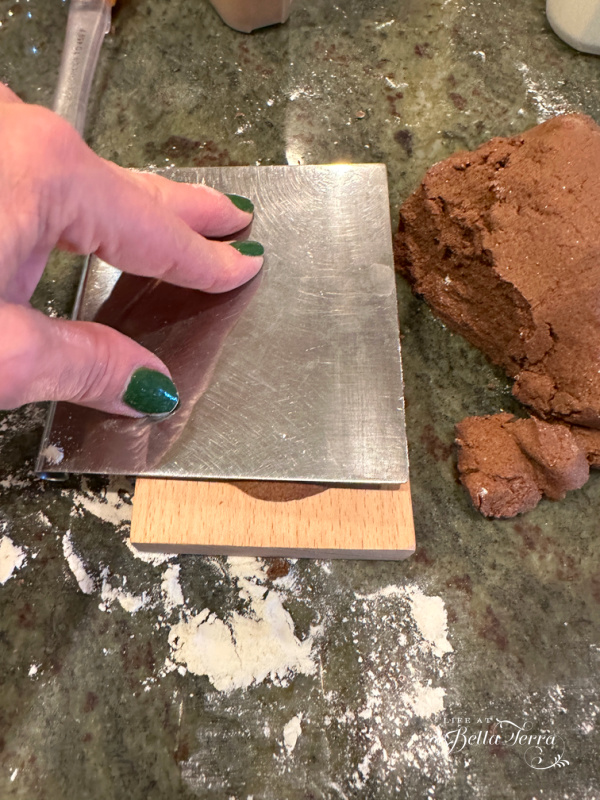
Tap out the dough or loosen one edge and it should easily release from the mold. Place cookies on a cookie sheet with parchment paper.
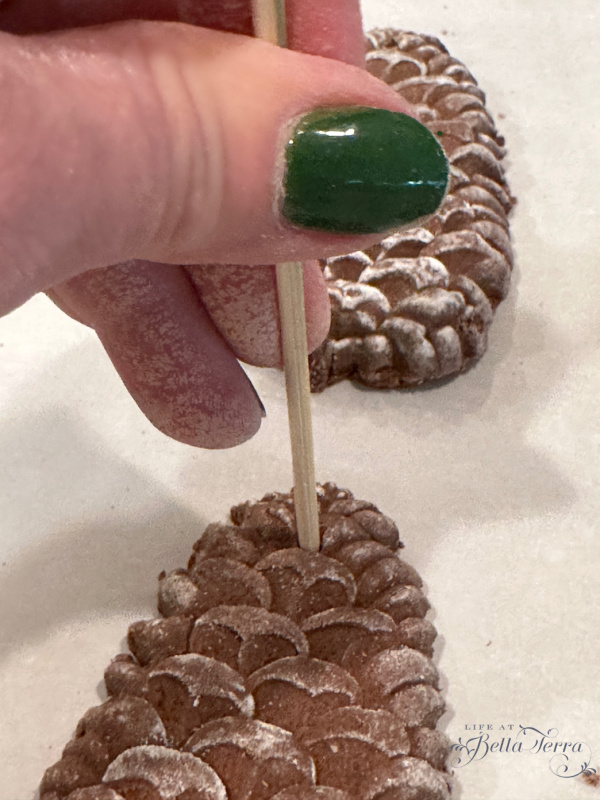
Before baking, I use a wooden skewer to start a hole for the ribbon.
Bake at 200 degrees for 30 minutes with decorative side up. Flip over ornament and cook for another 30 minutes. Put on a cooling rack to cool.
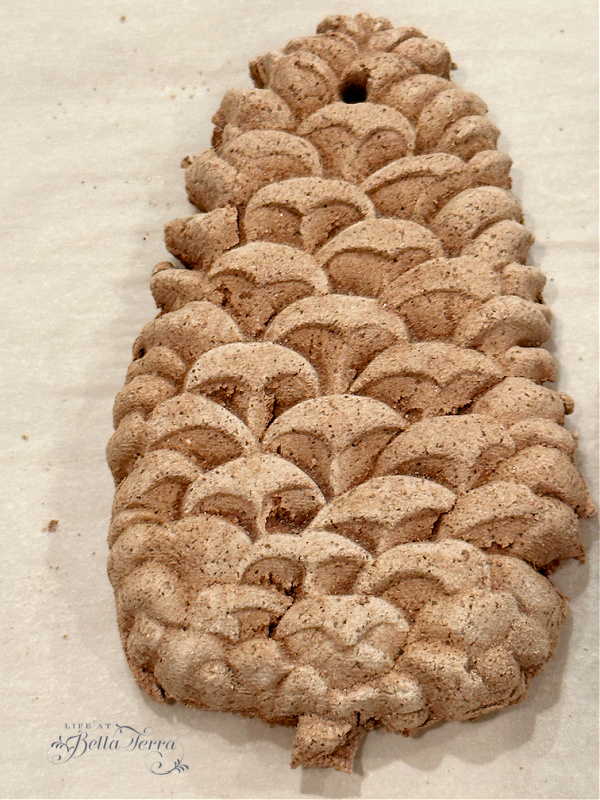
The salt in the salt dough ornament rises to the surface, as you will note the pinecone is lighter than the pre-baked color.
Some things to Note
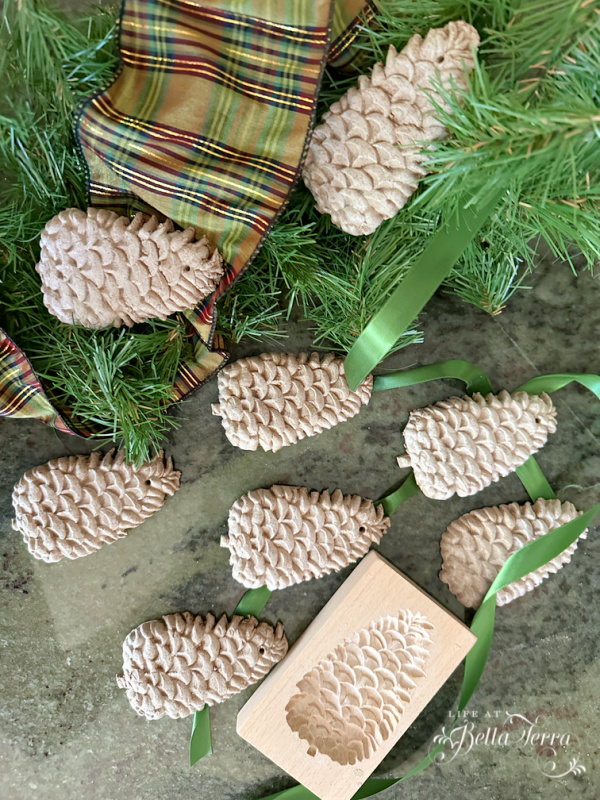
The skewer hole is not big enough to use a needle to string the ribbon. My husband drills a larger hole so I can use this needle to get the ribbon through. I am debating whether I should add a little glitter, but I feel like these particular ornaments look more realistic glitter-less.
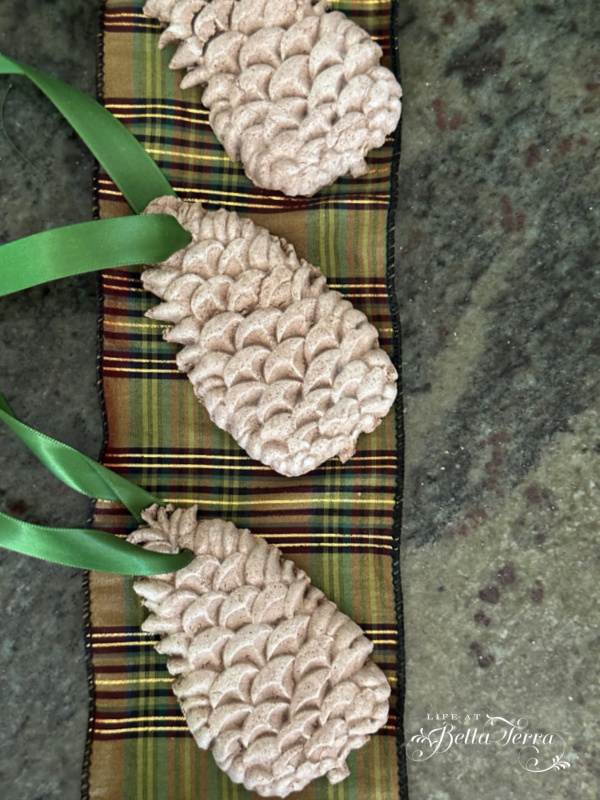
I will probably try making these again using the standard salt dough (no cinnamon) and see how they turn out.
With all the beautiful molds and resin replicas of vintage molds, I can see this being an annual DIY.
Have you ever made these before? If so, let me know how it went.

If you enjoy this post, please share on Pinterest.
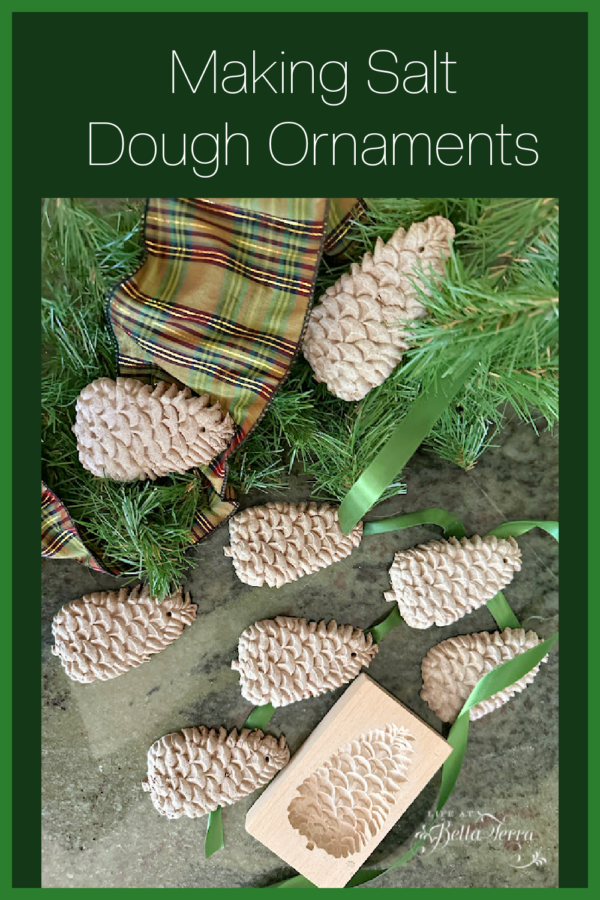
Salt Dough Gingerbread Ornaments
Ingredients
Equipment
Method
- Mix dry ingredients together in a mixing bowl.
- Add 3/4 cup water and stir together. Mix in a mixing bowl using a paddle attachment until dough is brought together and all dry ingredients are mixed well. Dough will be crumbly but should hold together when squeezed.
- If the dough is too dry, add more water a little at a time. The dough should be stiff and workable, not sticky. Turn dough out on a floured surface and knead for 30 seconds to bring the dough together in a ball.
- Press dough into molds, scraping off excess with a bench scraper or knife. Carefully release dough from mold and transfer to a baking sheet lined with parchment paper. Use a wood skewer to create a hole at the top of each ornament for hanging.
- Bake at 200 degrees for 30 minutes with decorative side facing up. Flip over ornaments and cook for another 30 minutes. Put on a cooling rack to cool.
- Add ribbon or twine in the hole with a tapestry or large needle.
Just a reminder that any words that are italicized bring you to the source. If it is a product on Amazon, please note that I am an Amazon Affiliate. If you purchase something through my website, I receive a small (very small!) stipend, which doesn’t affect the price you pay at all. My goal is to make sourcing the items easy for you. Thank you for your continued support.



Mrs. Mary, those came out so pretty. I have been seeing a lot of those on blogs lately but you have inspired me to make them with my kids.
Crystal, I just received my second mold and it’s so adorable. Hope to make more this week and if so, I’ll share pictures on my next Saturday Meanderings!Have fun and send me photos of yours.
I love these Mary! I will have to try the dough. I made some this week and will post on Tuesday. I am going to share these on my blog tomorrow.
Wendy, I cannot wait to see yours. I just got another sweet mold (a chicken!) and hope to make some this week. Looking forward to your post!
Mary,
The pinecone ornament mold is very detailed and lifelike. Your ability to try new and different projects continues to amaze me and I always look forward to reading your blog! Many blessings to you and your family this holiday season!
Louise, thank you so much. Yes, the pinecone is quite detailed and reminds me so much of Pinetop! I just received a second mold this week (chicken!) and hope to try that too. Same to you~wishing you love and joy this holiday.
This definitely brings back fun memories! I hope to try these someday (so many things I want to do!) – I need to order some molds for sure! I’ve also seen recipes for applesauce-cinnamon ornaments that keep the dark color (very gingerbread looking!). I hope you’re having a lovely holiday season!
Patty, good luck in making these. I just got my second mold (a chicken) and will try to find time to make them this week. Such fun and oh so easy. My kind of craft! Ha.
Mary,
These look wonderful from a mold. I made salt dough ornaments many years ago to decorate a little kitchen tree using cookie cutters, hanging the ornaments and the cookie cutters on the tree. I started collecting miniature kitchen utensils as well and eventually used all of these on a kitchen window garland. I’m enjoying all your DIY projects!
Nancy, I have miniature copper kitchen ornaments (teapot, stock pot, etc.) that I generally hang on a small tree on my kitchen island. Still haven’t gotten those out yet, but thanks for the reminder! I bet yours look beautiful on your window garland!
They look fantastic, Mary! Some years I made ornaments using regular gingerbread cookie dough in either tradition shape or with a heart cutter. Since they are still somewhat soft when they come out of the oven, you can make the holes after baking. The boys loved being able to snitch them off the tree to nibble!
Karin, what a good idea to make them edible!Thanks for sharing. I hope to make a gingerbread house again this year and I will try that dough in this mold. Hope all is well your way!
They will be beautiful on your tree! I love a good DIY project. Thanks for sharing. They came out great!
Joanie, thank you! I have them on a small kitchen counter tree as I am doing a gingerbread theme there this year. I hope to post some pictures when my kitchen is clean enough to take some decent photos!
Oh my gosh – childhood memories but these are gorgeous. You are right about those from years ago -definitely goofy and garish colors!
Cindy, right? I am so excited that I tried this and really love the results.