artificial flowers | bargains | decorating and design | furniture | house restoration | renovation | Uncategorized | Upholstery
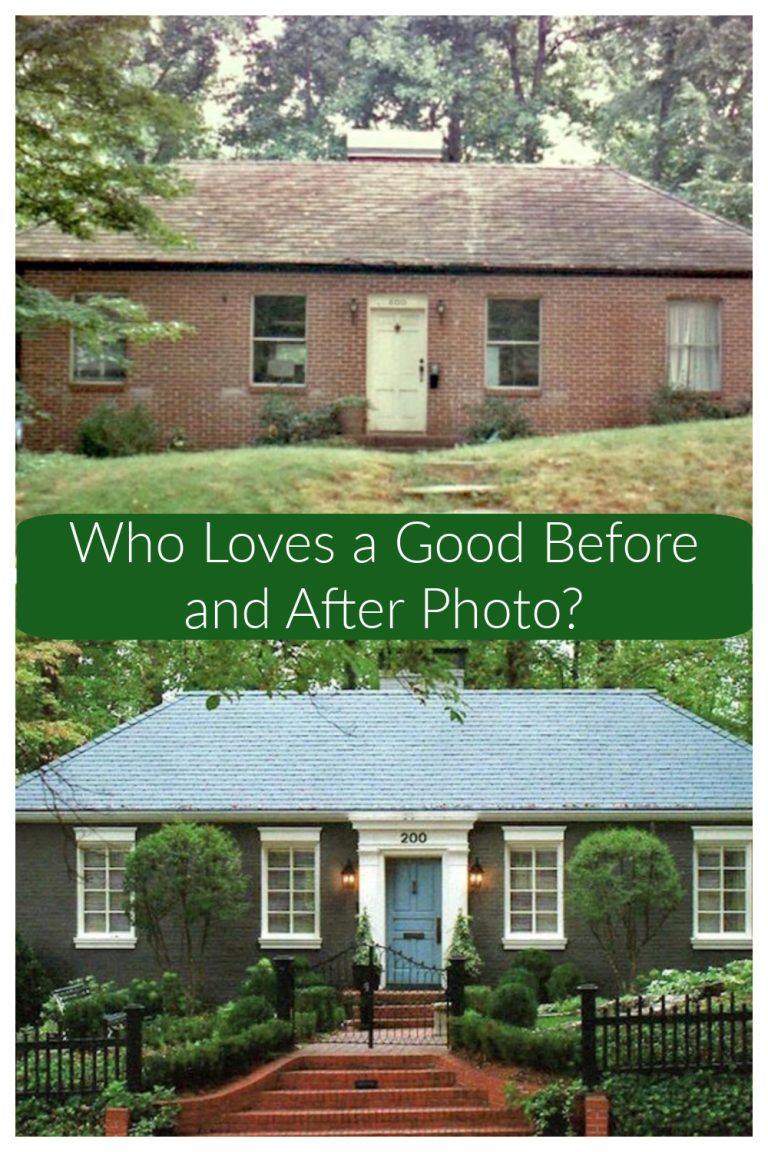
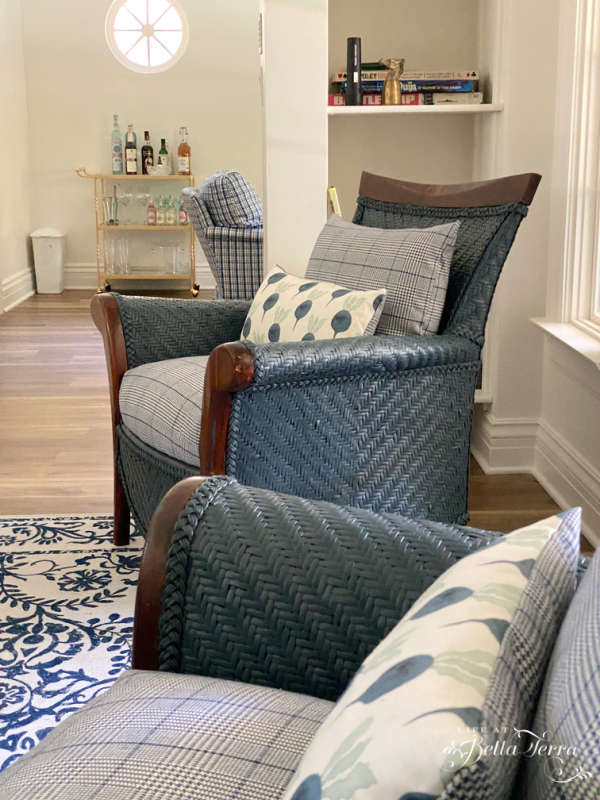
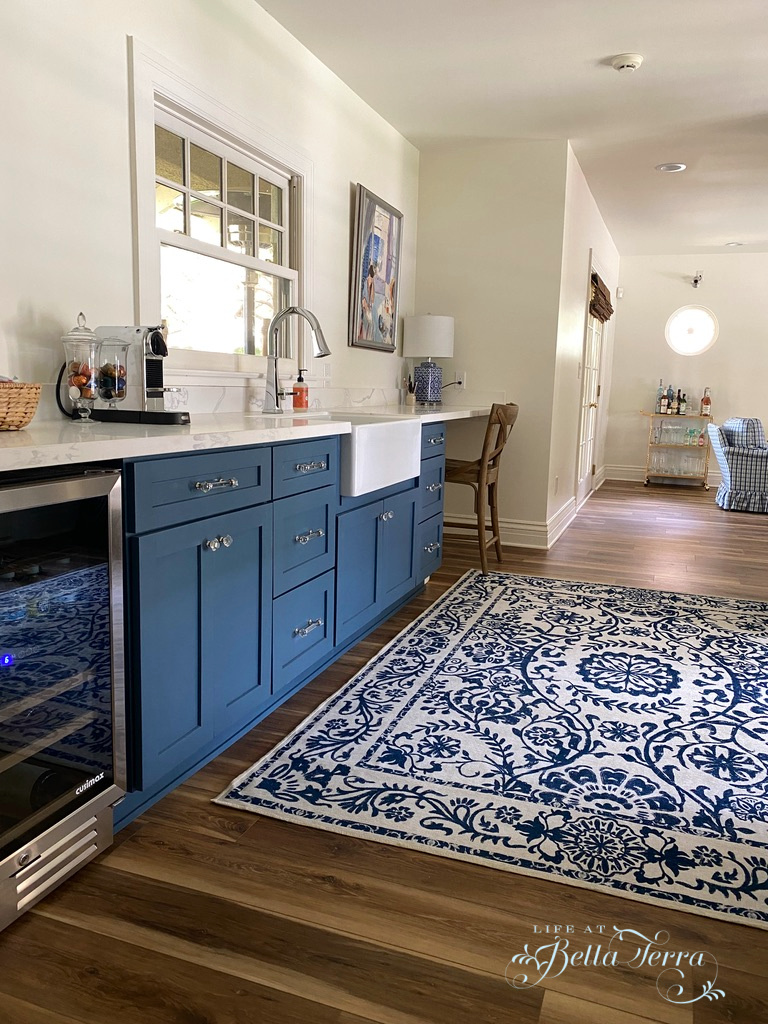
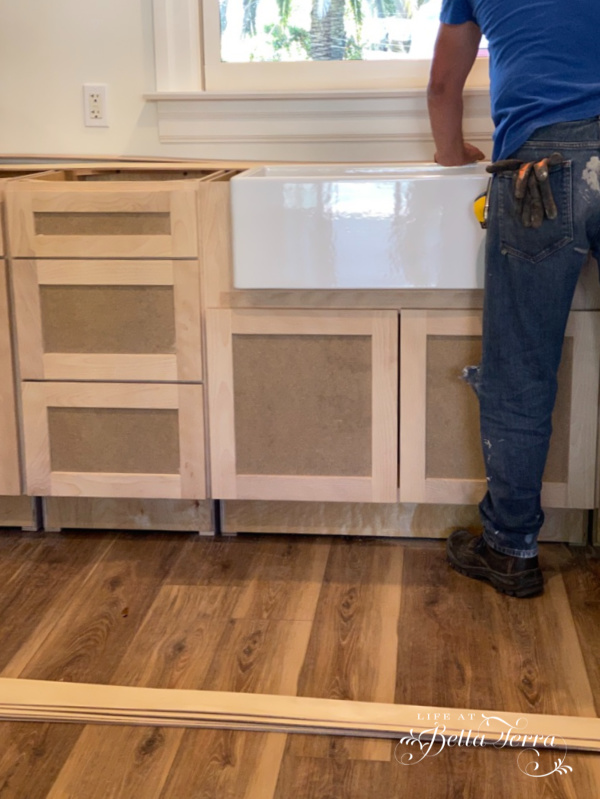
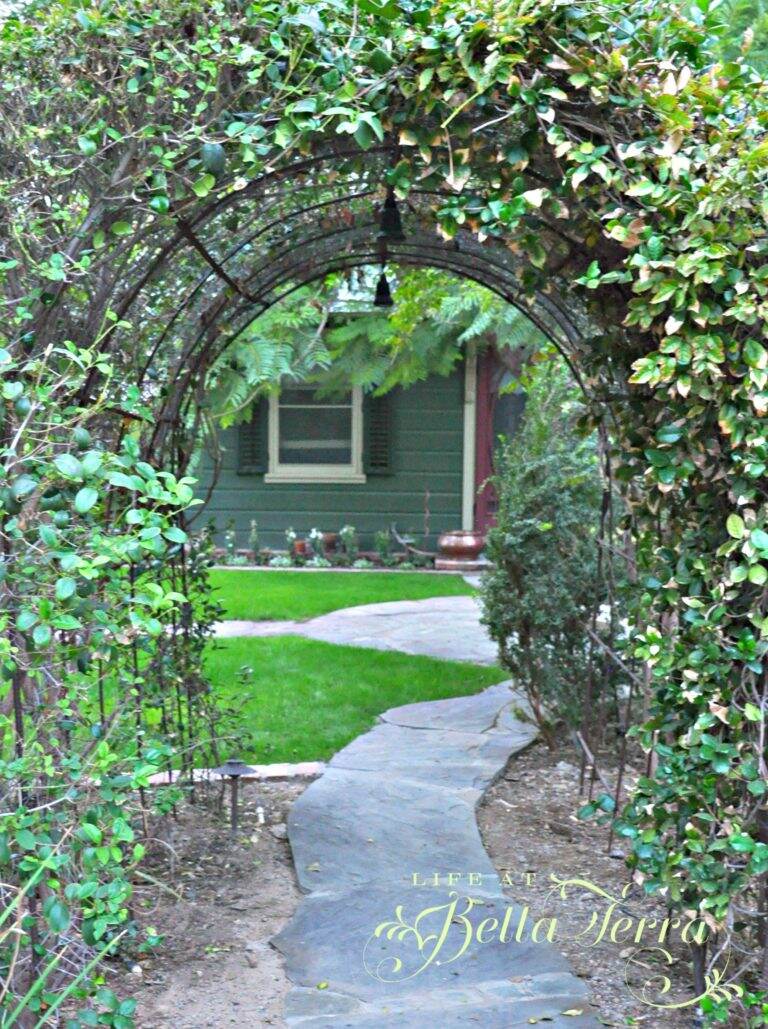
Take a Peek into Our Guest Cottage
I’ve had a few requests to share pictures of the guest cottage interior. This sweet small building sits in the quiet northwest corner of our property and is very secluded from the main house. We estimate the age of the guest cottage to be from the 1930 to 1940. So let’s take a peek. I…