
From Trash to Treasure: Rescuing Adirondack Chairs
A few weeks ago, in two separate garbage piles, I found Adirondack chairs and a small table. Typically I do not look for junk furniture in someone else’s trash, but I do love a good Adirondack chair. Several new Adirondack chairs are made with a high density polyethylene and can be pricey. So when an opportunity presents itself, what’s the worst that can happen? If the chairs are in really bad condition, then all I need to do is throw them out again.
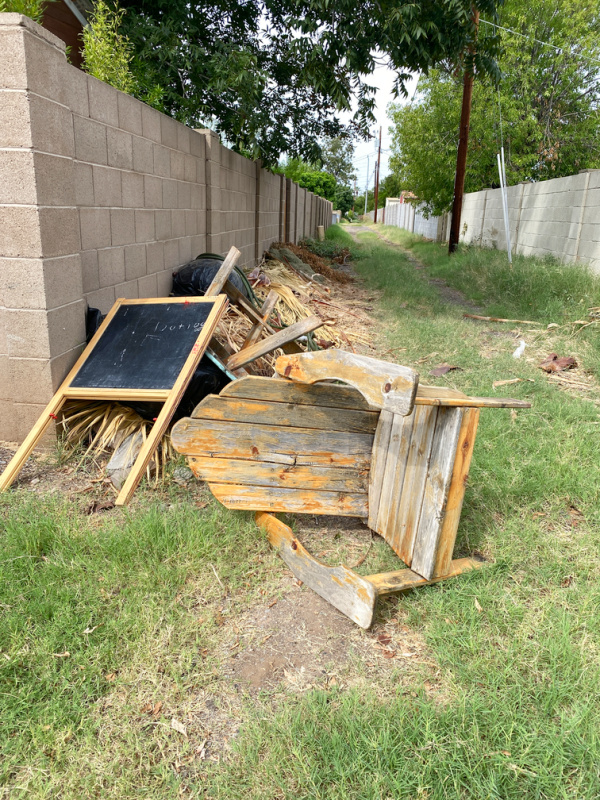
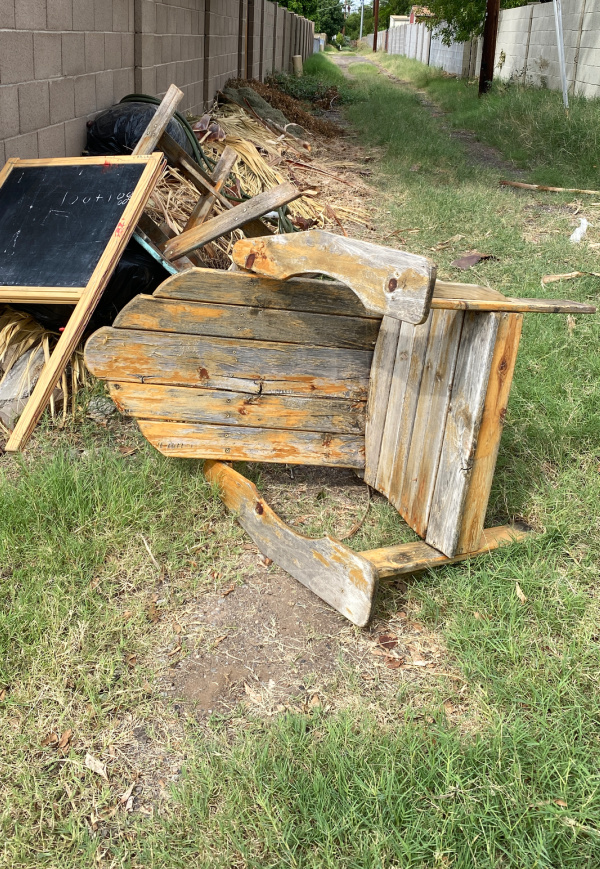
Before~The Trash
Here is the chair I found in the alley. I do hate it when people use alleys for a dump site (very irresponsible). Behind the chair is the small table.
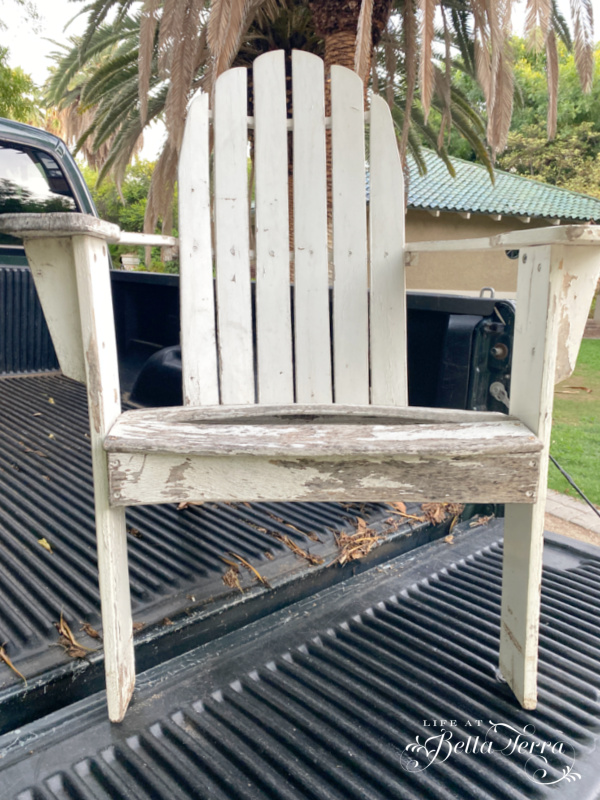
The second chair was sitting in a pile across the street during bulk trash pickup. I spotted it pulling out of our driveway on the way to an appointment and my sweet husband went and got it for me.
Even though the chairs are different in style, I think, once refinished, they will look lovely together.
Chair Repairs
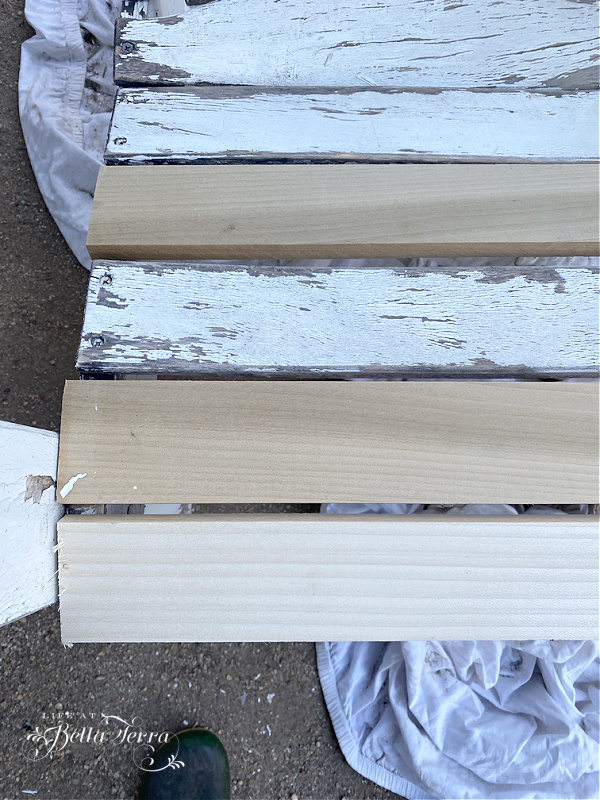
Both chairs need new slats as they are either warped or split due to knots in the wood. This repair is rather easy by purchasing popular boards of similar size from Home Depot.
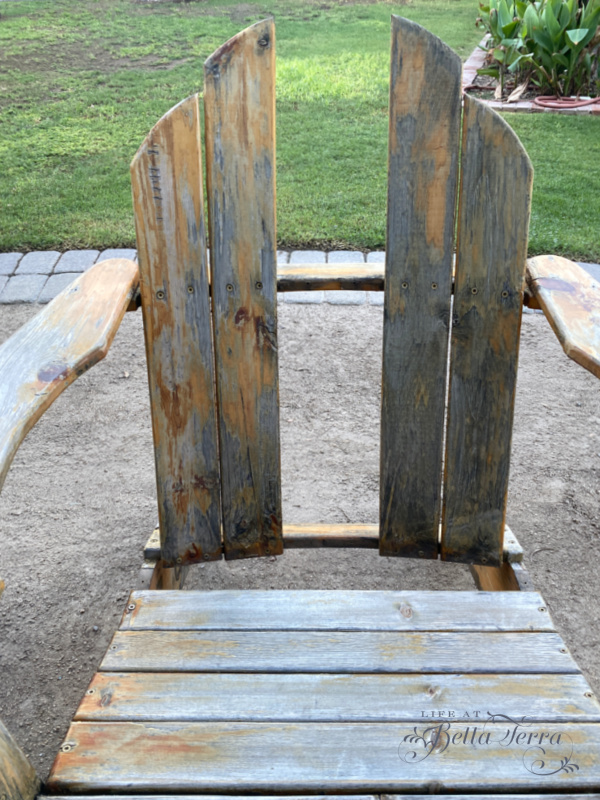
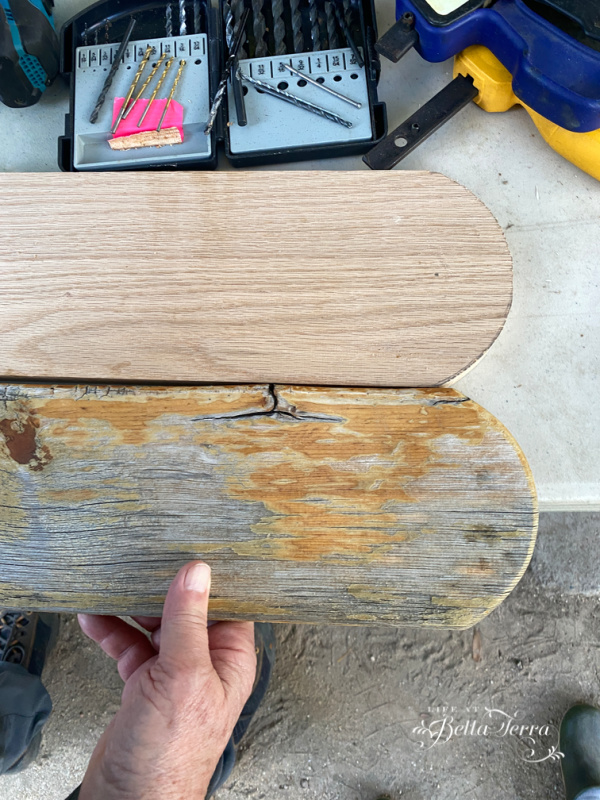
With this chair back repair, my husband uses the damaged piece as a template to cut a new one.
Sanding and Prep Work
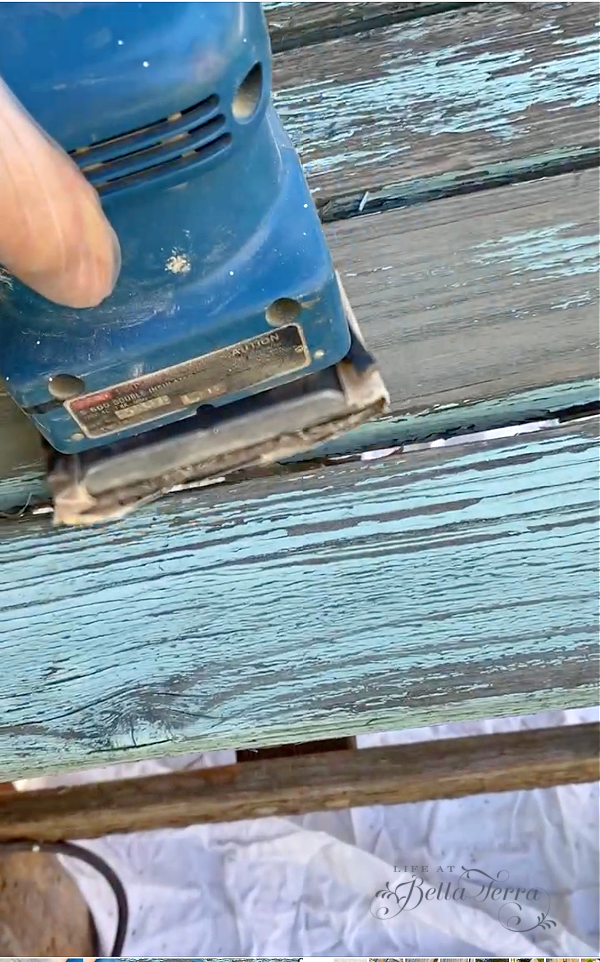
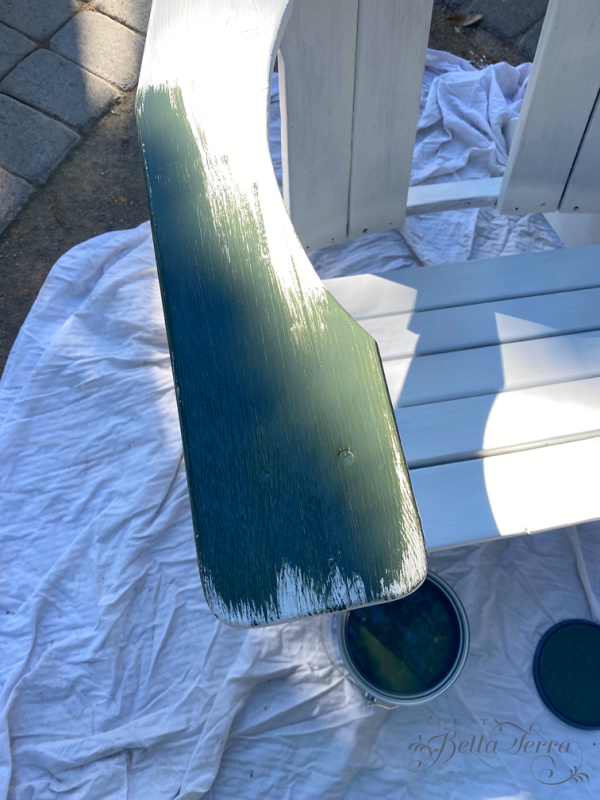
The white chair has a plasticky paint that requires a good sanding job. Meanwhile, the other chair’s paint is nearly gone. Sanding will help knock off the old blistered remaining paint.
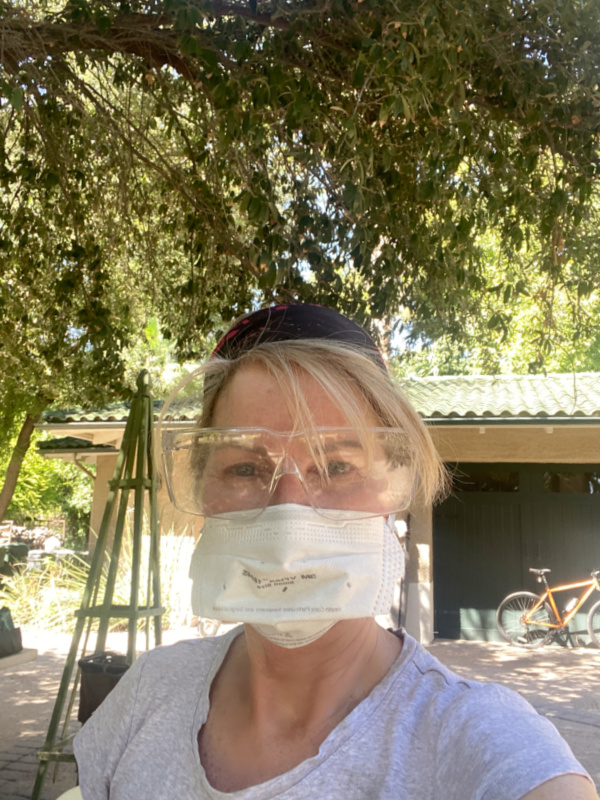
Make sure you wear eye,skin and respiratory protection while sanding old paint. Since I don’t know the age of these chairs, nor the type of paint, I do not need any fine sand to end up on me. Not attractive, but using safety glasses, mask and gloves are essential.
What Grit Sandpaper to Use?
It’s important to use the right grit of sandpaper to get the finish you want. Here is a handy guide to know the grit levels and what they accomplish.
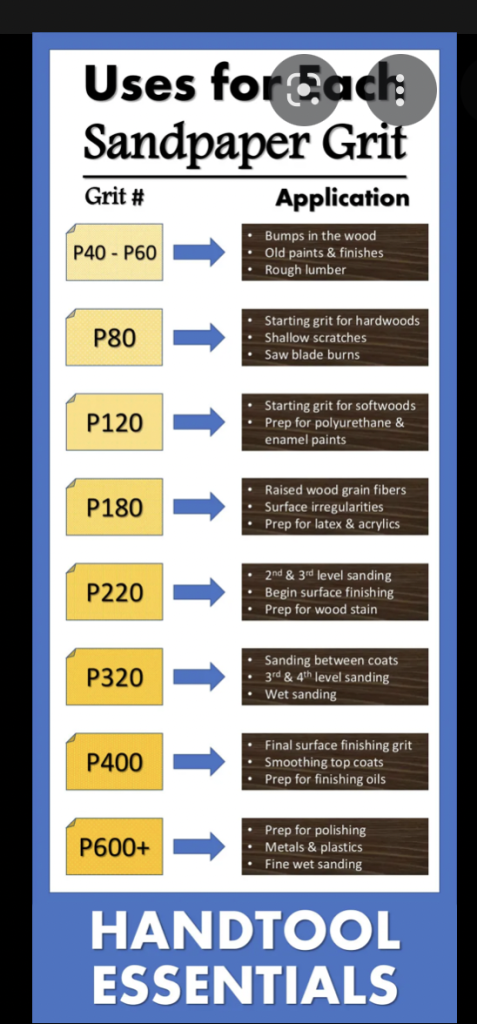
Using a hand sized (palm) sander is perfect for this project. It is lightweight and easy to maneuver. I start with 60 grit paper to knock off the old paint, and then finish with a finer grit of 120.
Getting Ready for Paint
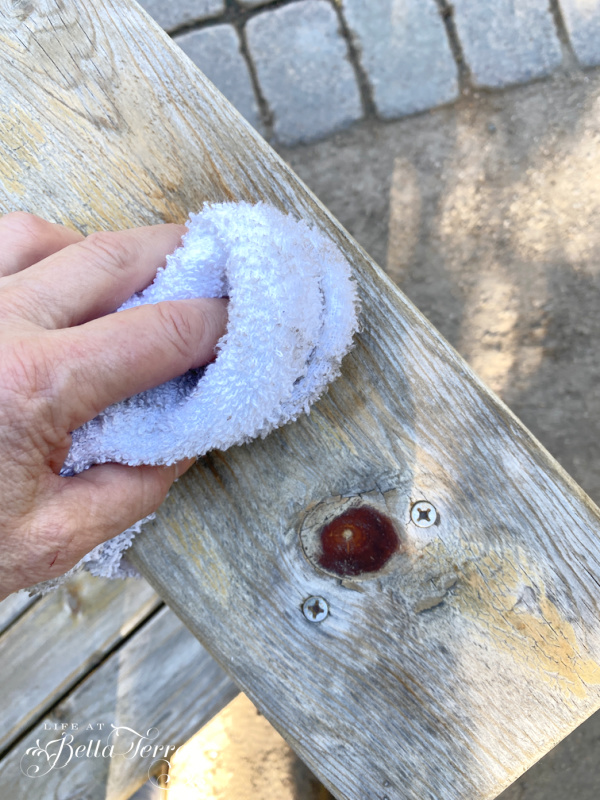
After sanding is complete, I wipe down each chair to remove any dust or debris. With the new wood slats and nearly bare wood everywhere else, the next step is using a good primer.
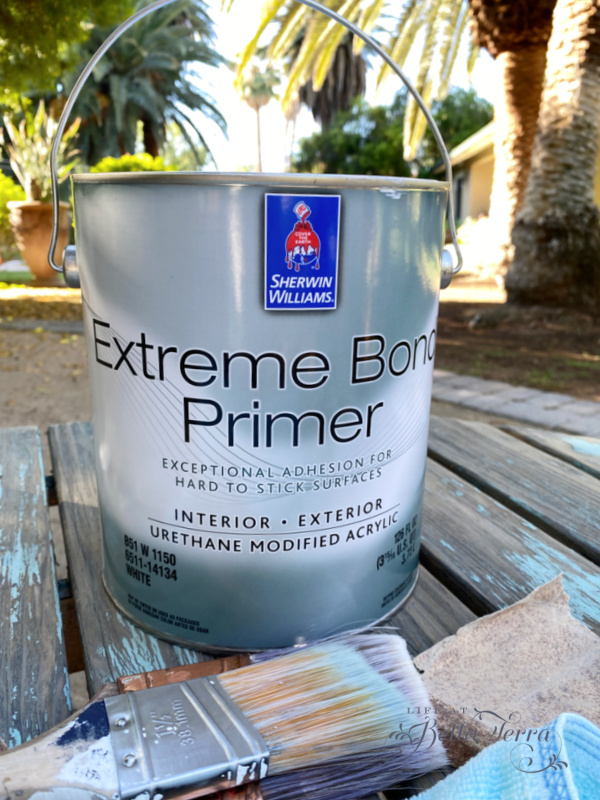
After consulting with the painting expert at Sherwin Williams, my husband purchases this Extreme Bond Primer which is a urethane modified acrylic. You can use this for both interior or exterior. I like that I can wash the brushes and all the paint on me with soap and water!
The paint glides on easily and both chairs only require one coat of primer.
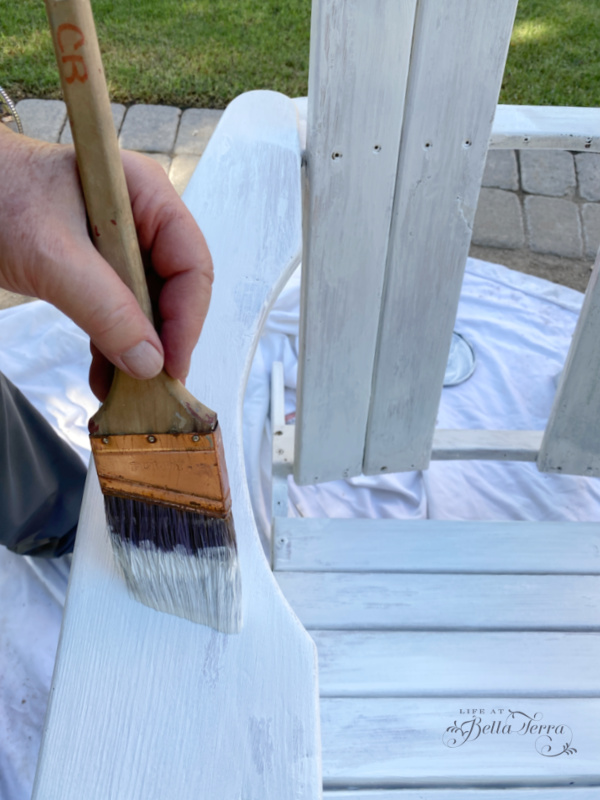
Based on the manufacturer’s suggested drying time, the chairs dry rather quickly (also helps that it is 100+ degrees outside!).
Final Coats of Paint
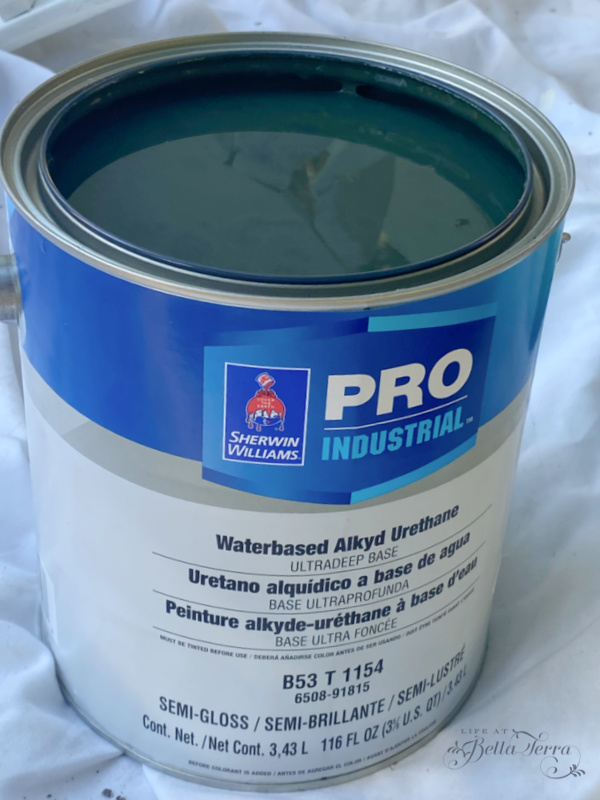
Since we will more than likely take these chairs up to our cabin in the mountains, we decide on a color that will look good in the forest. The paint expert recommends this waterbed alkyd urethane in semi-gloss. Color is Foxhall Green #9184, which is more of a blackish-green.
Each chair needs two coats. Since I haven’t finished prepping the small table (needs more sanding), that part of the project is still incomplete.
The newly cut pieces for each chair are painted separately and affixed once they are dry enough to handle.
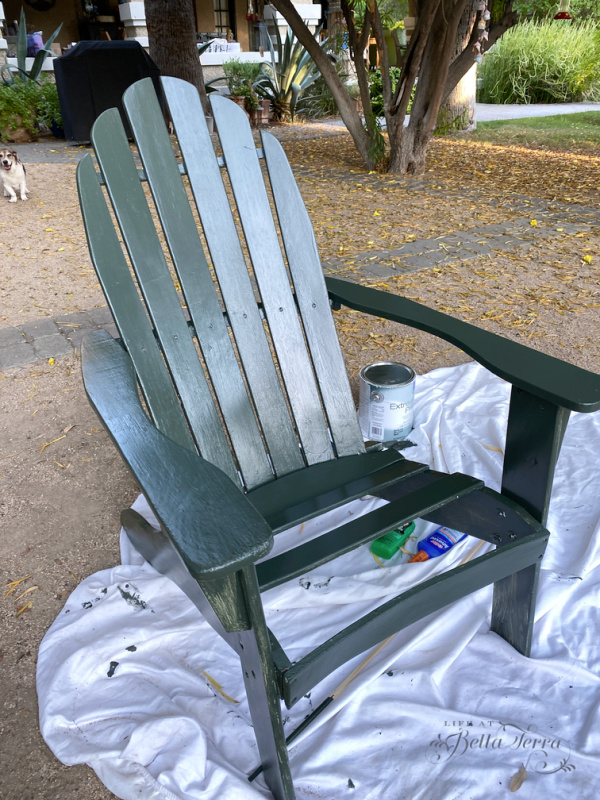
Since this paint will be very durable, the manufacturer’s drying time is several days. We put the newly painted chairs on the back terrace where they get the daily heat but not direct sun or rain.
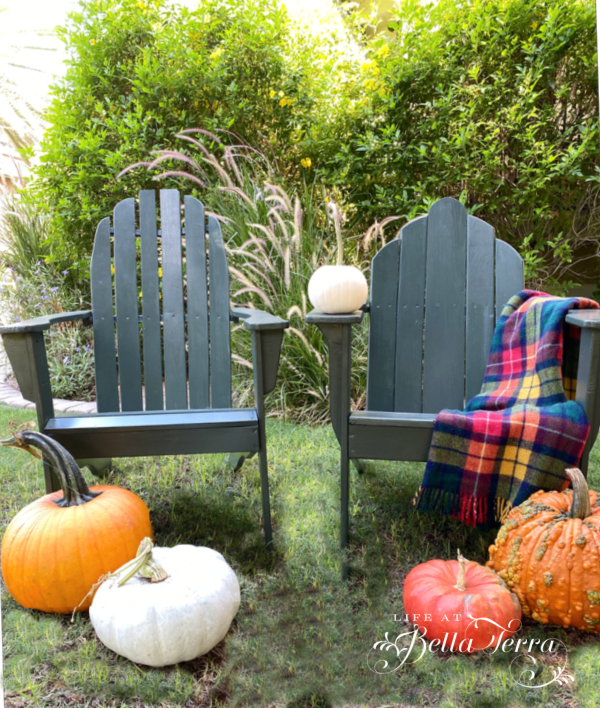
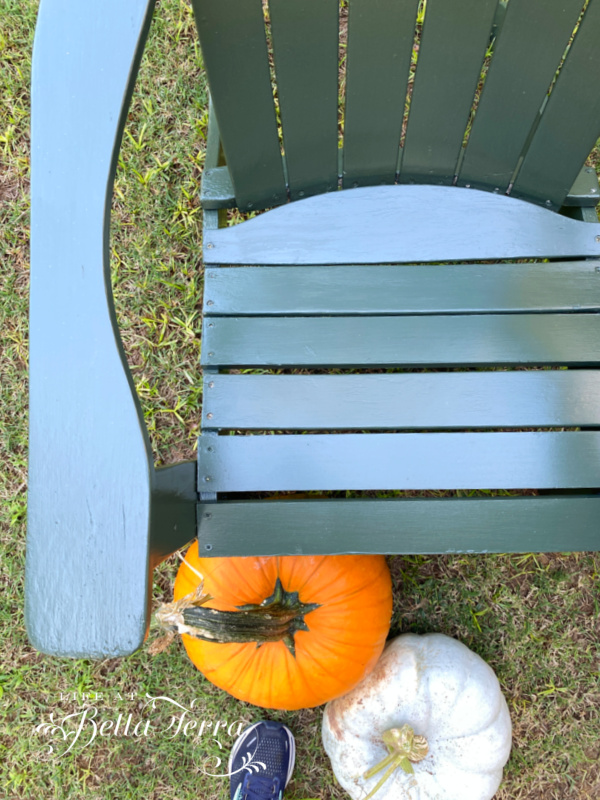
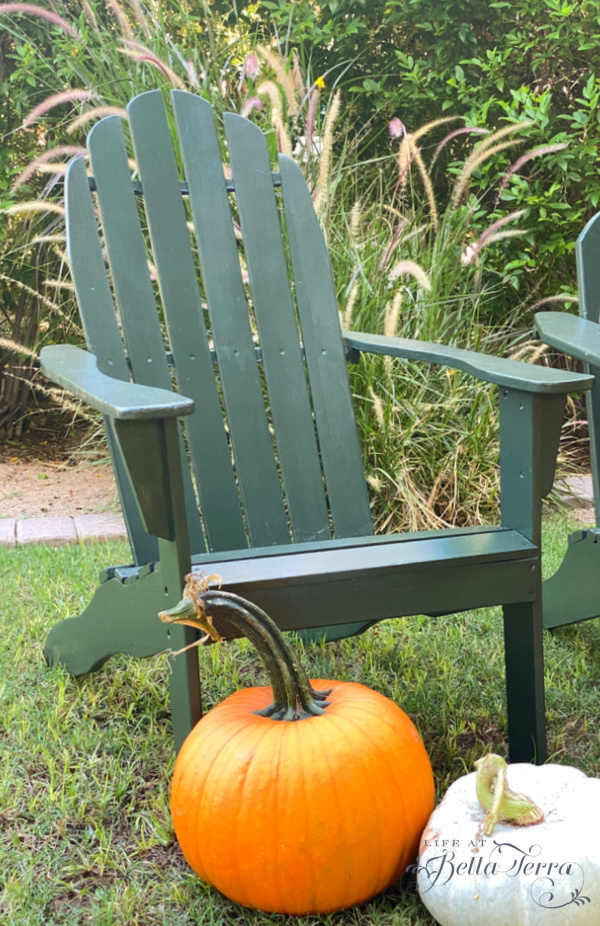
Trash to Treasure
Though a bit more work than I expected, we are very happy with having two “new” Adirondack chairs.
Here is the one with the replacement back slat (found in the alley).
And here is the one that needs new seat slats (found across the street).
Cost of the Project
So, is it worth it to rescue someone else’s trash and turn it into your treasure?
Here’s a breakdown of the costs:
- Chairs/table ~ free
- Popular slats ~ $9.96
- Birch board ~ $19.53
- Primer~we bought a gallon, but a quart would easily do it. Approx.$20
- Paint~ we bought a gallon, but a quart would do it. Approx $20
- Sandpaper~ we had on hand
Approximately total is $70.00; so $35.00 per chair.
Granted we didn’t figure our time, but we spent a few hours for about 3 days to prep and paint 2 chairs.
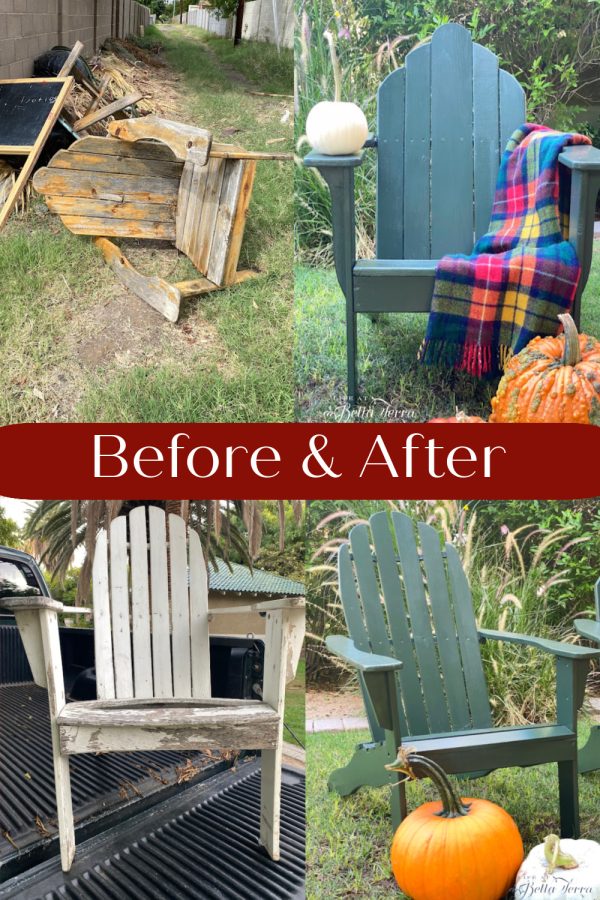
Before and After Side by Side
Once I finish the table, I will share that with you too.
Have a Happy Tuesday, friends! It is so much fun to share these projects with you.

If you enjoy this post, please share on Pinterest.
Just a reminder that any words that are italicized bring you to the source. If it is a product on Amazon, please note that I am an Amazon Affiliate. If you purchase something through my website, I receive a small (very small!) stipend, which doesn’t affect the price you pay at all. My goal is to make sourcing the items easy for you. Thank you for your continued support.


I have inherited two old chairs. They live at the beach and in the sun so the wood is old and weathered. I’d like to keep the wood look. Would I just sand? Or would I add staining? Coating? Thanks!
Krista, I would try sanding. Depending on the wood (do you know what it is?), you could stain and add a clear coat. There is Marine varnish that might work well around beach conditions. Let me know how they turn out!
Well here it is 2024…month of JULY in Louisiana. You could bake bread without an oven right now! lol. It has been reaching over 100 degrees here recently and we have already been threatened with hurricanes and tornadoes already before FALL.
We acquired 2 nice Adirondack chairs from a neighborhood garage sale day. These were unique because they tully fold closed for easy transporting option. They were weather worn but not totally worn out. The chairs were a little wobbly and just needed to be anchored with glue adhesive and screws. His and insisted that screws would take care of it all but as I had thought from the original plan…they need adhesives and nails. Going to give it another GOOD try and hope to be lounging in them by the time Fall gets here. We have a fan blowing directly on us just to make a little cooler work environment! We have one chair completely done and loving the results.
Charlene, I am so happy you rescued those Adirondack chairs! Once the weather cools down, they will be perfect to lounge and enjoy the fall temperatures. Thank you so much for sharing!
Mary,
Such a great idea. Love how they turned out.
Rachel, thank you!
great job , and less in the landfill…love the color and thank you for sharing all the tips of what products
used.
Virginia, it pains me to see things like this discarded, but am happy to have two “new” Adirondack chairs to take to the mountains!
I LOVE you rescued those A chairs from the landfill! You both did a fabulous job fixing them up, too. And oh my word I just love love looooovvvveeee that color of green you chose.
New wooden Adirondack chairs are hundreds of dollars. Well done, Mary!!!
Michele, thank you so much. I’m so glad we were able to breathe new life into them. When searching for chairs, most are made now of synthetic material so I’m happy to have real wood ones.
You lucky girl. I’ve always wanted an Adirondack chair. You did a fantastic job bringing it back to life. Can’t beat a good rescue and redecorate project. Love the color you chose.
Carol, thank you so much!
Such a wonderful labor of love! Rescue something doomed to the trash heap and make them into something so beautiful and useful. Well done!!
Valerie, thank you!
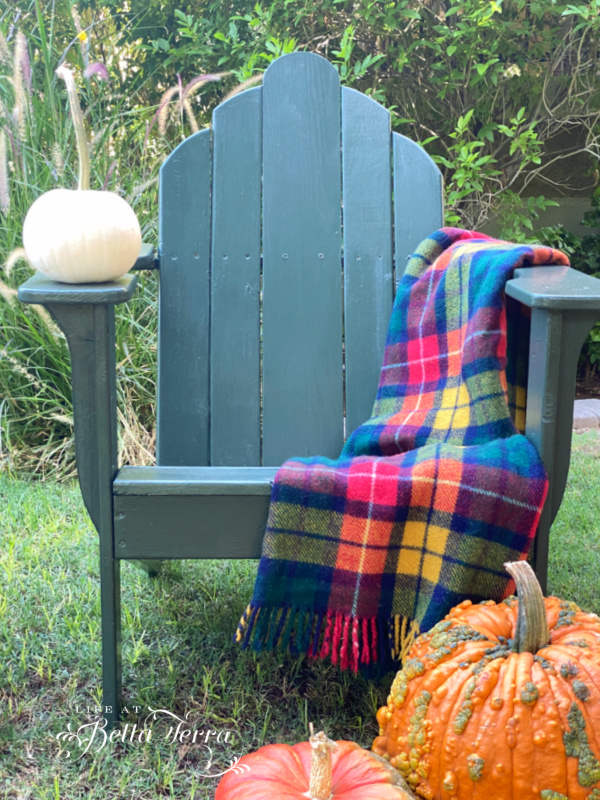
Beautiful!! We’ll done! I love that you are already using the pumpkins! Mine are still in the garage…
Tevia, I’ve really put off most of the fall decorating so I hope to have everything in place this weekend. Happy October!
Gorgeous! What a great find.
Renae, thank you!
Impressive! I love the color choice and appreciate the supply list. Thank you, and enjoy!
Jane, my husband picked the color and I agree, he did a great job!
NICE job – they’re beautiful! You and Scott make a wonderful team! Can’t wait to see them in their new habitat. Thanks for sharing the process!
Barbara, I would love to host our blogging group in the mountains one of these years. Then you would get to see them in their new habitat!