
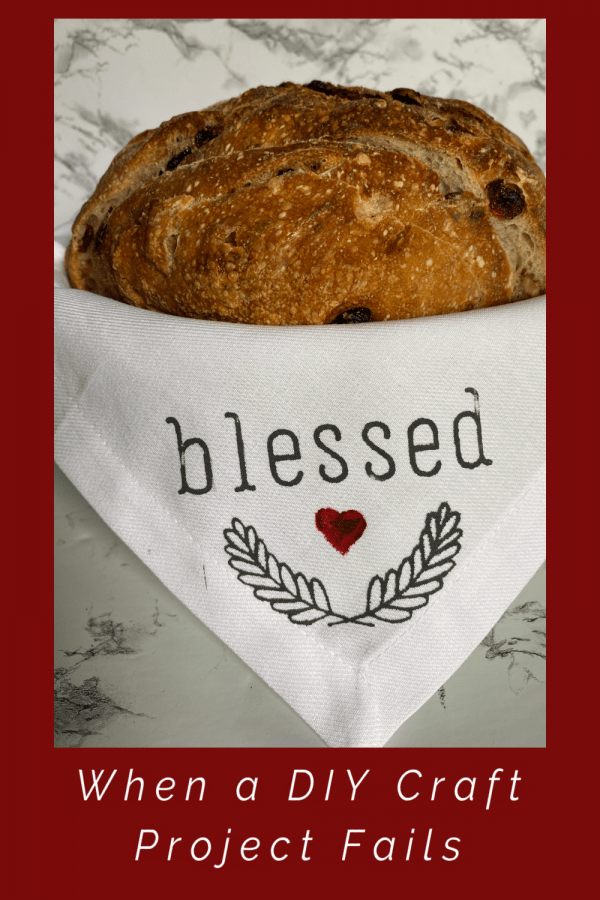
When a DIY Craft Project Fails
Full disclosure, I am not a crafty do-it-yourself-er. And I am reminded of that when I take on a new cute project and completely screw it up. But like most things in life lately, we need to make the most of it. Here is my story on when a DIY craft project fails.
The Inspiration
Over a year ago, I saw this adorable craft idea on someone else’s blog. Since I have never tackled a project like this, I clicked on all her links and purchased the items needed for this craft. And they have literally sat unopened for the last year. So I decide this is the week to try making it.
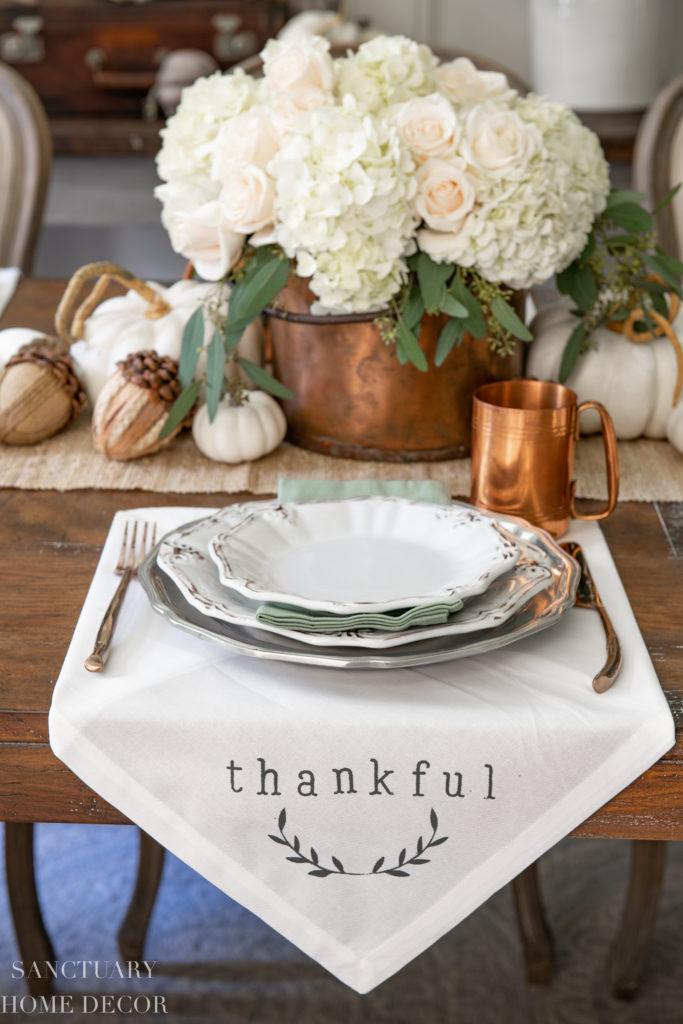
Here is how Karen at Sanctuary Home Decor (who just seems to be perfect in EVERY way) made this craft. It is a dinner napkin stenciled with the word “thankful”. She used this for her Thanksgiving table last year. Pretty, isn’t it? And she claims she did it in 5 minutes!
Follow the Instructions
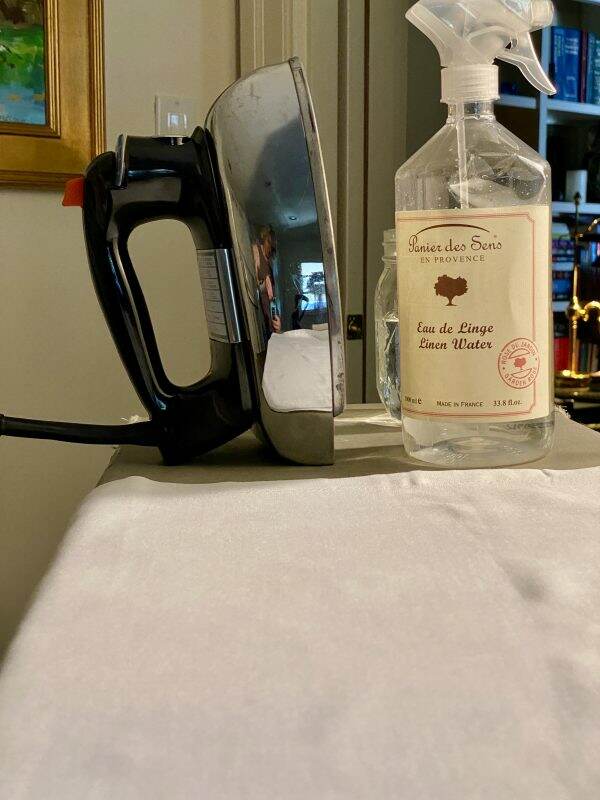
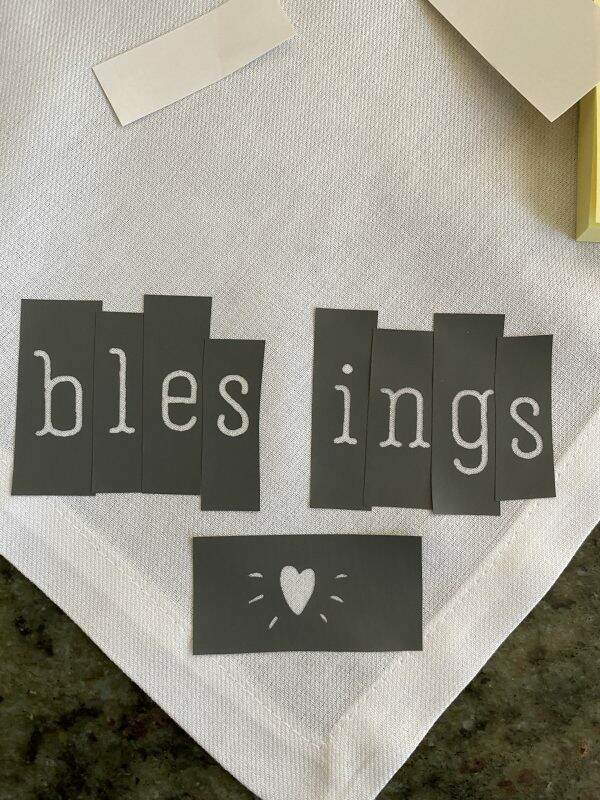
I carefully follow her instructions by first ironing my napkins. Since I didn’t want to completely copy Karen, I choose the word “Blessings” to stencil on the napkin. I proceed to cut out the letters and decorative vine. See below for sourcing information.
In making sure I place the letters neatly, I determine the center letter so I can line it up properly on the napkin.
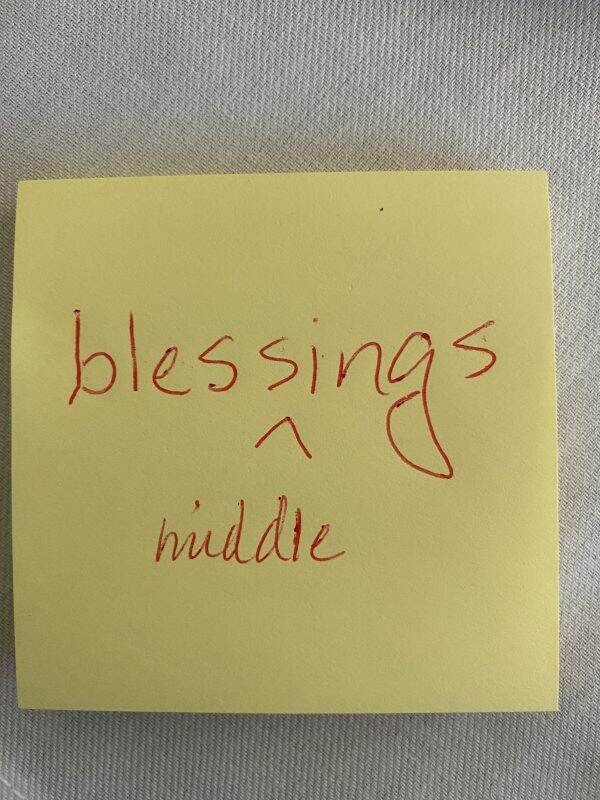
Up to this point, I’m fat, dumb and happy about this project. And then here is where it starts to unravel. There are only two “S” stencils available and the word “Blessings” has 3 “S” letters.
Applying the Letters
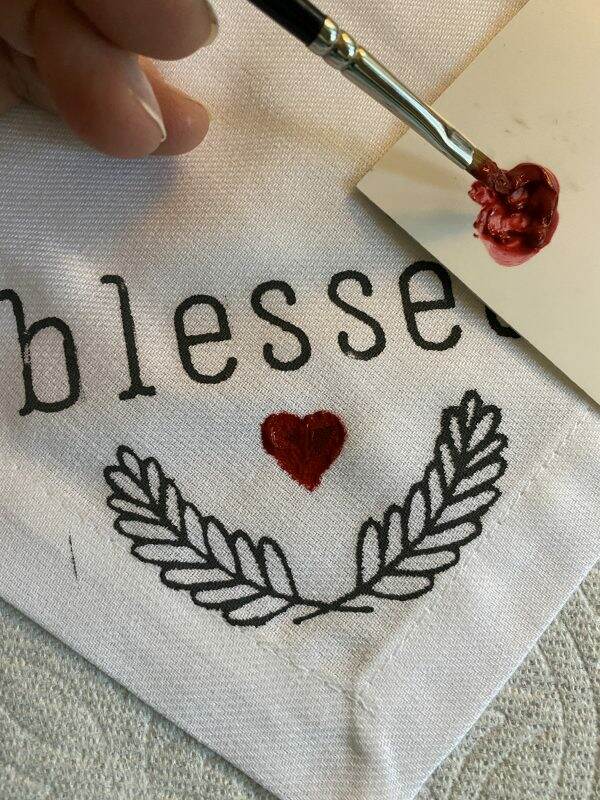
Next Comes Paint
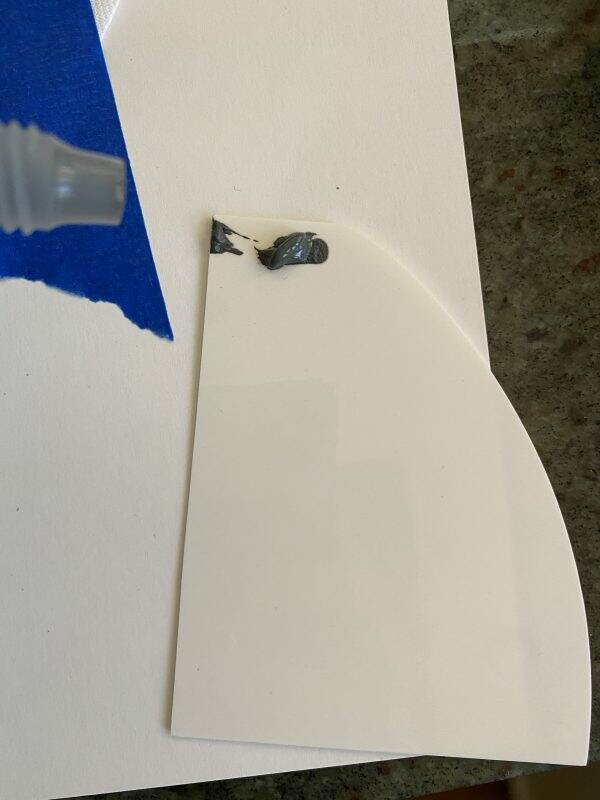
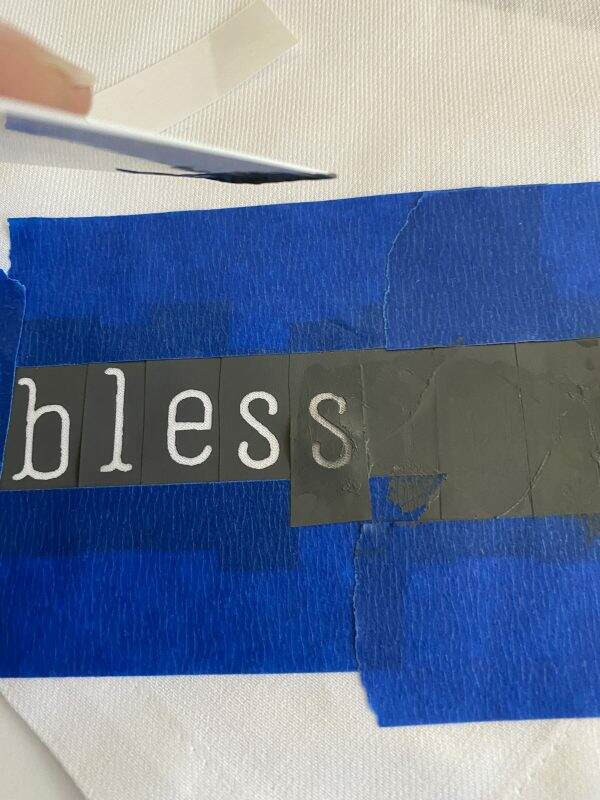
These mesh stencils have self-adhesive backs, however, in order to protect the rest of the napkin from paint, I use blue painters tape on the edges. Working with the plastic wedge recommended with the paint gel, I apply the paint to the stencil.
Of course, mid-way, I needed to move the S from the end of the word to fill in for the missing middle S.
The Disappointing Result
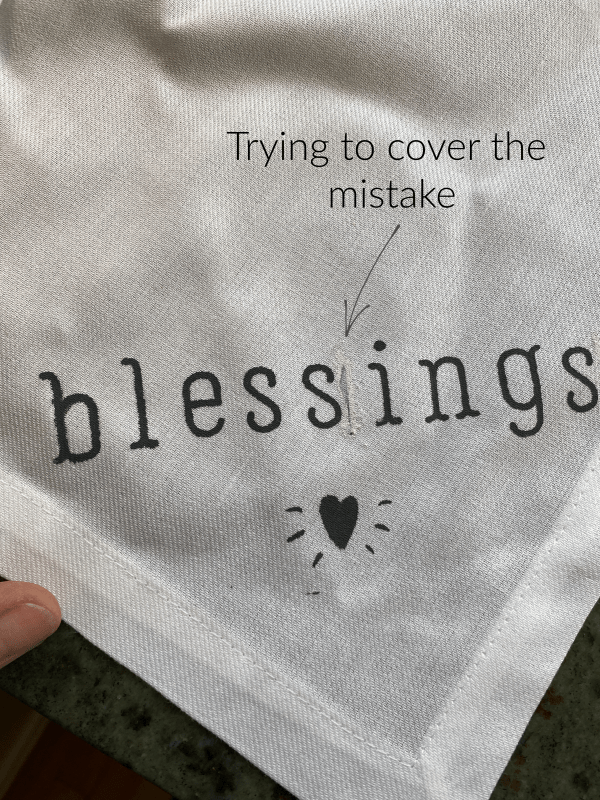
When I peeled off the stencils, the paint has leaked between the S stencils and left a mark. I try covering it up with White-Out…..what a mistake!
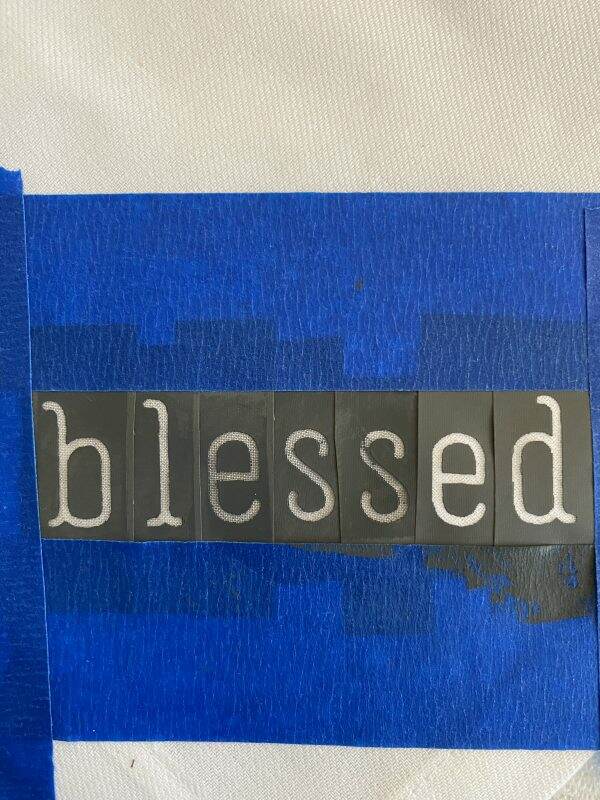
So, with 11 napkins to go, I try this again on a new napkin. Changing the word to “Blessed” solves the lettering problem.
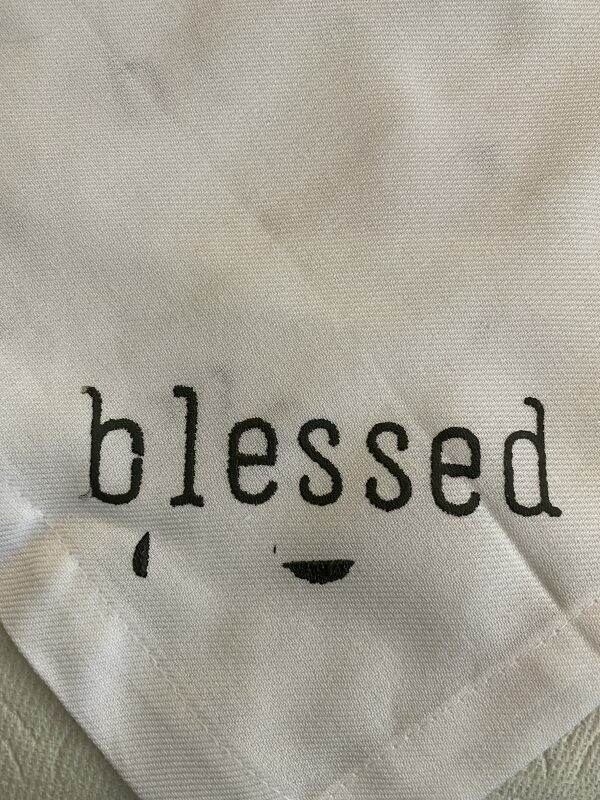
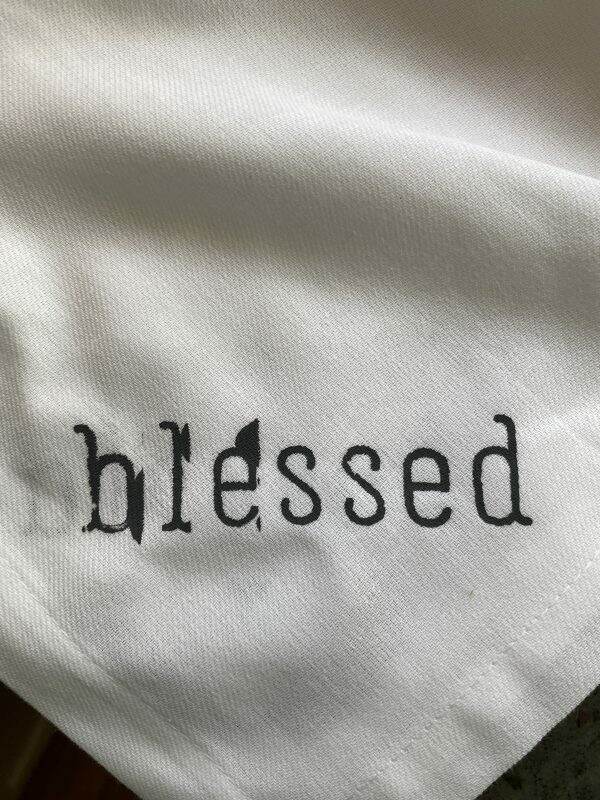
Carefully applying the paint, I am convinced this one will be perfect. However, this napkin also has paint blotches. Seriously?!!
Third time is a charm, right? Not for me.
After the fourth failure, I just gave up. At this point, I have ruined 4 napkins and most of the afternoon. Karen said this is an easy 5 minute DIY. What is wrong with me?

The next day, still disturbed over the fact that I am a complete failure on stenciling napkins, I am determined to find a solution.
Making the Mistake Obvious
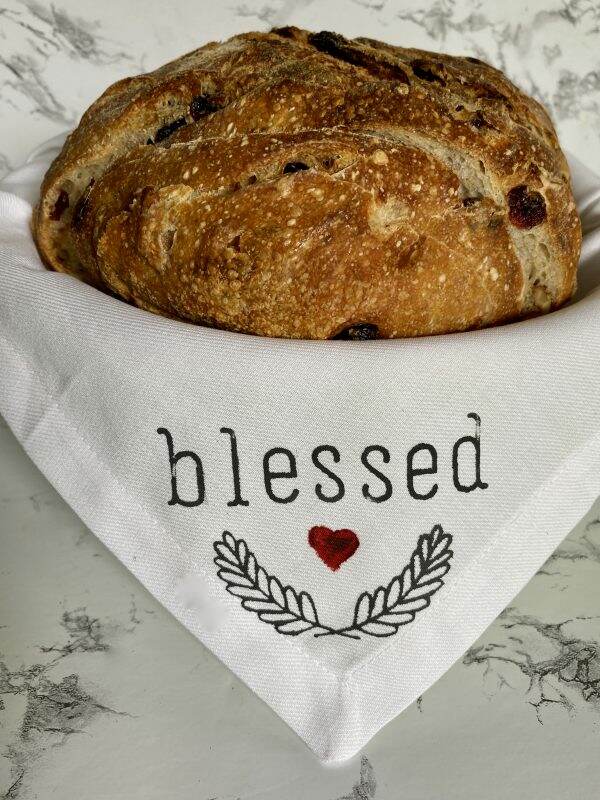
Fortunately, I purchased 2 additional paint colors for this project. Using red paint, I cover all the black blotches and make them into hearts.
Where hearts didn’t work, I applied some white paint. They certainly are not perfect, but at a quick glance, you almost don’t notice all the boo-boos.
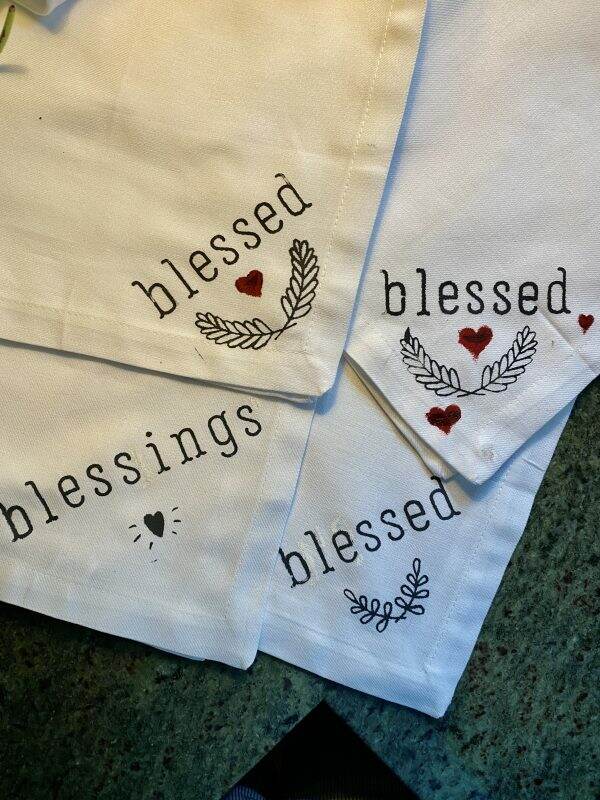
I will use these 4 napkins to wrap baked bread over the holidays, so not all is lost. Who knows? Maybe I will try again as I still have 8 white napkins.
The moral of the story~not all DIY projects are perfectly easy. If I share one in the future, please know that I will warn you about the challenges. In our social media world, perfection is often portrayed. However, in this case it was certainly not my reality!
It is good, affirmative exercise to write the word “Blessed” many times. Because I am blessed to have you reading this (and hopefully laughing about it!).

If you want to attempt this DIY project, here is the link to Karen’s post. Also,
you will need the following supplies:
Napkins of your choice (I used these from World Market), quantity of your choice. I ordered 12.
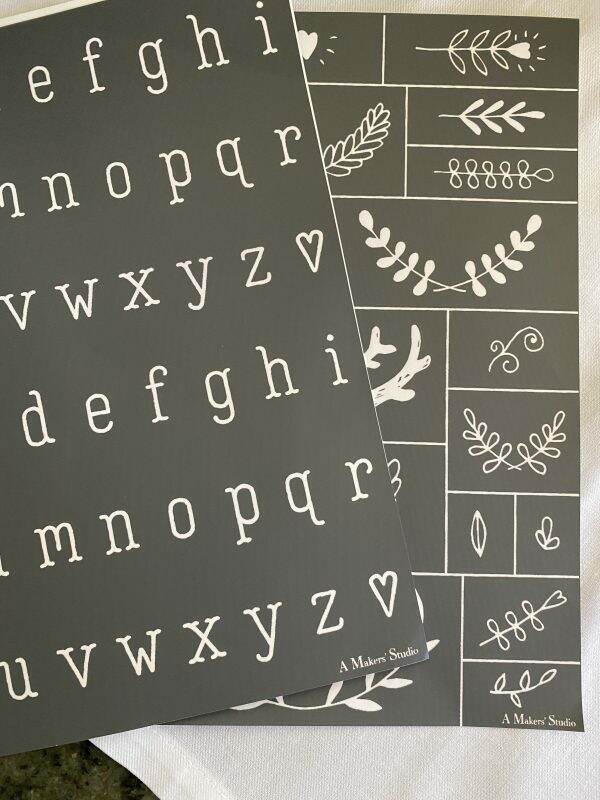
- A Maker’s Studio – Mesh Stencil “Alphabet 4”
- A Makers Studio – Mesh Stencil ” Details”
- A Maker’s Studio – Gel Art Ink in color of your choice. (I used “Hold Your Horses”)
- A Maker’s Studio – Chalk Art Spreader
- Painter’s tape (Optional)
Good luck! If you do this, please let me know the results.
If you enjoyed this post, please feel free to share it on Pinterest.
Just a reminder that any words that are italicized bring you to the source. If it is a product on Amazon, please note that I am an Amazon Affiliate. If you purchase something through my website, I receive a small (very small!) stipend, which doesn’t affect the price you pay at all. My goal is to make sourcing the items easy for you. Thank you for your continued support.

I’m a little late reading this but it made me chuckle – I tried a Pinterest project recently that ended up in the trash so I can totally relate. But it also reminded me of a quote we say in my cardmaking/scrapbooking classes – “a mistake is just an opportunity to embellish!”.
Obviously I am not a strong crafter! What a frustrating project for me, but the good news is my sister made beautiful napkins for me for the holidays! Silver lining! Thanks for your comments!
Love the idea and I have had so many projects turn south. Have you ever thought about investing in a Circuit machine? I love mine.
Me too !! Lol but I keep trying every now and then it turns out . I think they look great, better than my first, 2nd, 3rd lol project.
Keep up the good work!!
BRAVO for keeping it real. That’s why your readers adore you. I tried to stencil some napkins years ago — following advice from Martha Stewart. What was I thinking? It was a complete disaster and I’ve resented her ever since.
Mary,
Thanks for your honesty and making me chuckle this Saturday morning! It has been quite a week at my house, so the chuckle is greatly appreciated!
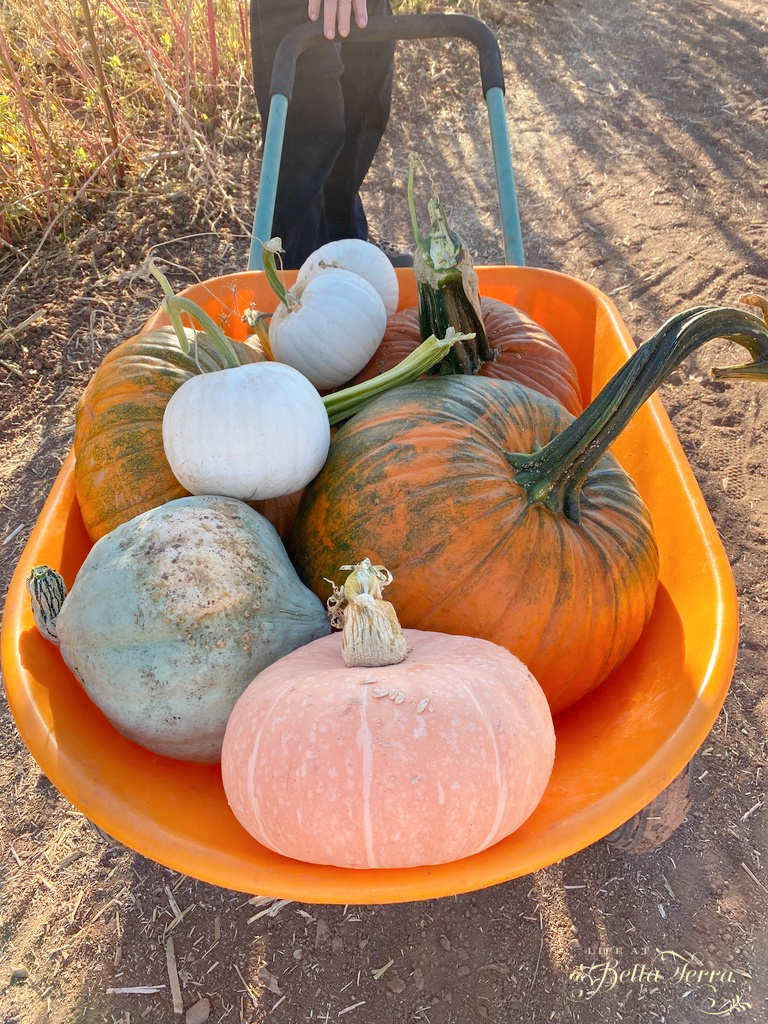
On another note, I had a mother/daughter time the week prior with 3 of my peers & their daughters- we made your pumpkins and what a SUCCESS! Note: ask you local grocer for any broken off pumpkin stems- ‘our’ Safeway gave me a small bagful for free and they really made a difference!
K
So. Many. Times! Like a crafting Marine motto: Adapt, improvise, overcome! Builds humility & resilience!
Exactly why I don’t do craft projects – this is what would happen to me!
Oh my, Mary…I laughed out loud! I love this and your attempt at creating some magic…and quite honestly, I love your SAVE even more than the original! Just Perfect 🙂
Me too! I love the save, quite clever if you ask me!
Ah ha.. now I know what to embroider you for Christmas !!! I’m running out of ideas!