
Recovering a Lamp Shade with Fabric
If your current lamp shade(s)is tired or not in keeping with a new color scheme, you can easily recover it with fabric of your choice. Good lamp shades are not inexpensive. As a small girl, I remember my Mom recovering the lampshades in her master bedroom and adding pom pom fringe. Even then I was impressed with how something so simple could really make a decor difference.
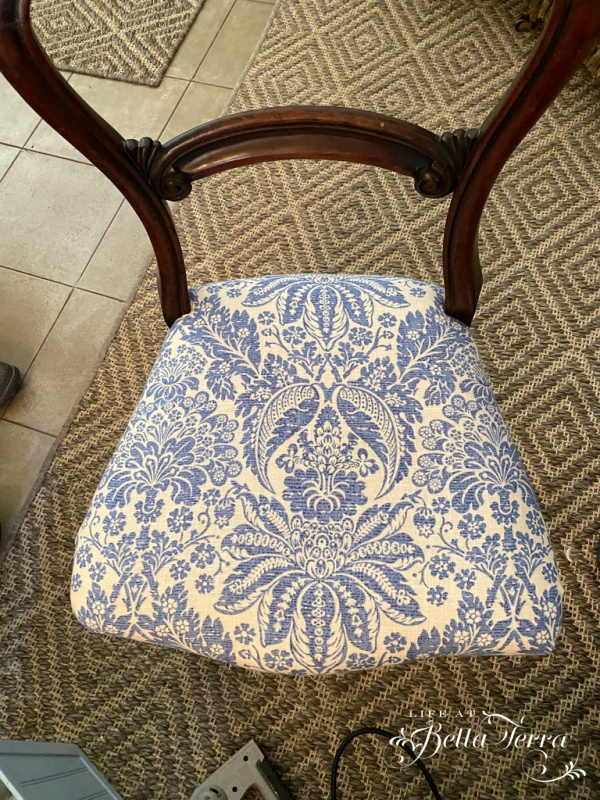
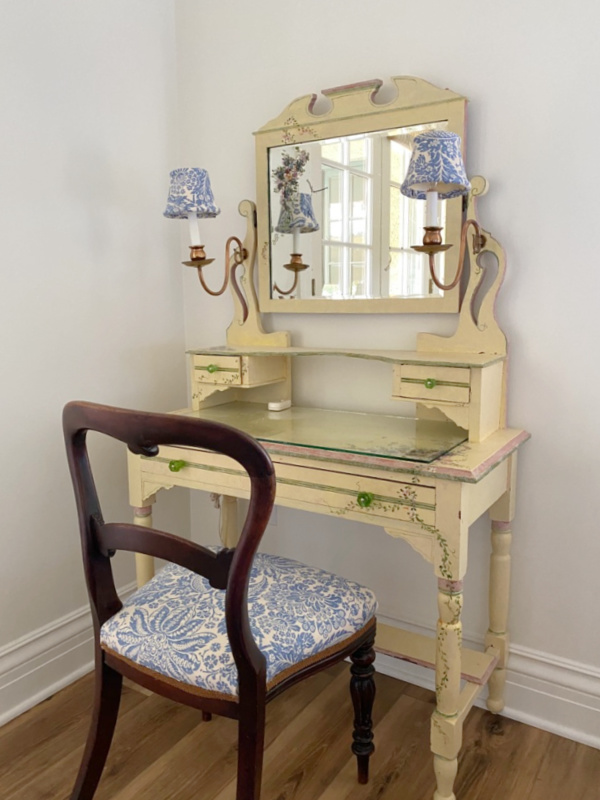
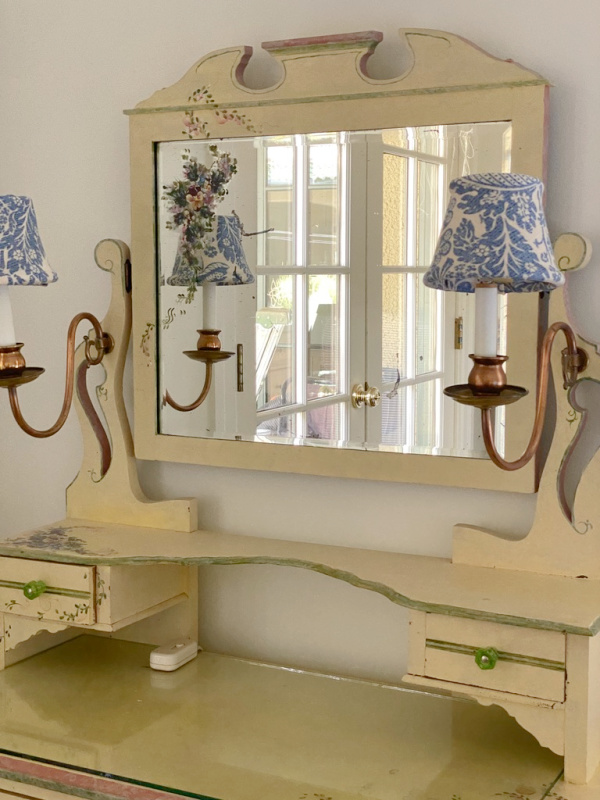
We are winding up the pool house remodel and if you follow me, know that last week I recovered a chair cushion in new fabric. See that post here. Well, this chair will sit at the same vanity that has two light fixtures with shades.
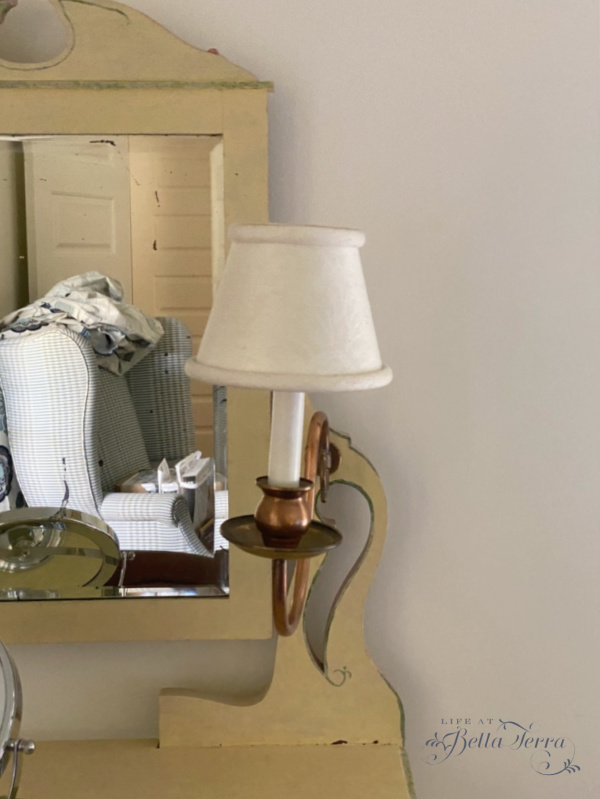
The shades are currently sporting a white damask fabric~which is a bit dirty and old looking. Attached to sconce-like arms, these lamps provide light to a vintage vanity that I had someone hand-paint years ago.
Supplies you will need
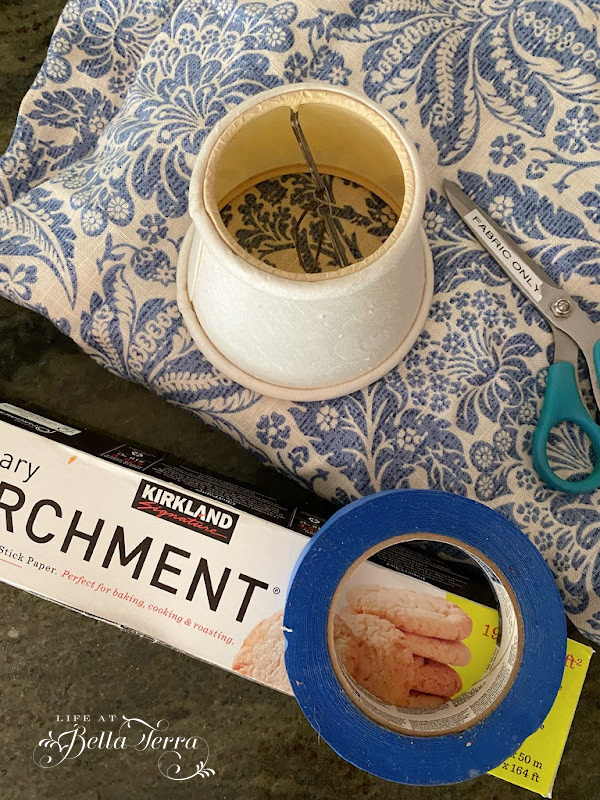
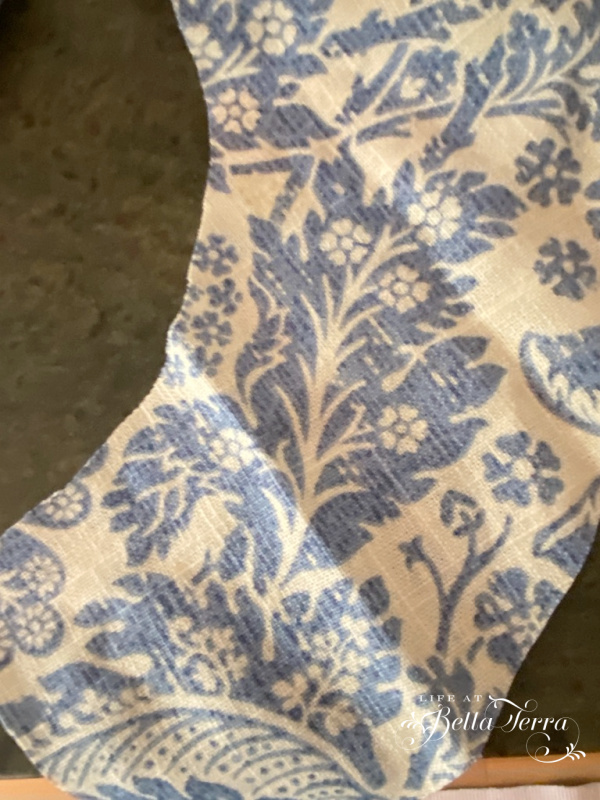
- Fabric of your choice
- Lamp shade
- Spray adhesive
- Scissors
- Ribbon or Trim (optional)
- Pencil
- Paper (I use parchment paper)
- Tape to secure paper to table
Tracing the Lamp Shade
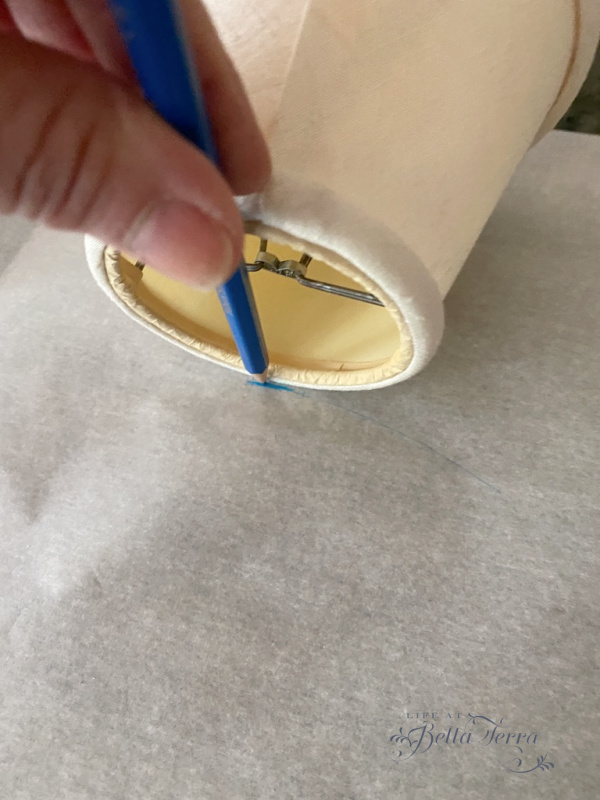
You can trace the lamp shade directly on the fabric, or you can make a paper template. I make a paper template so I can correct any errors before cutting the fabric.
Using parchment paper, I start with a pencil on the seam side at the top of the shade and roll the lamp shade slowly, while marking the paper.
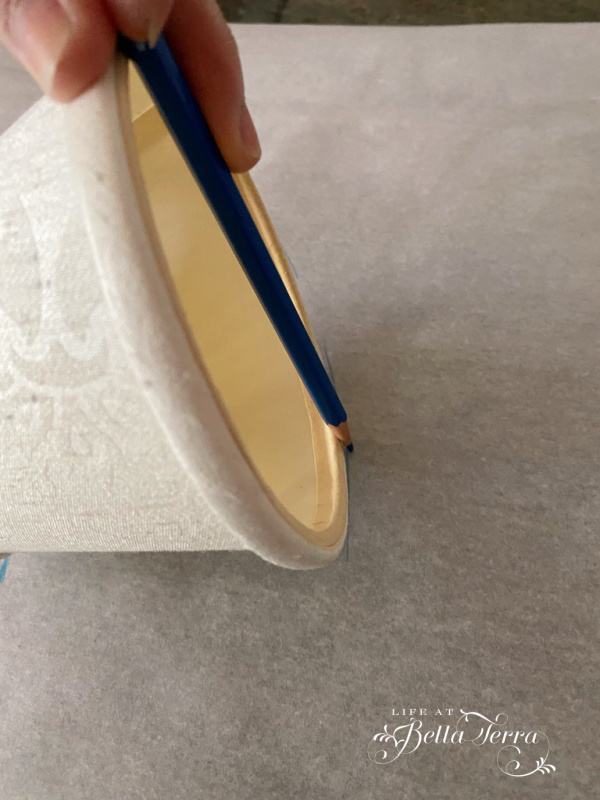
Repeat this process for the bottom of the shade. You can either make hatch marks or allow the pencil to make a solid line. Personally I think the hatch marks and then connecting them is easier.
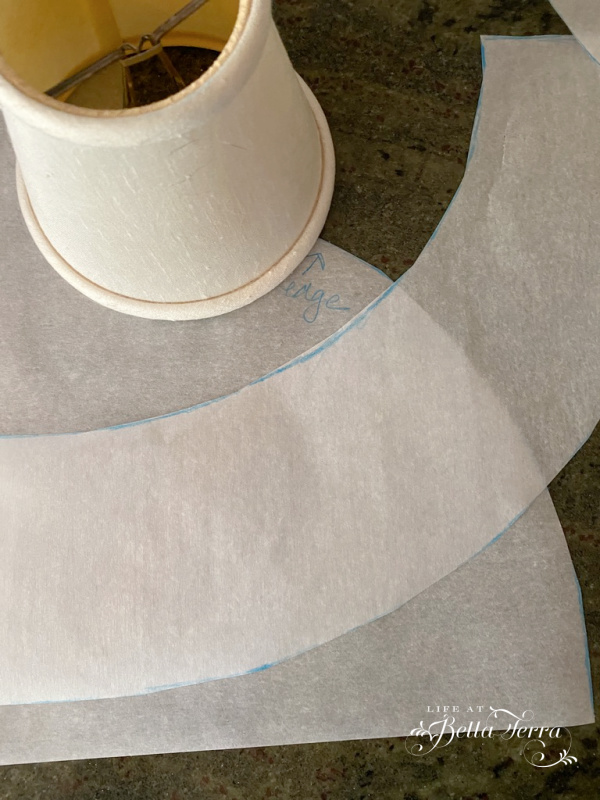
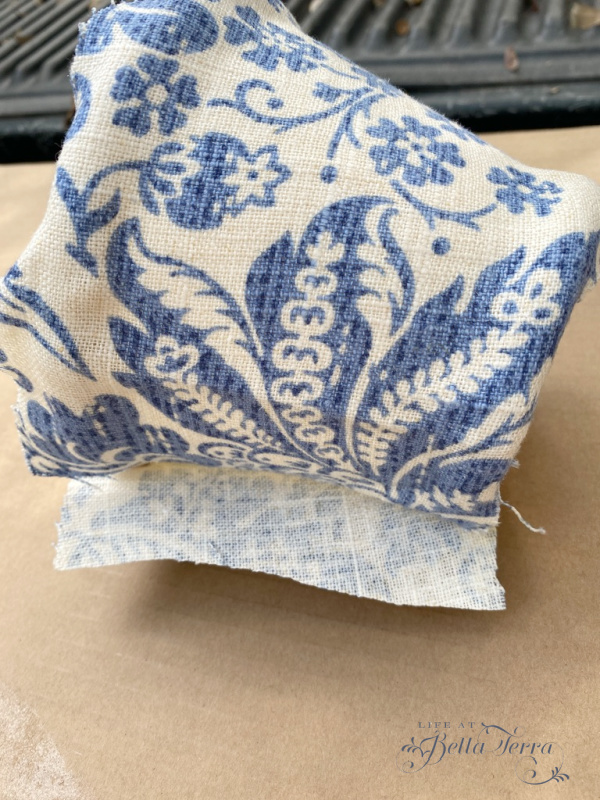
Cut the pattern and you will notice it makes a nice curved shape.
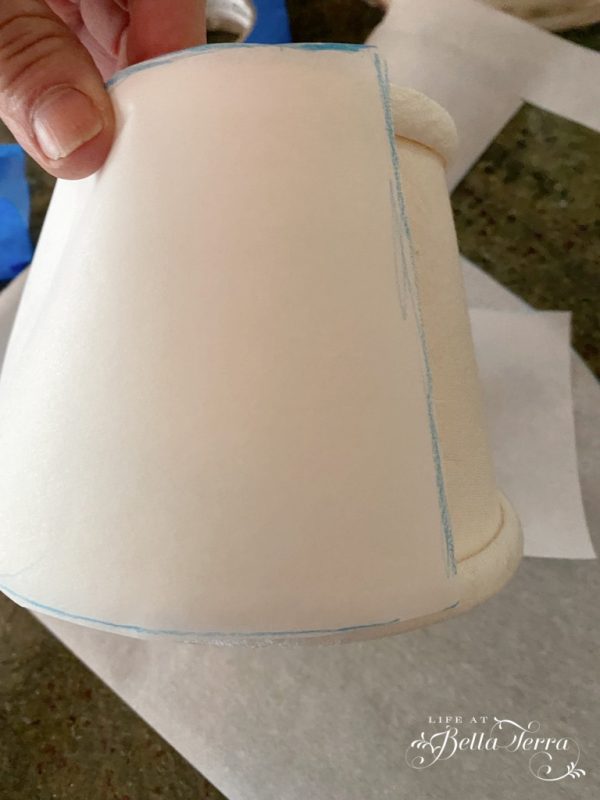
Lay the template against the shade to ensure you have the proper size and shape. Initially I planned to put fabric in between the two rounded edges, however, on closer inspection, the fabric wasn’t in the best shape. Pin the template to the back side of the fabric.
Cutting the Fabric
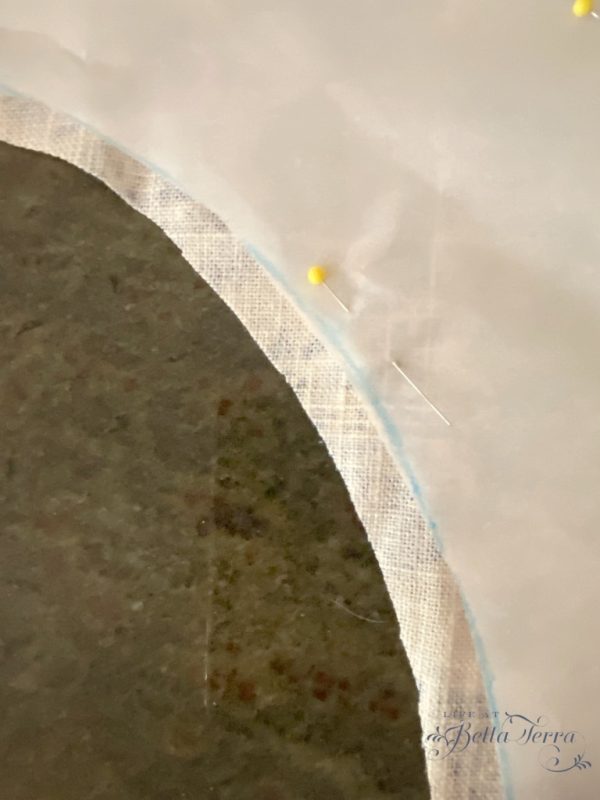
Since the goal is to completely cover the shade, I cut the fabric larger than the pattern. Depending on the width of the lip of your shade, it can be 1/2″ or greater. Cutting the fabric too small will result in it not completely covering the shade.
Since my fabric is a bit wrinkled, I pass a hot iron over it before proceeding forward.
Securing the Fabric to the Shade
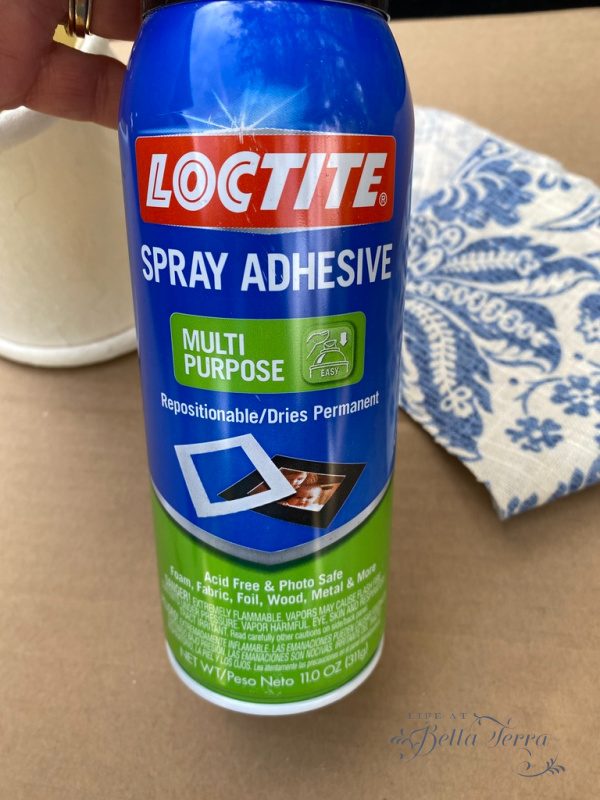
In an open area outside, I set up a large piece of clean cardboard. Placing the right side of the fabric down (back side is facing you), spray adhesive to the fabric, making sure you get the edges.
I don’t have any spray adhesive in particular I like, but you can find a variety here at different price points . In my opinion, spray adhesive is spray adhesive unless someone else has more information I need to know.
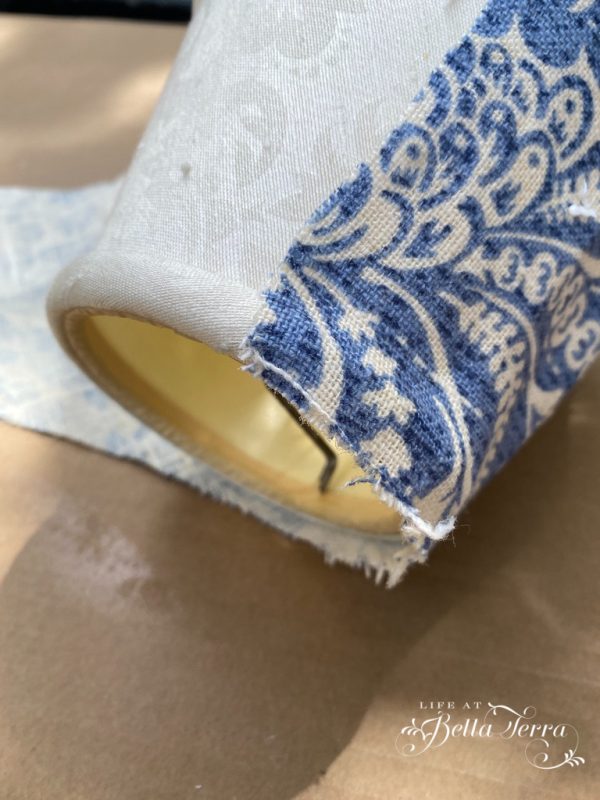
Starting at the seam, carefully roll the shade across the fabric. If the fabric doesn’t lay flat or isn’t going exactly where you want, you can pull it off and try again. The adhesive remains sticky for a while.
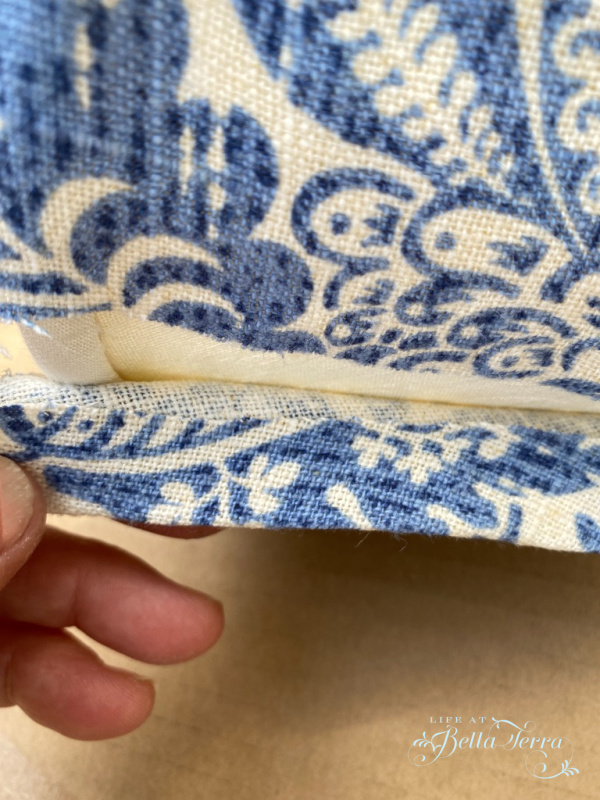
Please note: in the above photo, I cut the fabric too small and you can see where the frayed edge will not completely cover the top edge of the shade. So I had to start over again with a larger piece.
How to finish the edges
At the end of the fabric, I spray a bit more adhesive and fold over the edge and press it flat to the shade.
Wrap the fabric over the top and bottom edge of the shade. The next day some of the edges lifted and I used a glue gun to re-secure.
If the fabric on the inside of the shade has a messy edge, you can always glue a ribbon or trim to cover it. I didn’t do so on these shades because no one really can see inside the shade. Perhaps a larger shade would require it, but I am omitting this step.
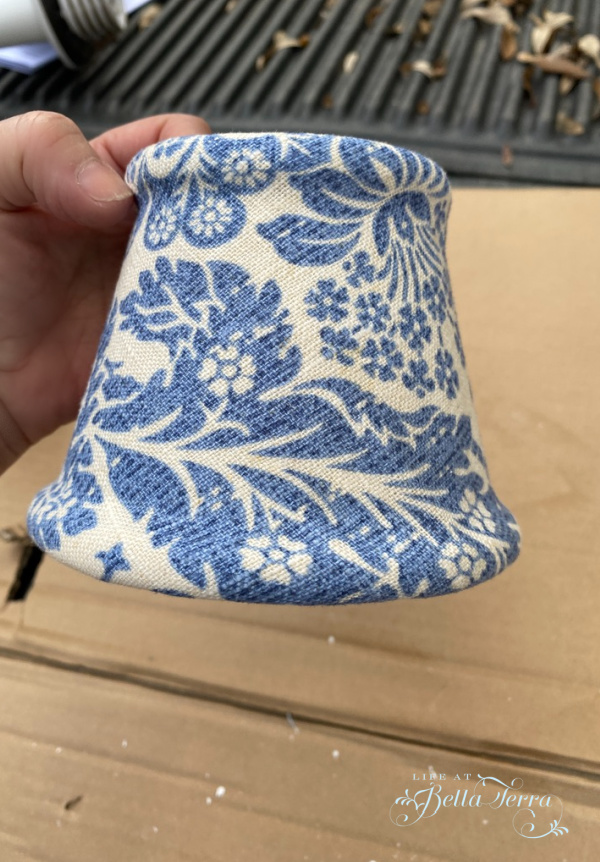
The Final Look
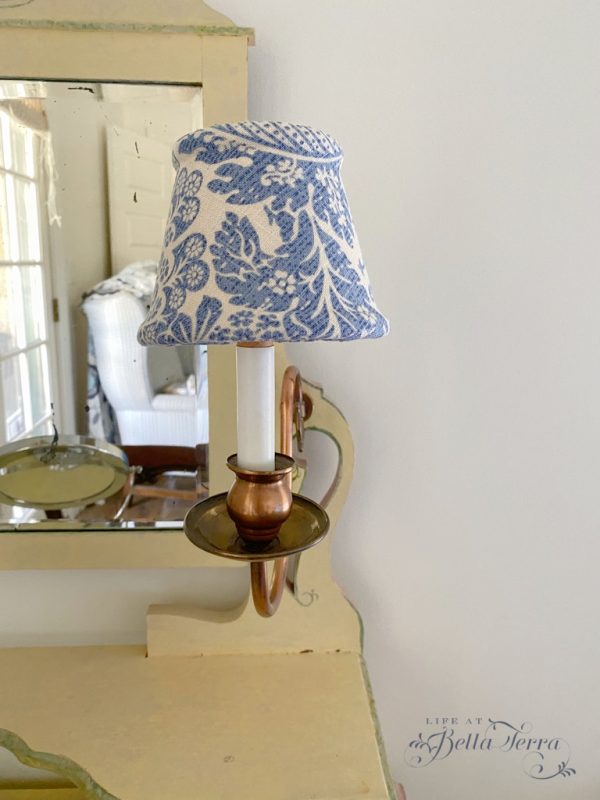
I am so pleased on how the fabric covered shades look in the bedroom of the pool house. The colors of the bedroom are blue, white and yellow. And I love how this fabric is fresh and gives a new vibe to the vintage vanity. Not sure I want to keep it hand painted, but for now, it is just fine. Maybe changing out the green crystal knobs for blue ones?
We are getting close to finishing the pool house renovation. A week from today I am expecting 5 of my sweet blogging friends and will have this space nice and clean and fresh for their stay!
Have a wonderful Wednesday!

Just a reminder that any words that are italicized bring you to the source. If it is a product on Amazon, please note that I am an Amazon Affiliate. If you purchase something through my website, I receive a small (very small!) stipend, which doesn’t affect the price you pay at all. My goal is to make sourcing the items easy for you. Thank you for your continued support.

It all looks GORGEOUS!!!!!
Margaret, thank you so much!
Looks amazing! I love the colors!
This looks so cute. Such a great idea.
Love the impact of covering the chair and shades. I change my chairs every couple of years.
Brenda, recovering with fabric is such a fast and easy way to make a change. How fun that you do it every couple of years.
Beautiful job – I love the blue pattern, and your vanity is darling! I’m so sad I won’t be able to join you again this time, but I hope I get to see you sometime pretty soon!
Looks fantastic Mary and I can’t wait to see you!